
So we’ve converted the pantry into a half-bathroom as outlined in my previous post. The problem now is that there’s no window in the room and the ceiling is vaulted (there is only a roof above it, which is just beyond the floor above, it’s odd) which means we can’t put in a regular bathroom vent since it wouldn’t come out correctly. Our other option is a wall mounted vent system. We picked up this from Grainger.
Step 1 was determining where on the wall where we were going to put it. We opted for about 3/4 of the way up on the wall farthest from the dining room (there’s a window on that wall so we wanted a little bit of a buffer, just in case).

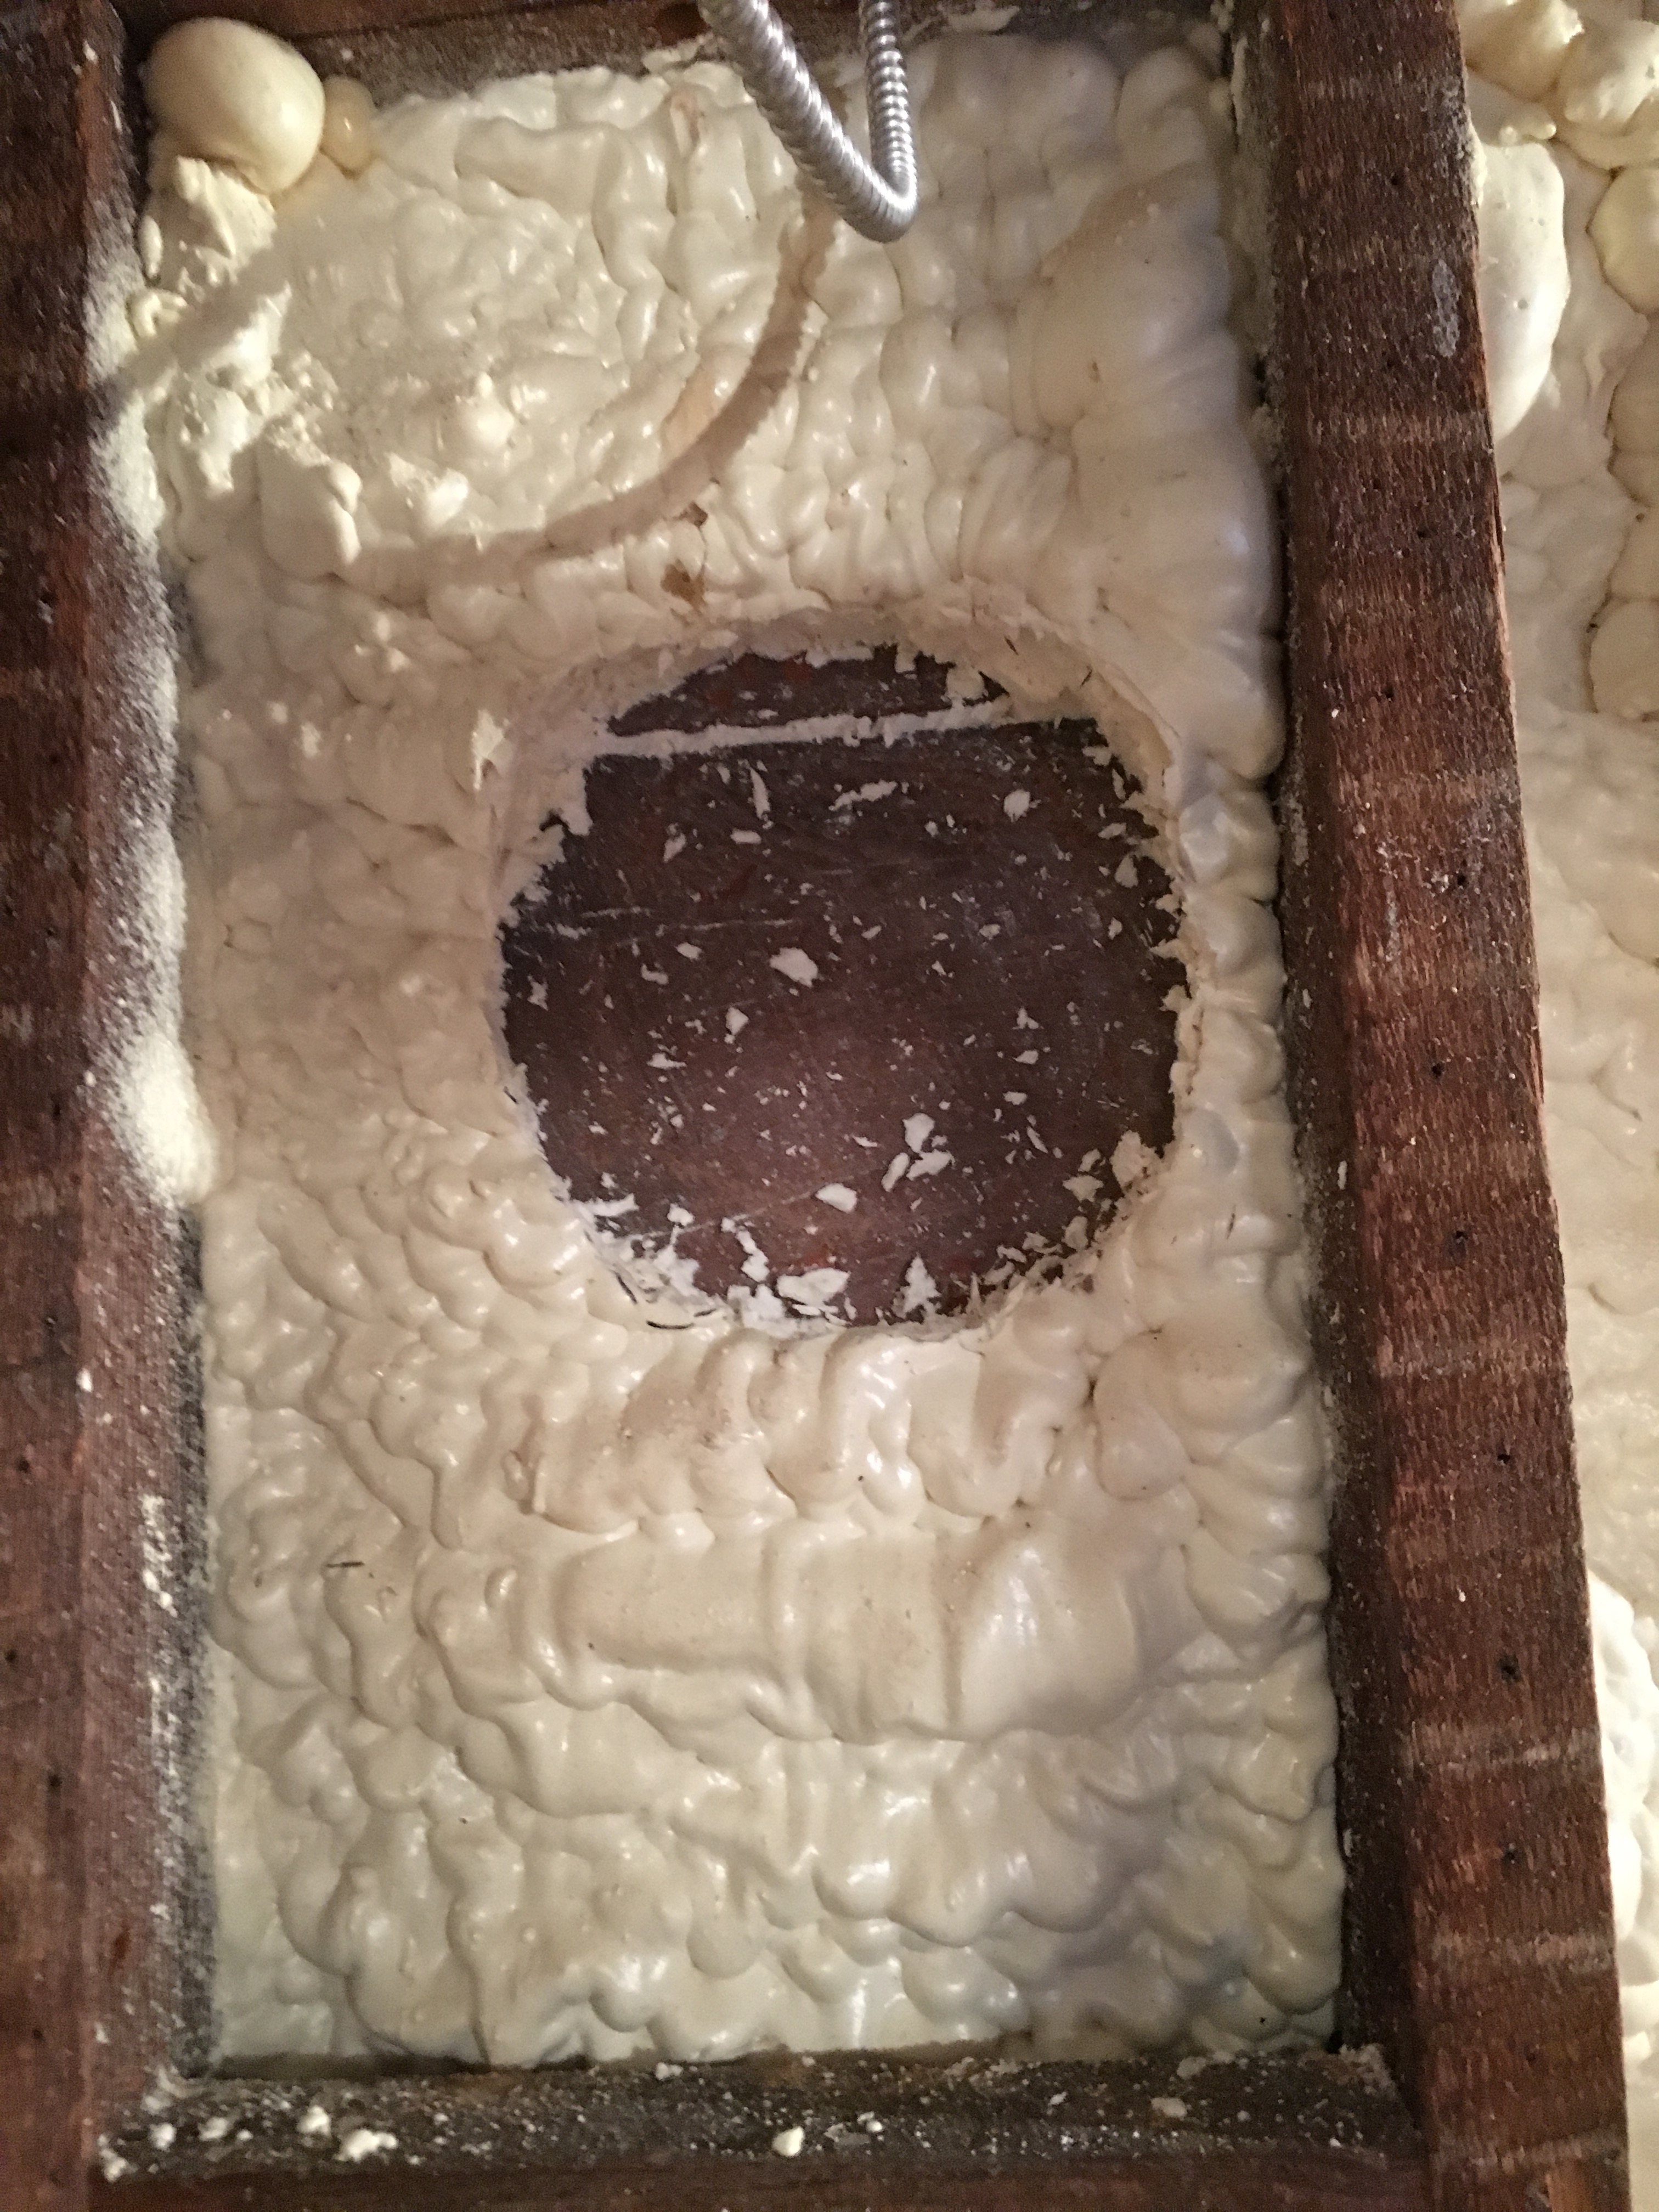
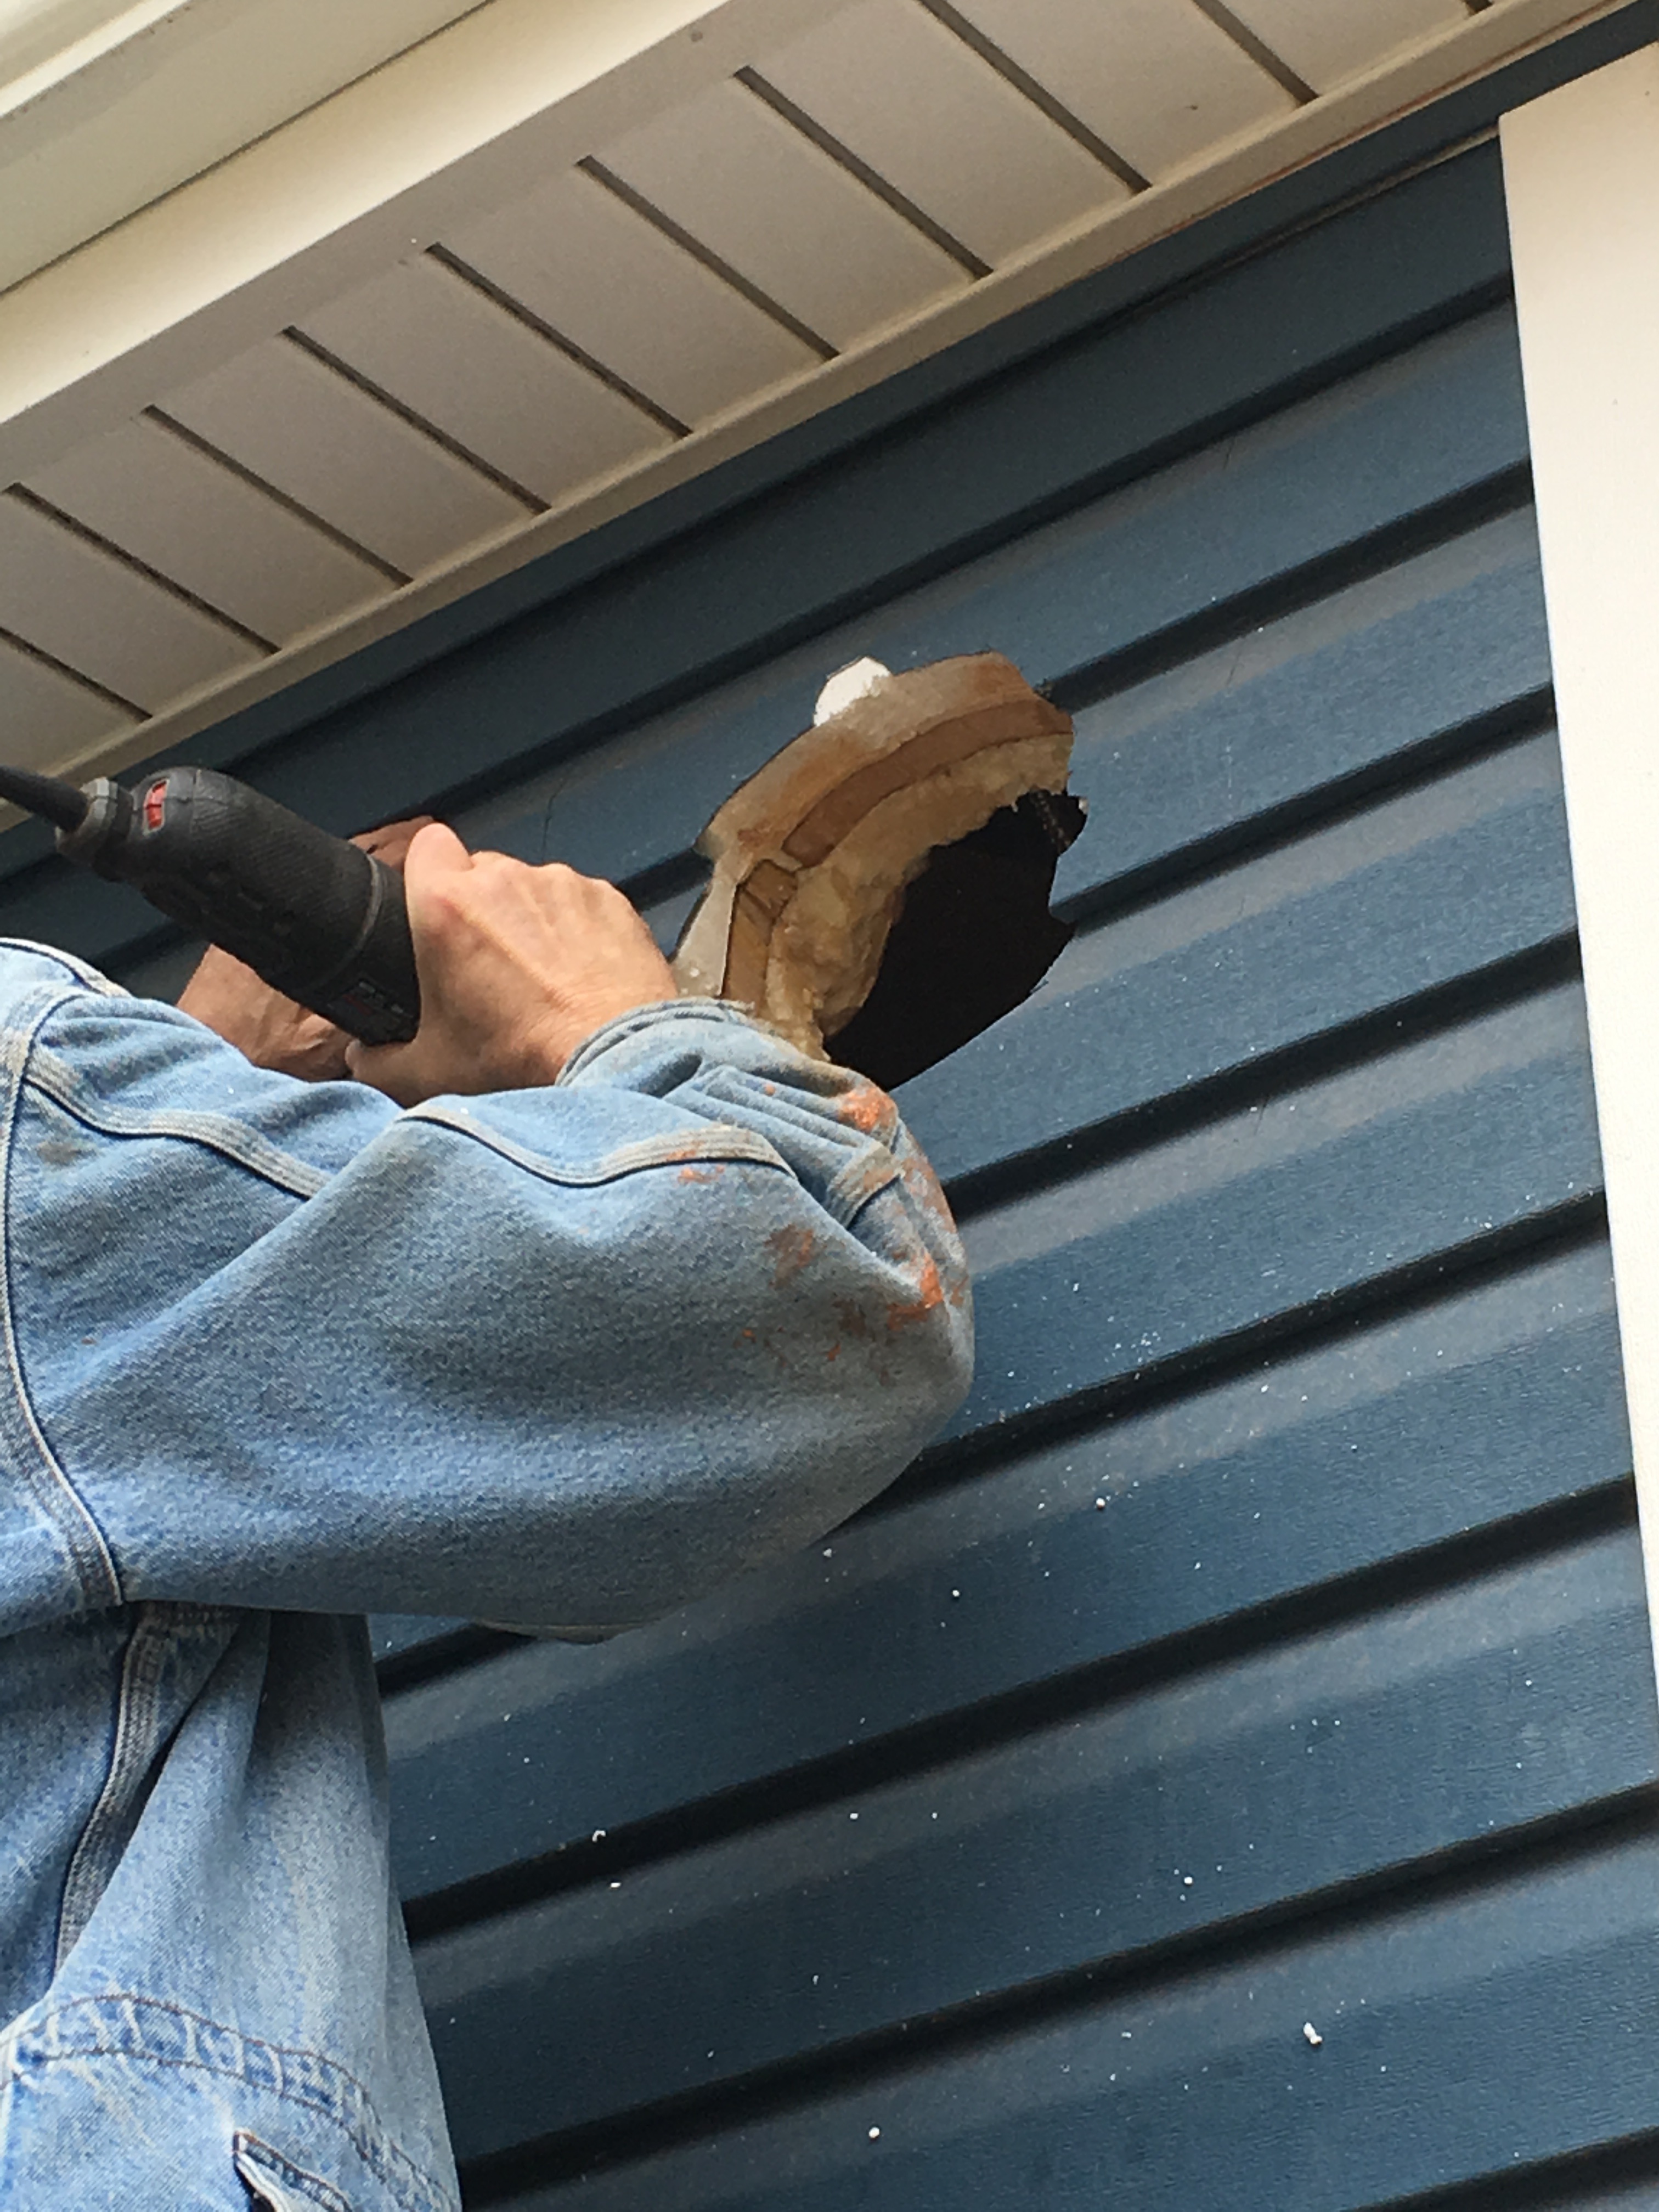
Once we did that we cleared out the spray foam insulation and drilled a few holes to the outside to get things started. We have foam backed vinyl siding outside so we wanted to make sure we weren’t going to cause a catastrophic failure.
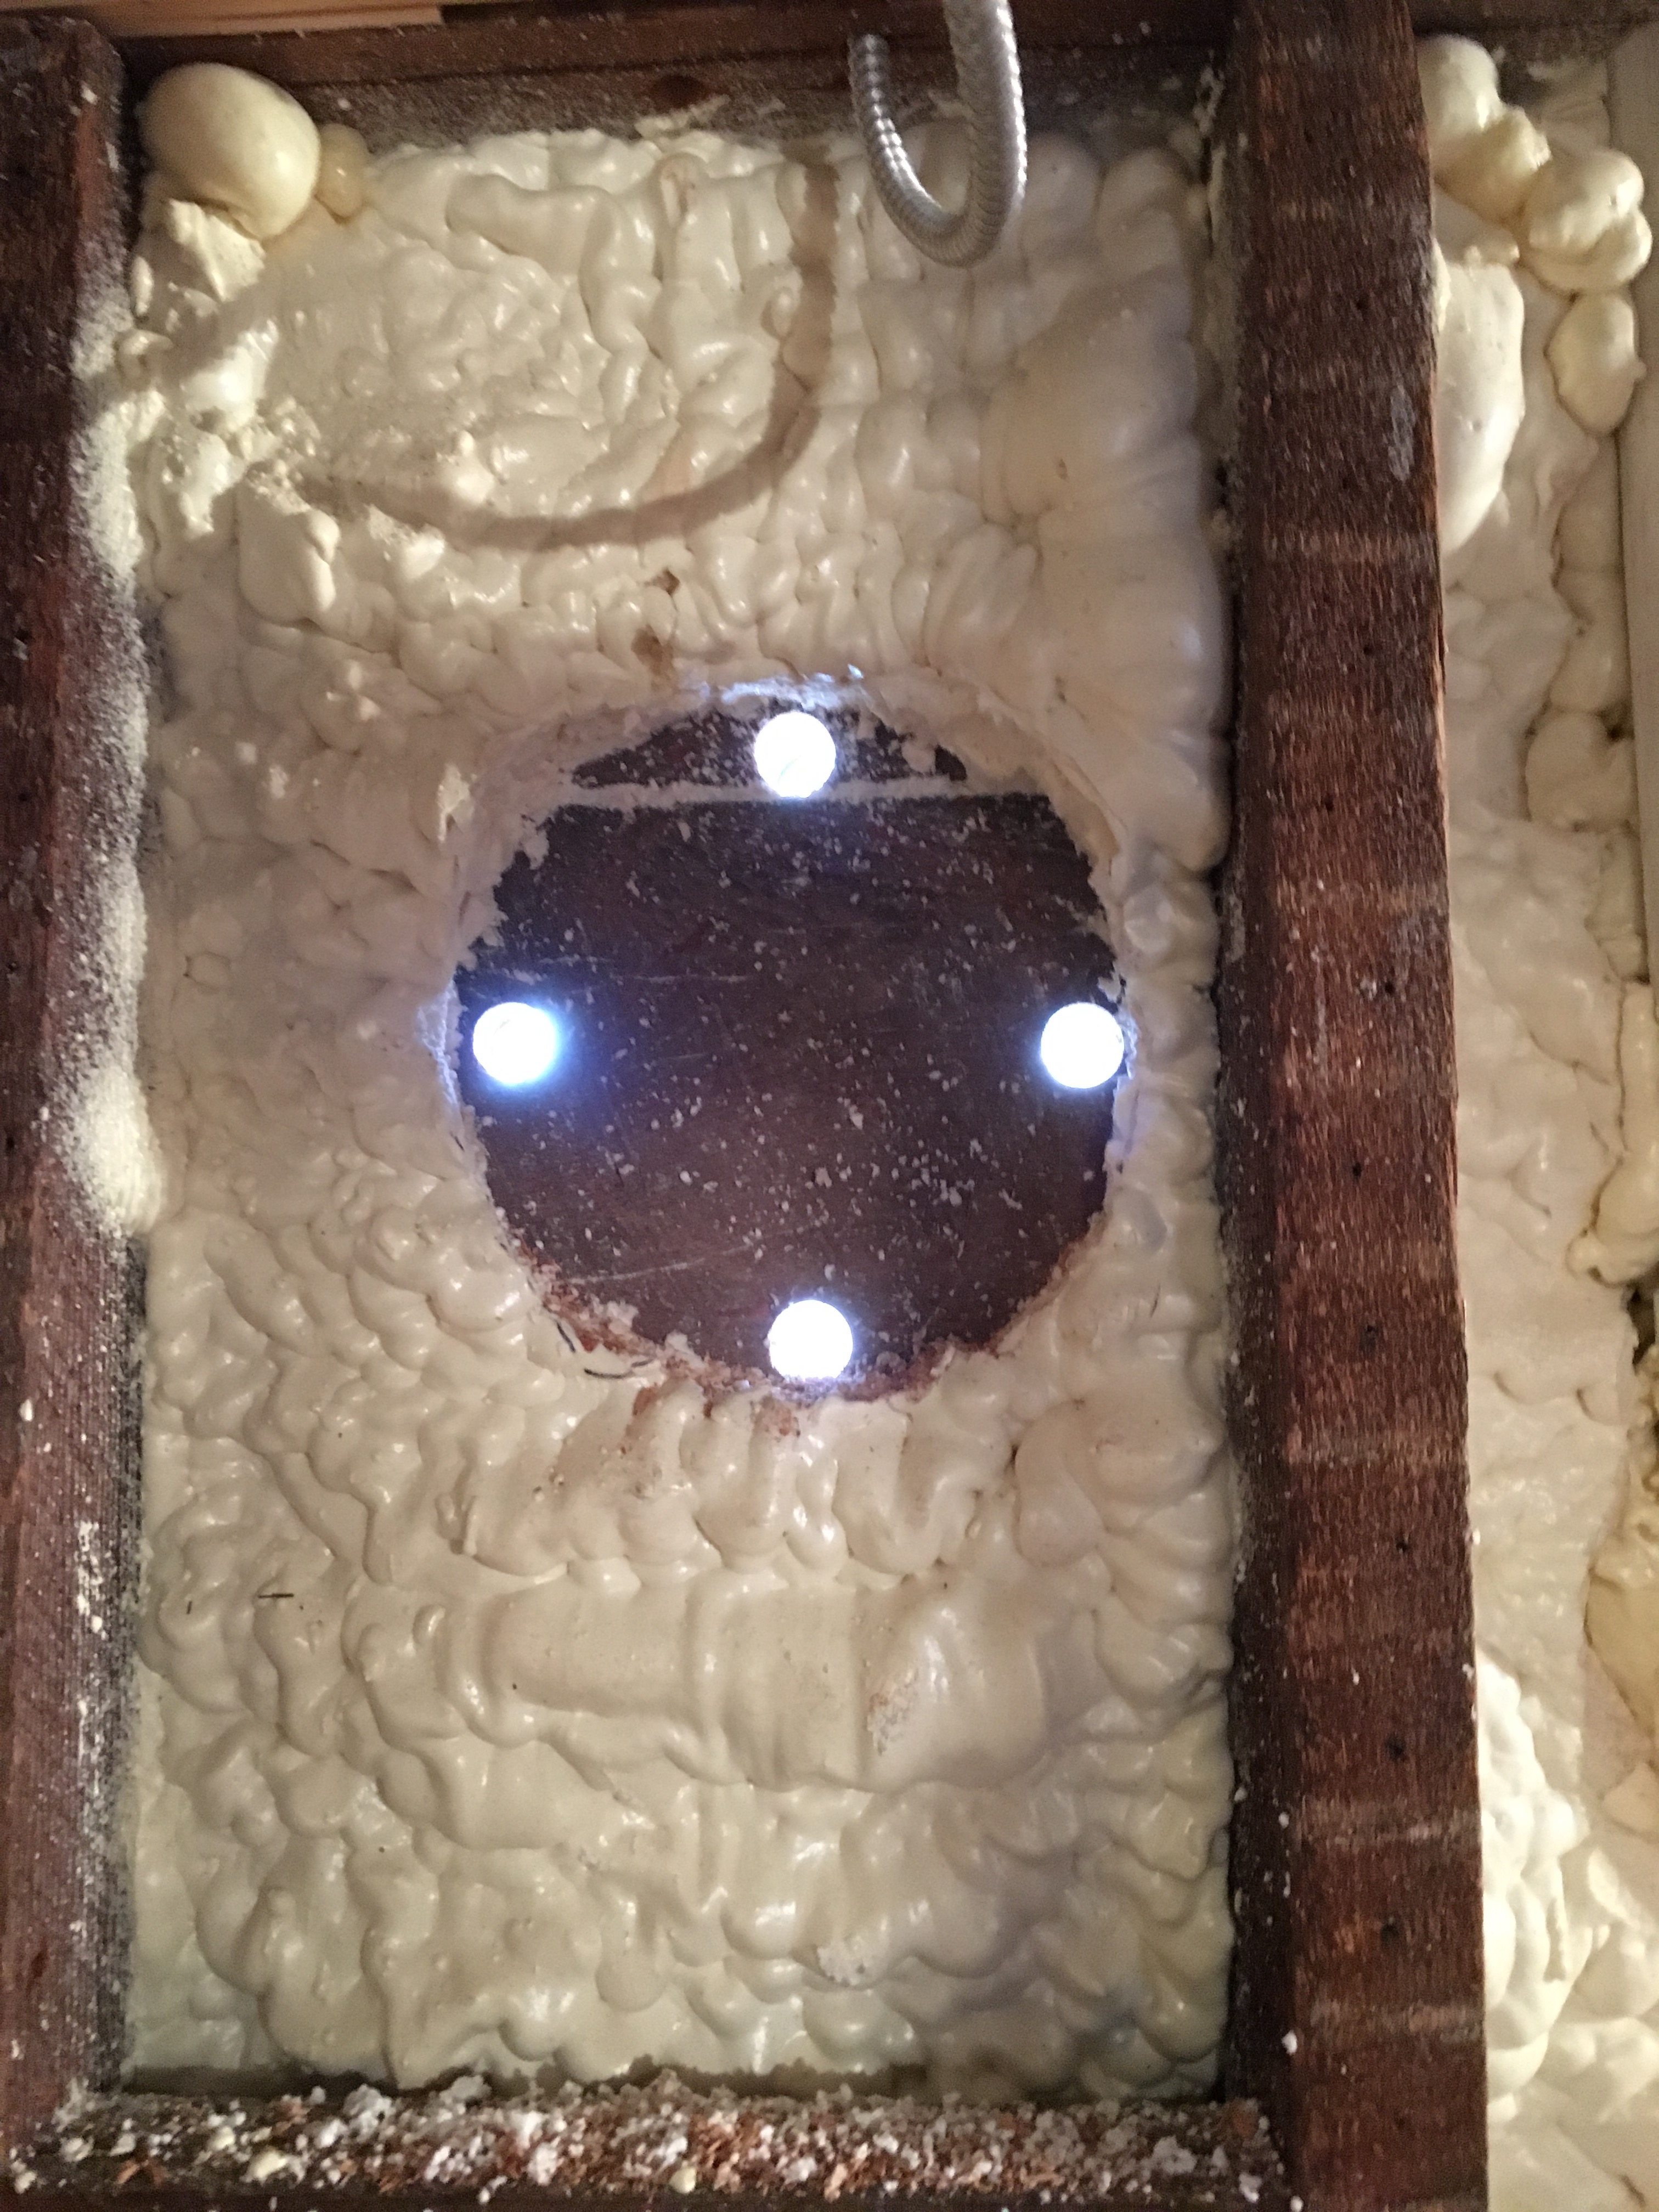
Once those were in we had a starting point for my favorite tool, the Sawzall. If you don’t own one of these, you should, I use it for literally everything that needs cutting.
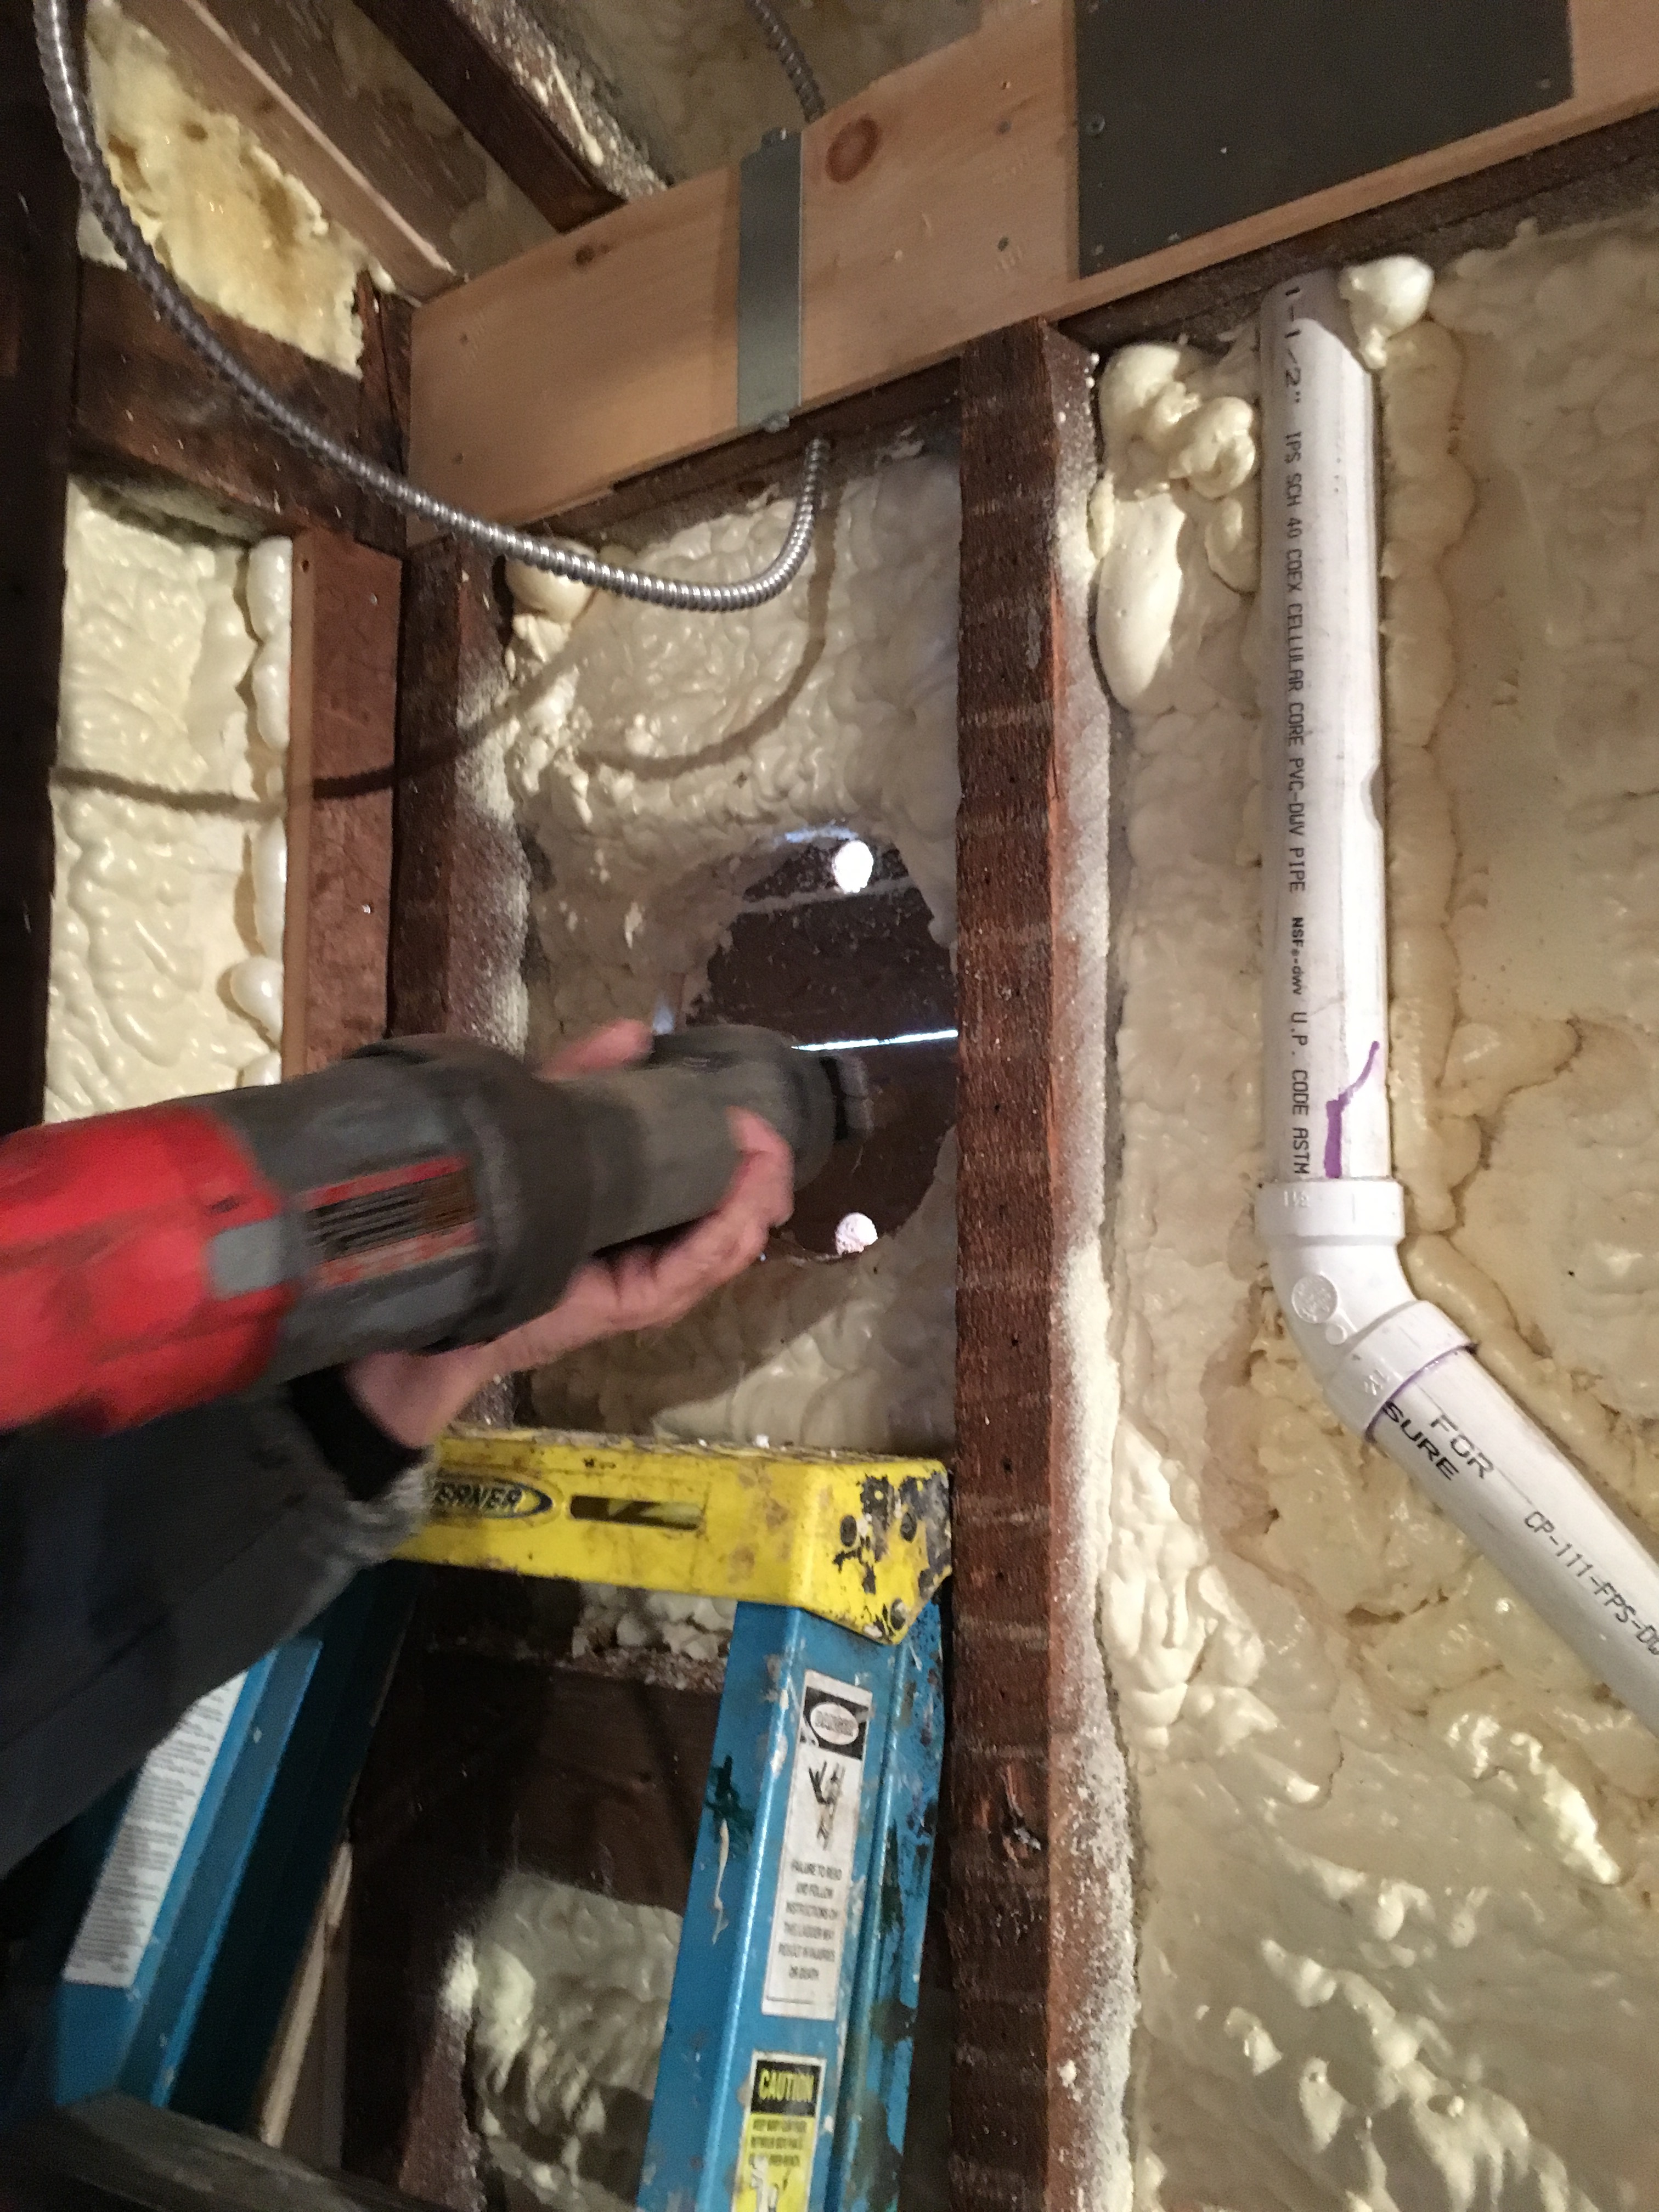
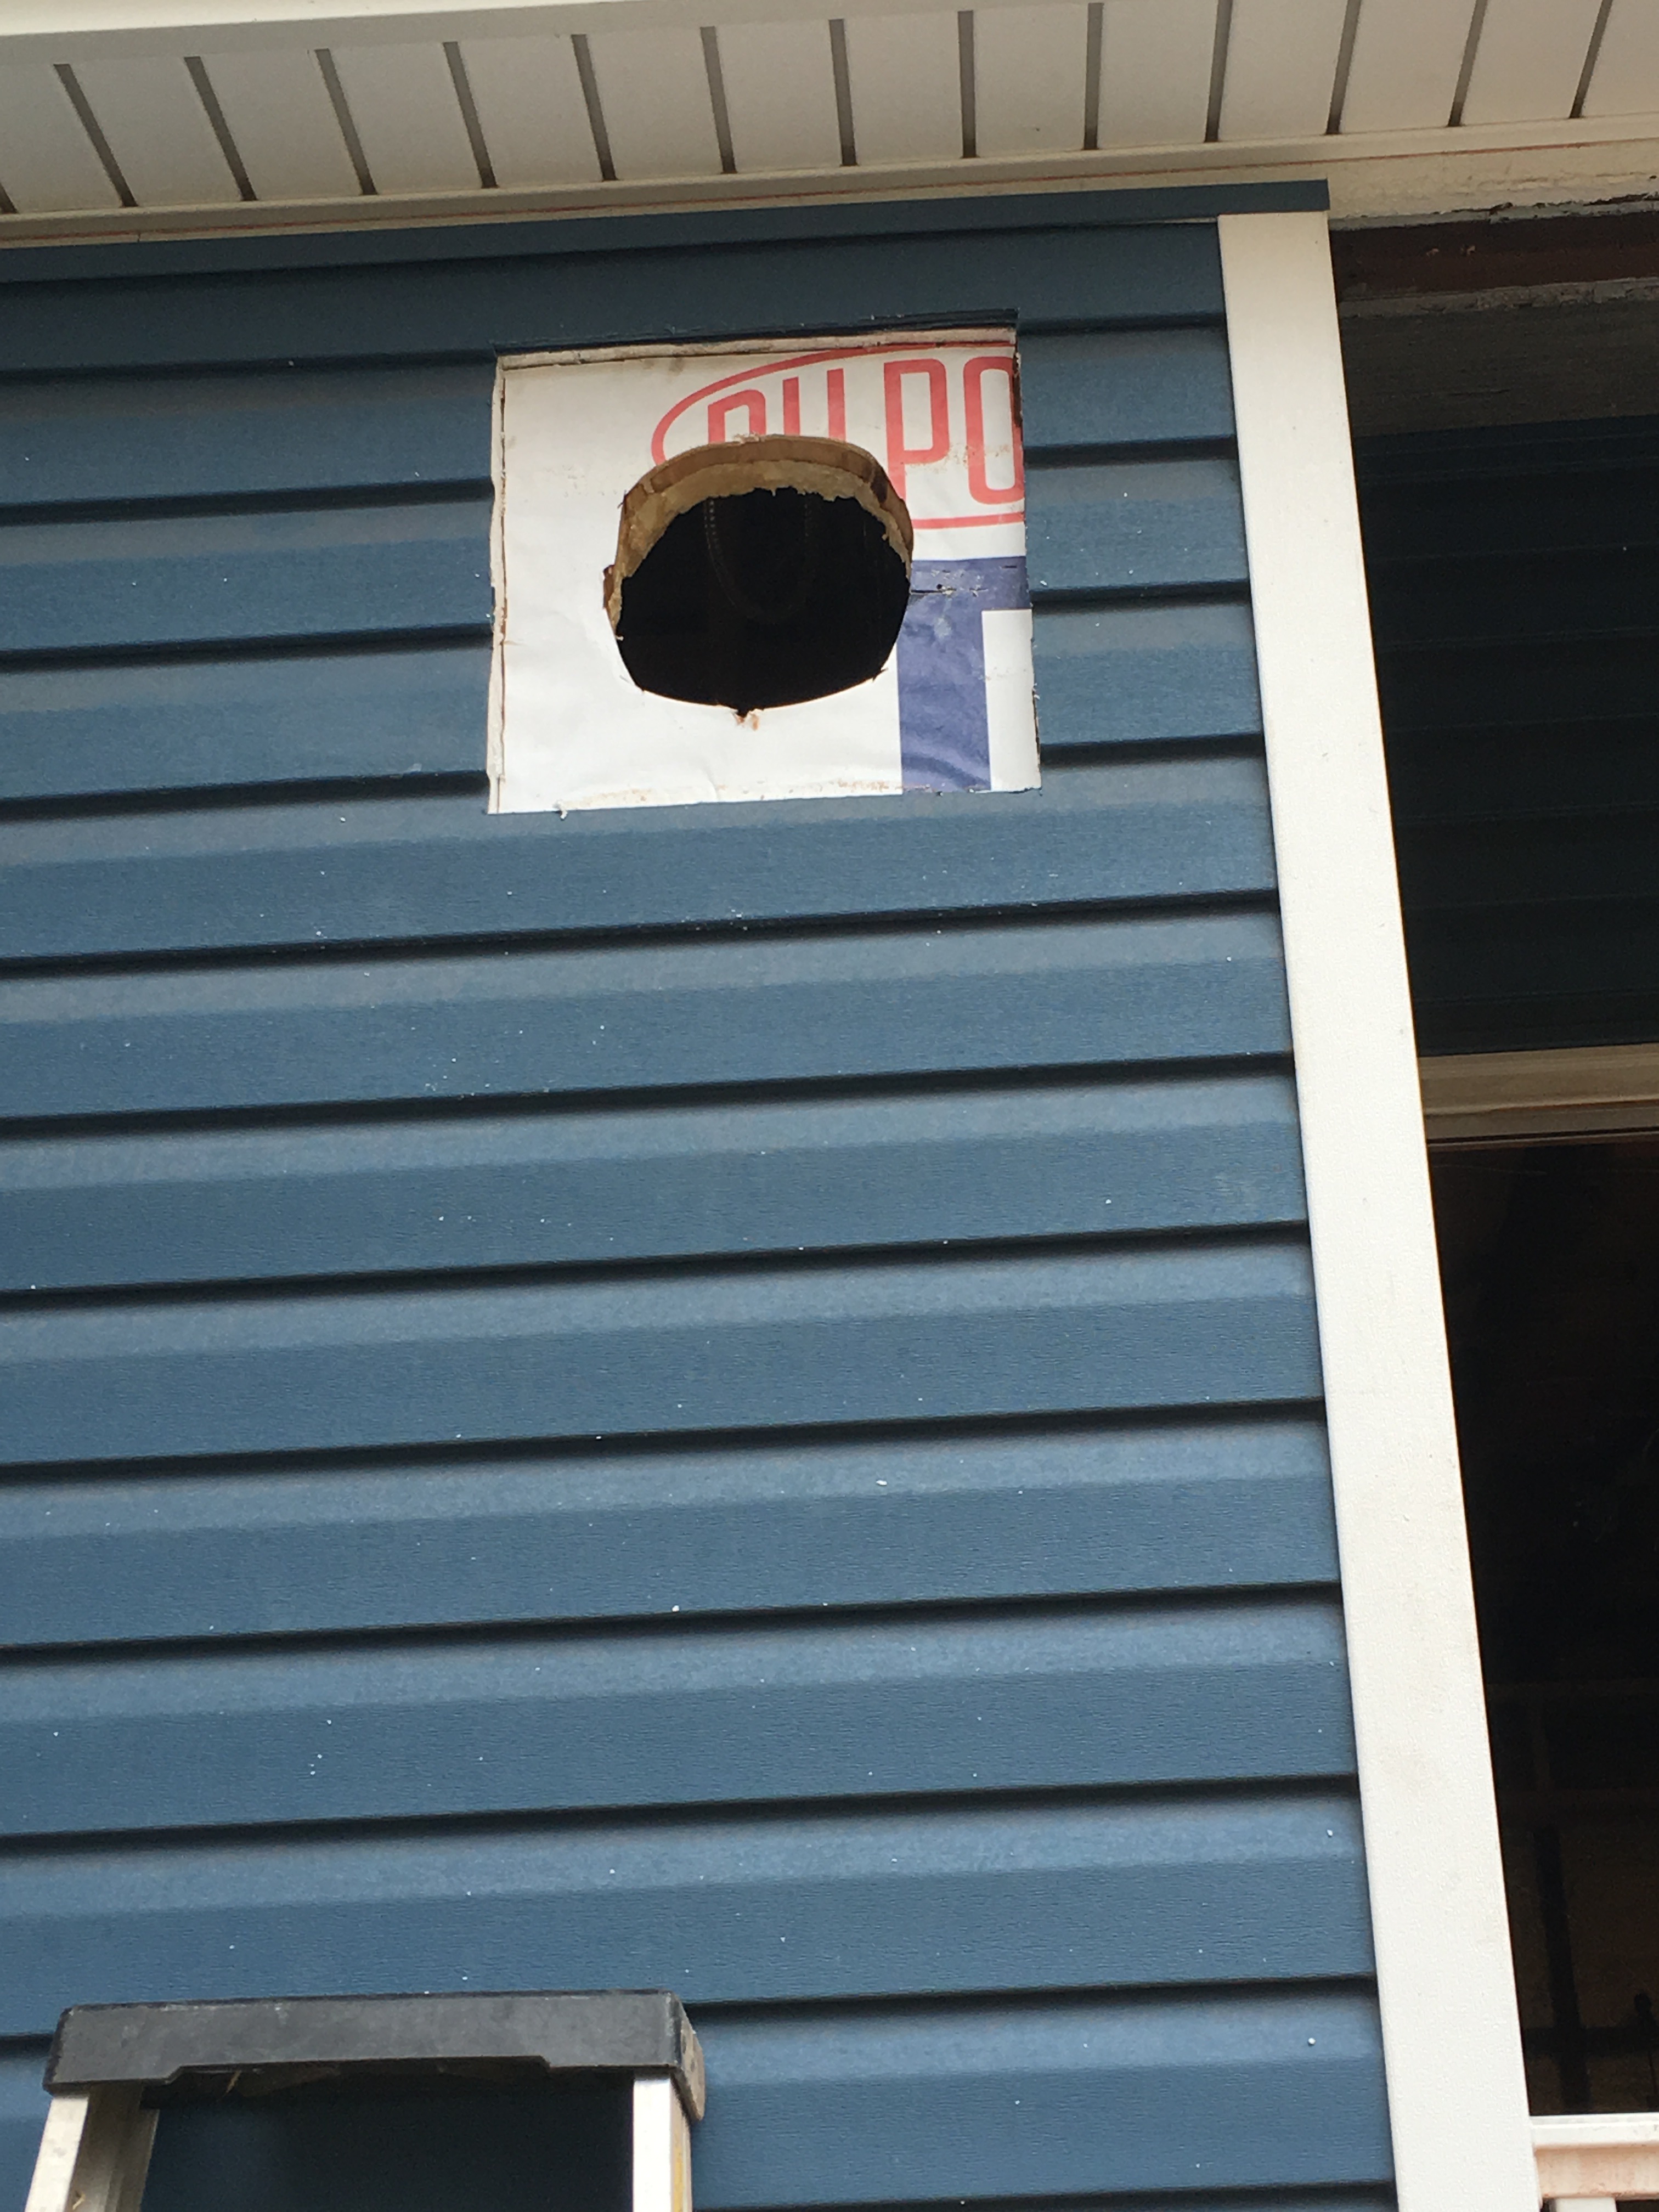
By going slowly we were able to keep any siding from cracking and eventually we had ourselves a perfect hole. The motor fit in perfectly, the back vent fit, but now we had to prep the outside for a flush mounting of the vent cover.

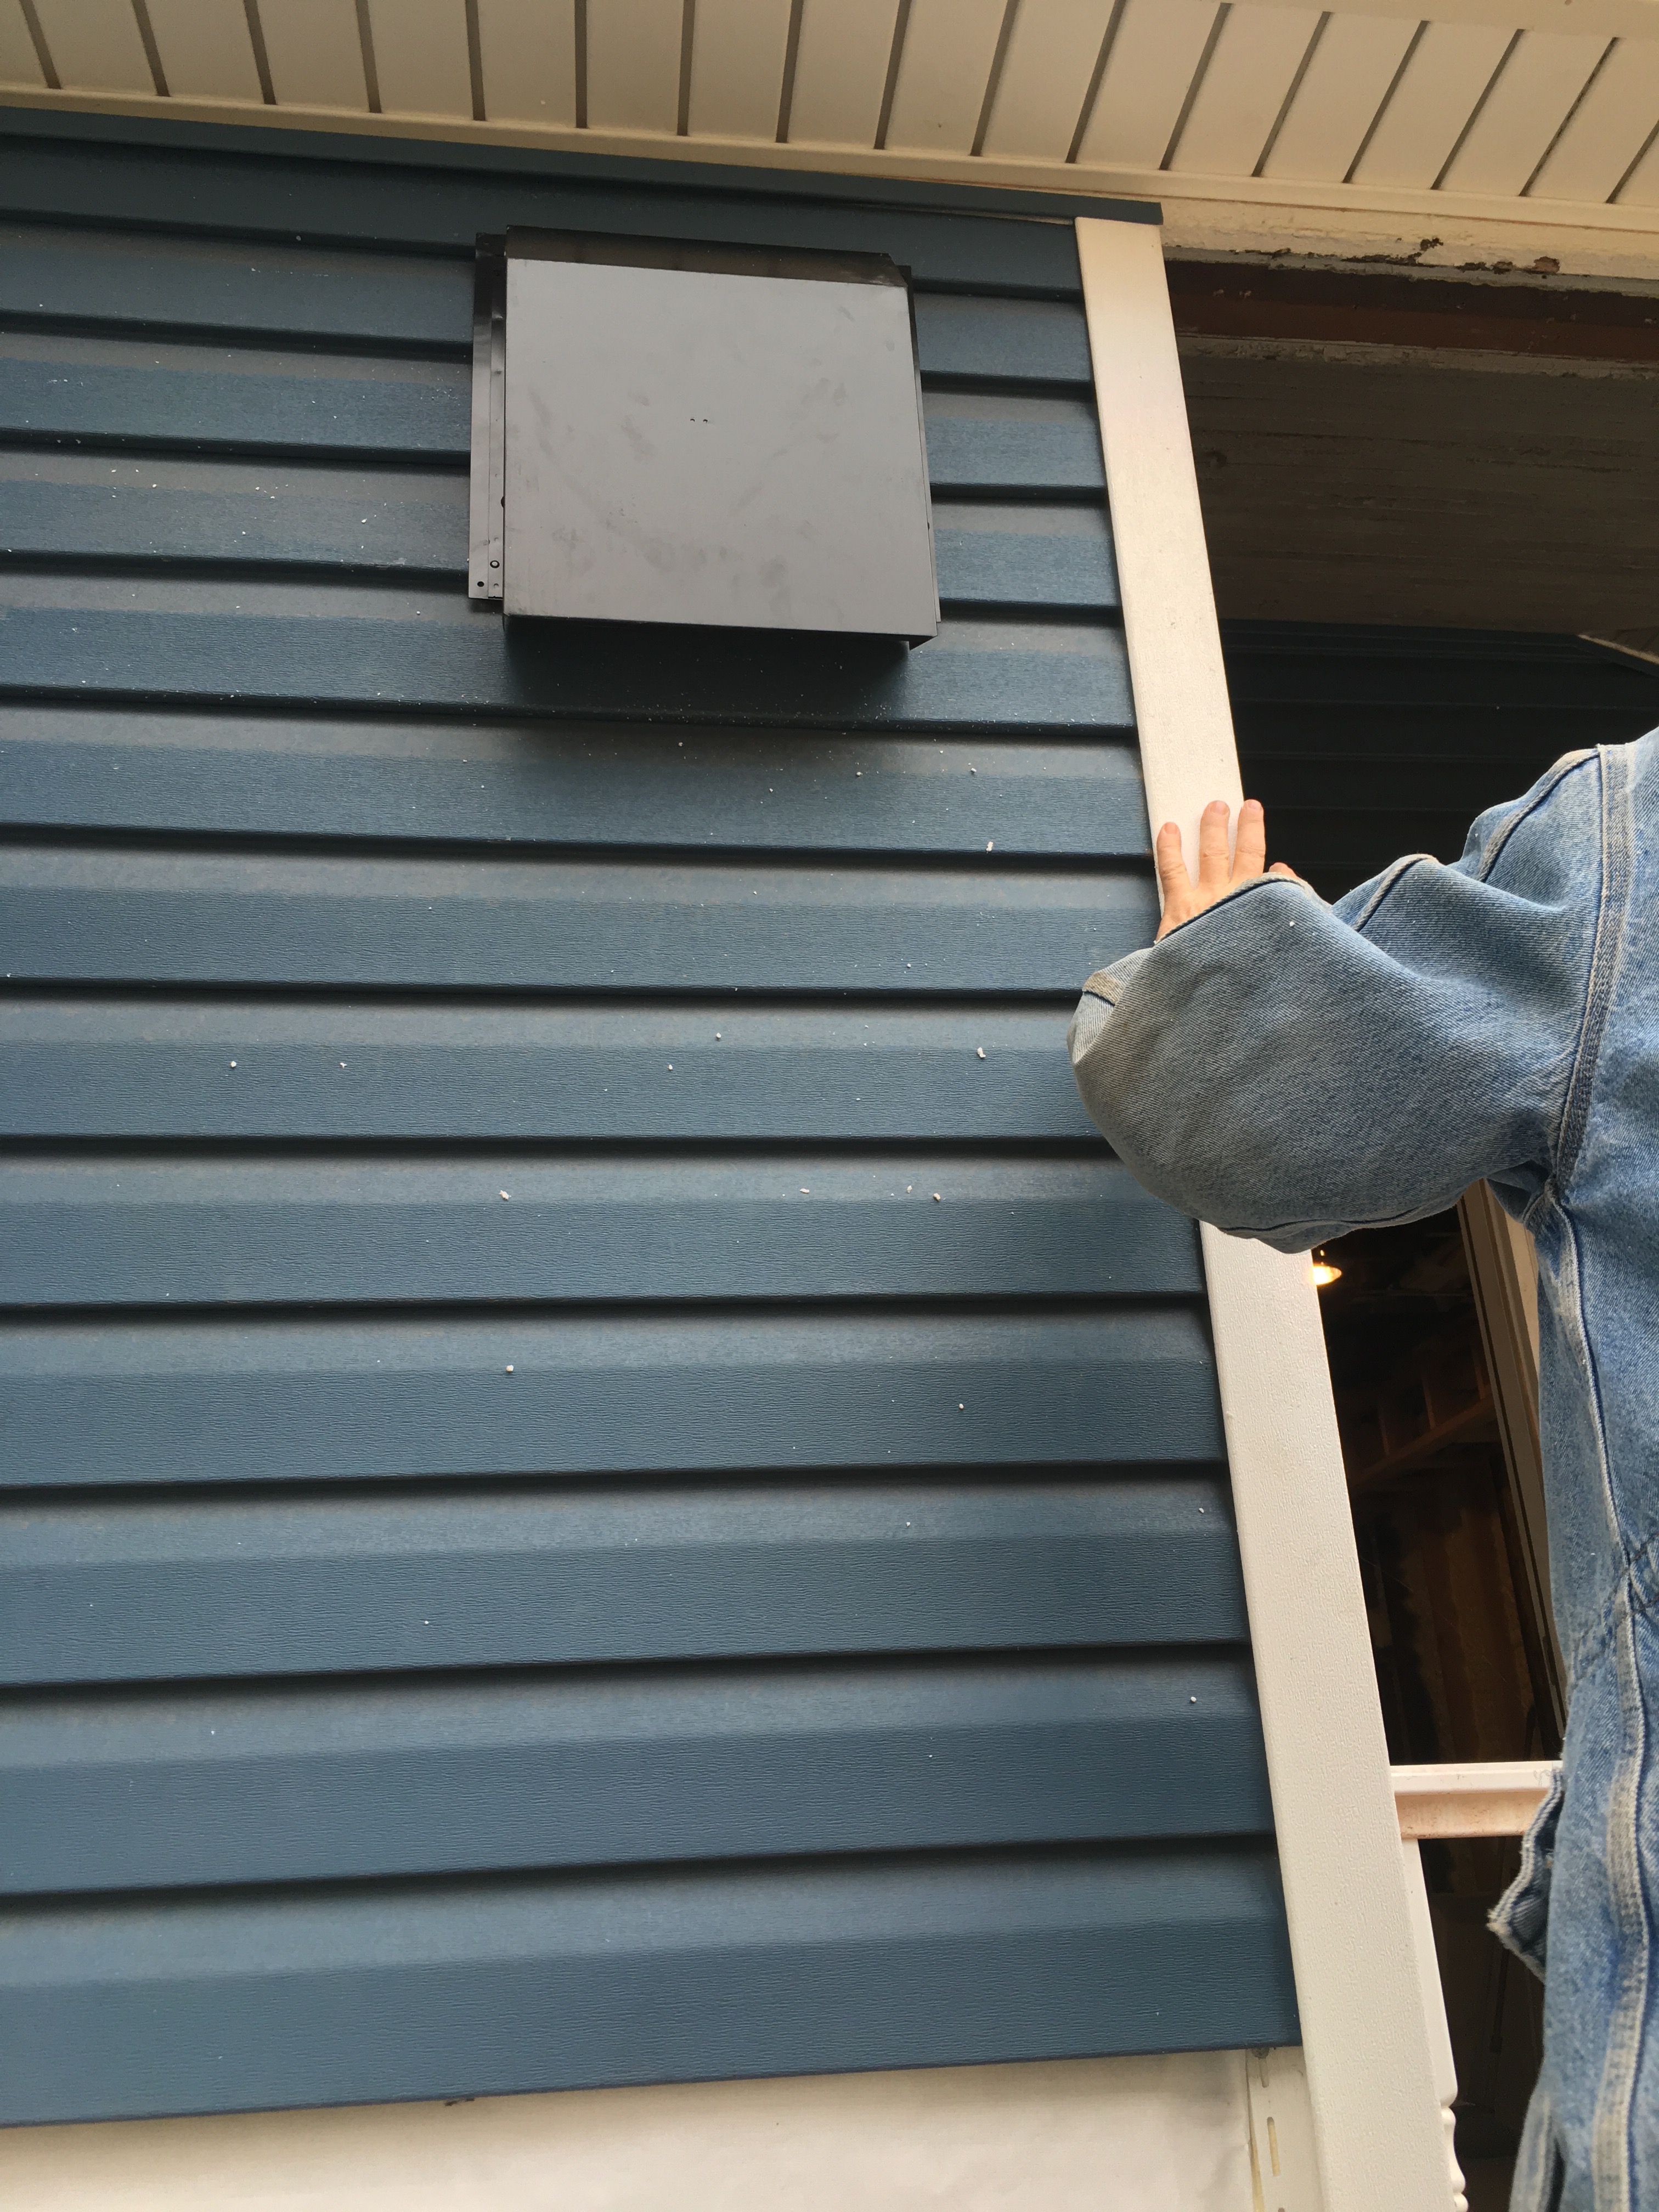
As you can see in the picture above, the vent cover has a lip around the edge. We traced that around with a marker and then we took our Oscillating Saw, the tool we use when more fine cutting has to be done, and slowly trimmed away the siding and foam back to the Tyvek.
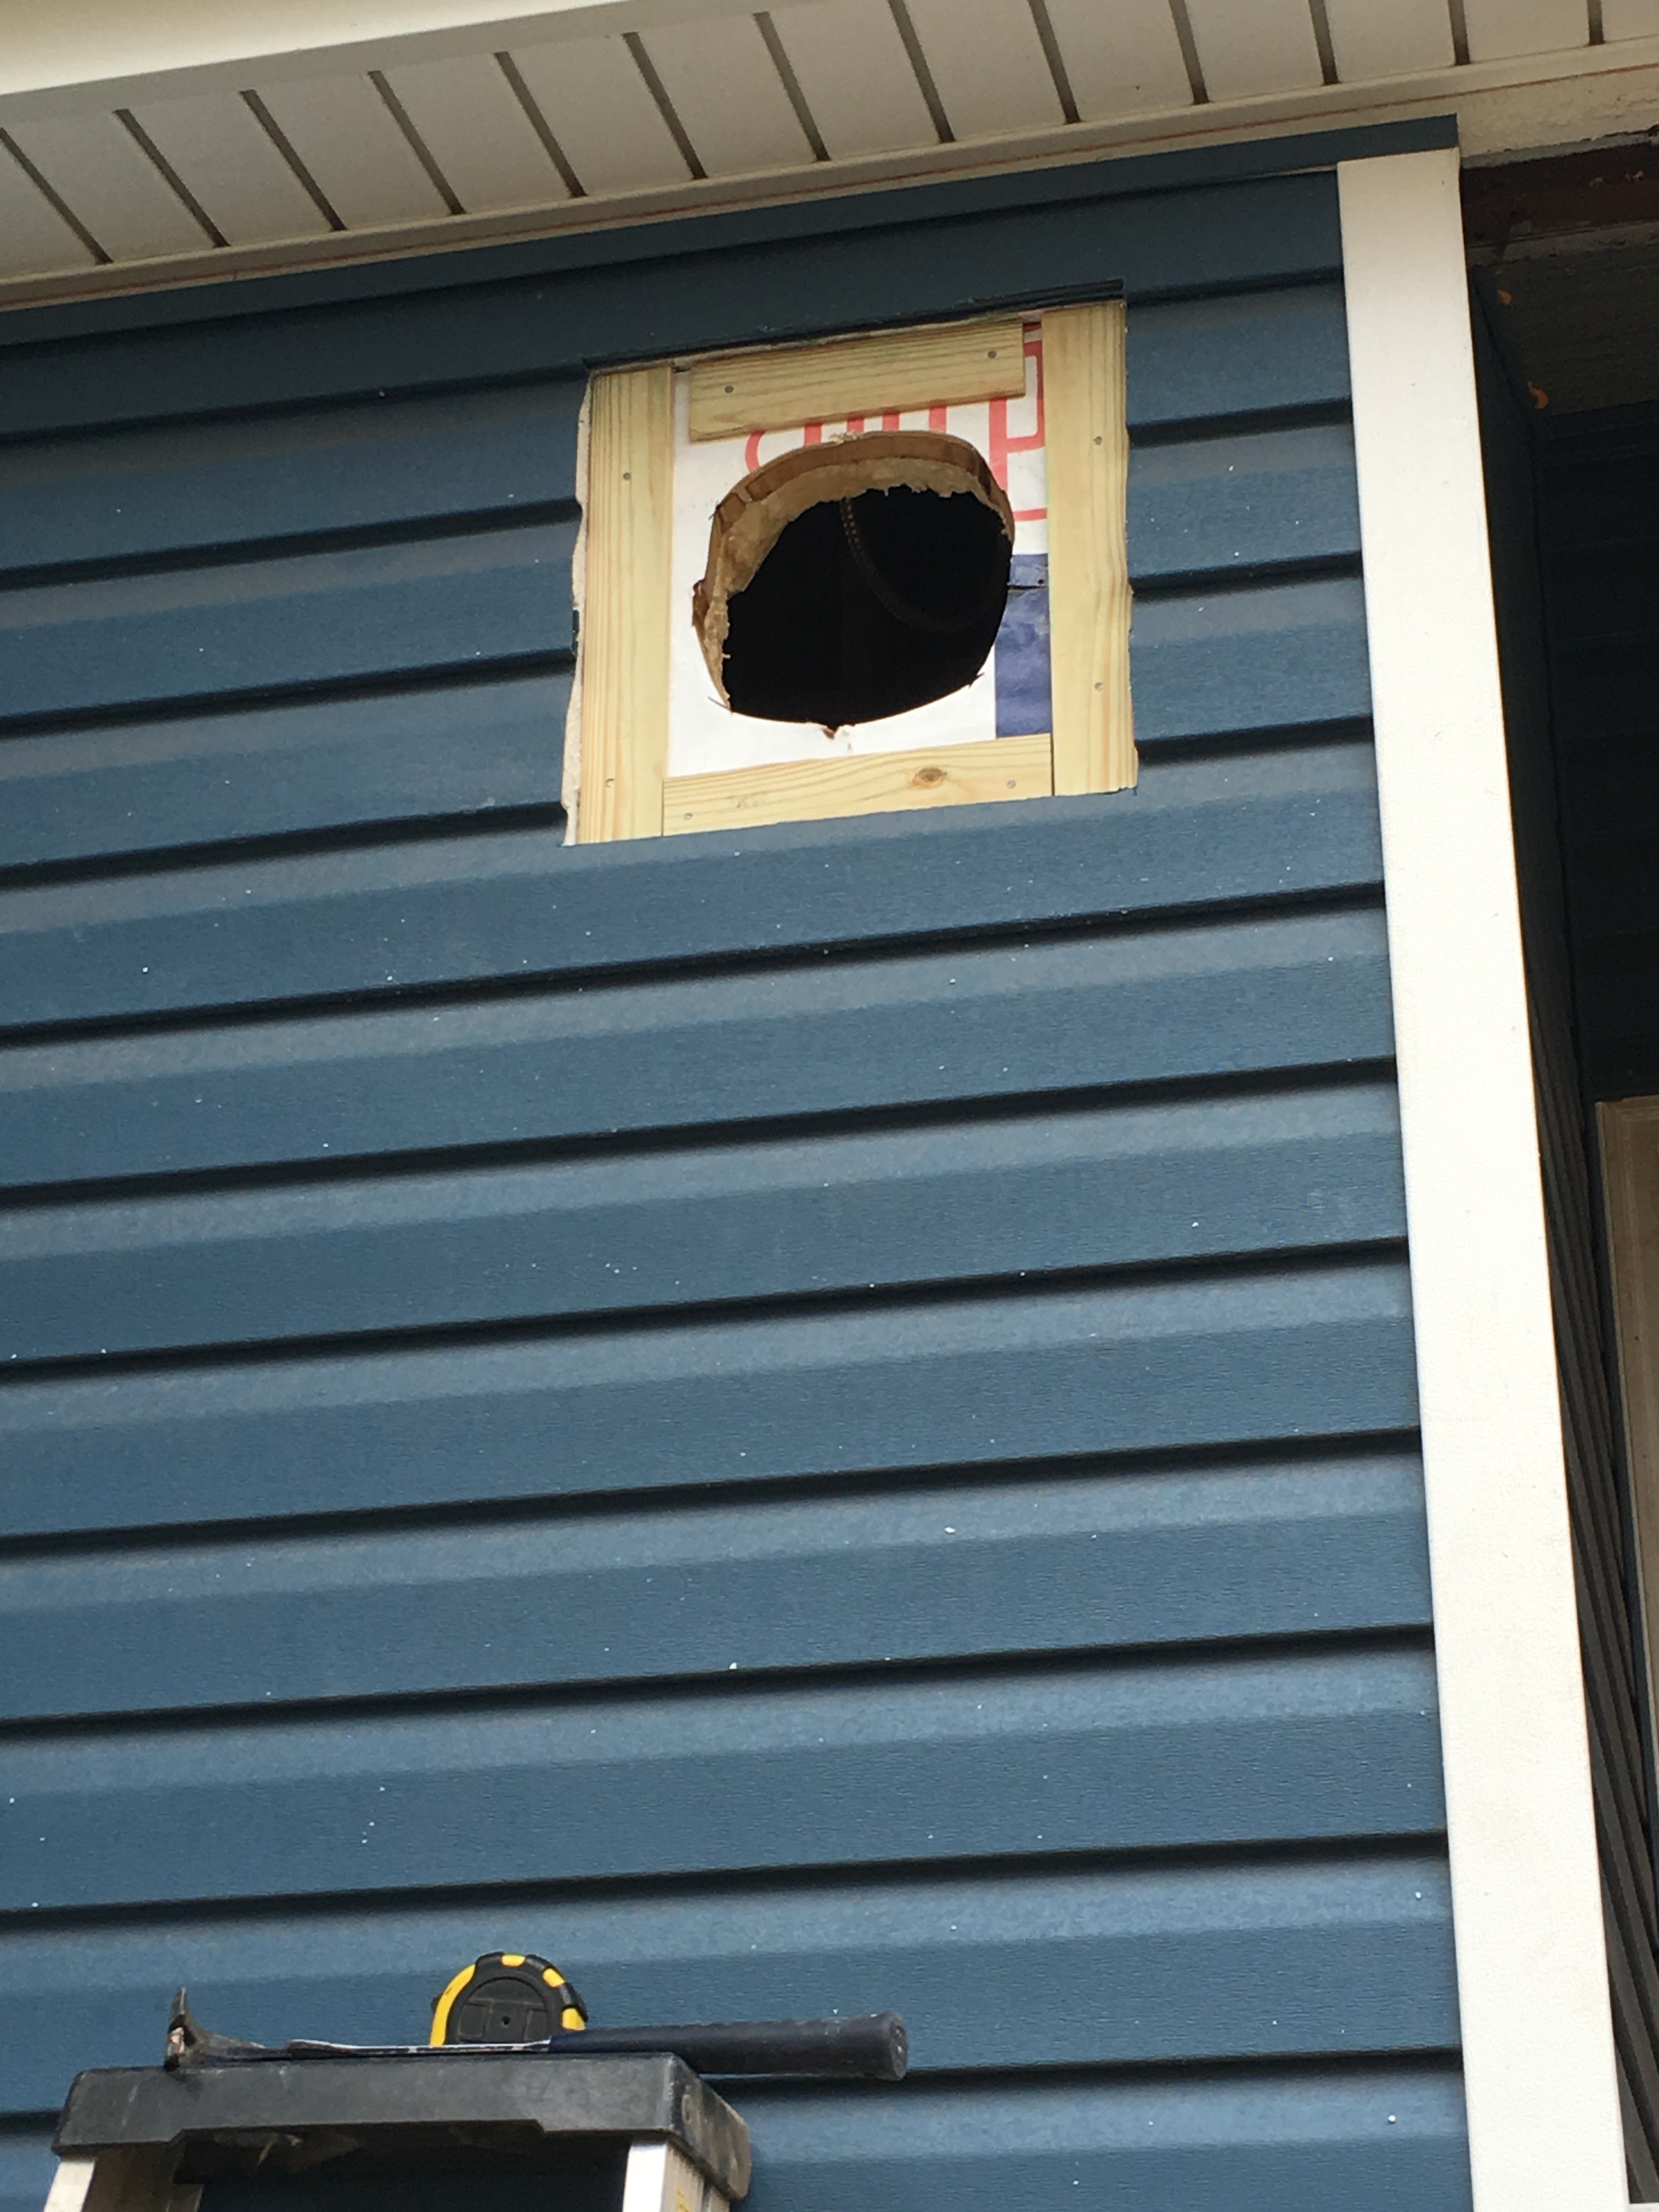
Since the foam causes the siding to stick out a bit further than normal we had to put in some shims, we got a little fancy so they can act as an air buffer and an anchor for the vent cover.
It fits perfectly. A little silicone and tightening up the screws and it’s mounted with no air sneaking in.

Here’s the motor housing mounted on the inside. We put some foam around after screwing it in and attaching the electric wire. Done and done!

“As a general rule, bathroom exhaust fans can be installed vertically/on the wall. Some of these exhaust fans even put that mounting position as an option in the manual. Though you should always consult the manual before making the decision to install it vertically, many can be installed in this position. Wall-mounted fans are less effective simply because they are mounted on the wall. Hot air, steam, and moisture in the bathroom rise to the ceiling and are therefore less effectively ventilated by a wall-mounted bathroom fan.
“
Thanks for the comment. In this case it’s a half bathroom so it’s only venting stink 😉