
This is obviously a continuation of us ripping apart the kitchen. If you’re curious what it looked like to start with, just check out the The Victorian Before Tour.
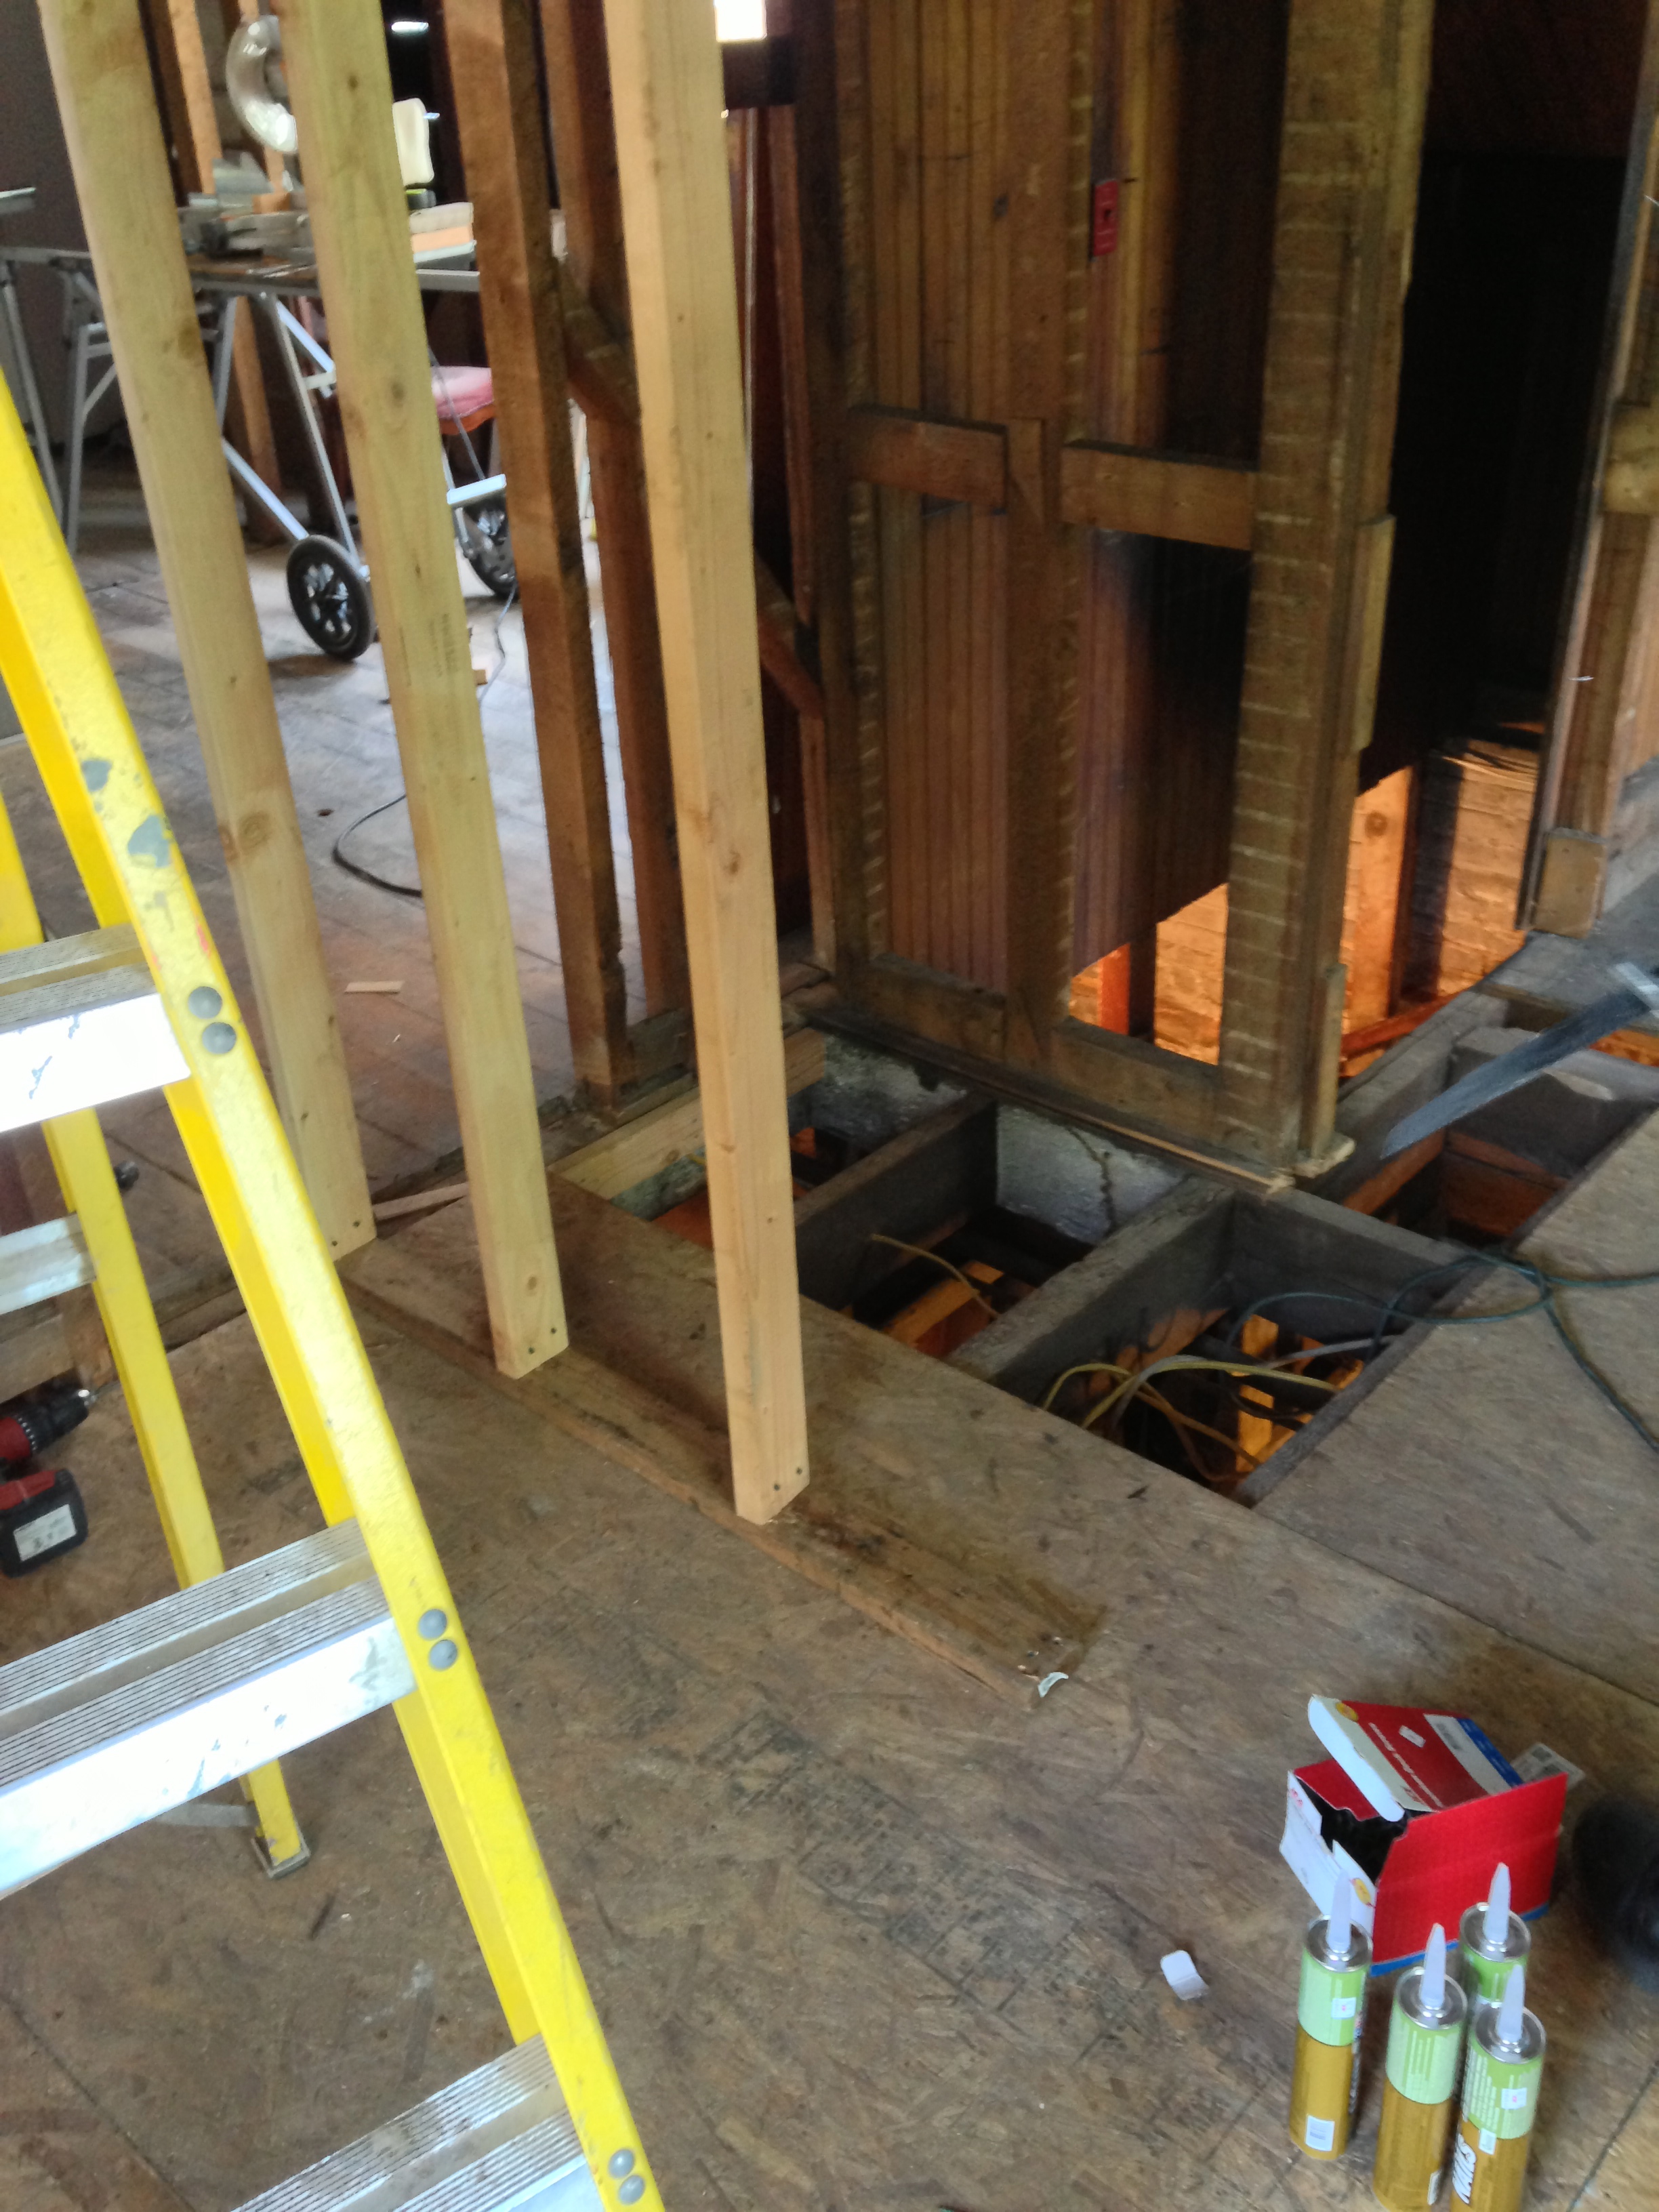
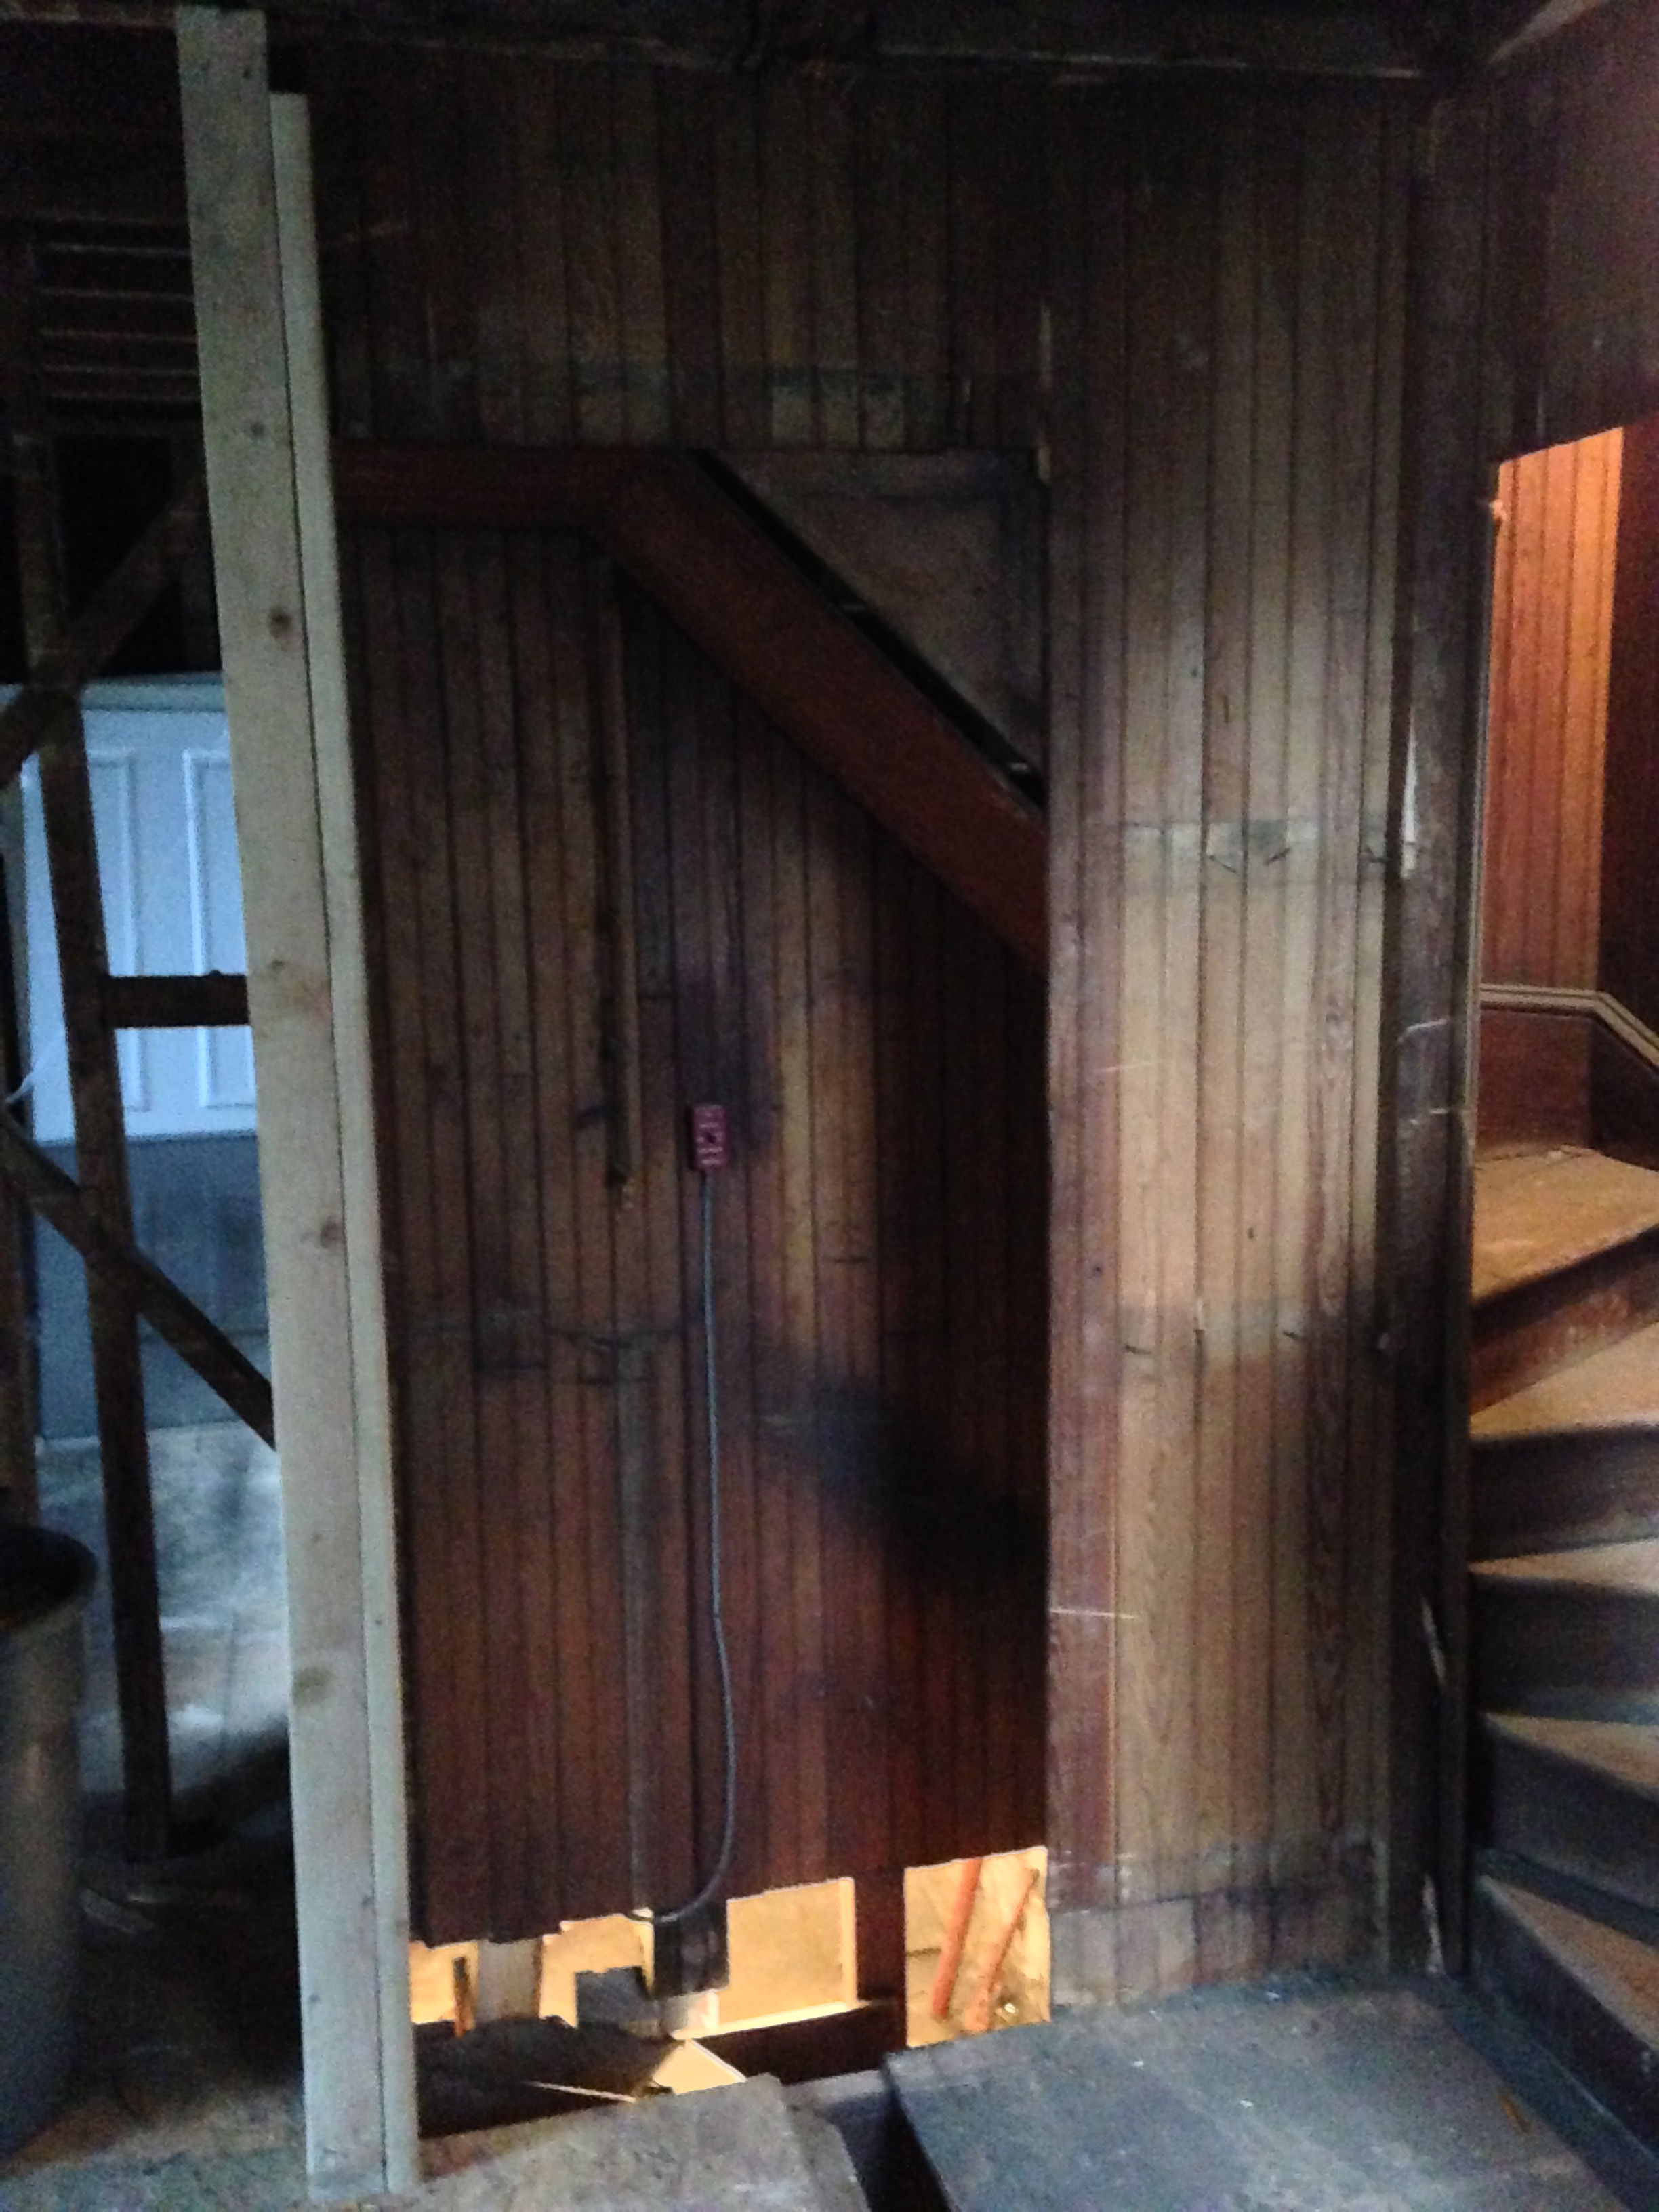
So we left off with a new back door and a huge hole in the floor, now on to trying to figure out how to put it all back together.
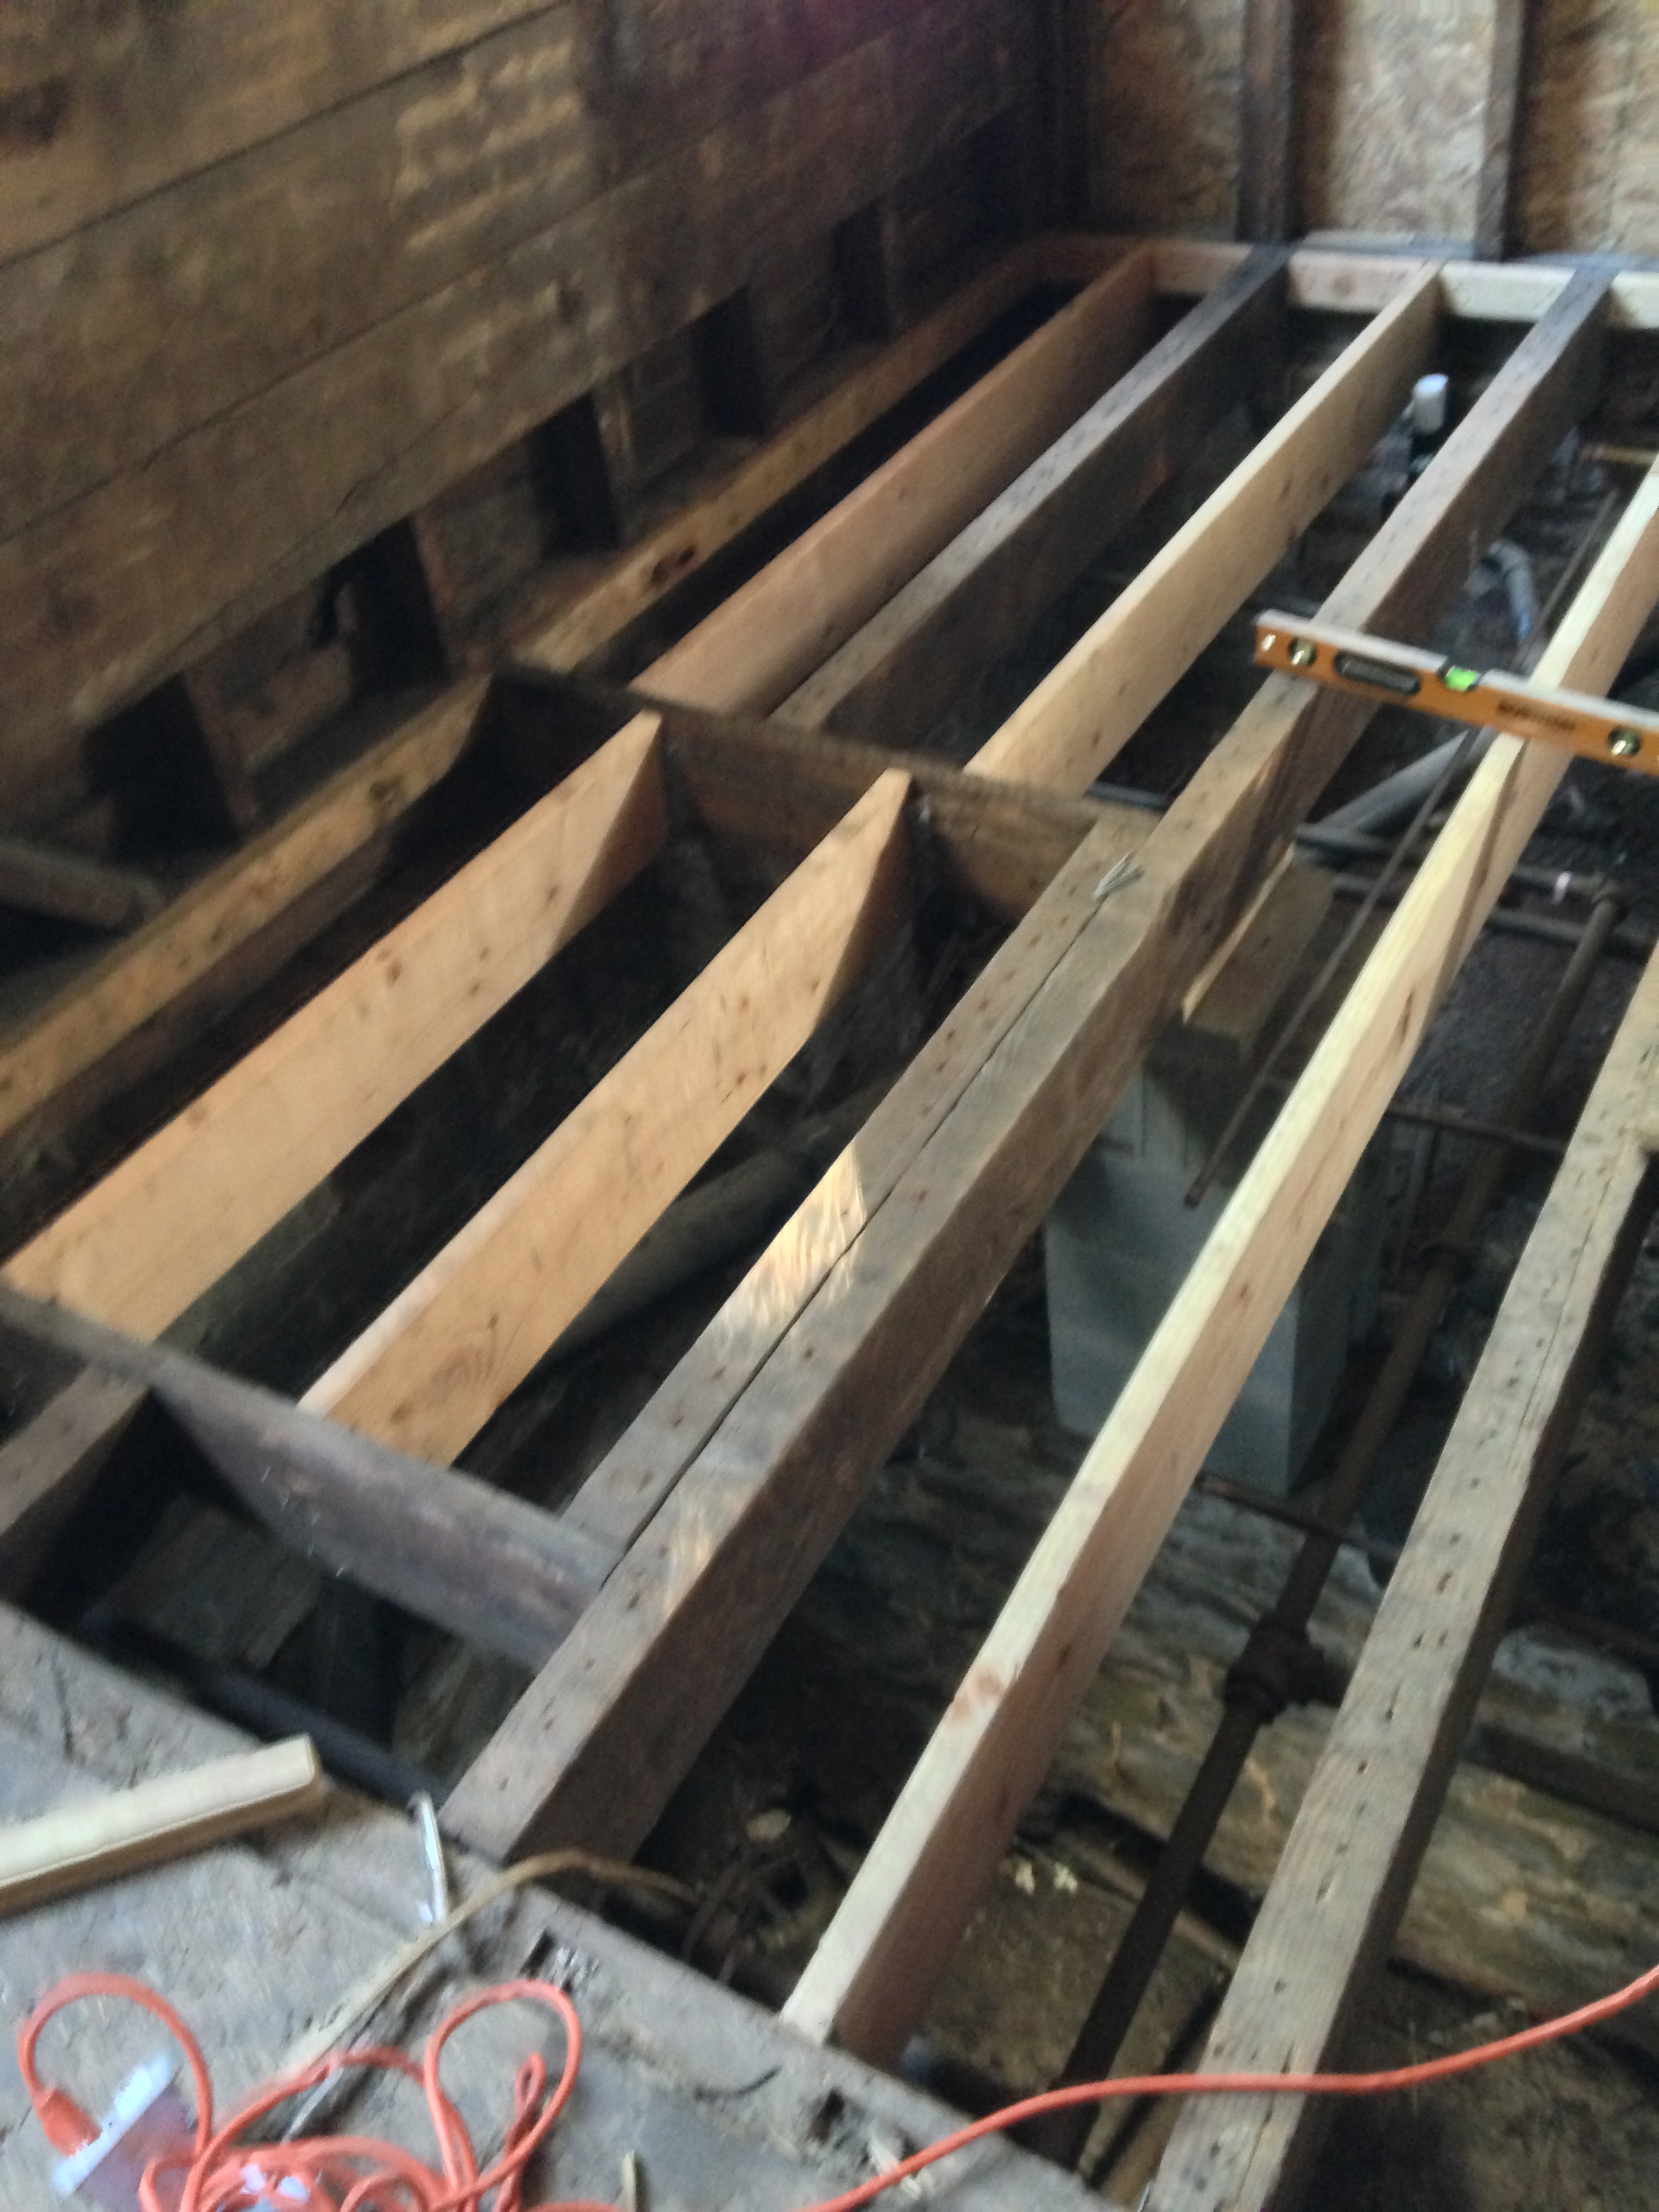
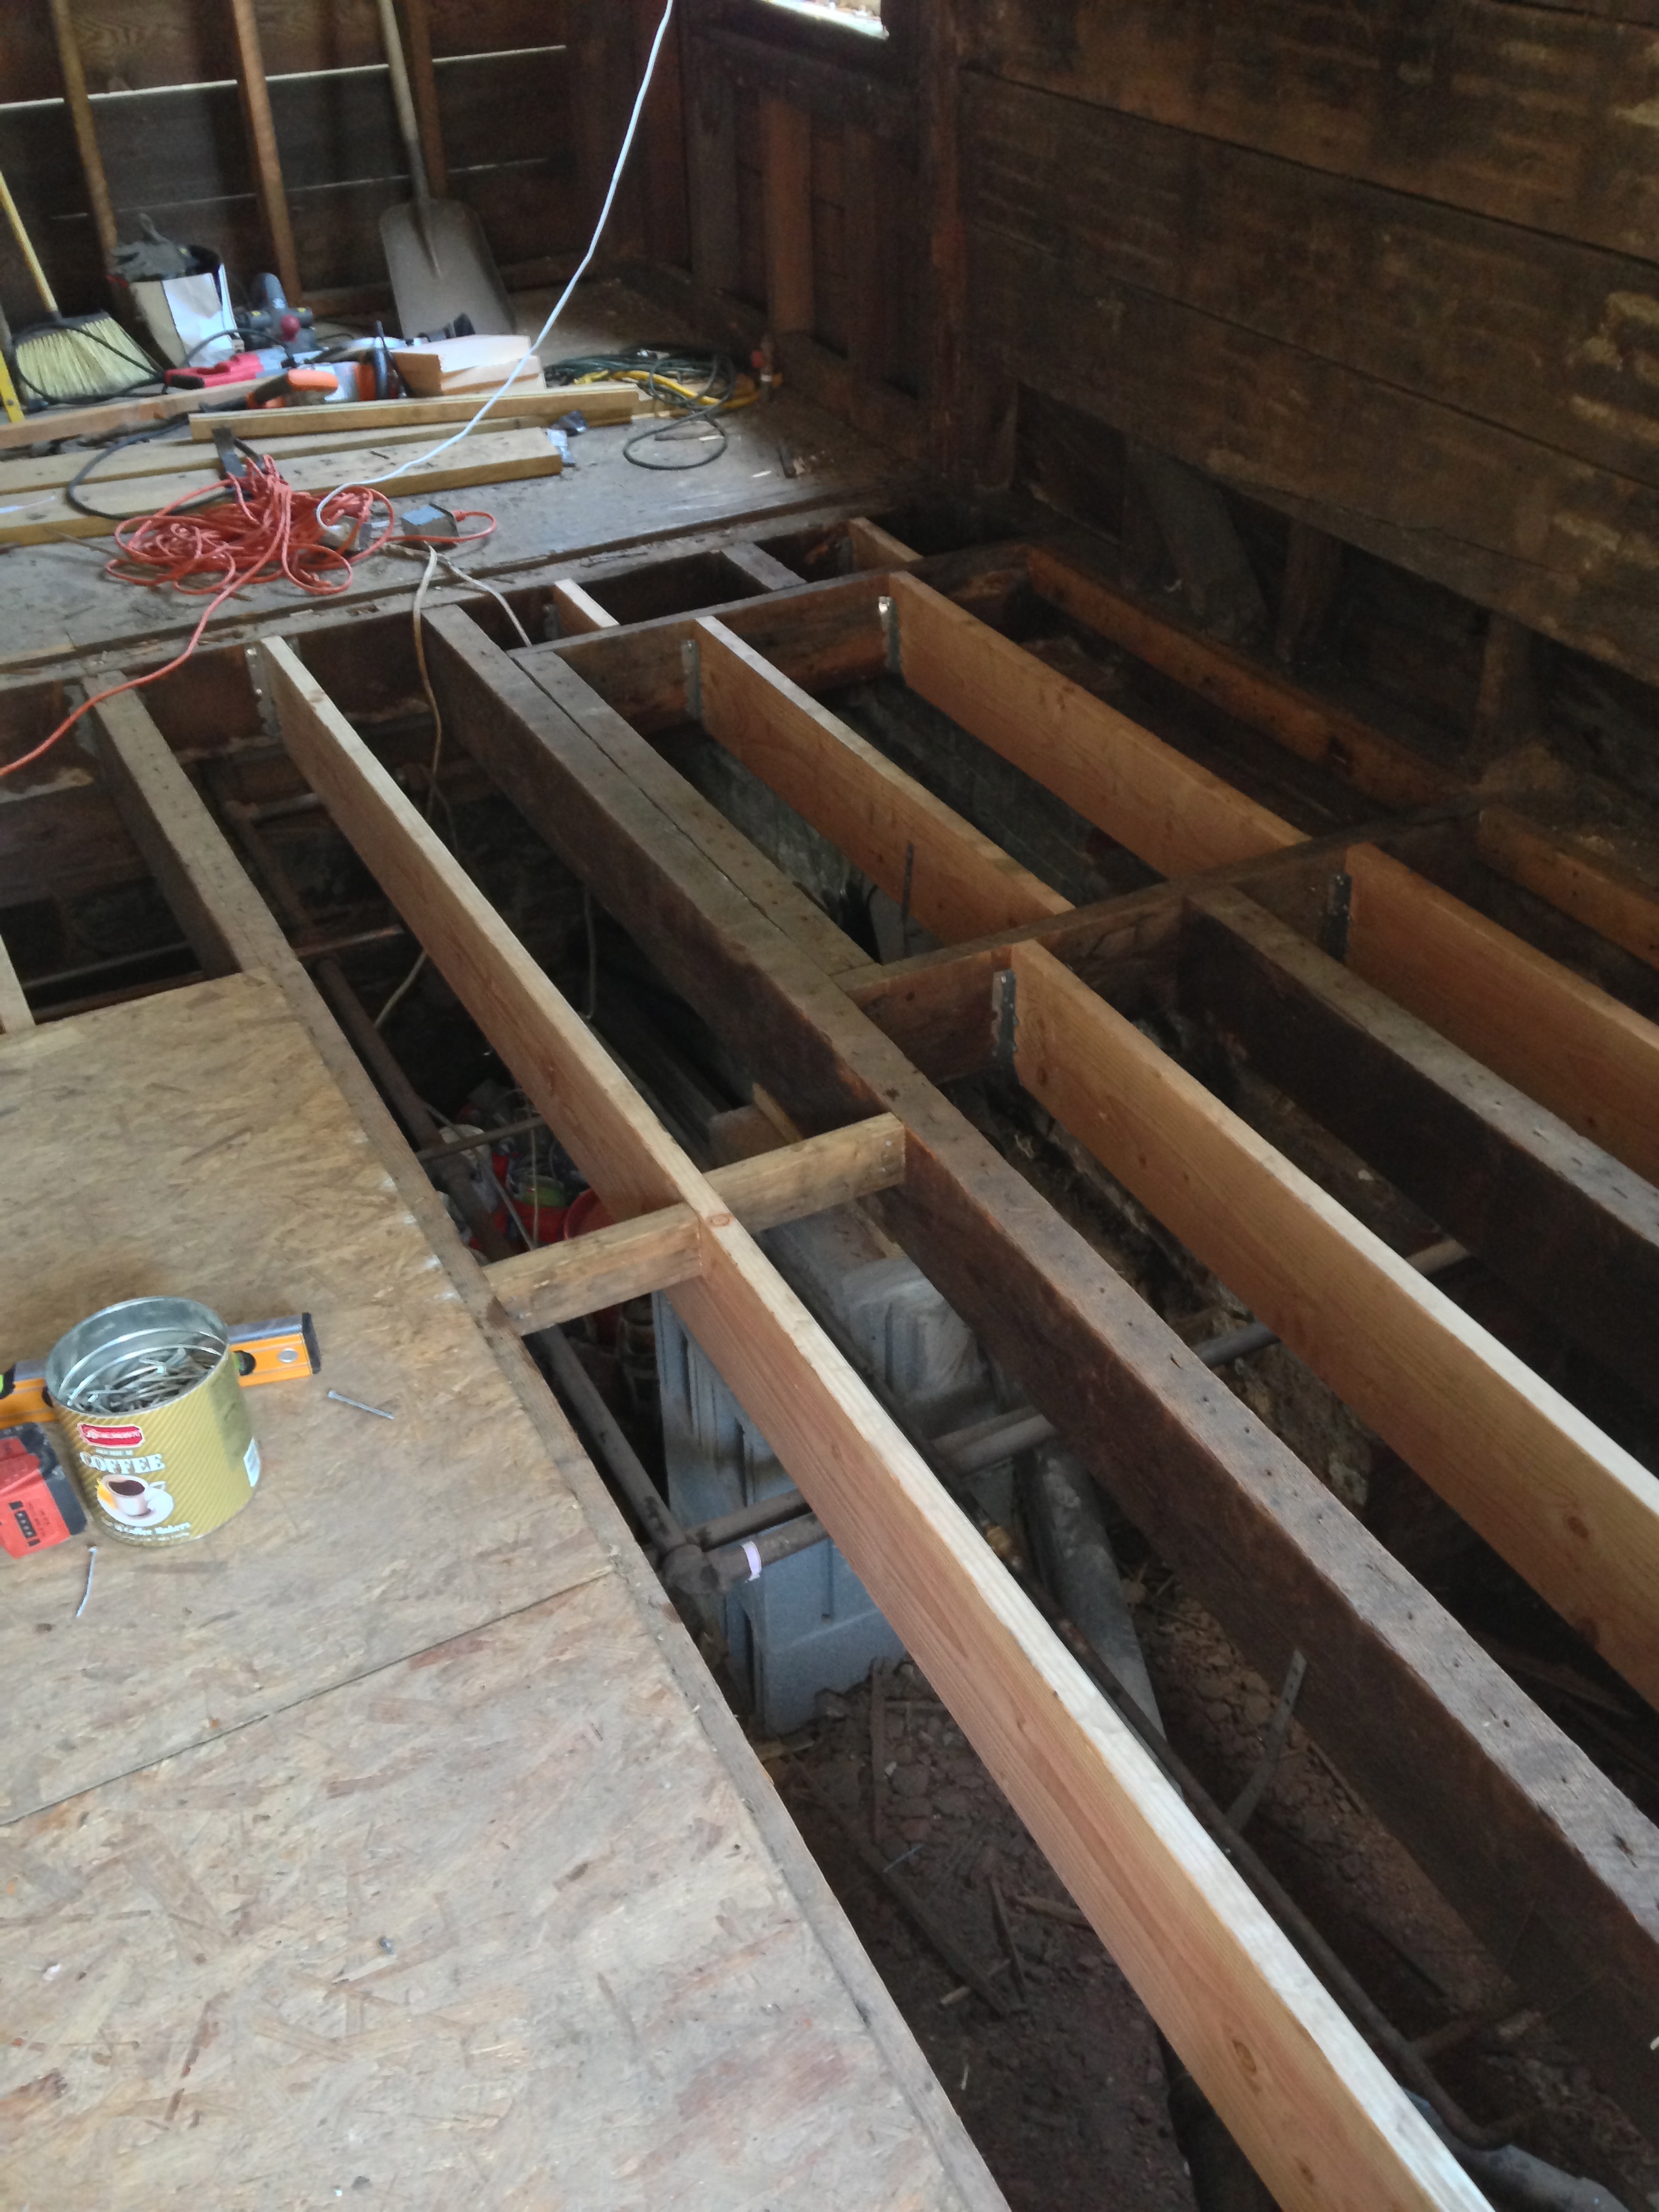
What we noticed first and foremost was that the joists were VERY far apart. What’s a floor joist?
Floor joists are horizontally-oriented beams that make a frame on which to build a raised floor – basically the wood that runs across the floor that your subfloor and then walls rest on. Structures are built able to bear a tremendous amount of weight, you know, your house and everything in it. Floor joists, especially on the first floor, must be durable enough and properly spaced in order to function effectively. While they do not support the full weight of the home or other structure (that’s the foundation), joists are instrumental in ensuring that the building is soundly framed. Floor joists installed on second or third (or higher) levels double as ceiling joists for the level below. In building with basements, the first level of floor joists serves the same purpose.
Normally, floor joists are spaced 16 inches apart on center. This means from the center of one ujoist to the center of the next, since 2x8s are actually 1-¾ inches wide, it works out to be 14-¼ inches between each joist. In our case they were 24″ apart and just too far to have a rigid subfloor above. There was too much bounce, not enough support, and this needed to be remedied.
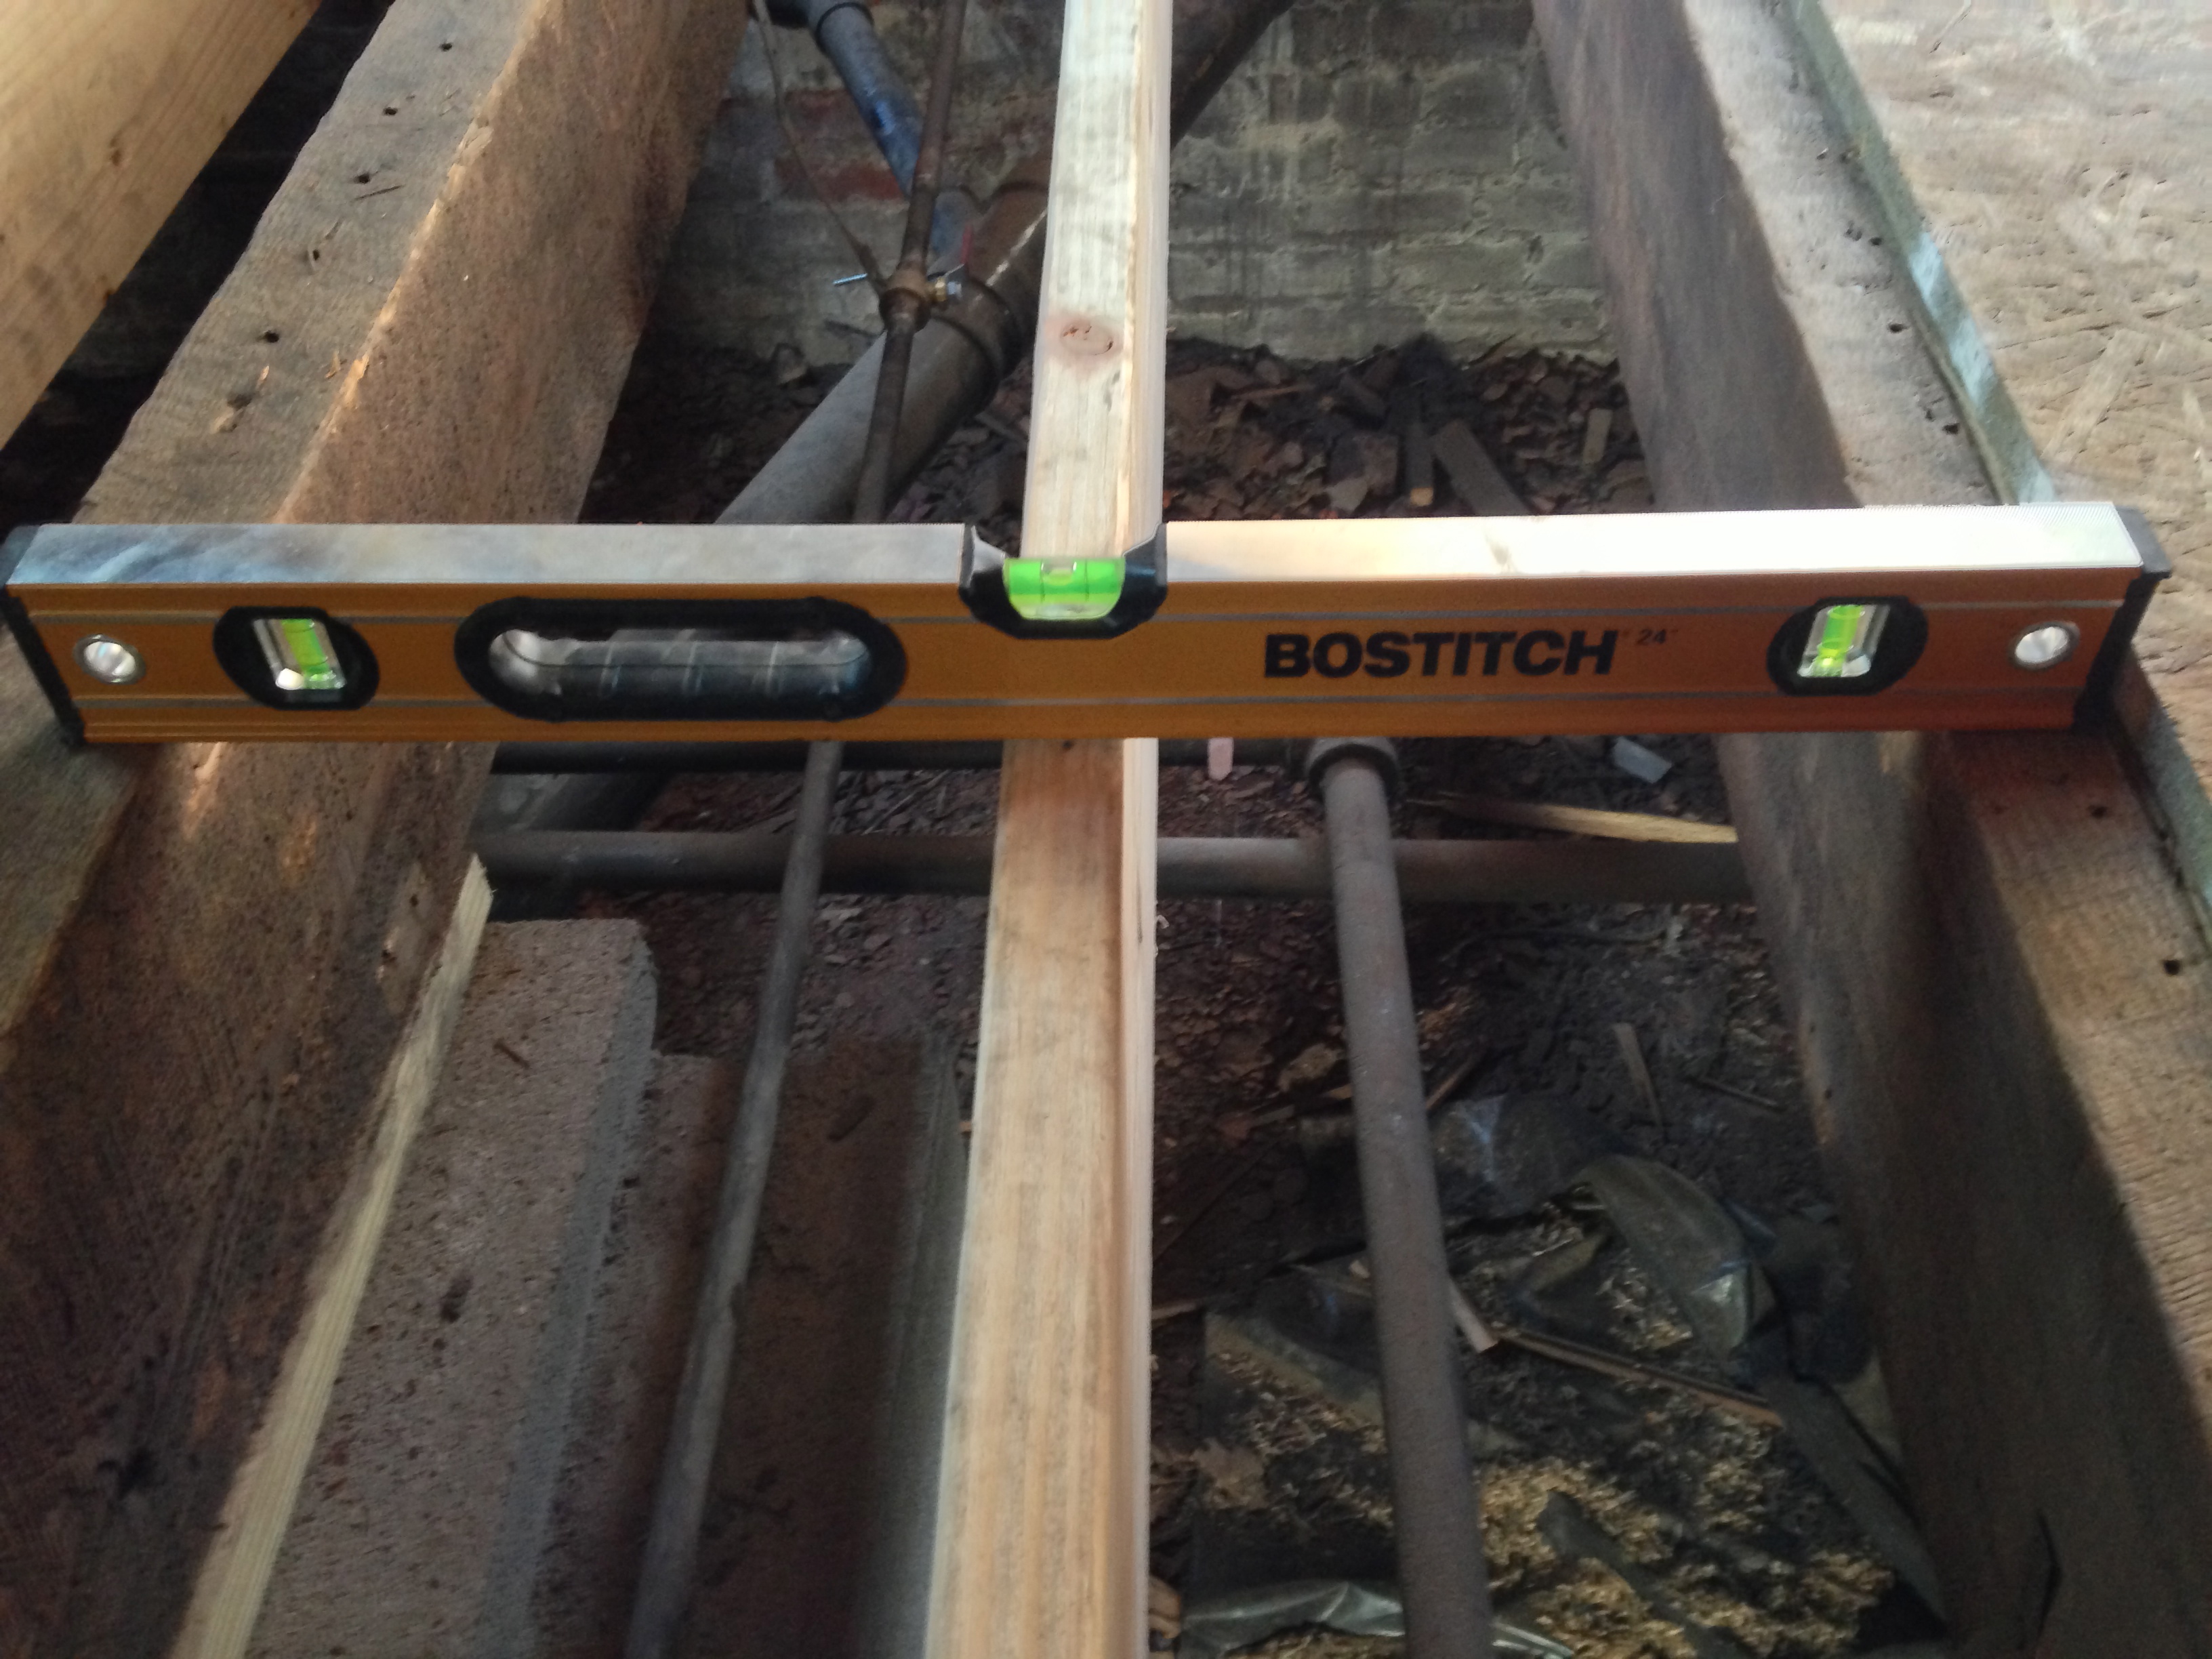
So we cut, we placed, we leveled, we planed, we adjusted, we bolted. It was a slow and arduous process.
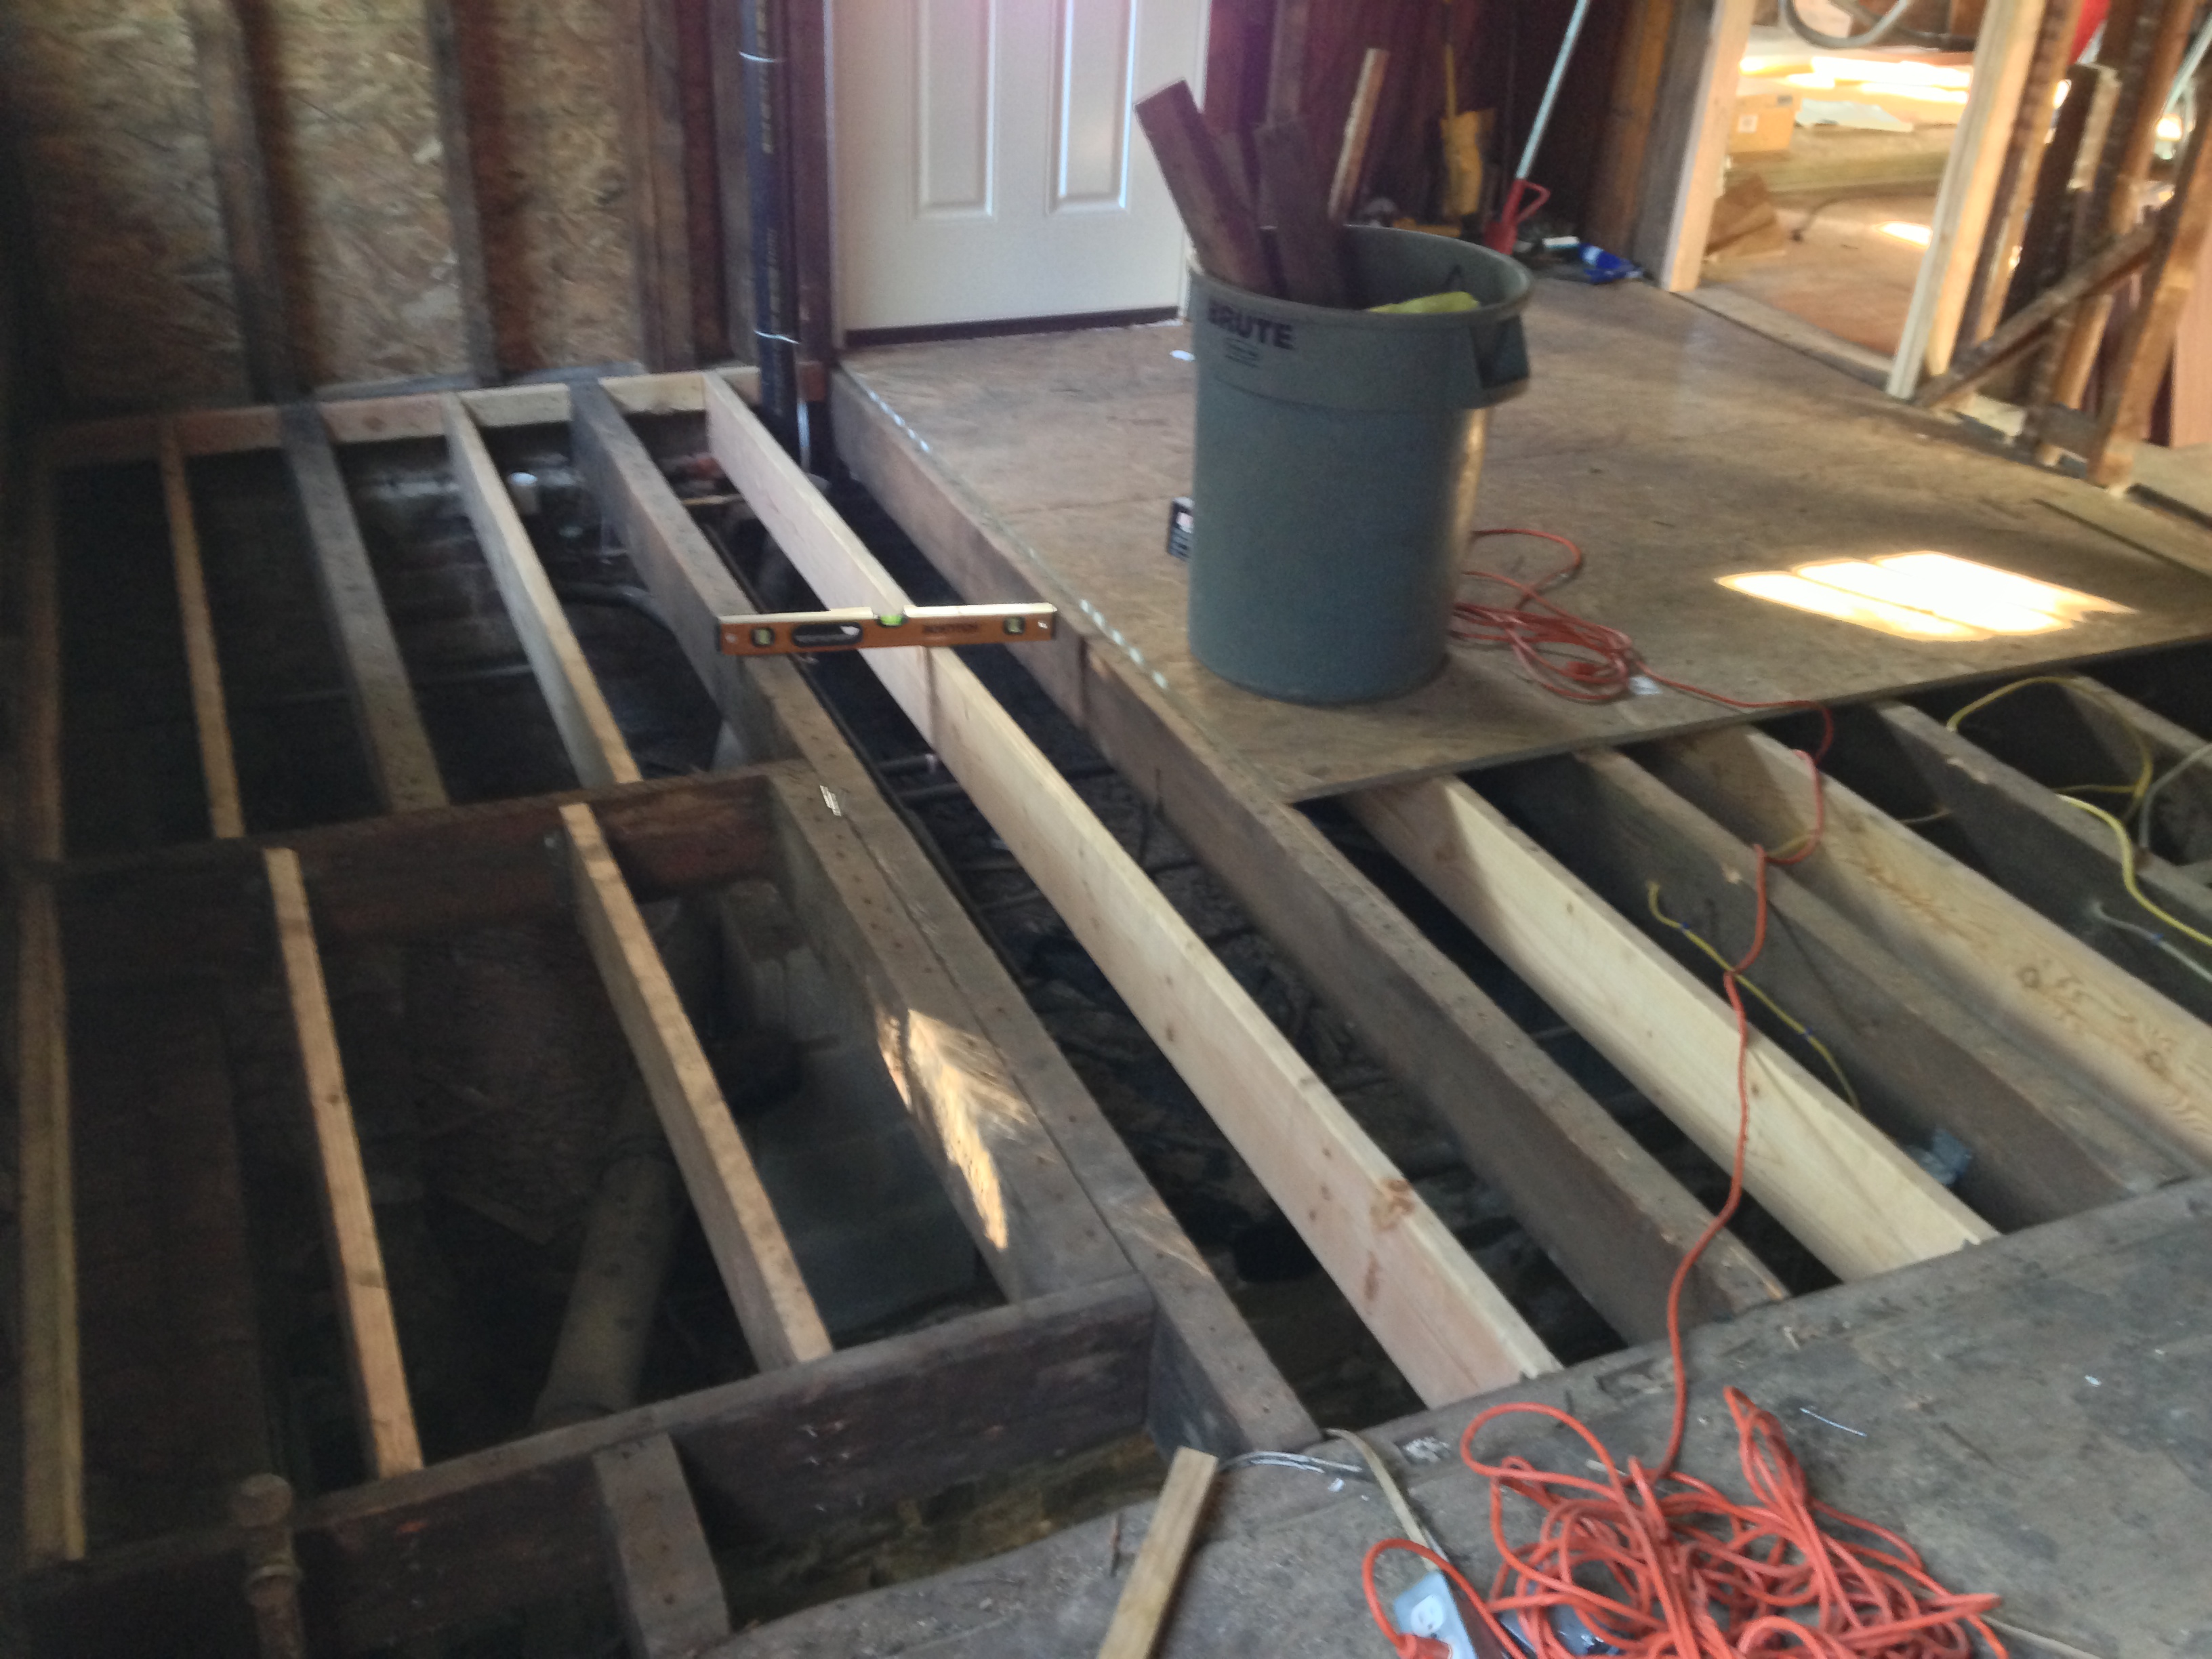
Trying to make everything perfectly level would have driven us to insanity so we did as best that we could. Everything was, for the most part, “level.”
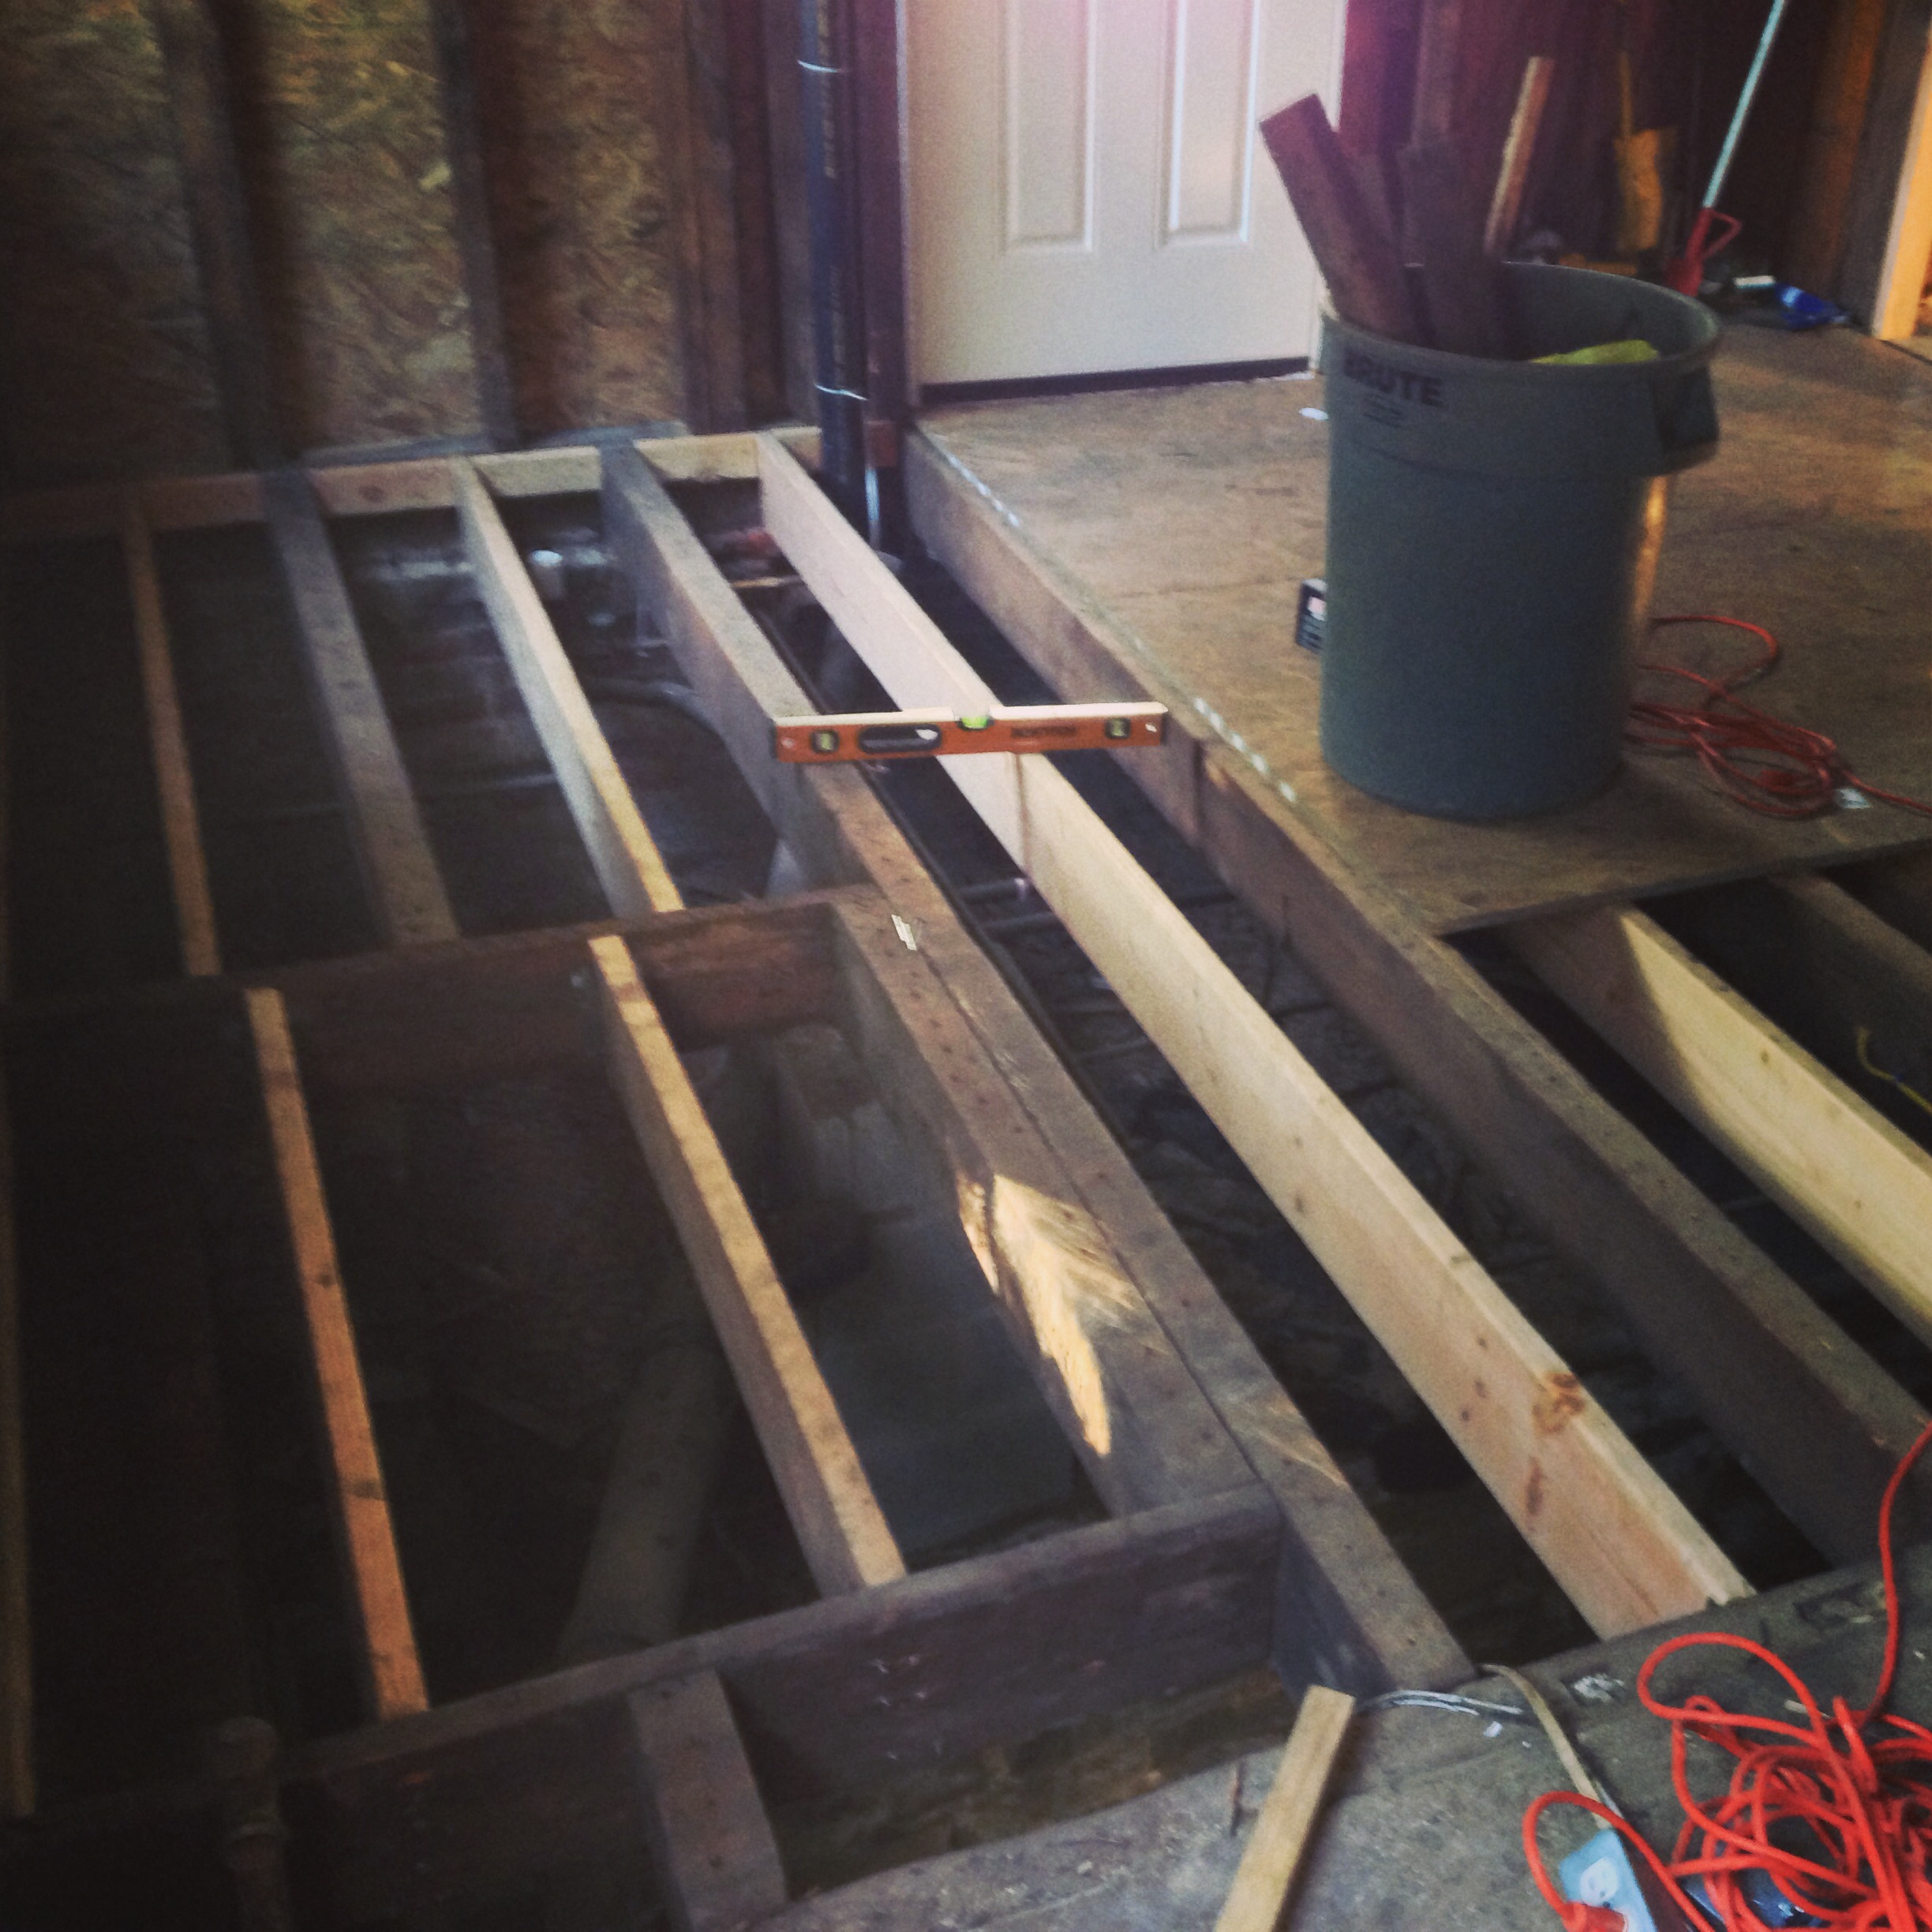
We would then add in cross support in order to ensure that the long pieces would not be able to move or twist. A good number of them were 12′ spans, some 16′.

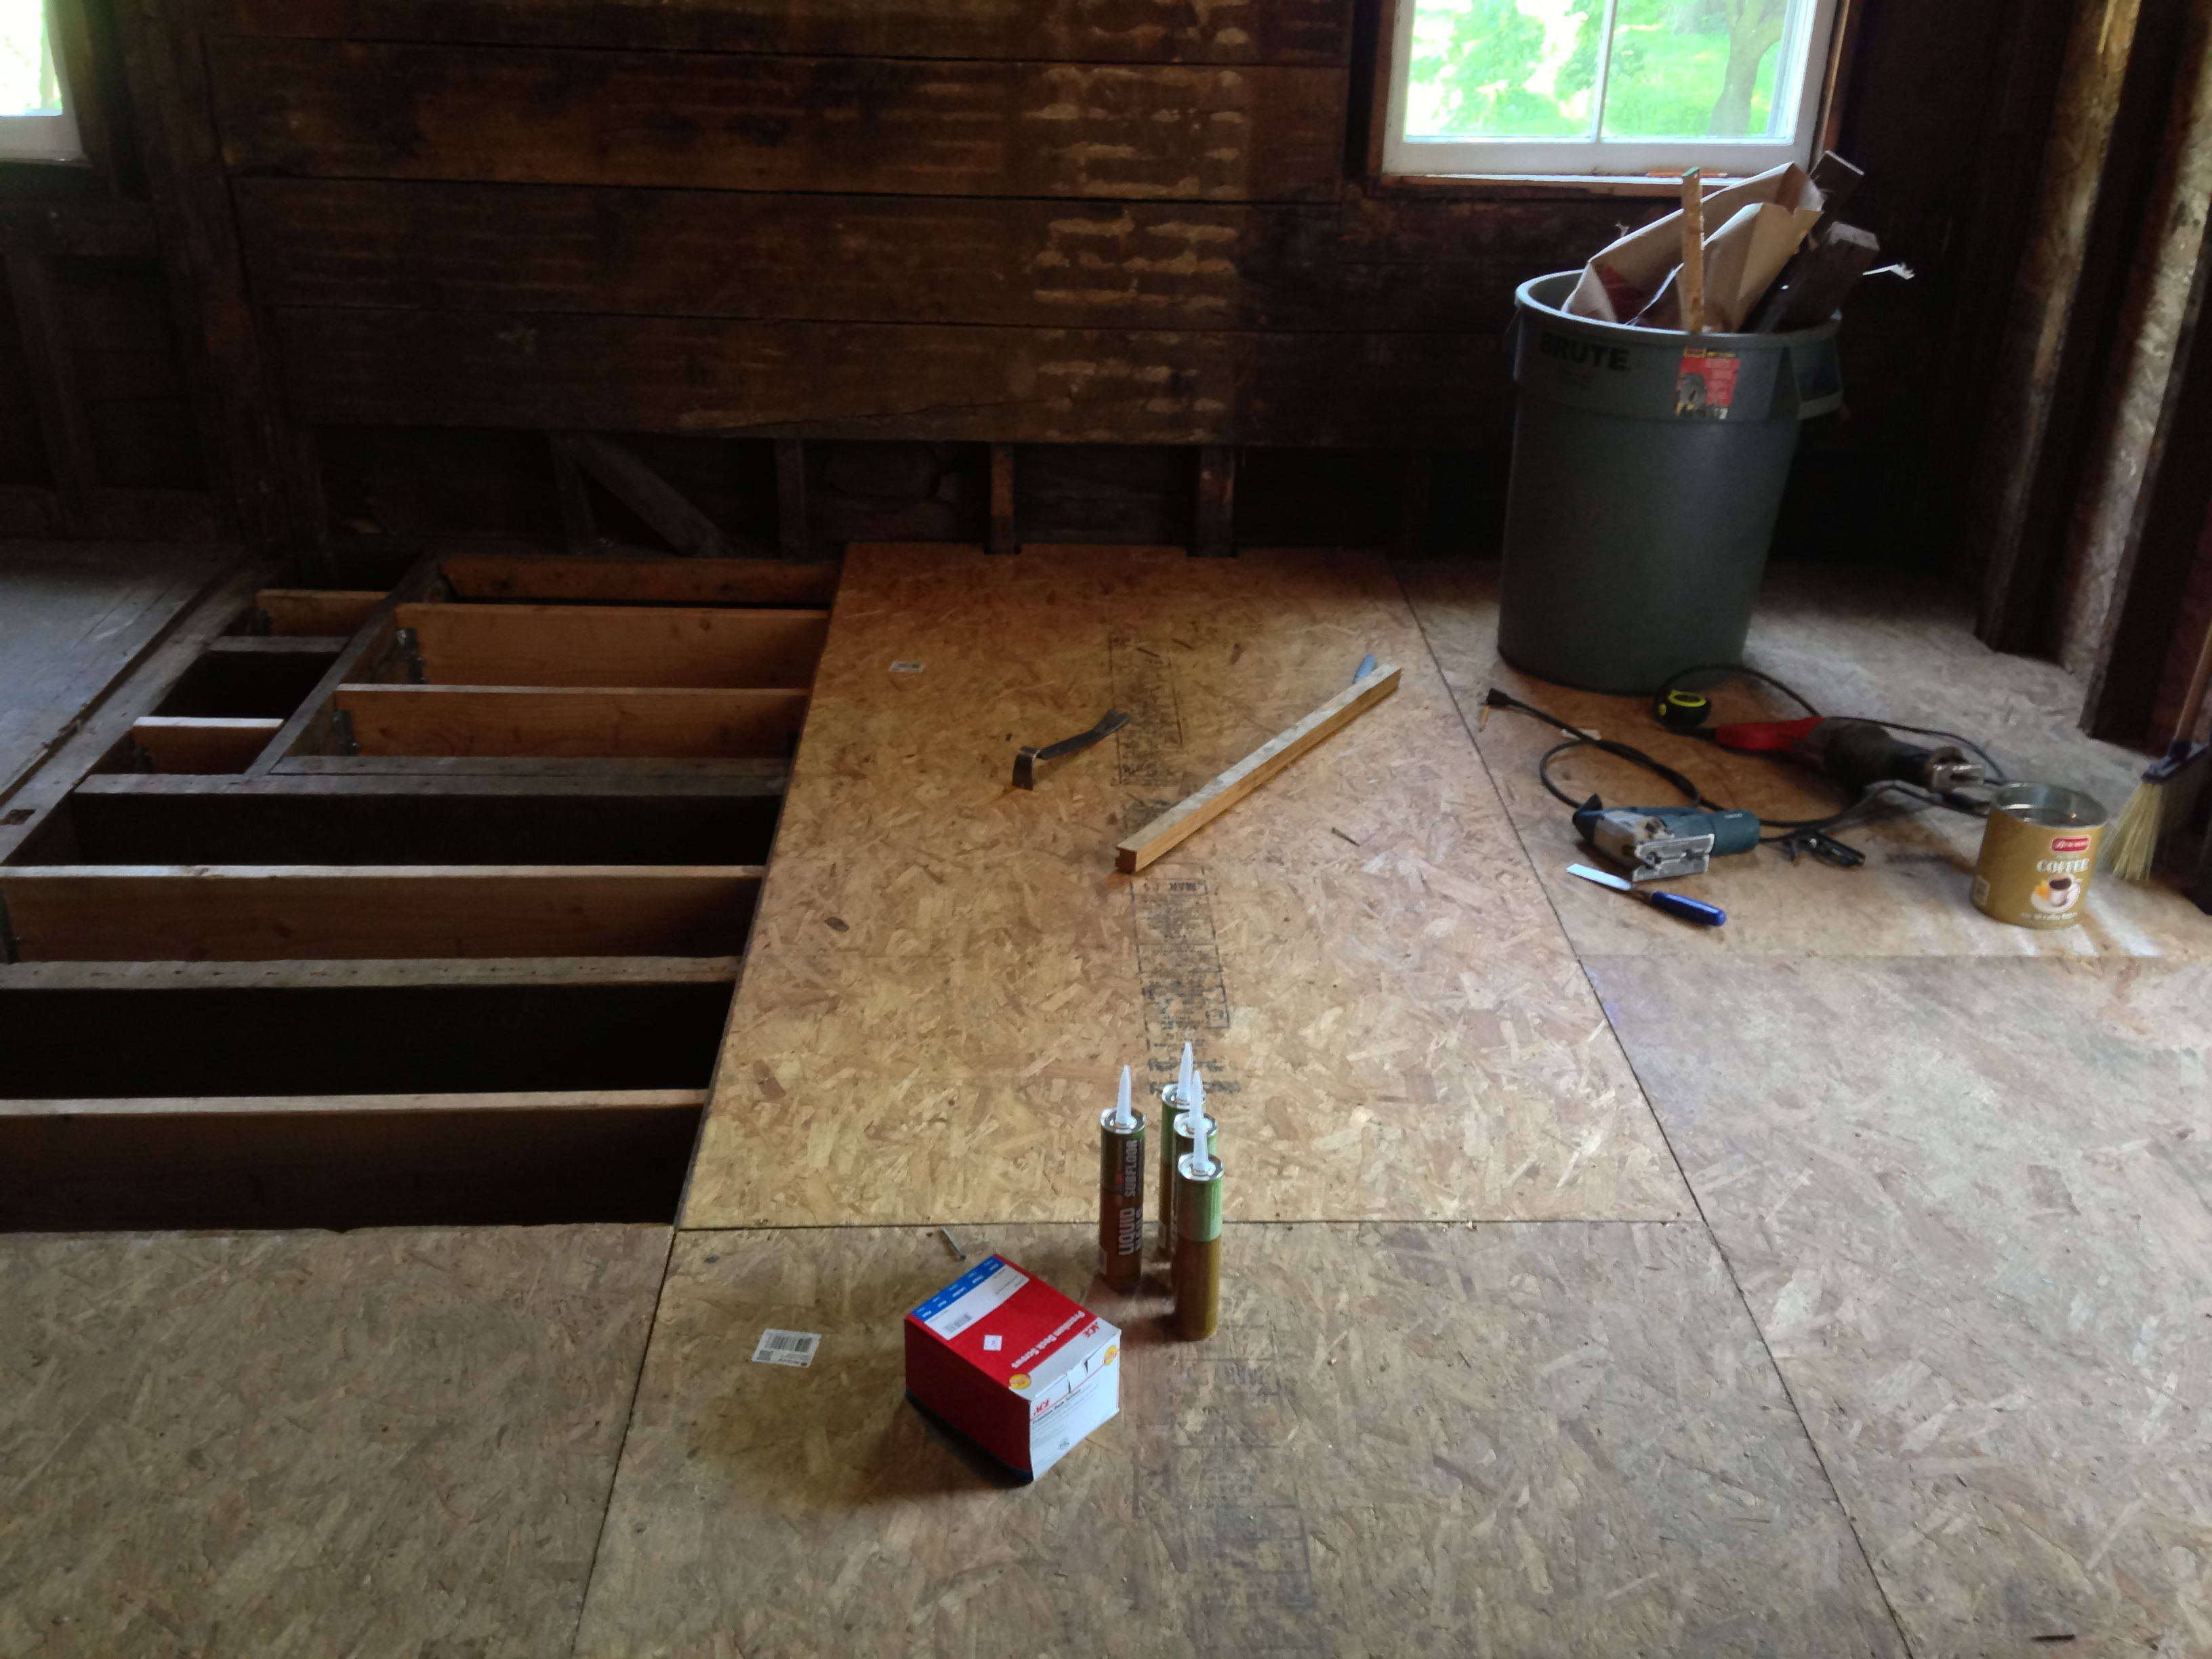
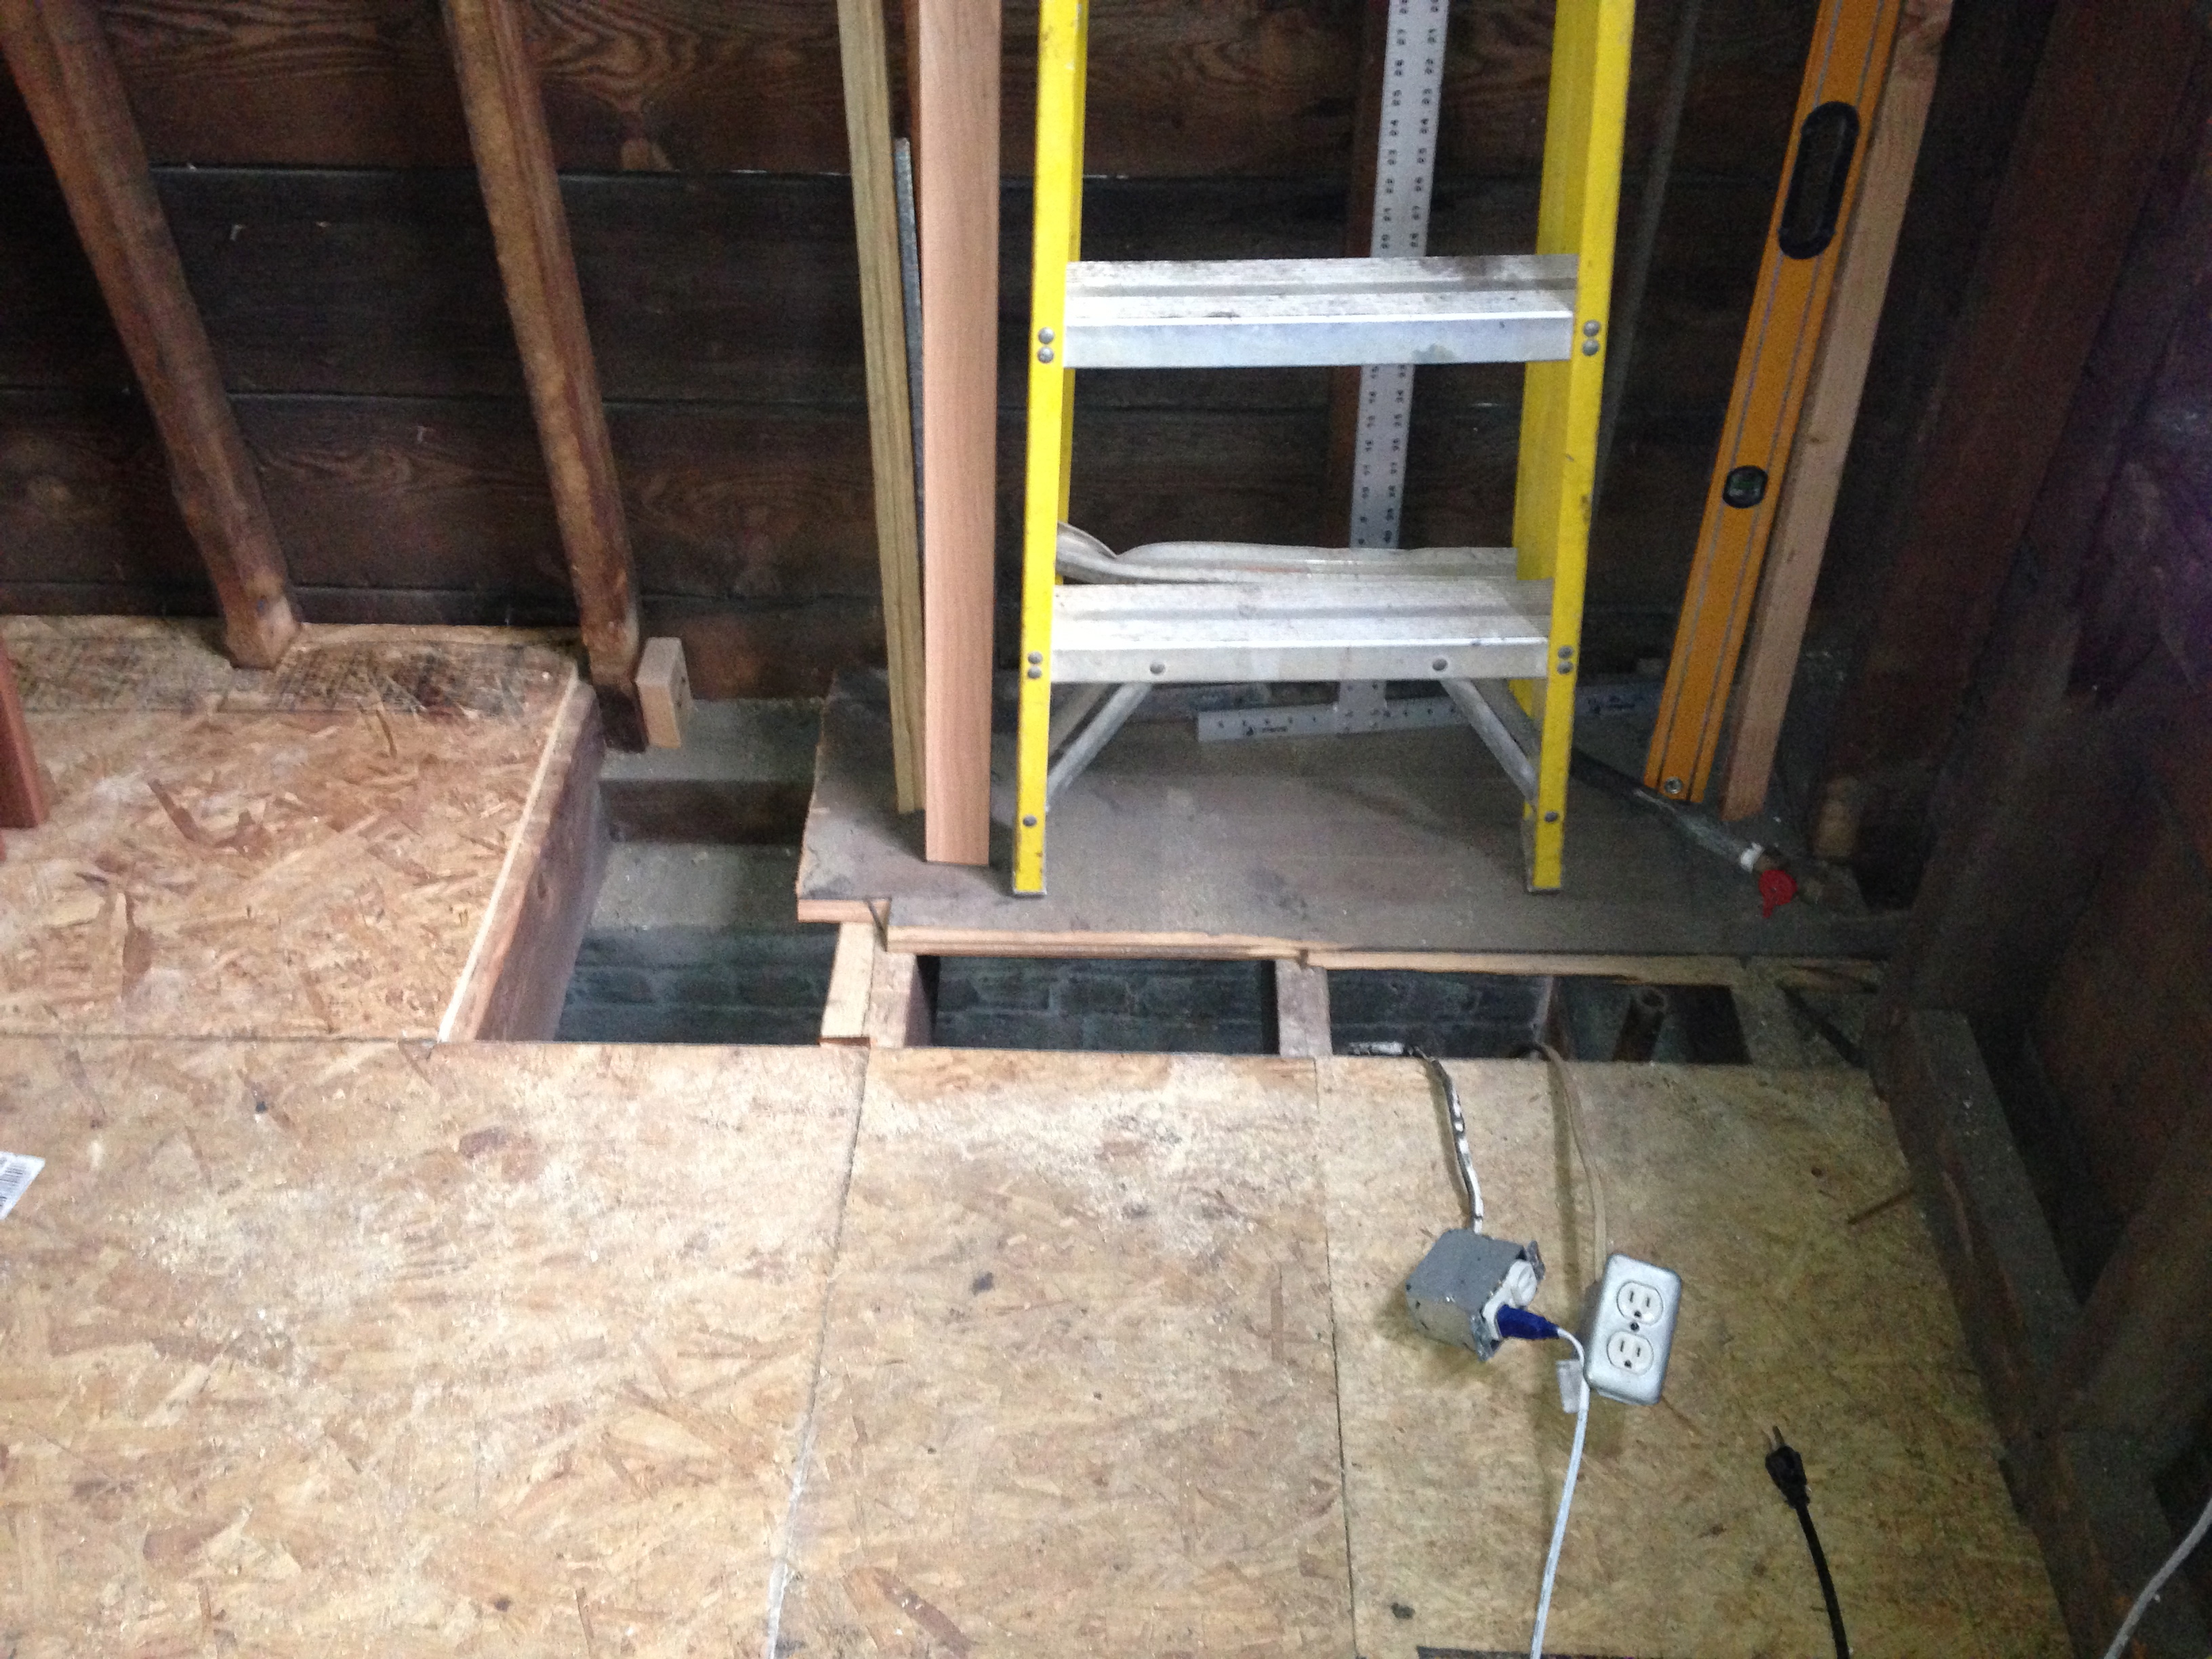
After the joists were in we were then able to put down the subfloor. Each piece made the room a little safer to walk around, haha. For the record, no one fell into the basement.
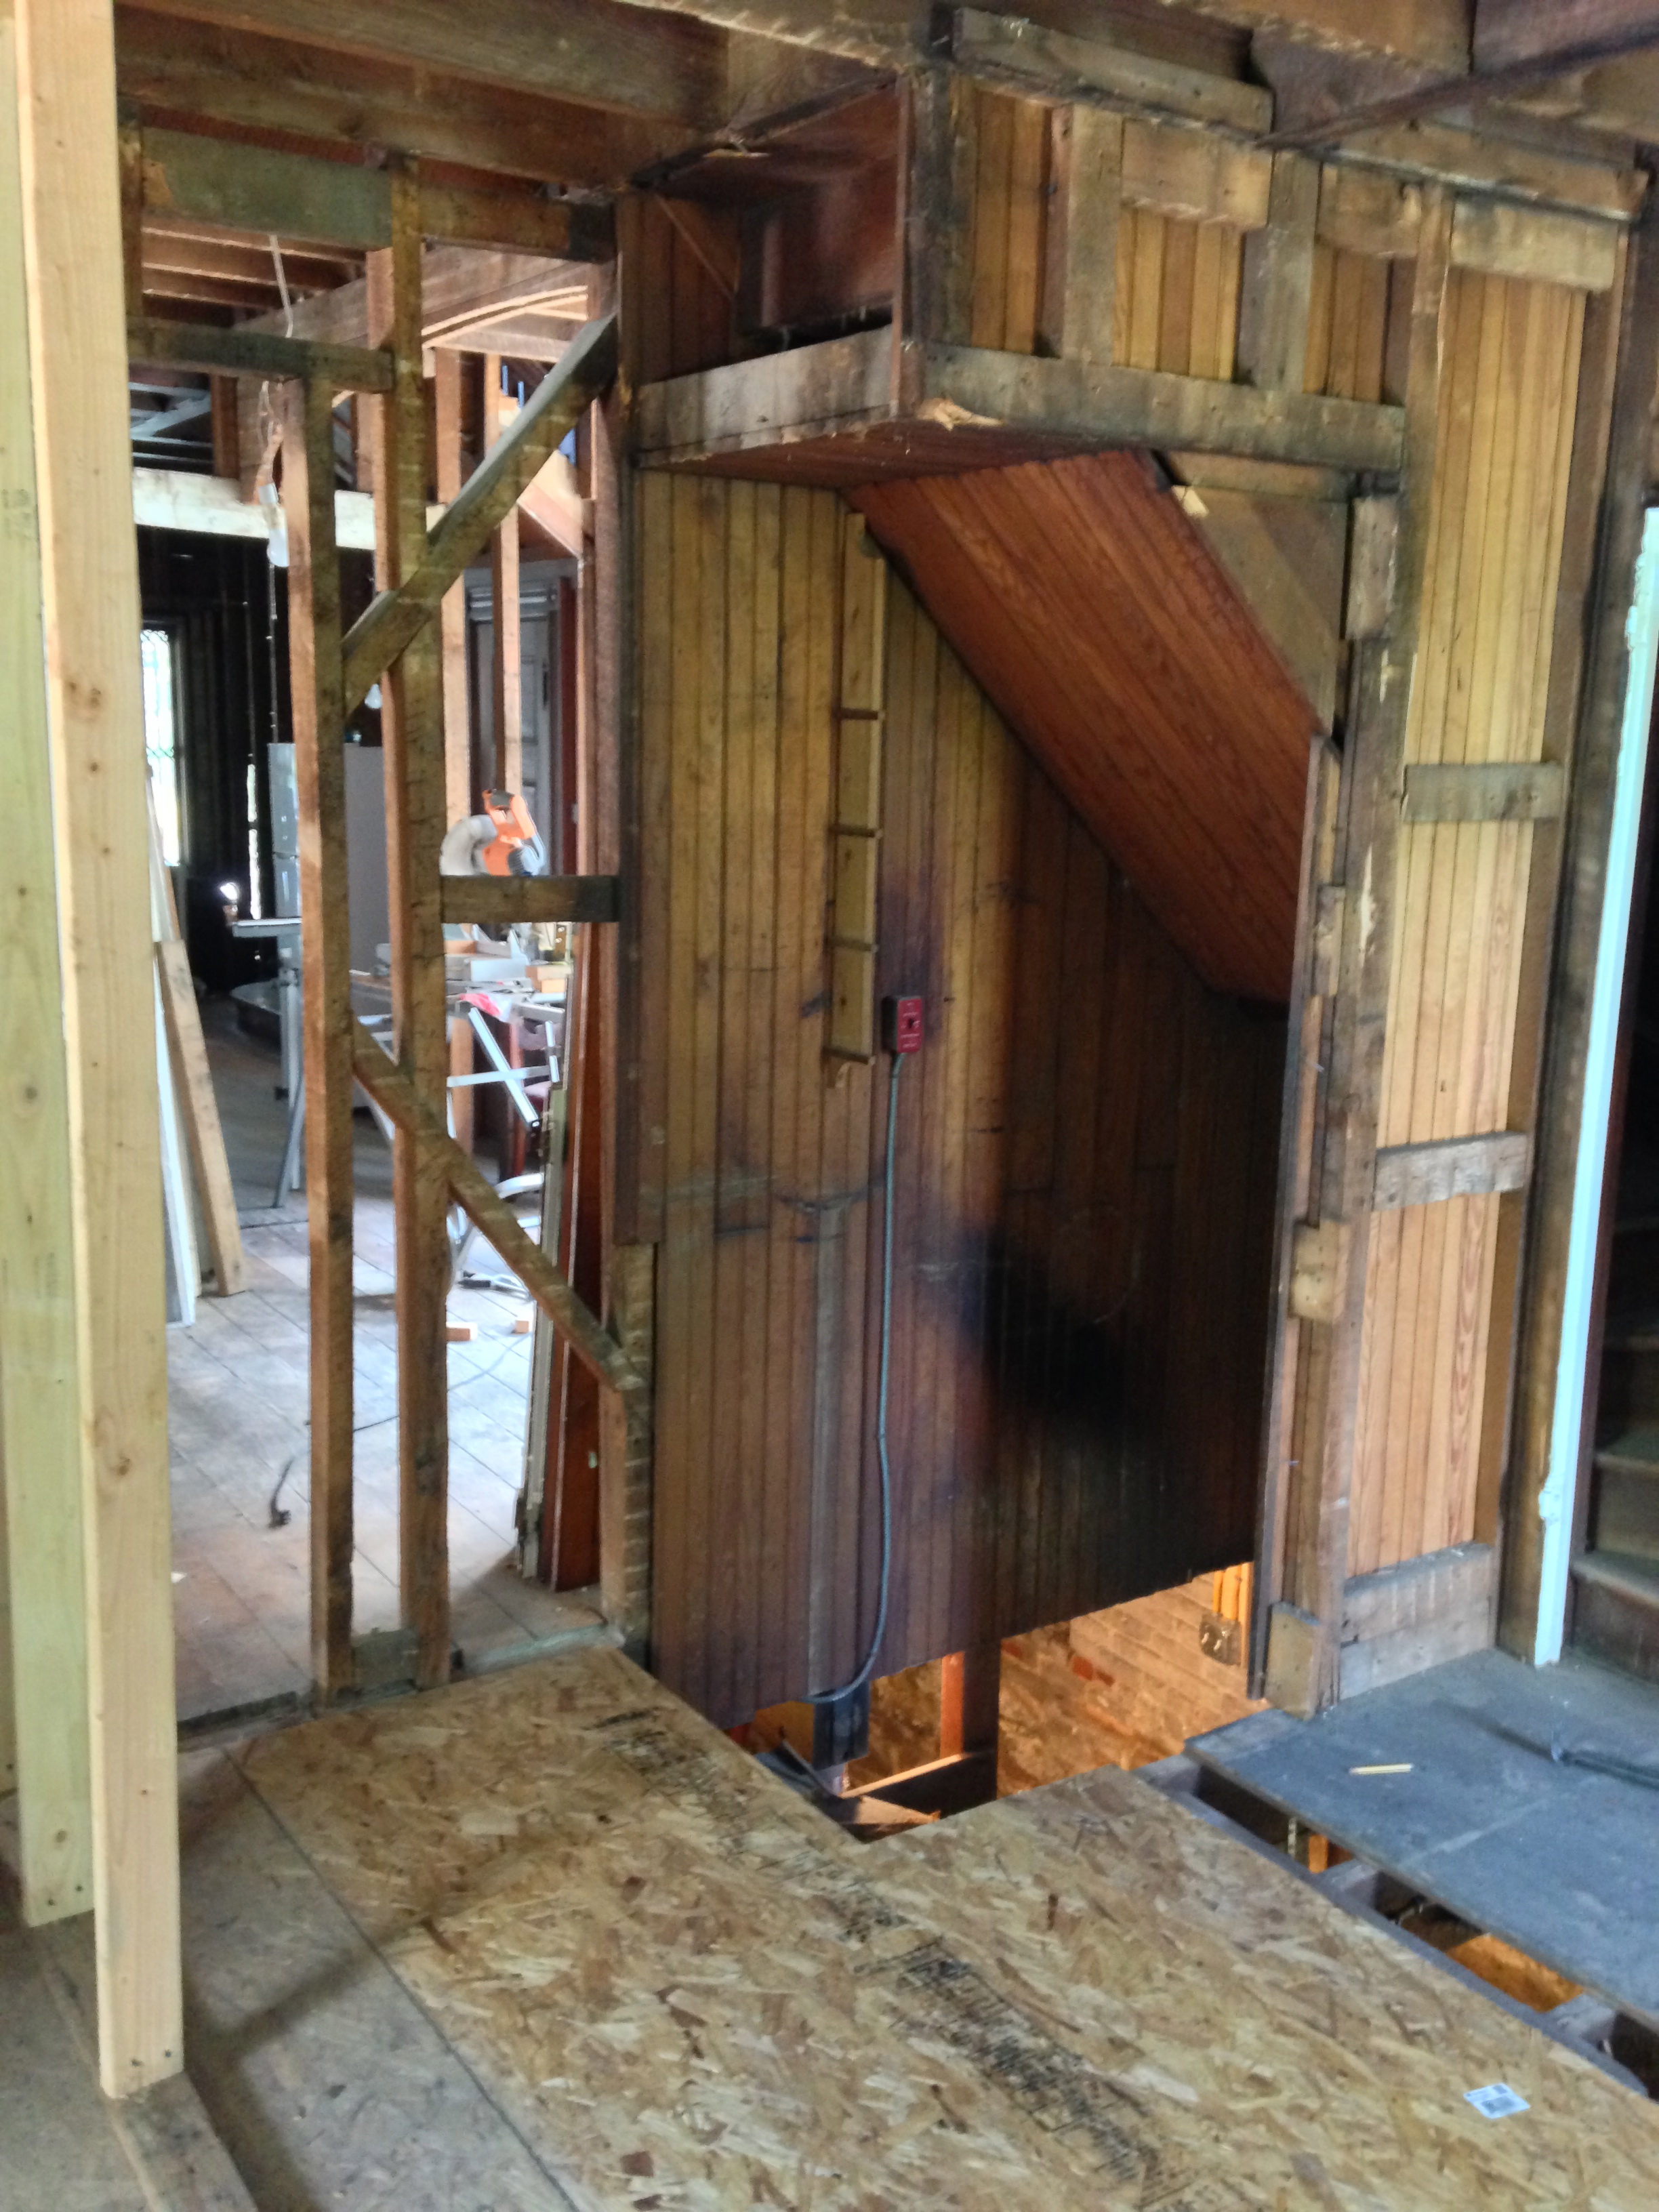
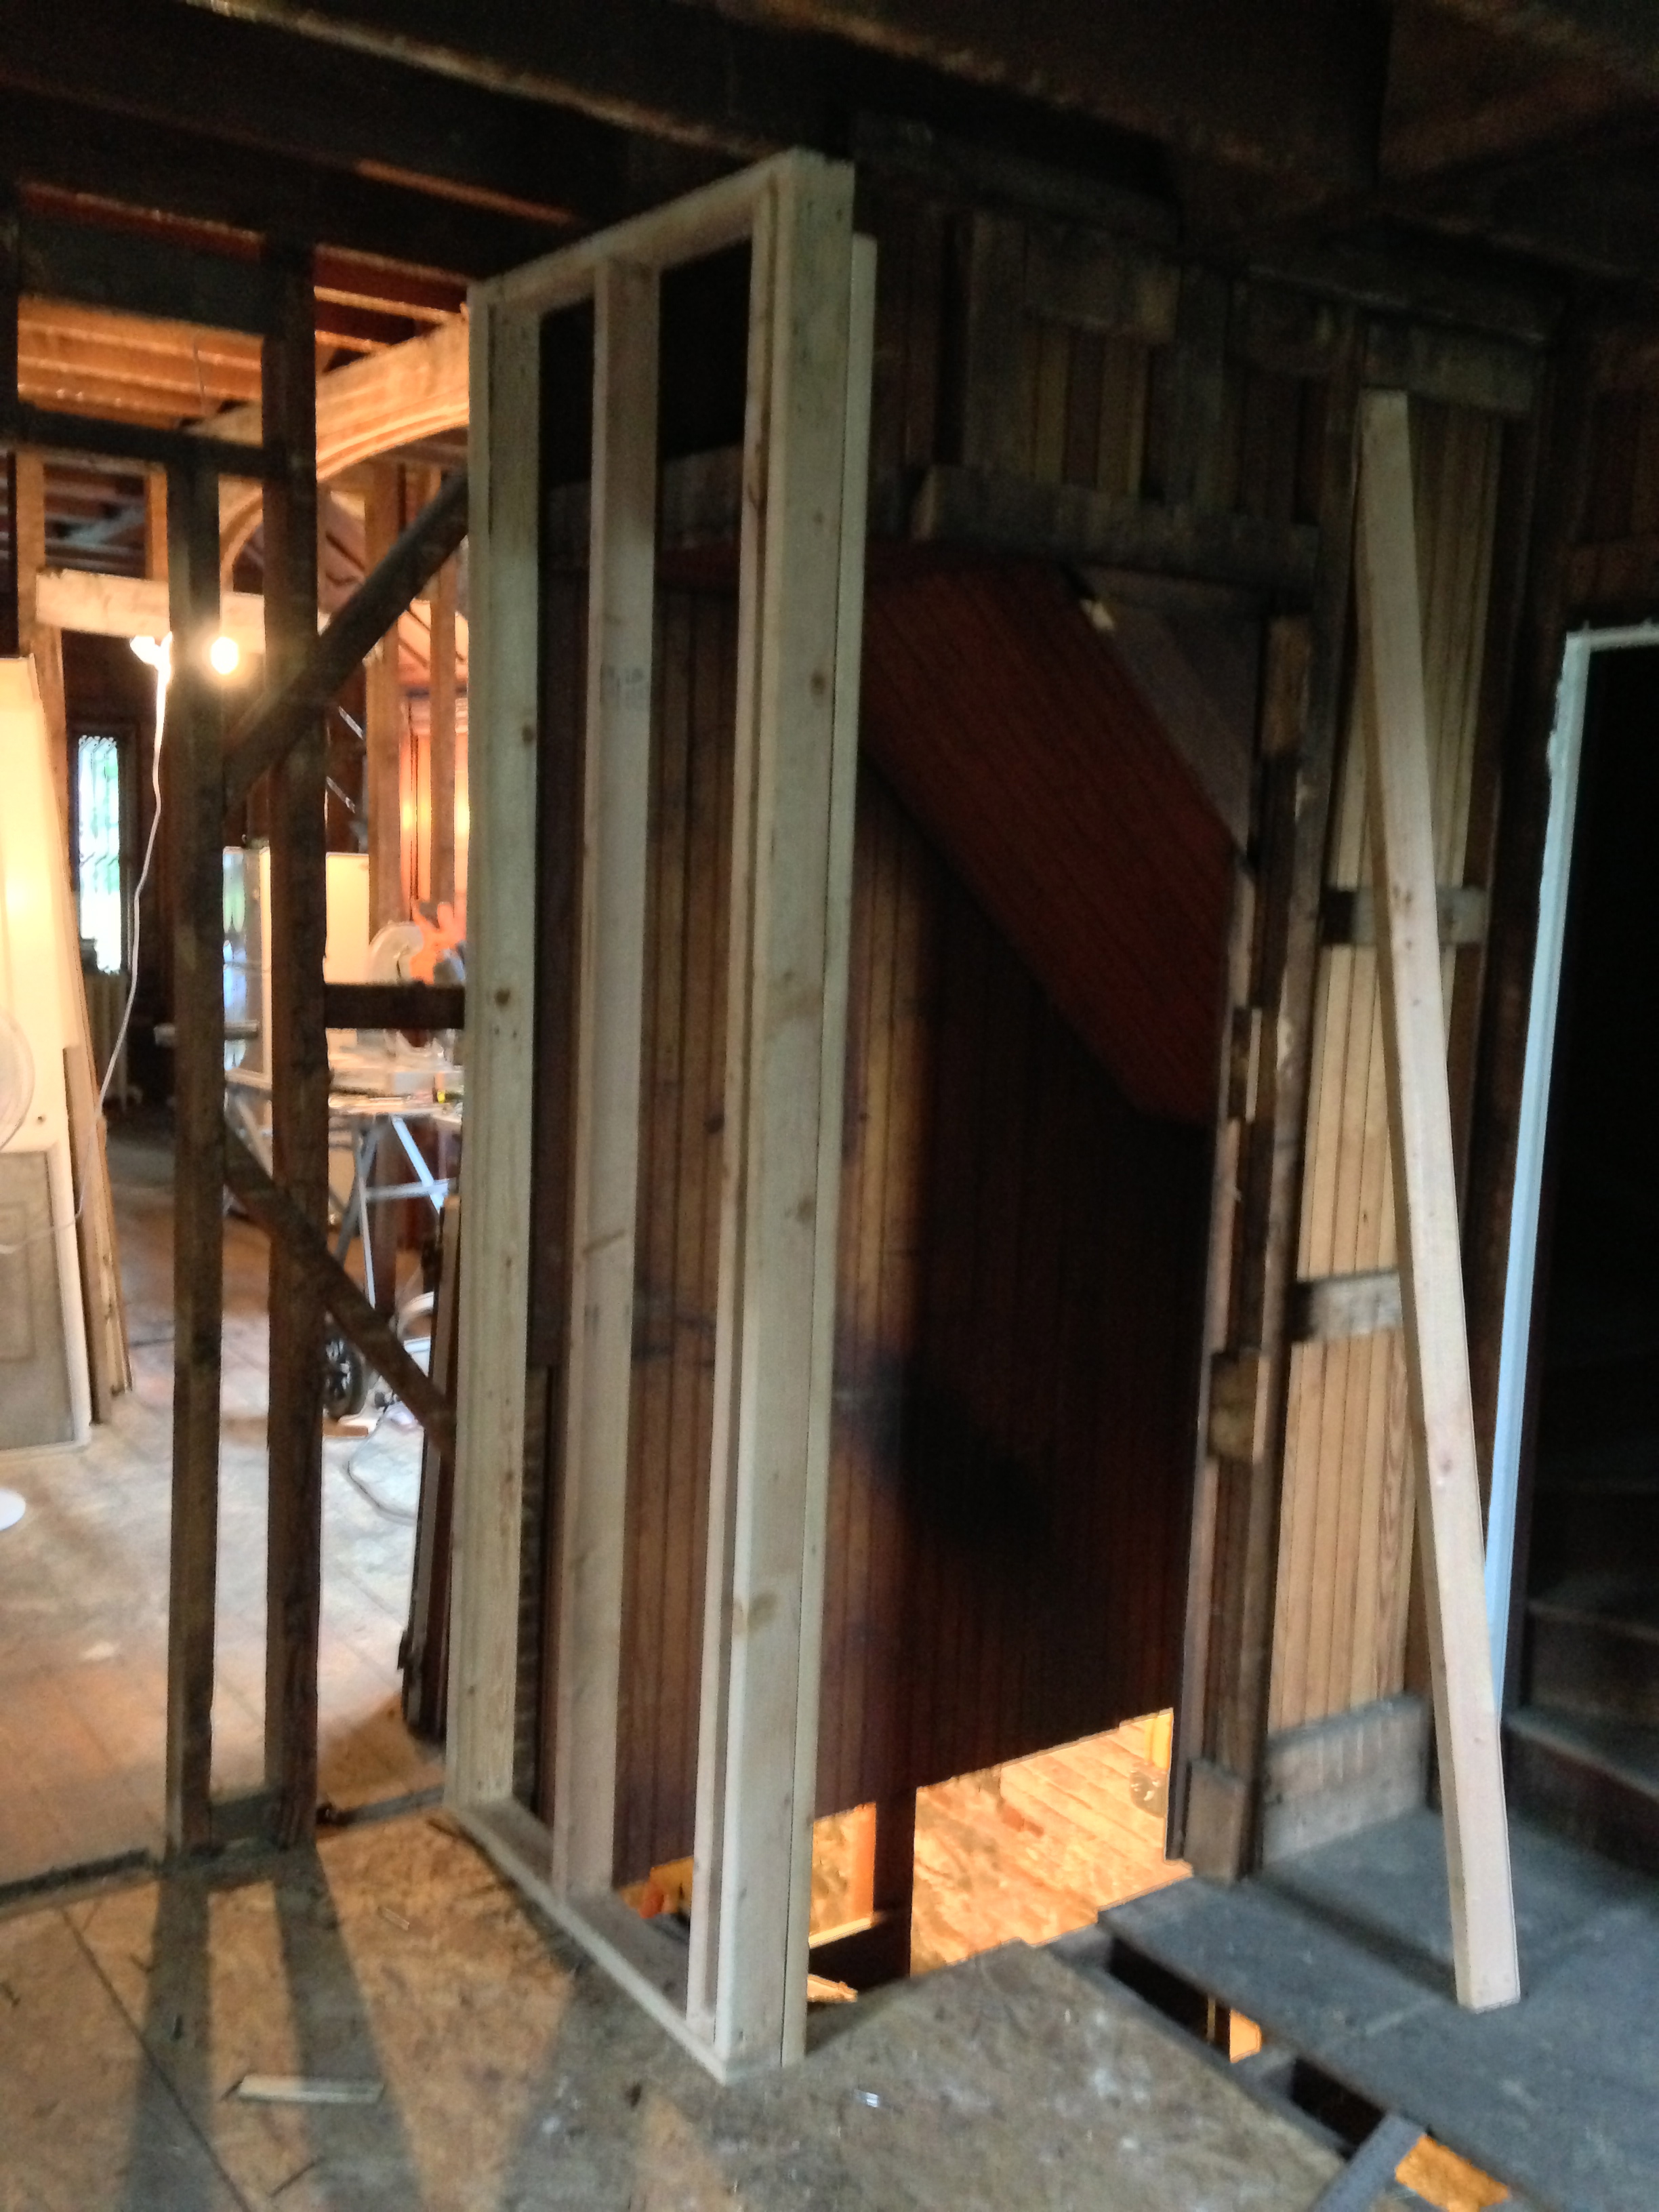
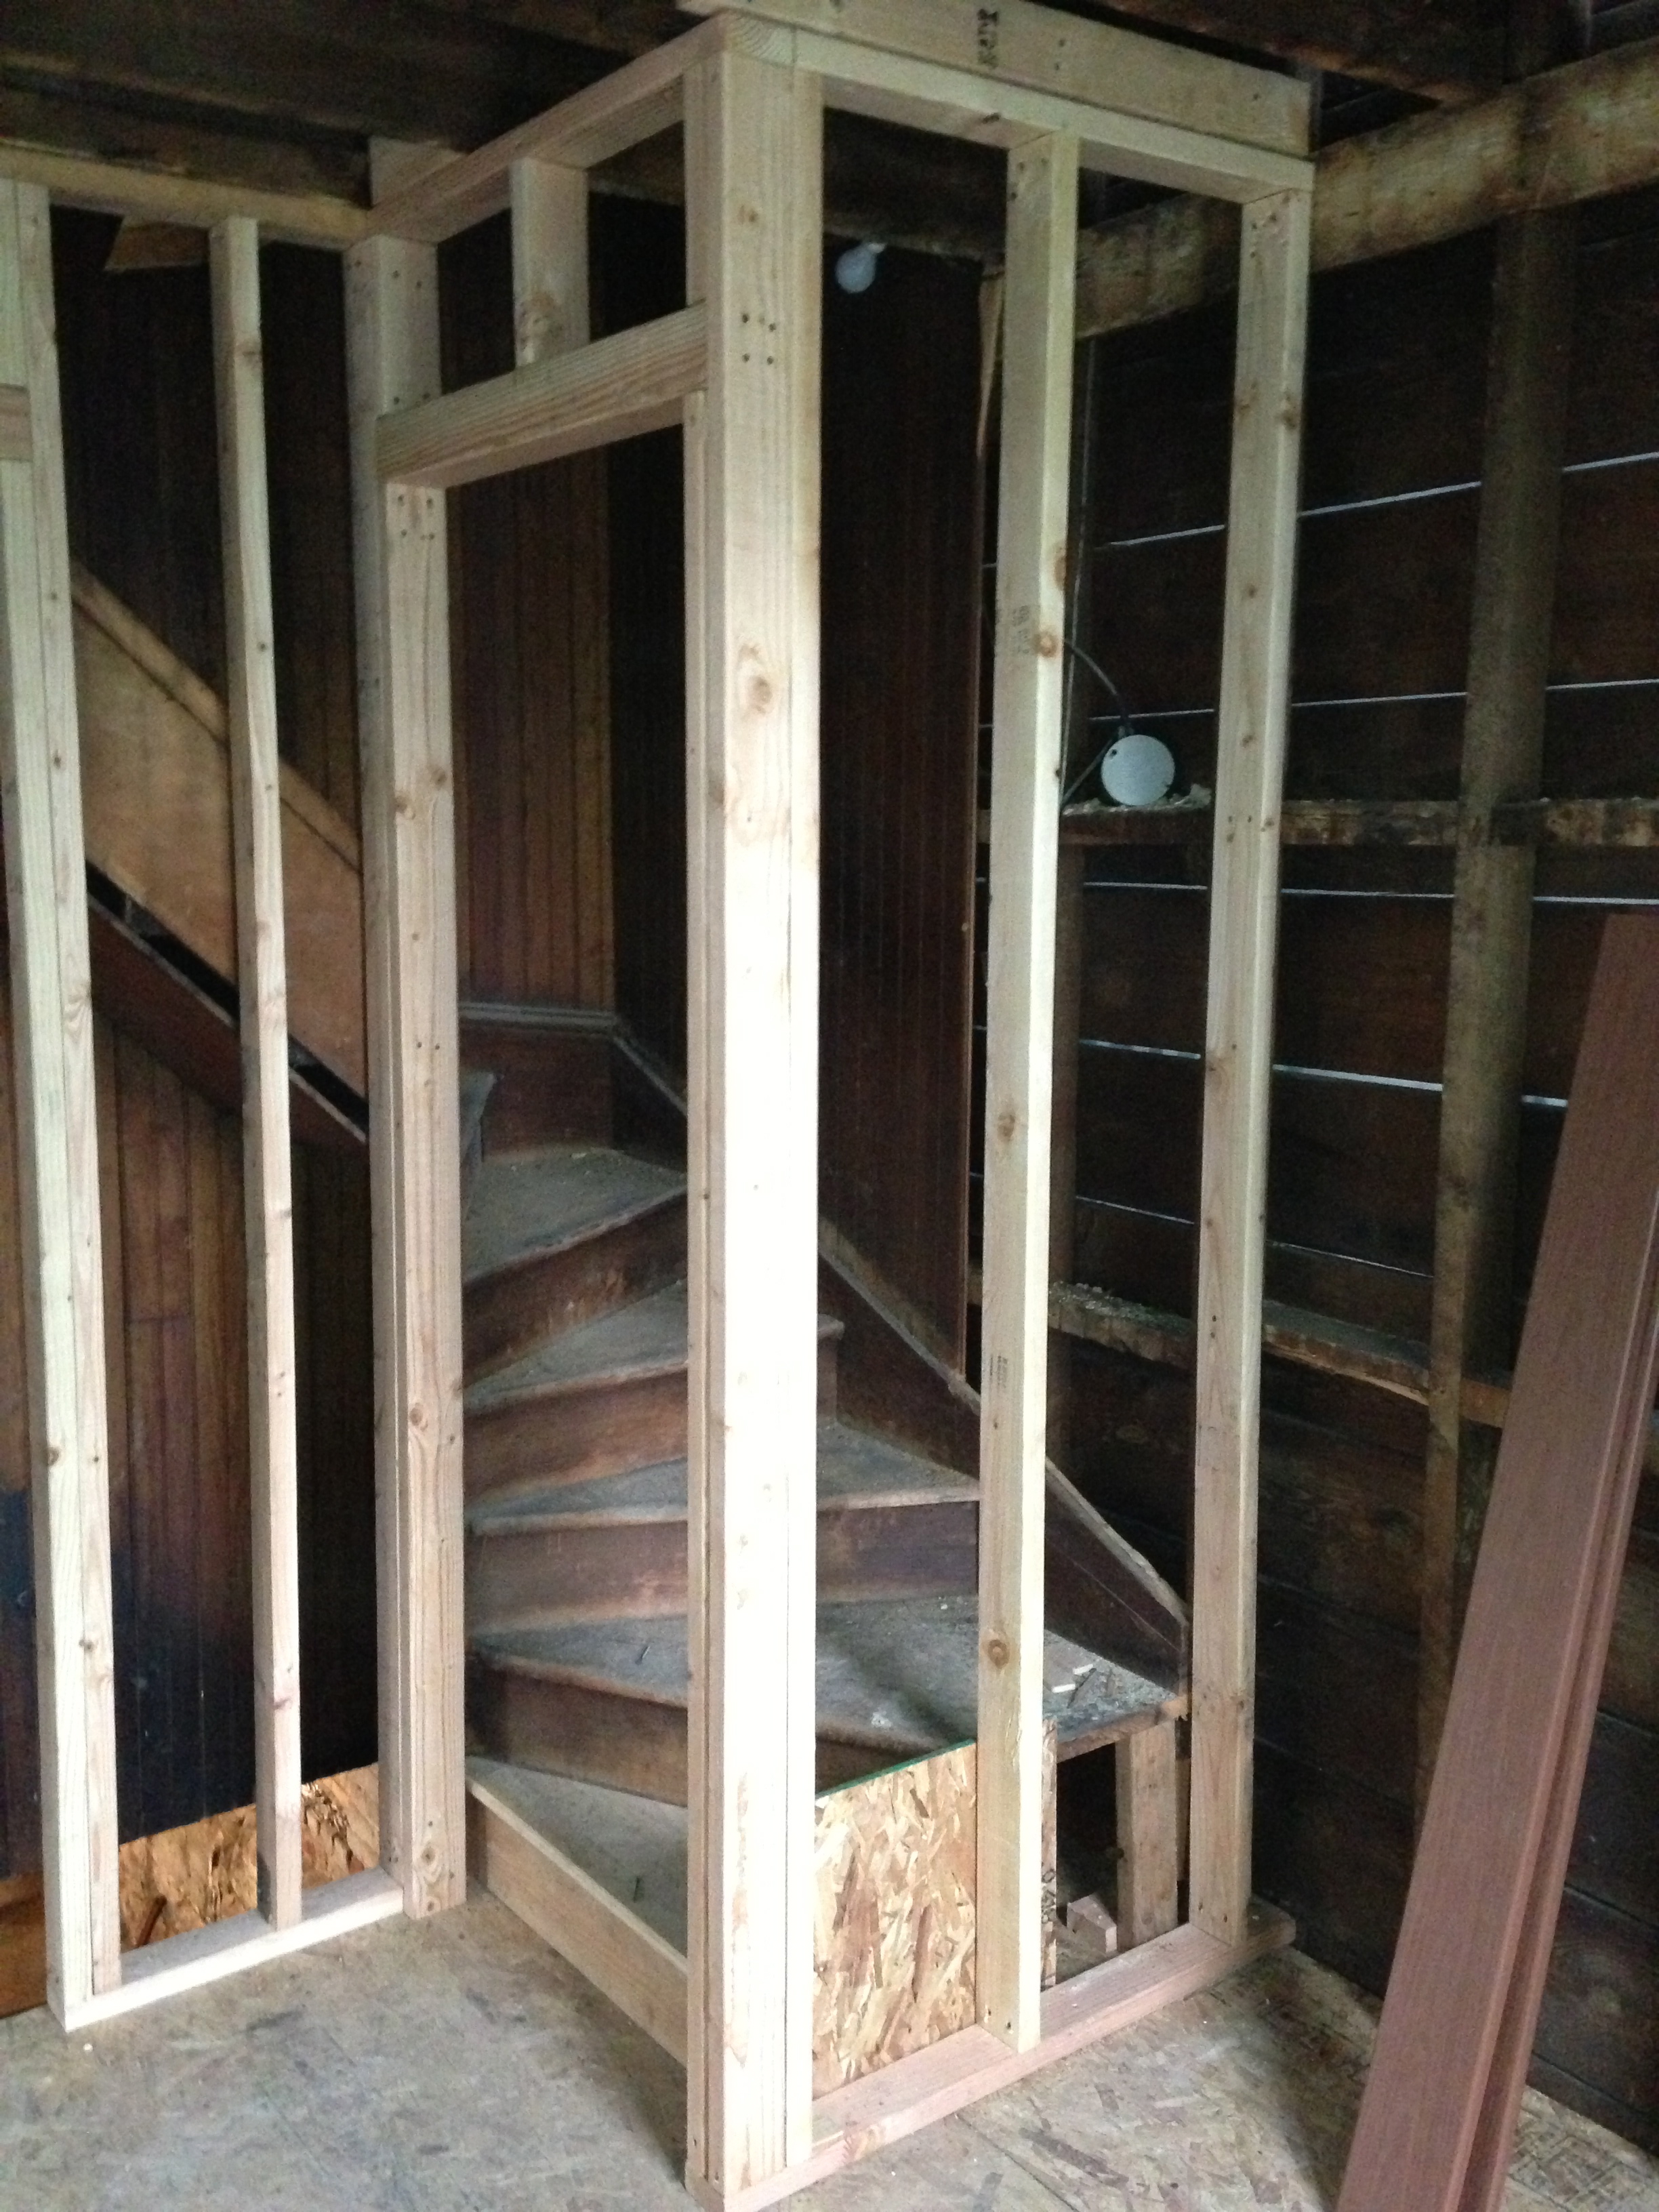
The wall that surrounded the basement steps was not properly built so a temporary had to be made while subfloor was laid and a new wall was erected in its place.
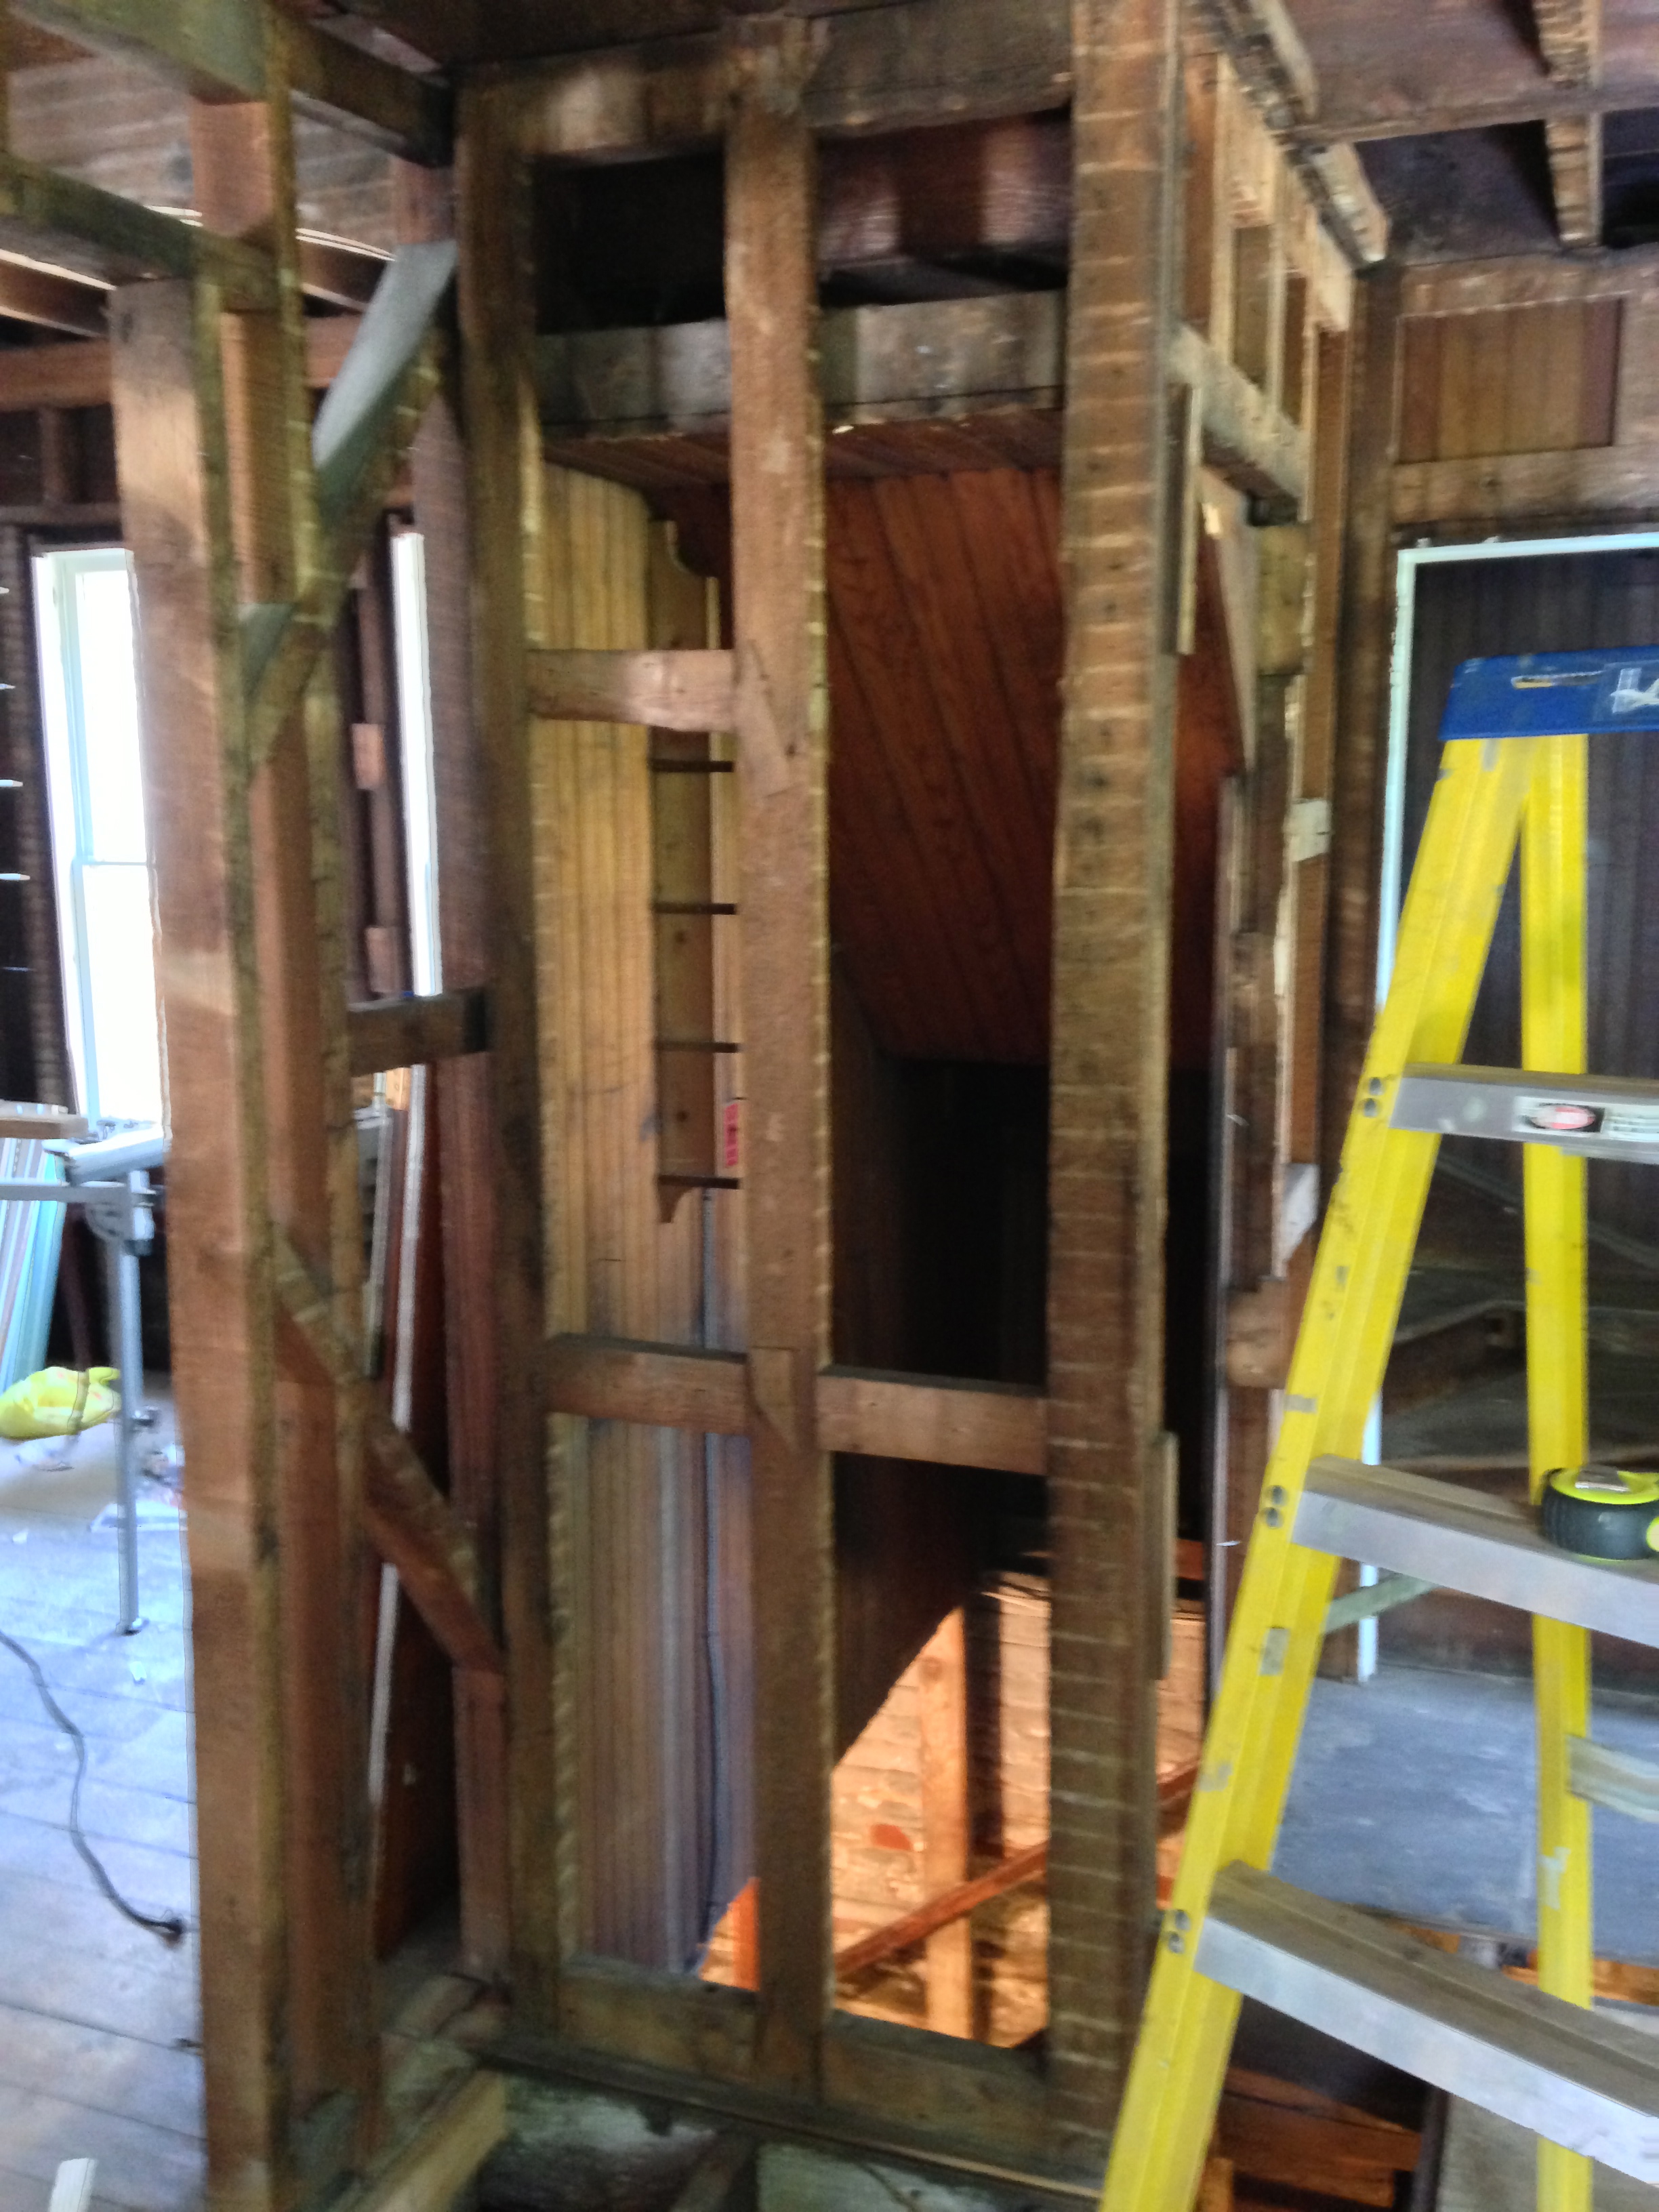
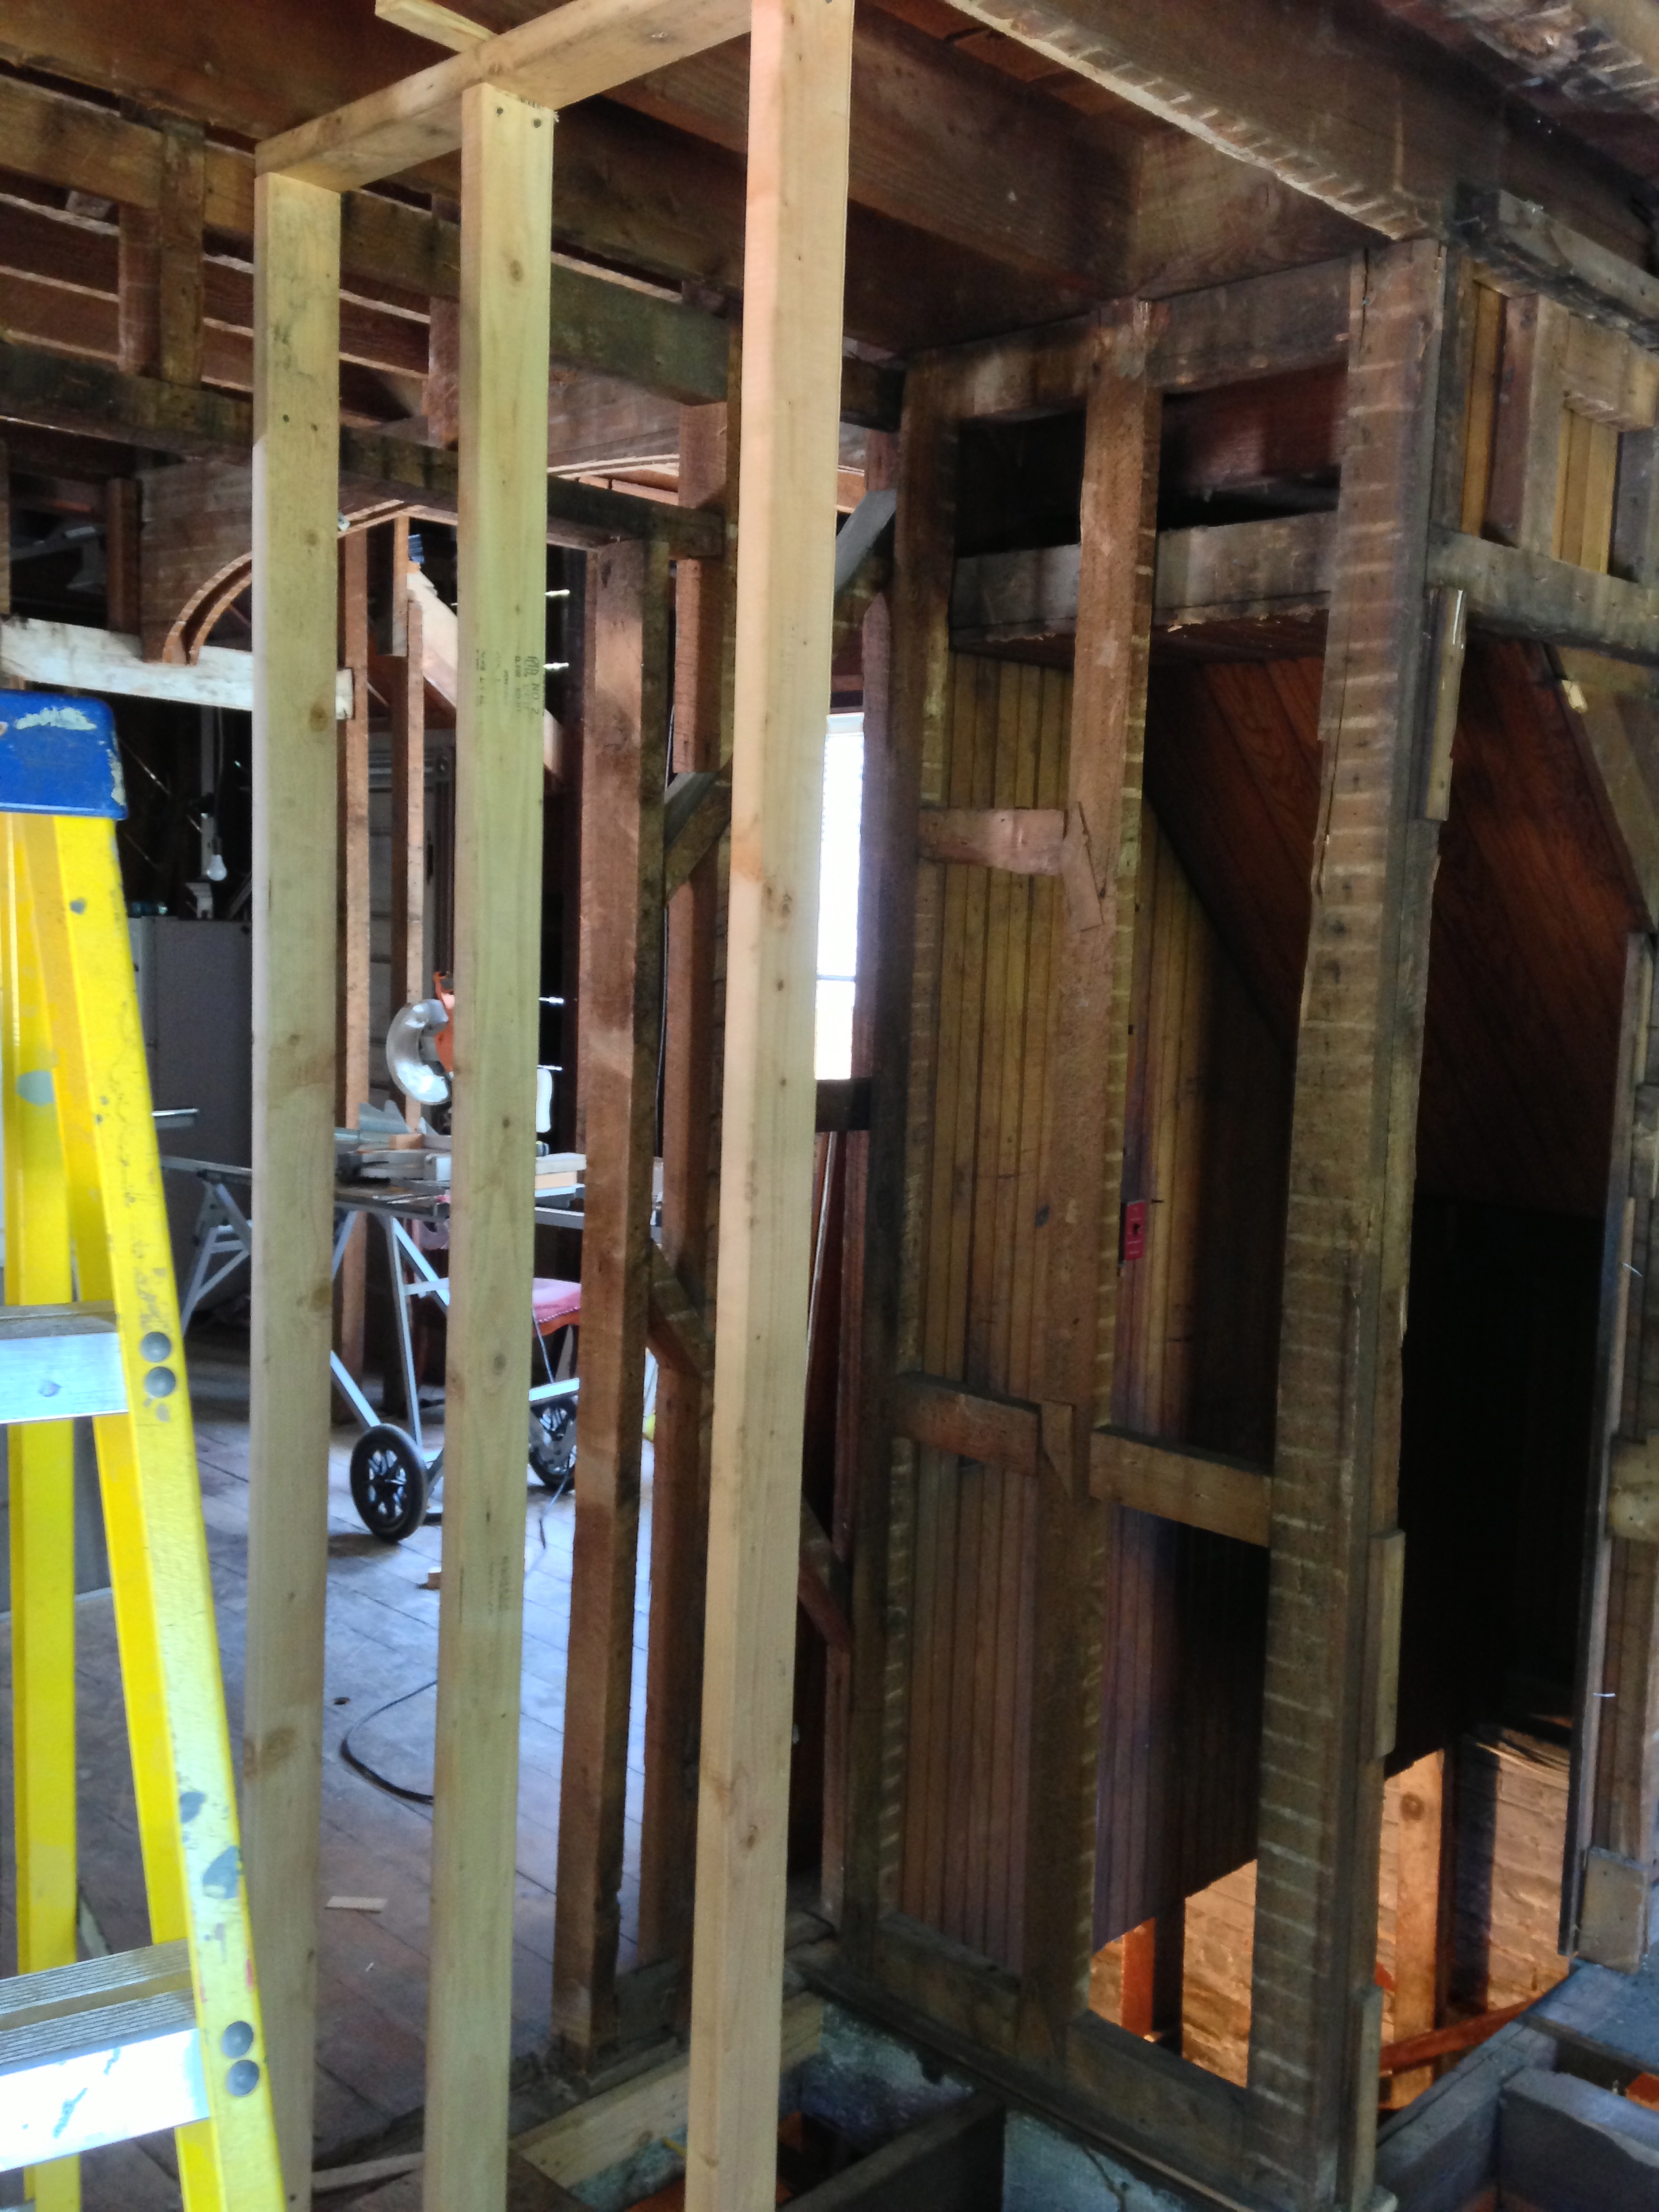
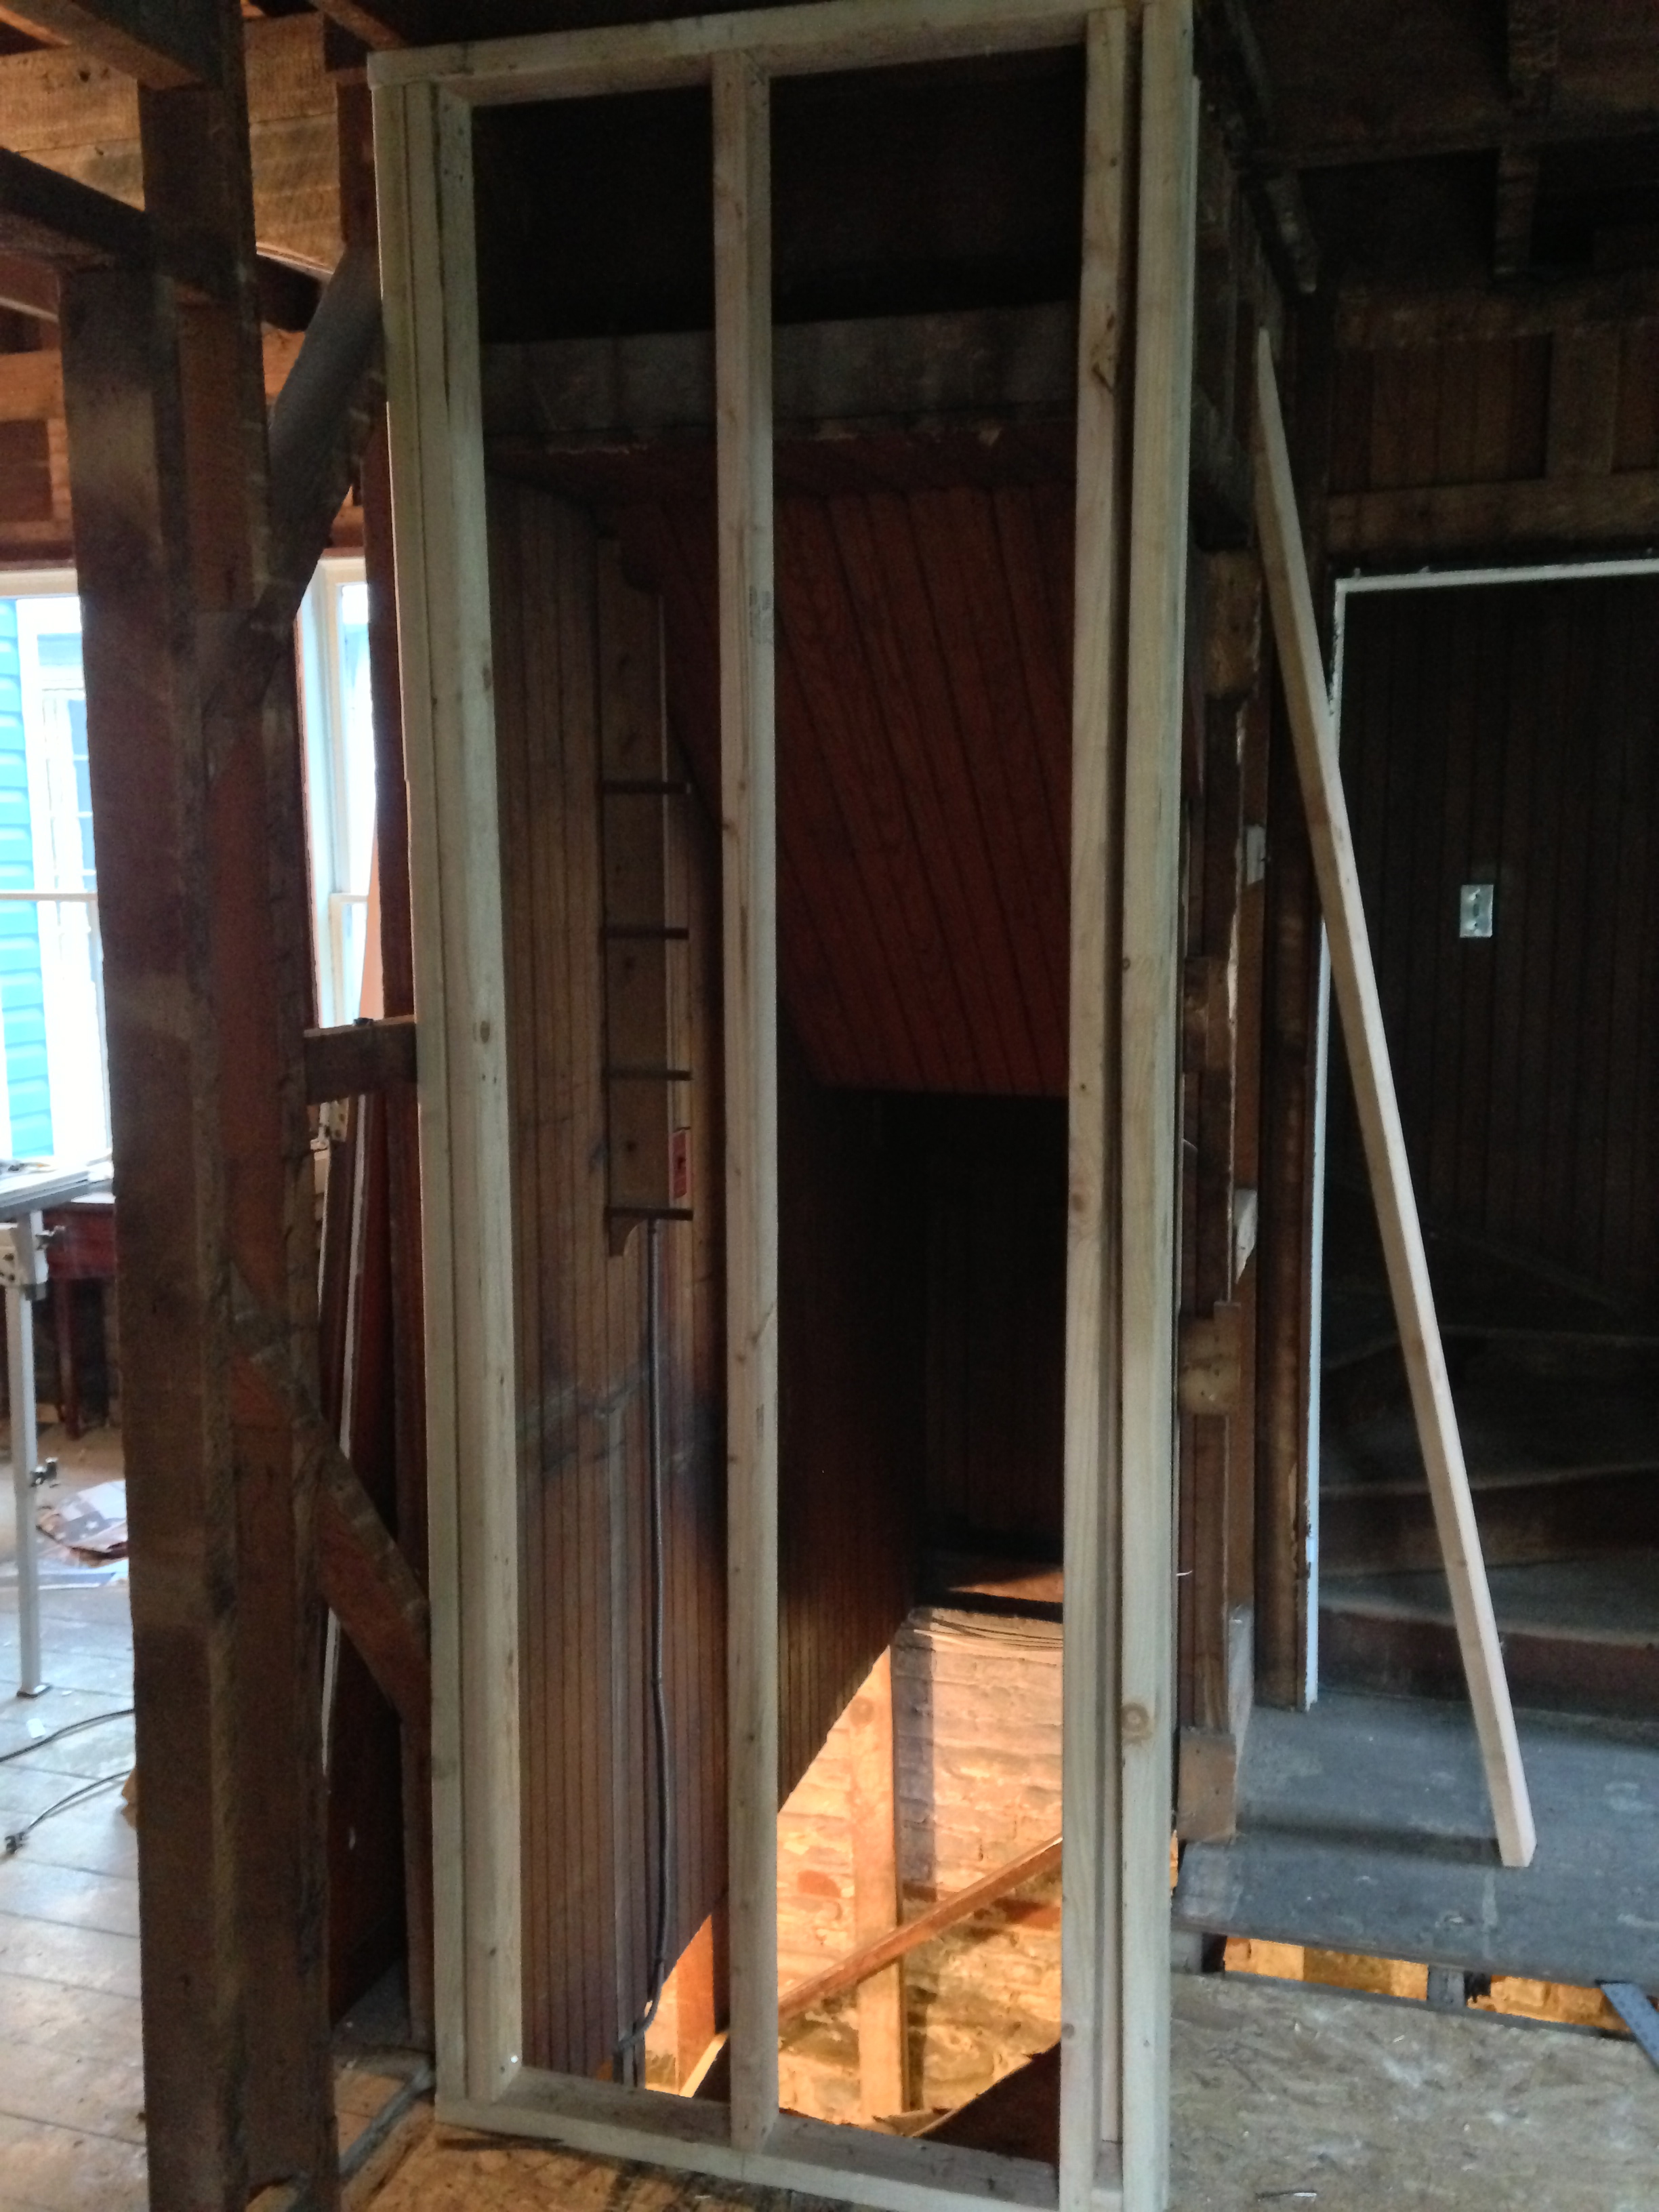

This was a little tricky. we ended up removing the first step and rebuilding it in order to make sure it was secure.


The rest of the wall around the steps was then rebuilt. This last corner piece took some time simply because we had to move the only power in the kitchen in order to cut the wood to put in the corner. It was a process.
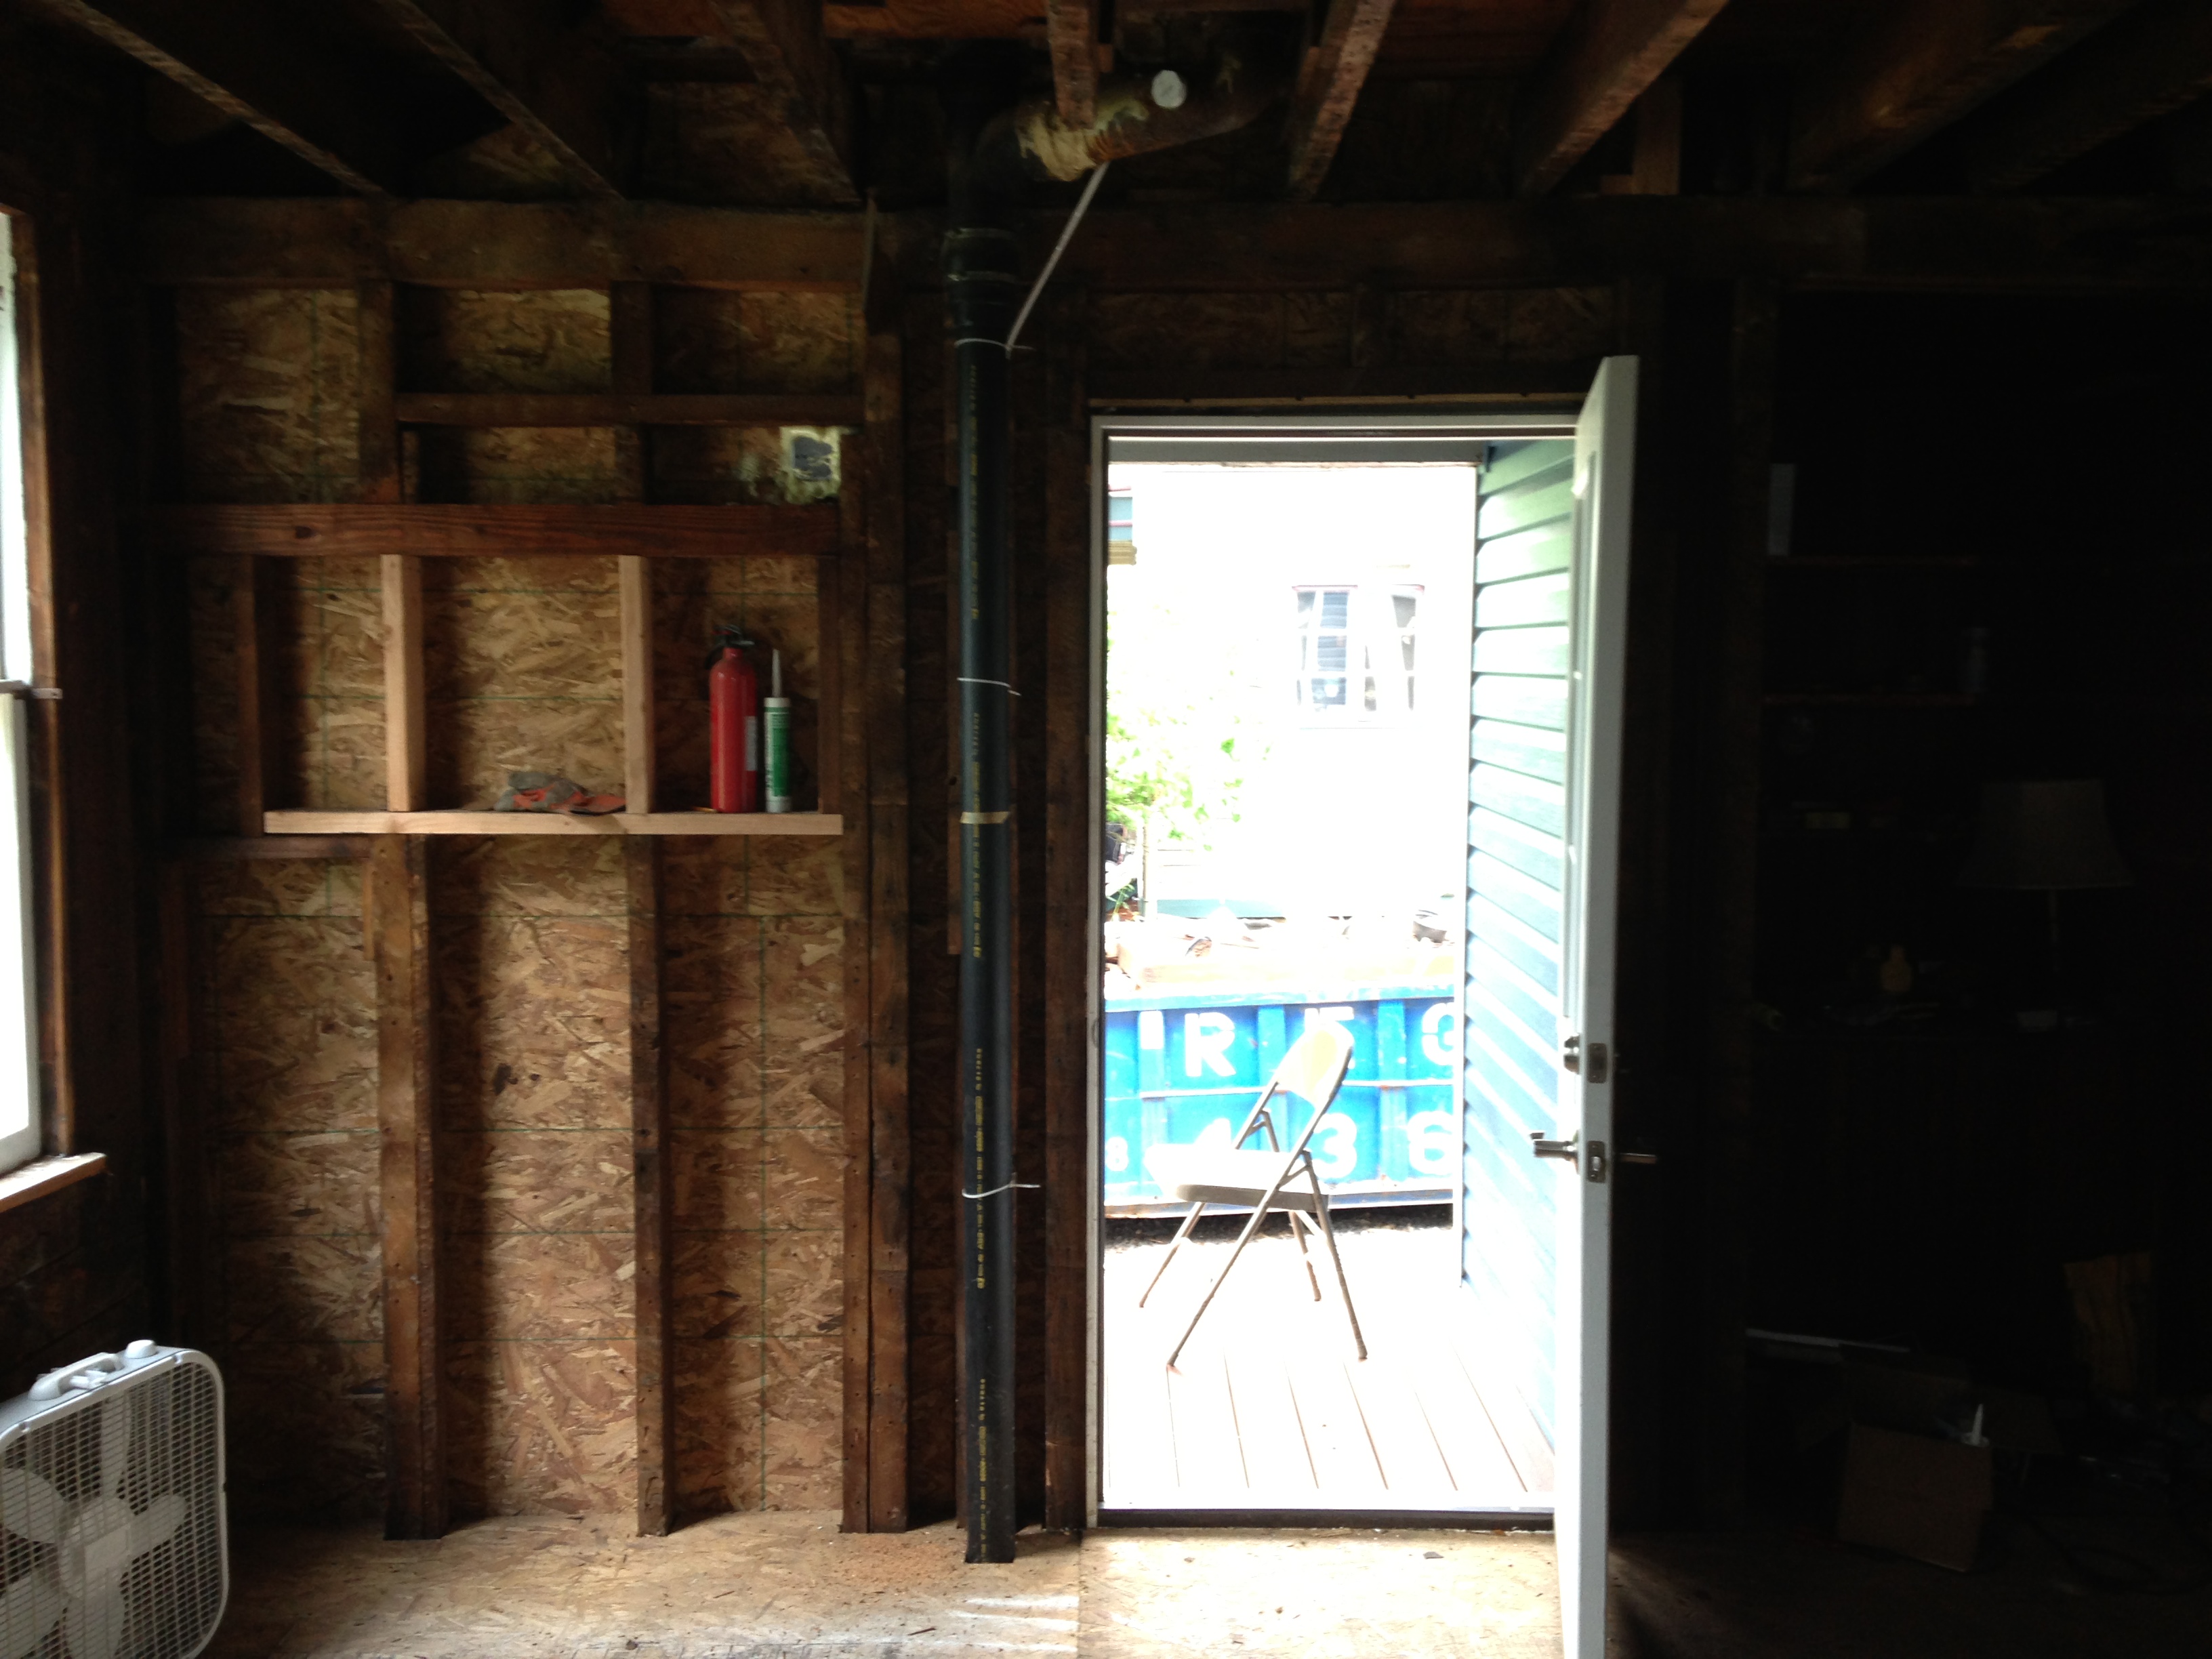
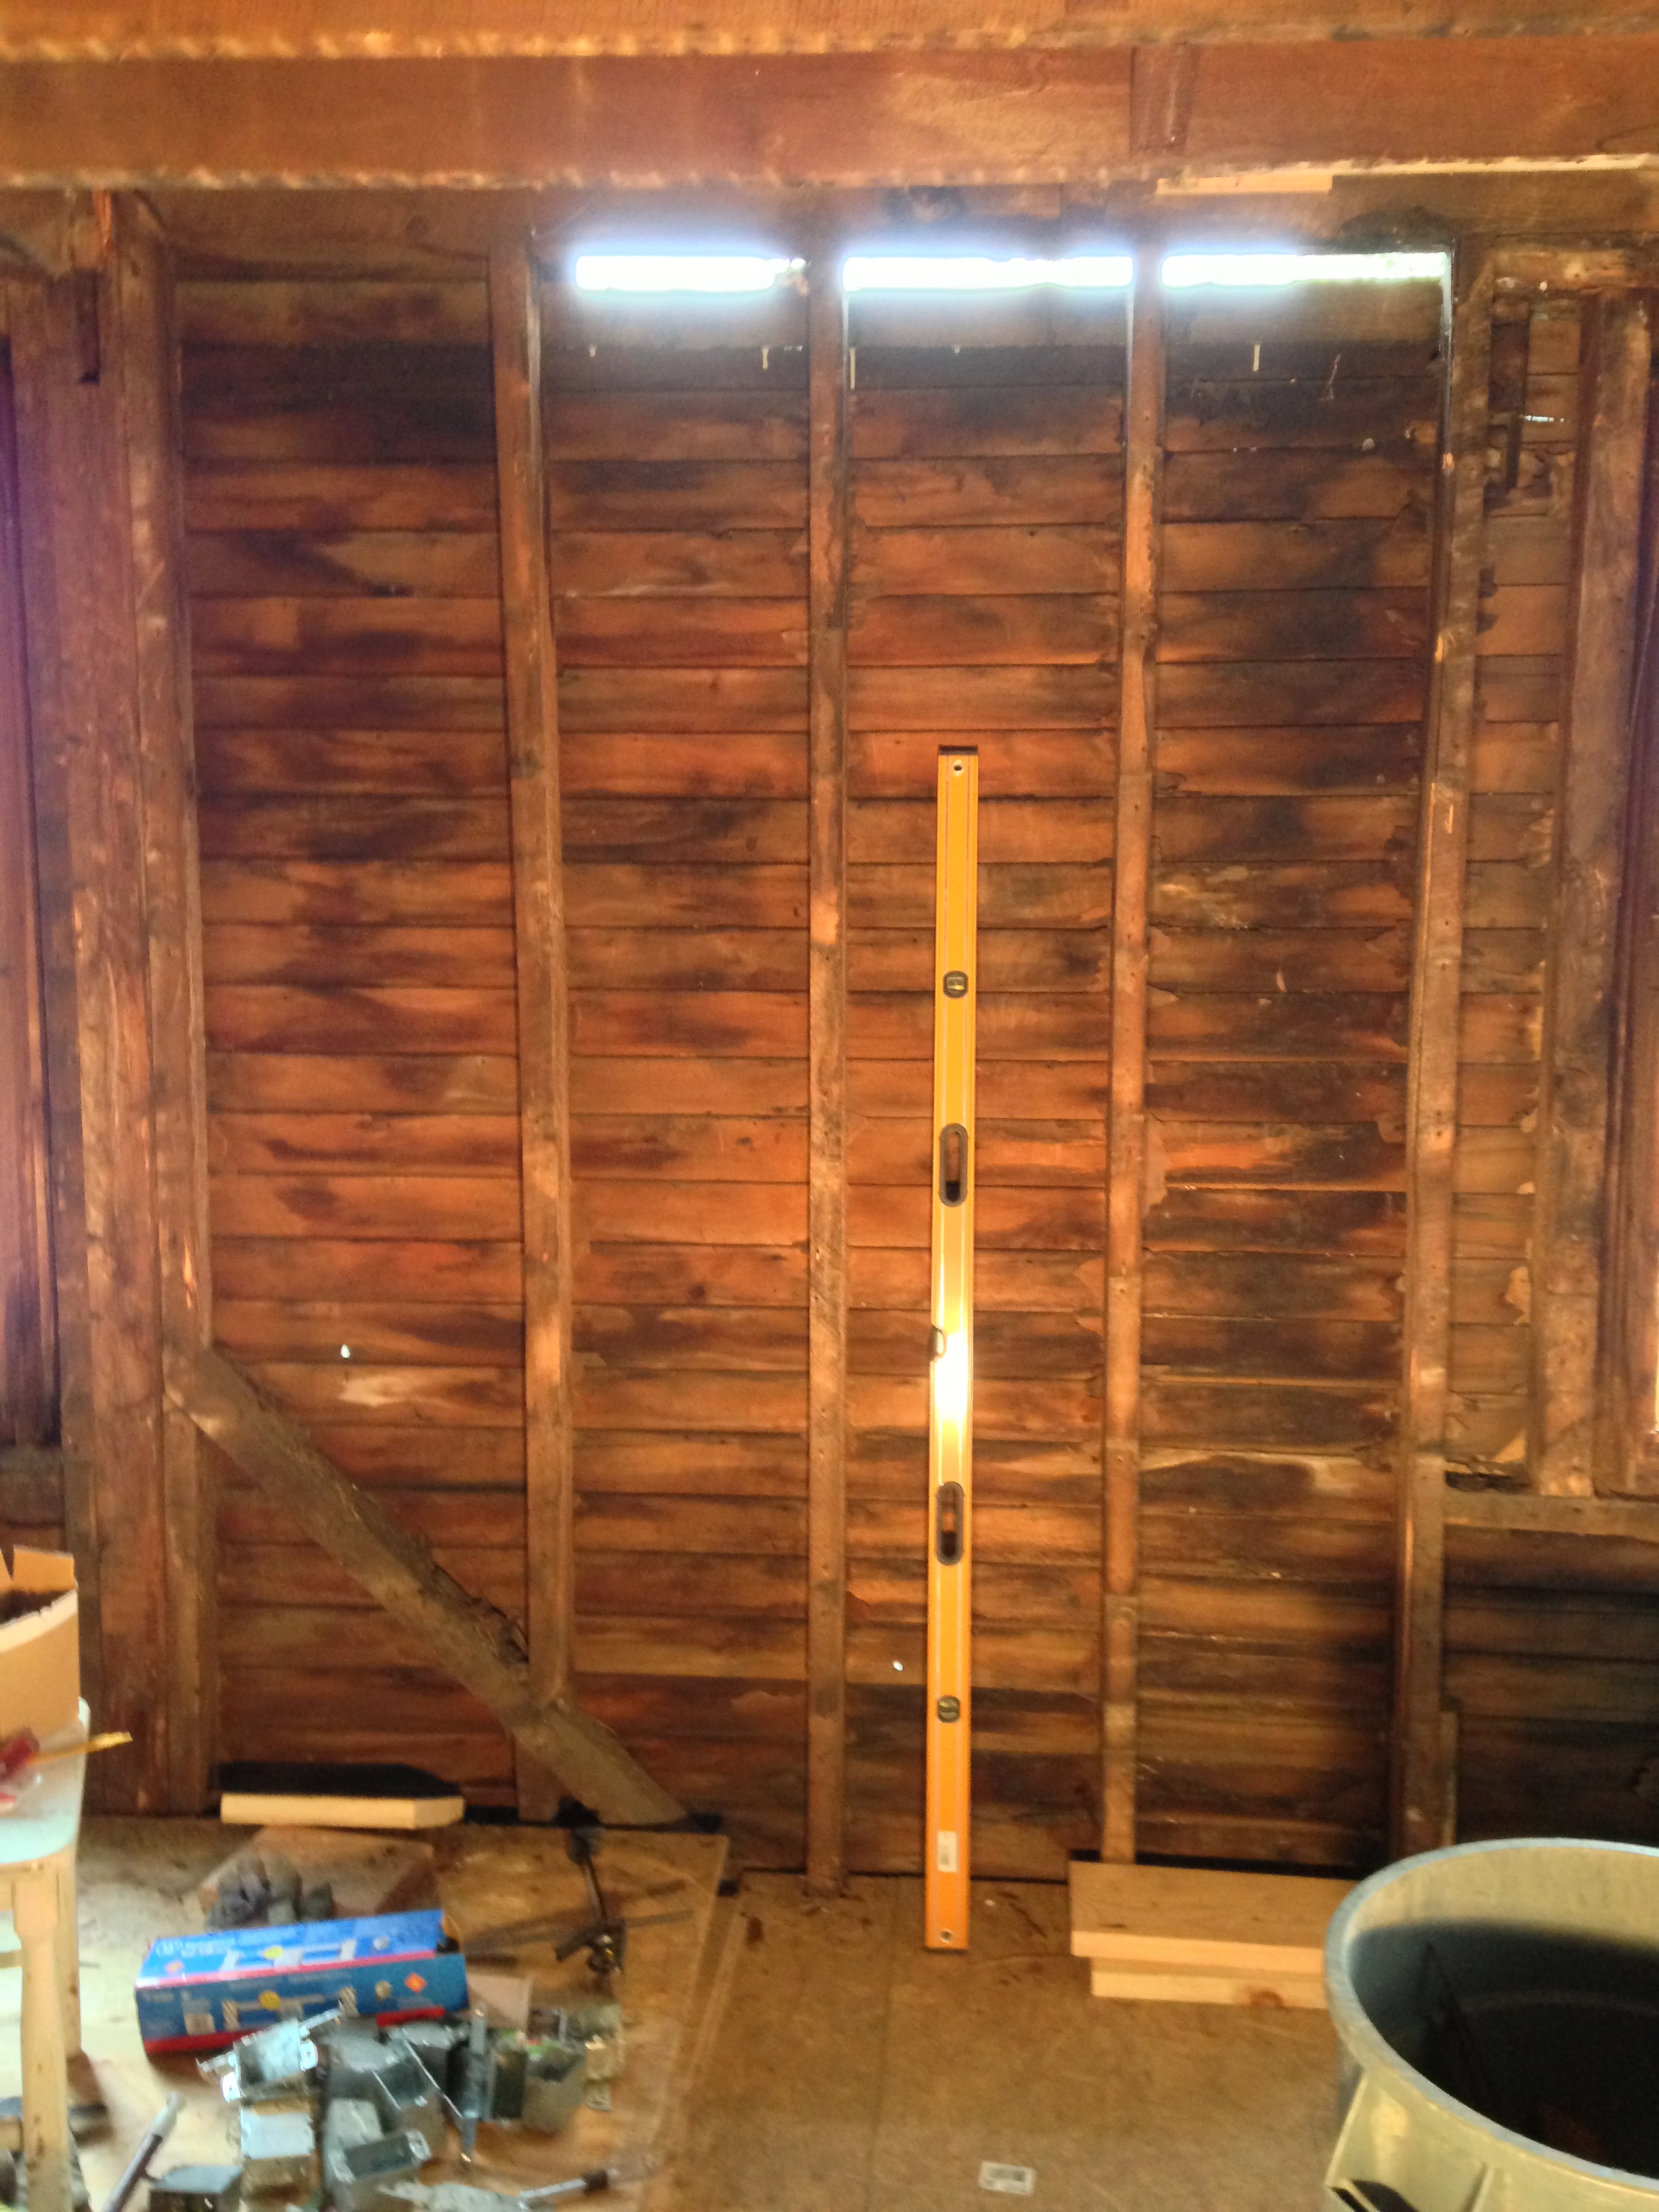
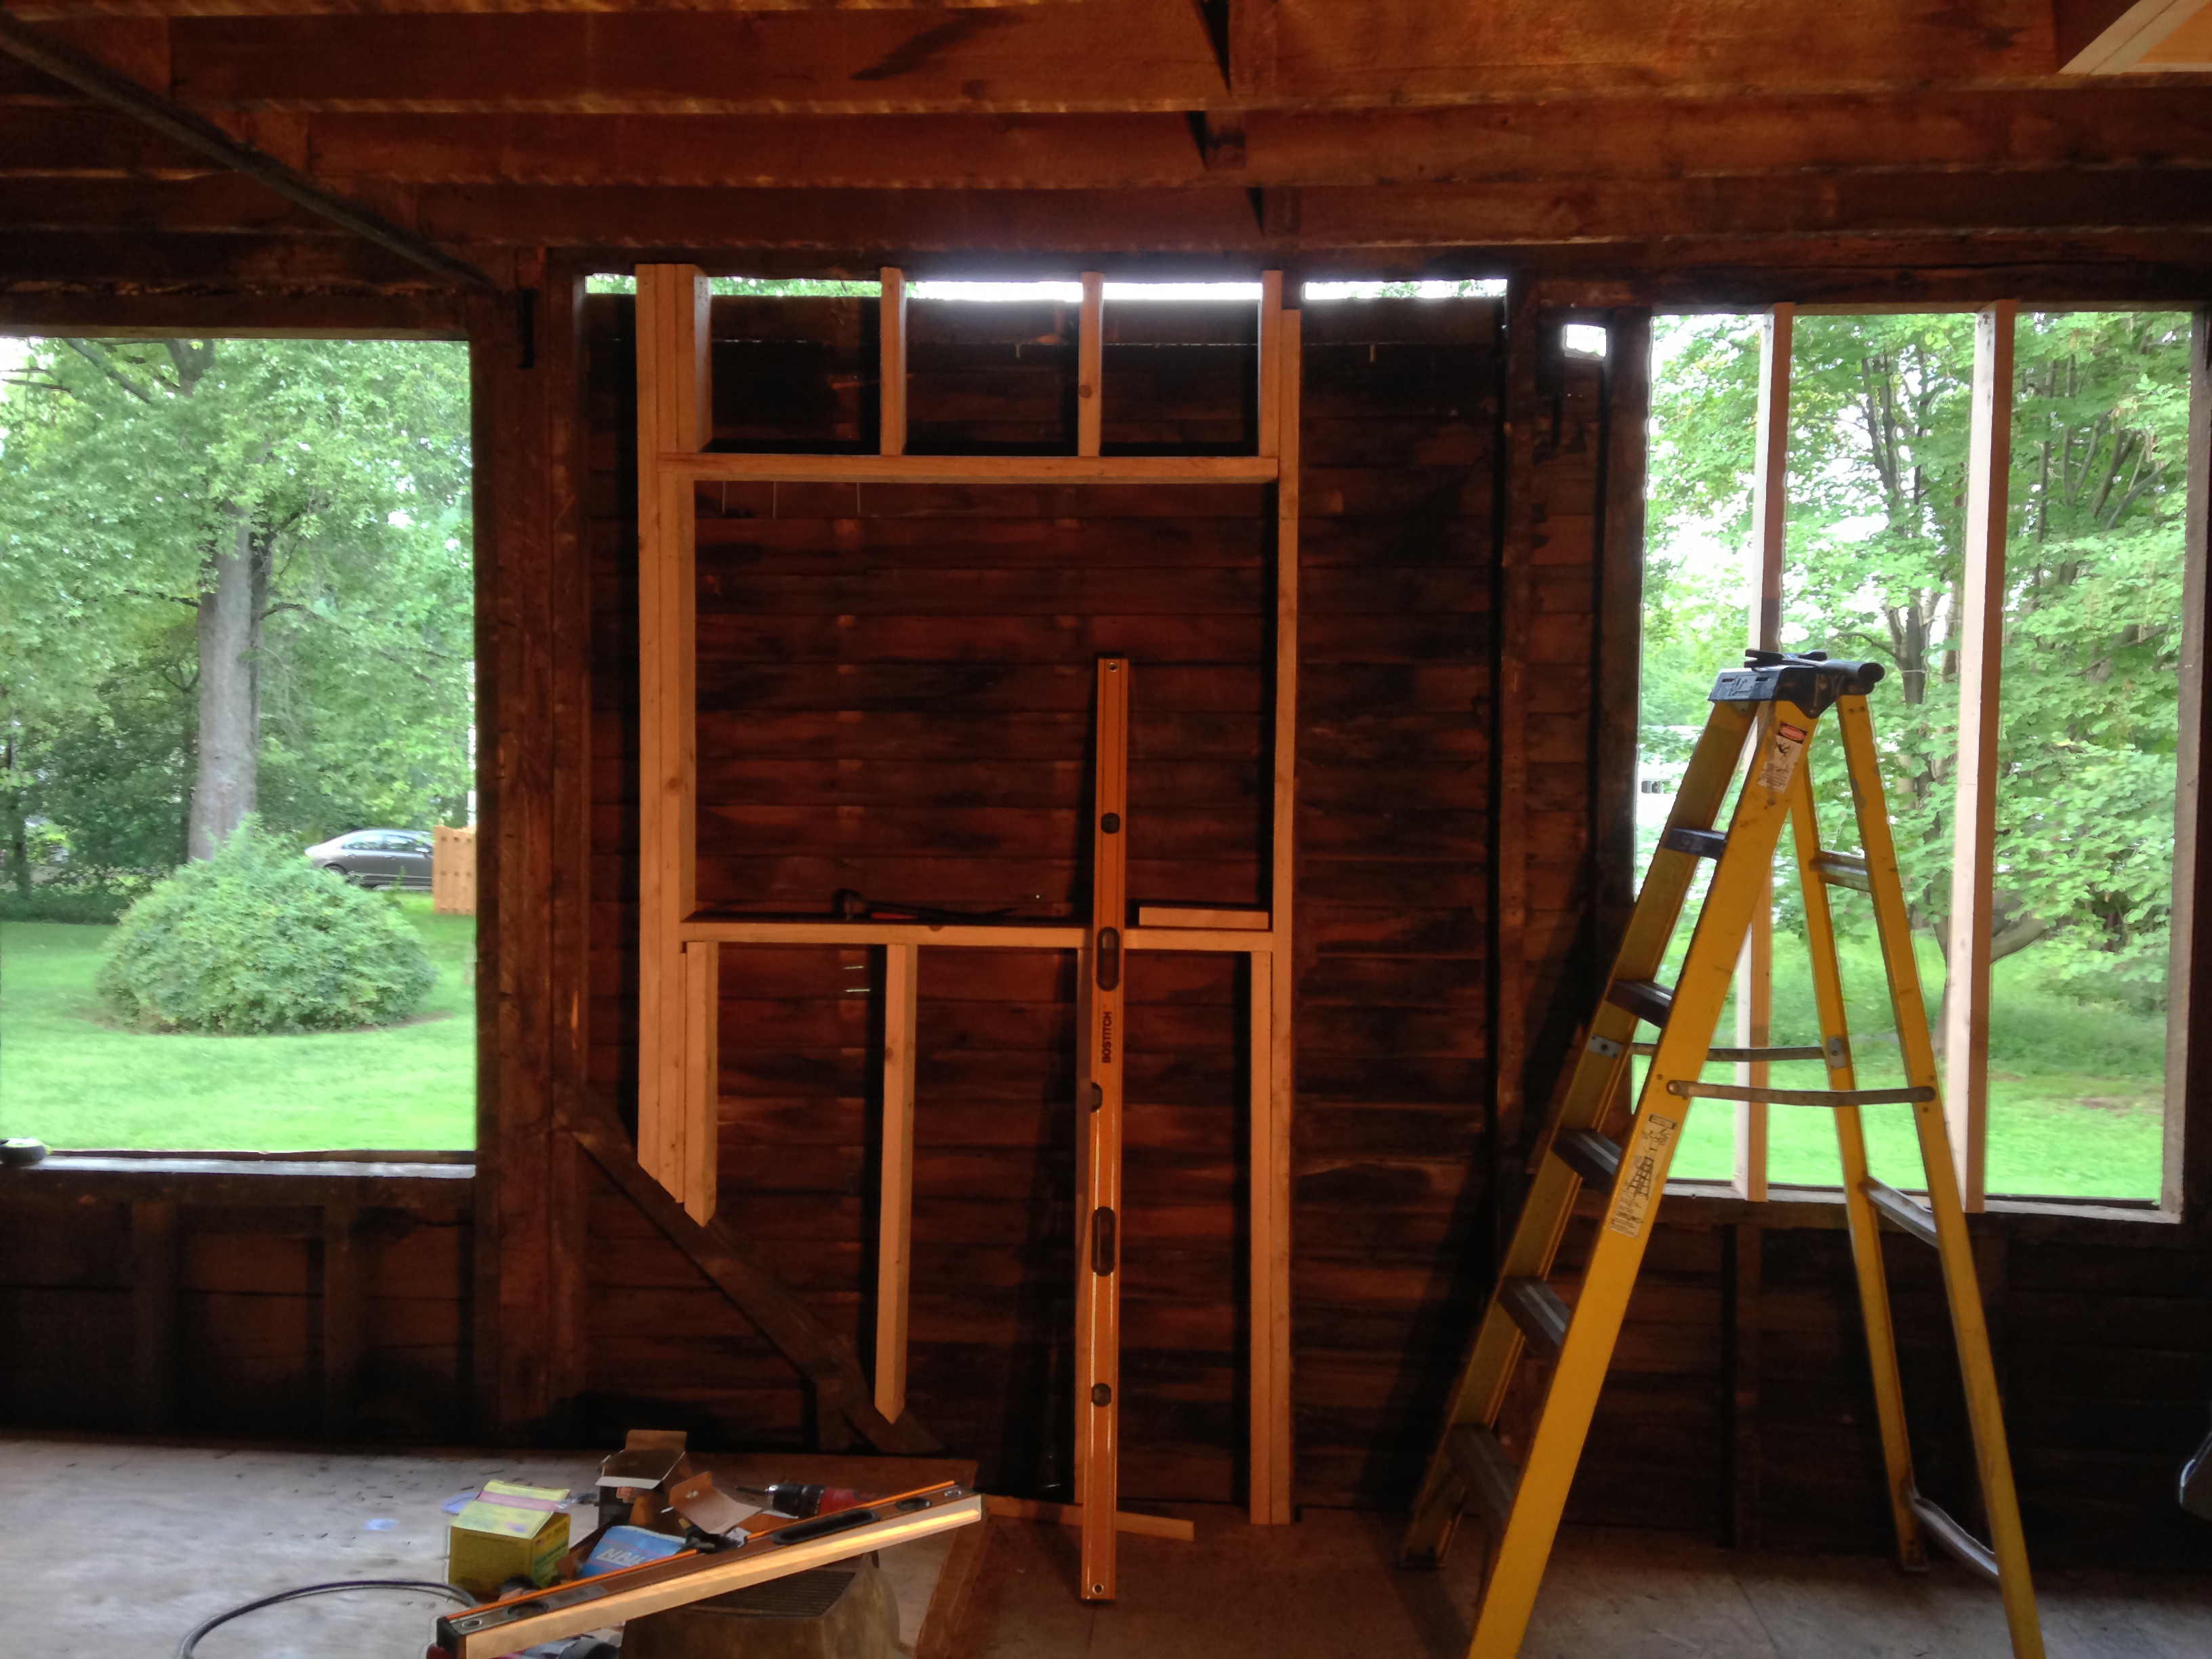
Now the wall was finished, the window in the pantry was sealed and we could proceed with the back wall of the kitchen.

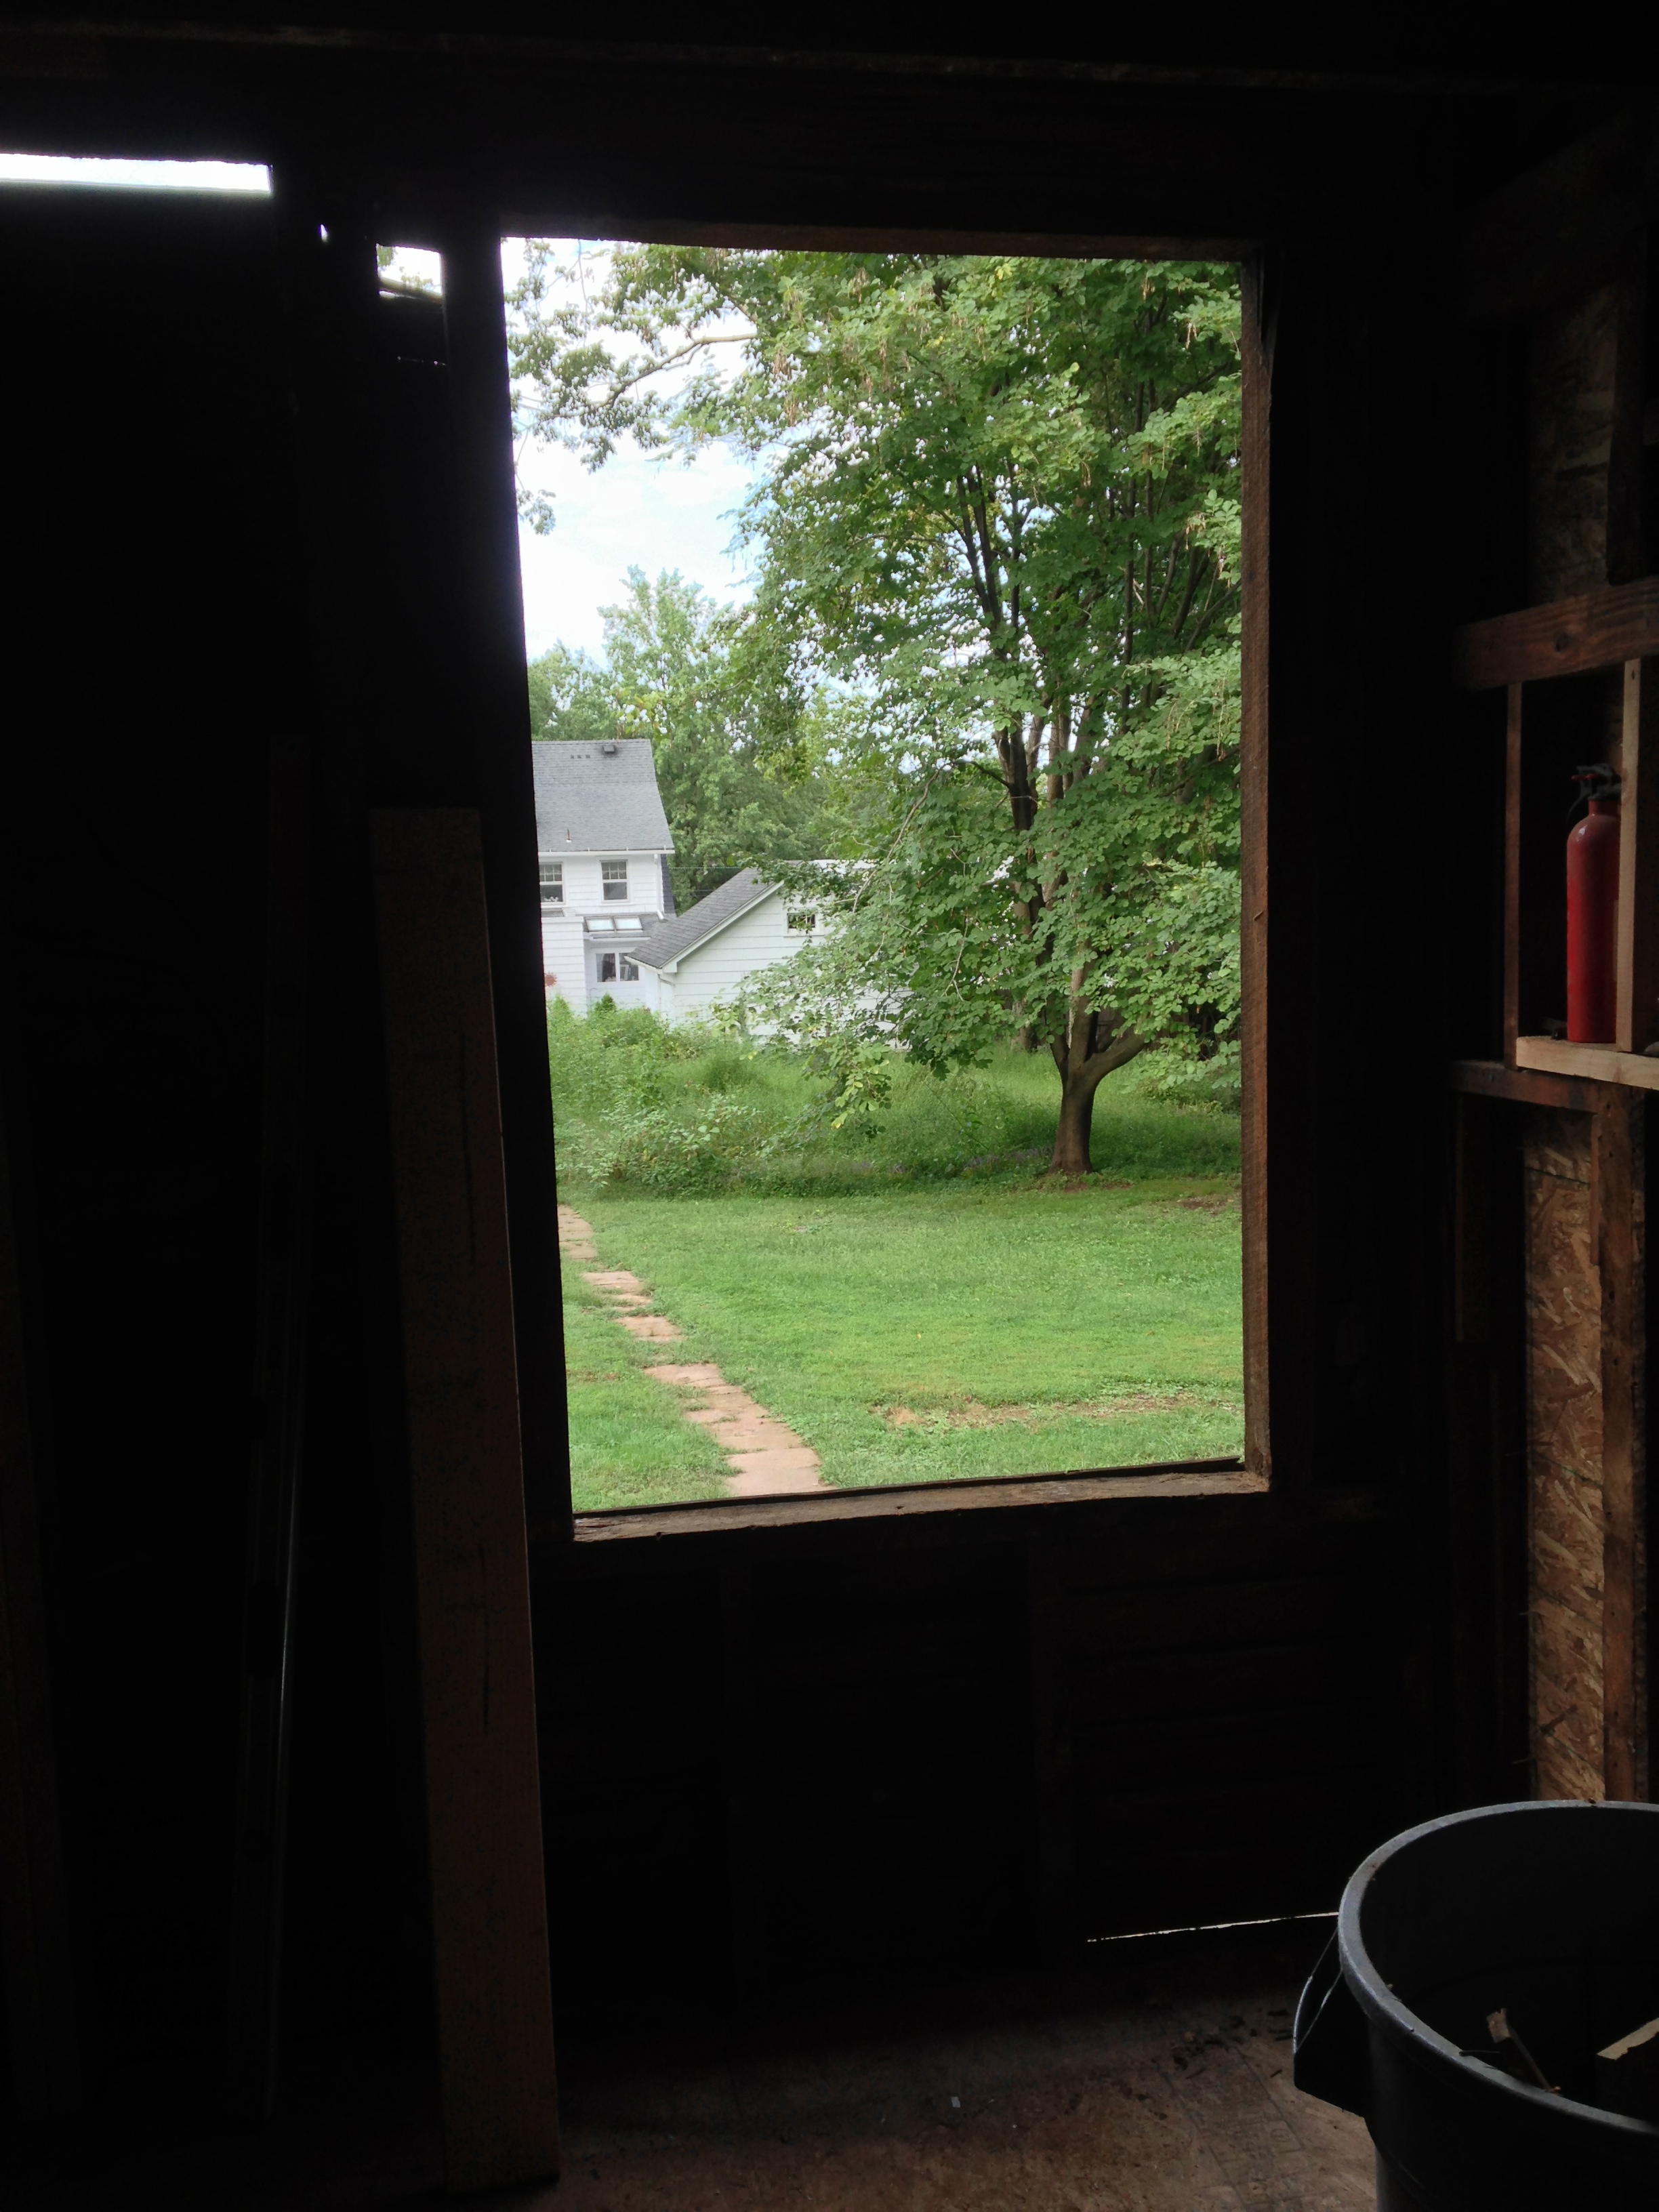
The current layout of the windows meant there would be virtually no room for upper cabinets and only one real position available for a fridge and an oven vent. Instead of trying to figure out a kitchen around the windows we decided to change the entire back layout. In addition to being inconveniently placed the windows were also so low that the only counter that would fit underneath would be at knee level. Kind of made sense why the old kitchen had no cabinets whatsoever, there was no where to put them!
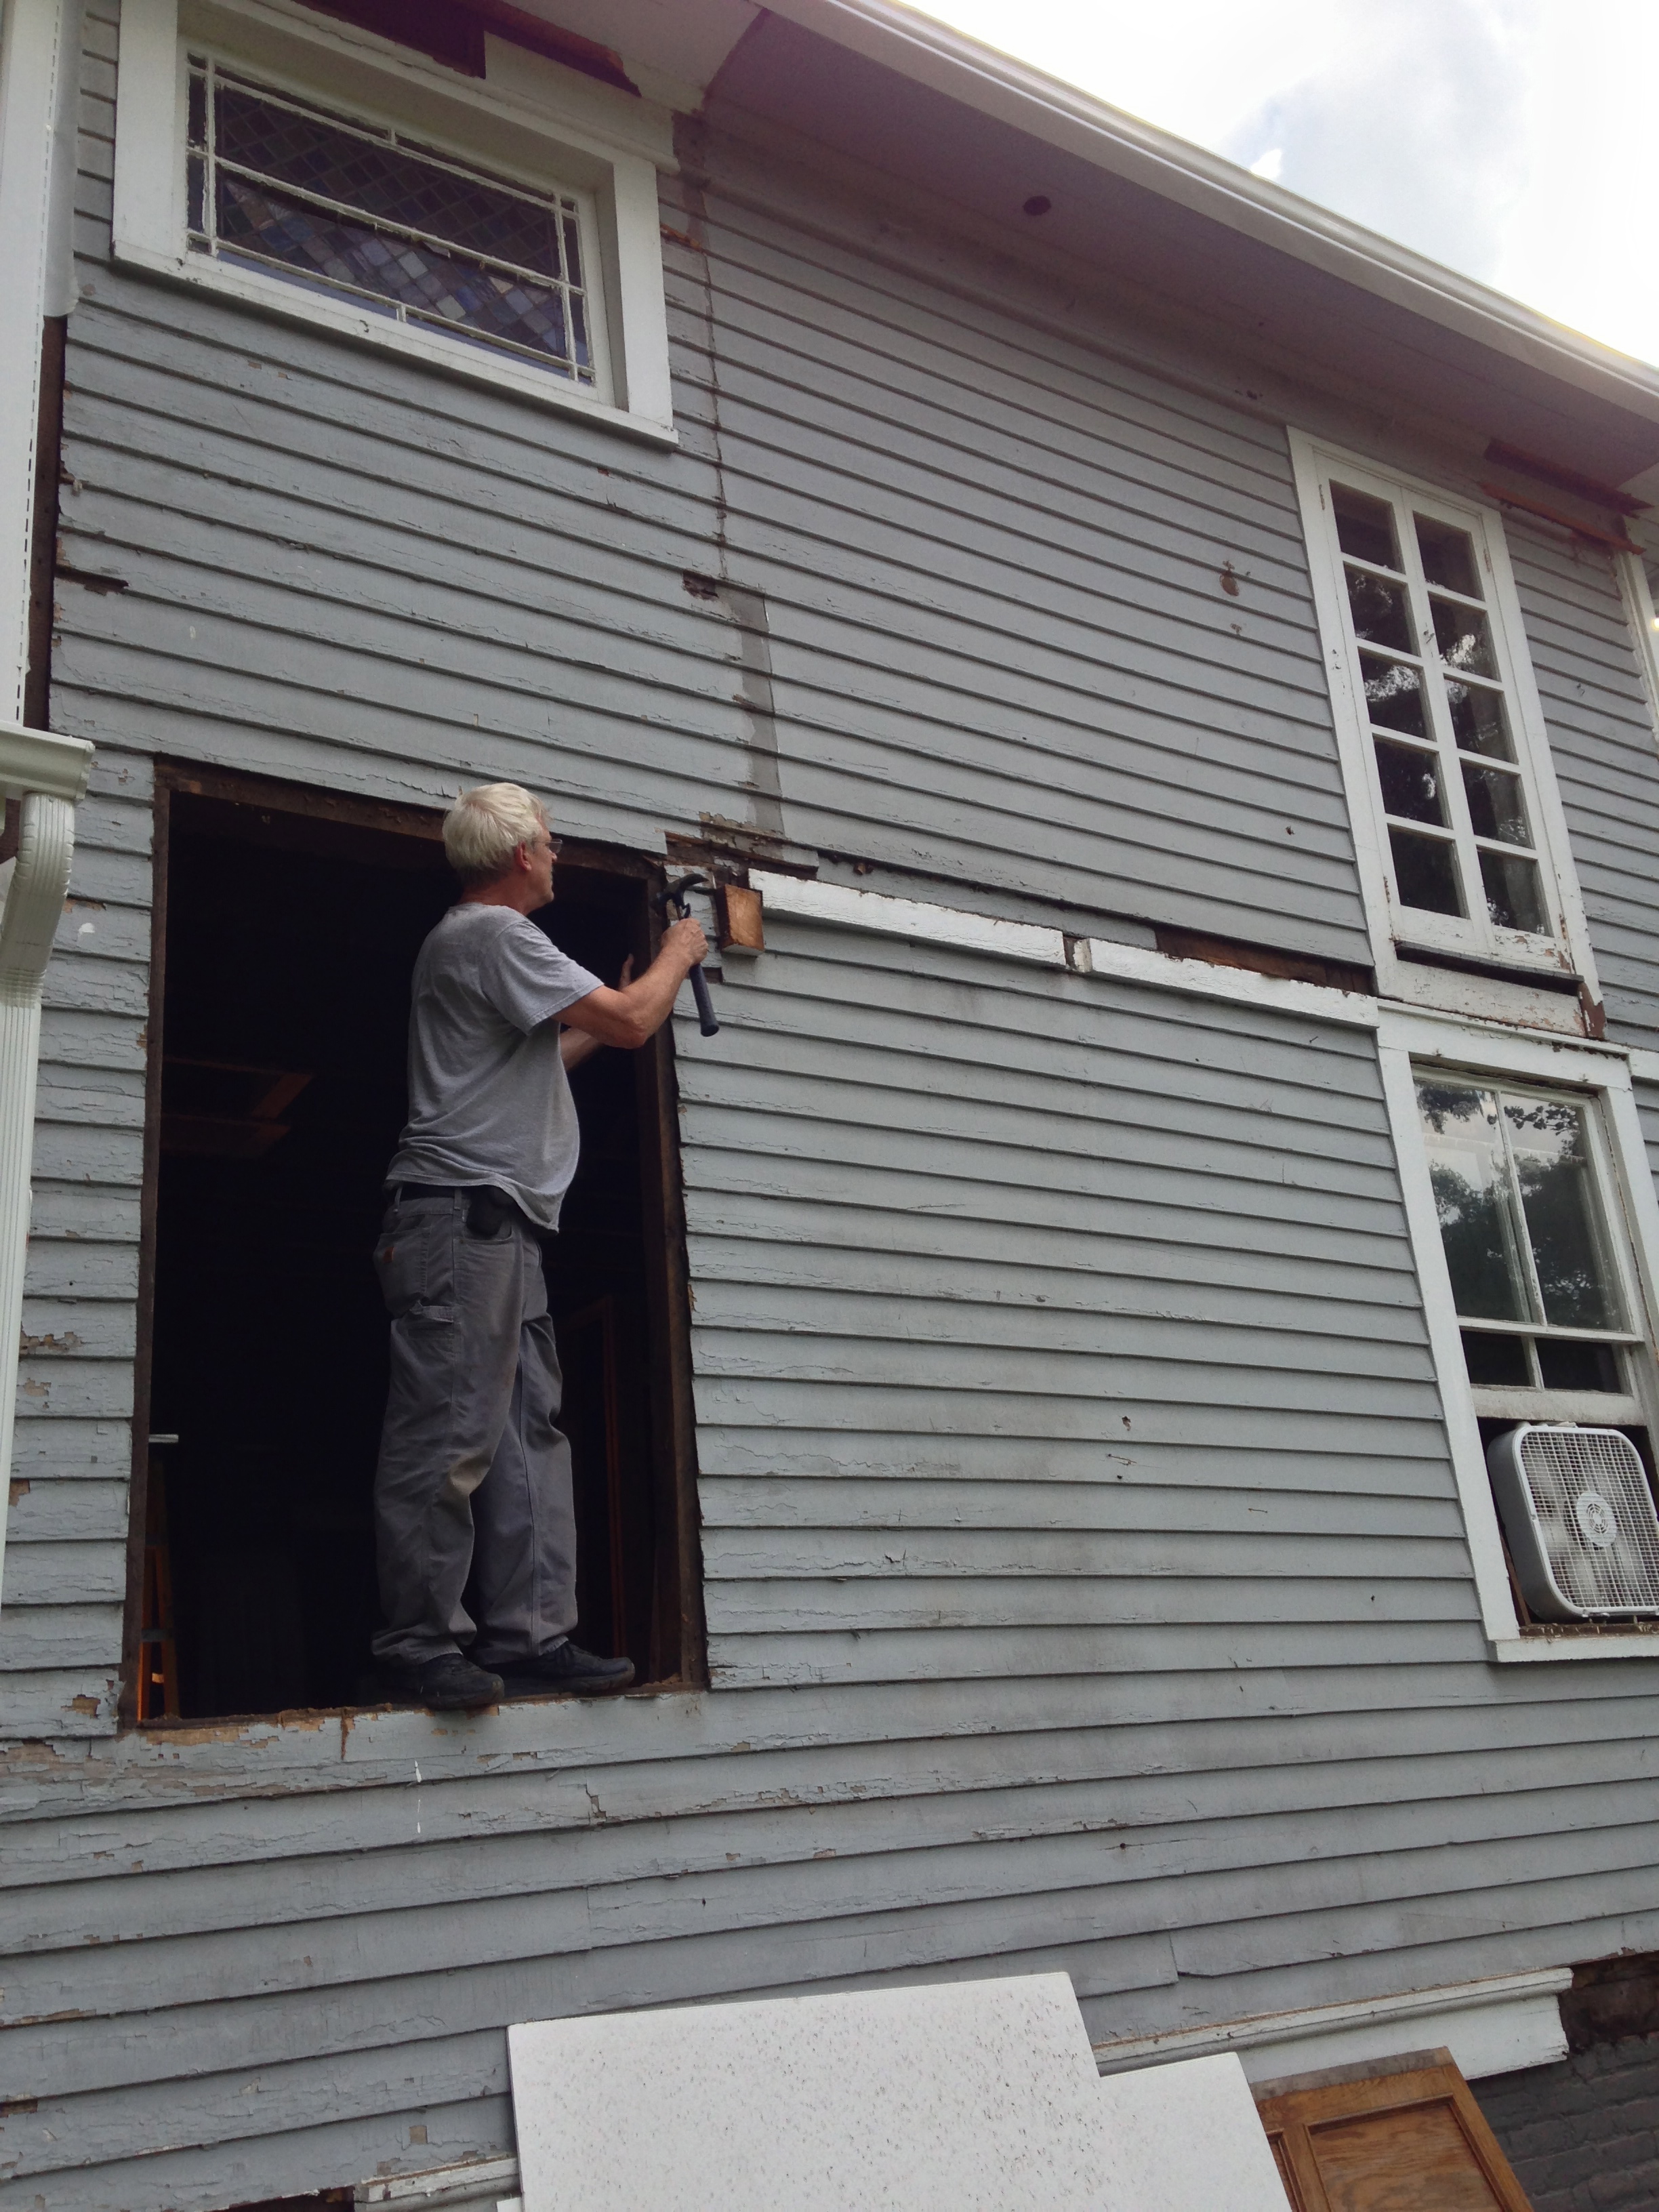
Instead, we decided to create one center window that would be above the future spot of the sink.
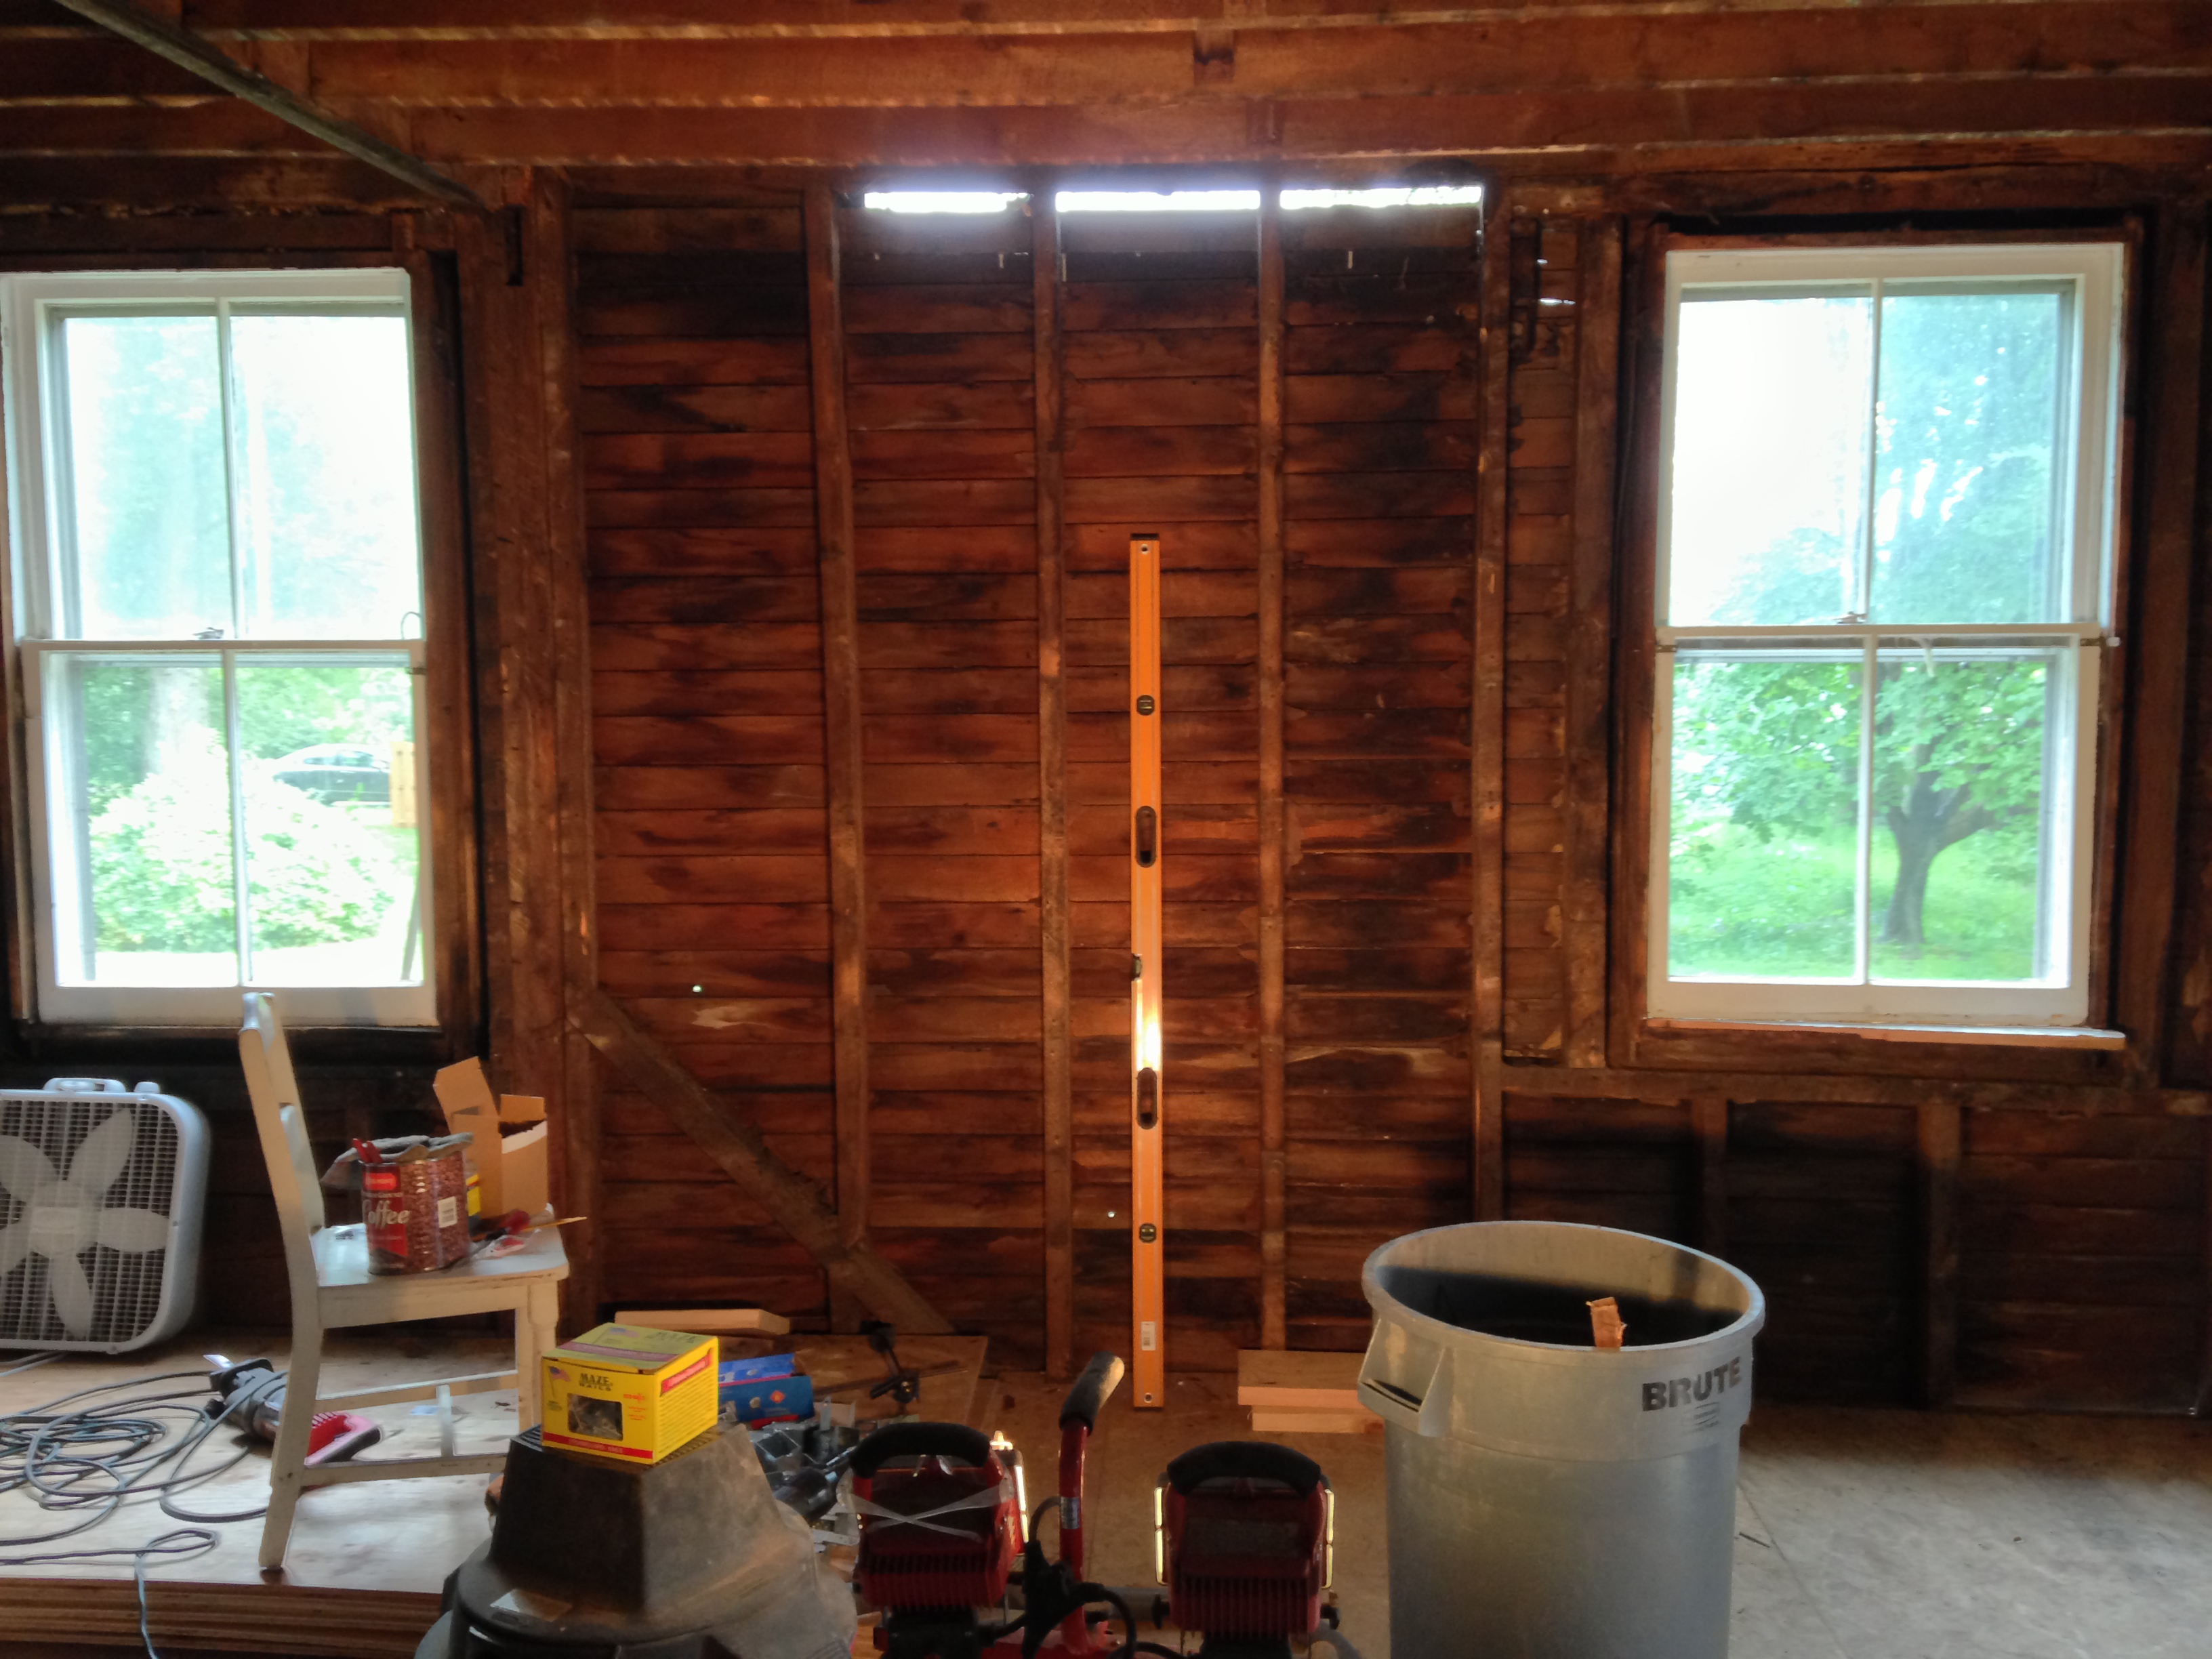


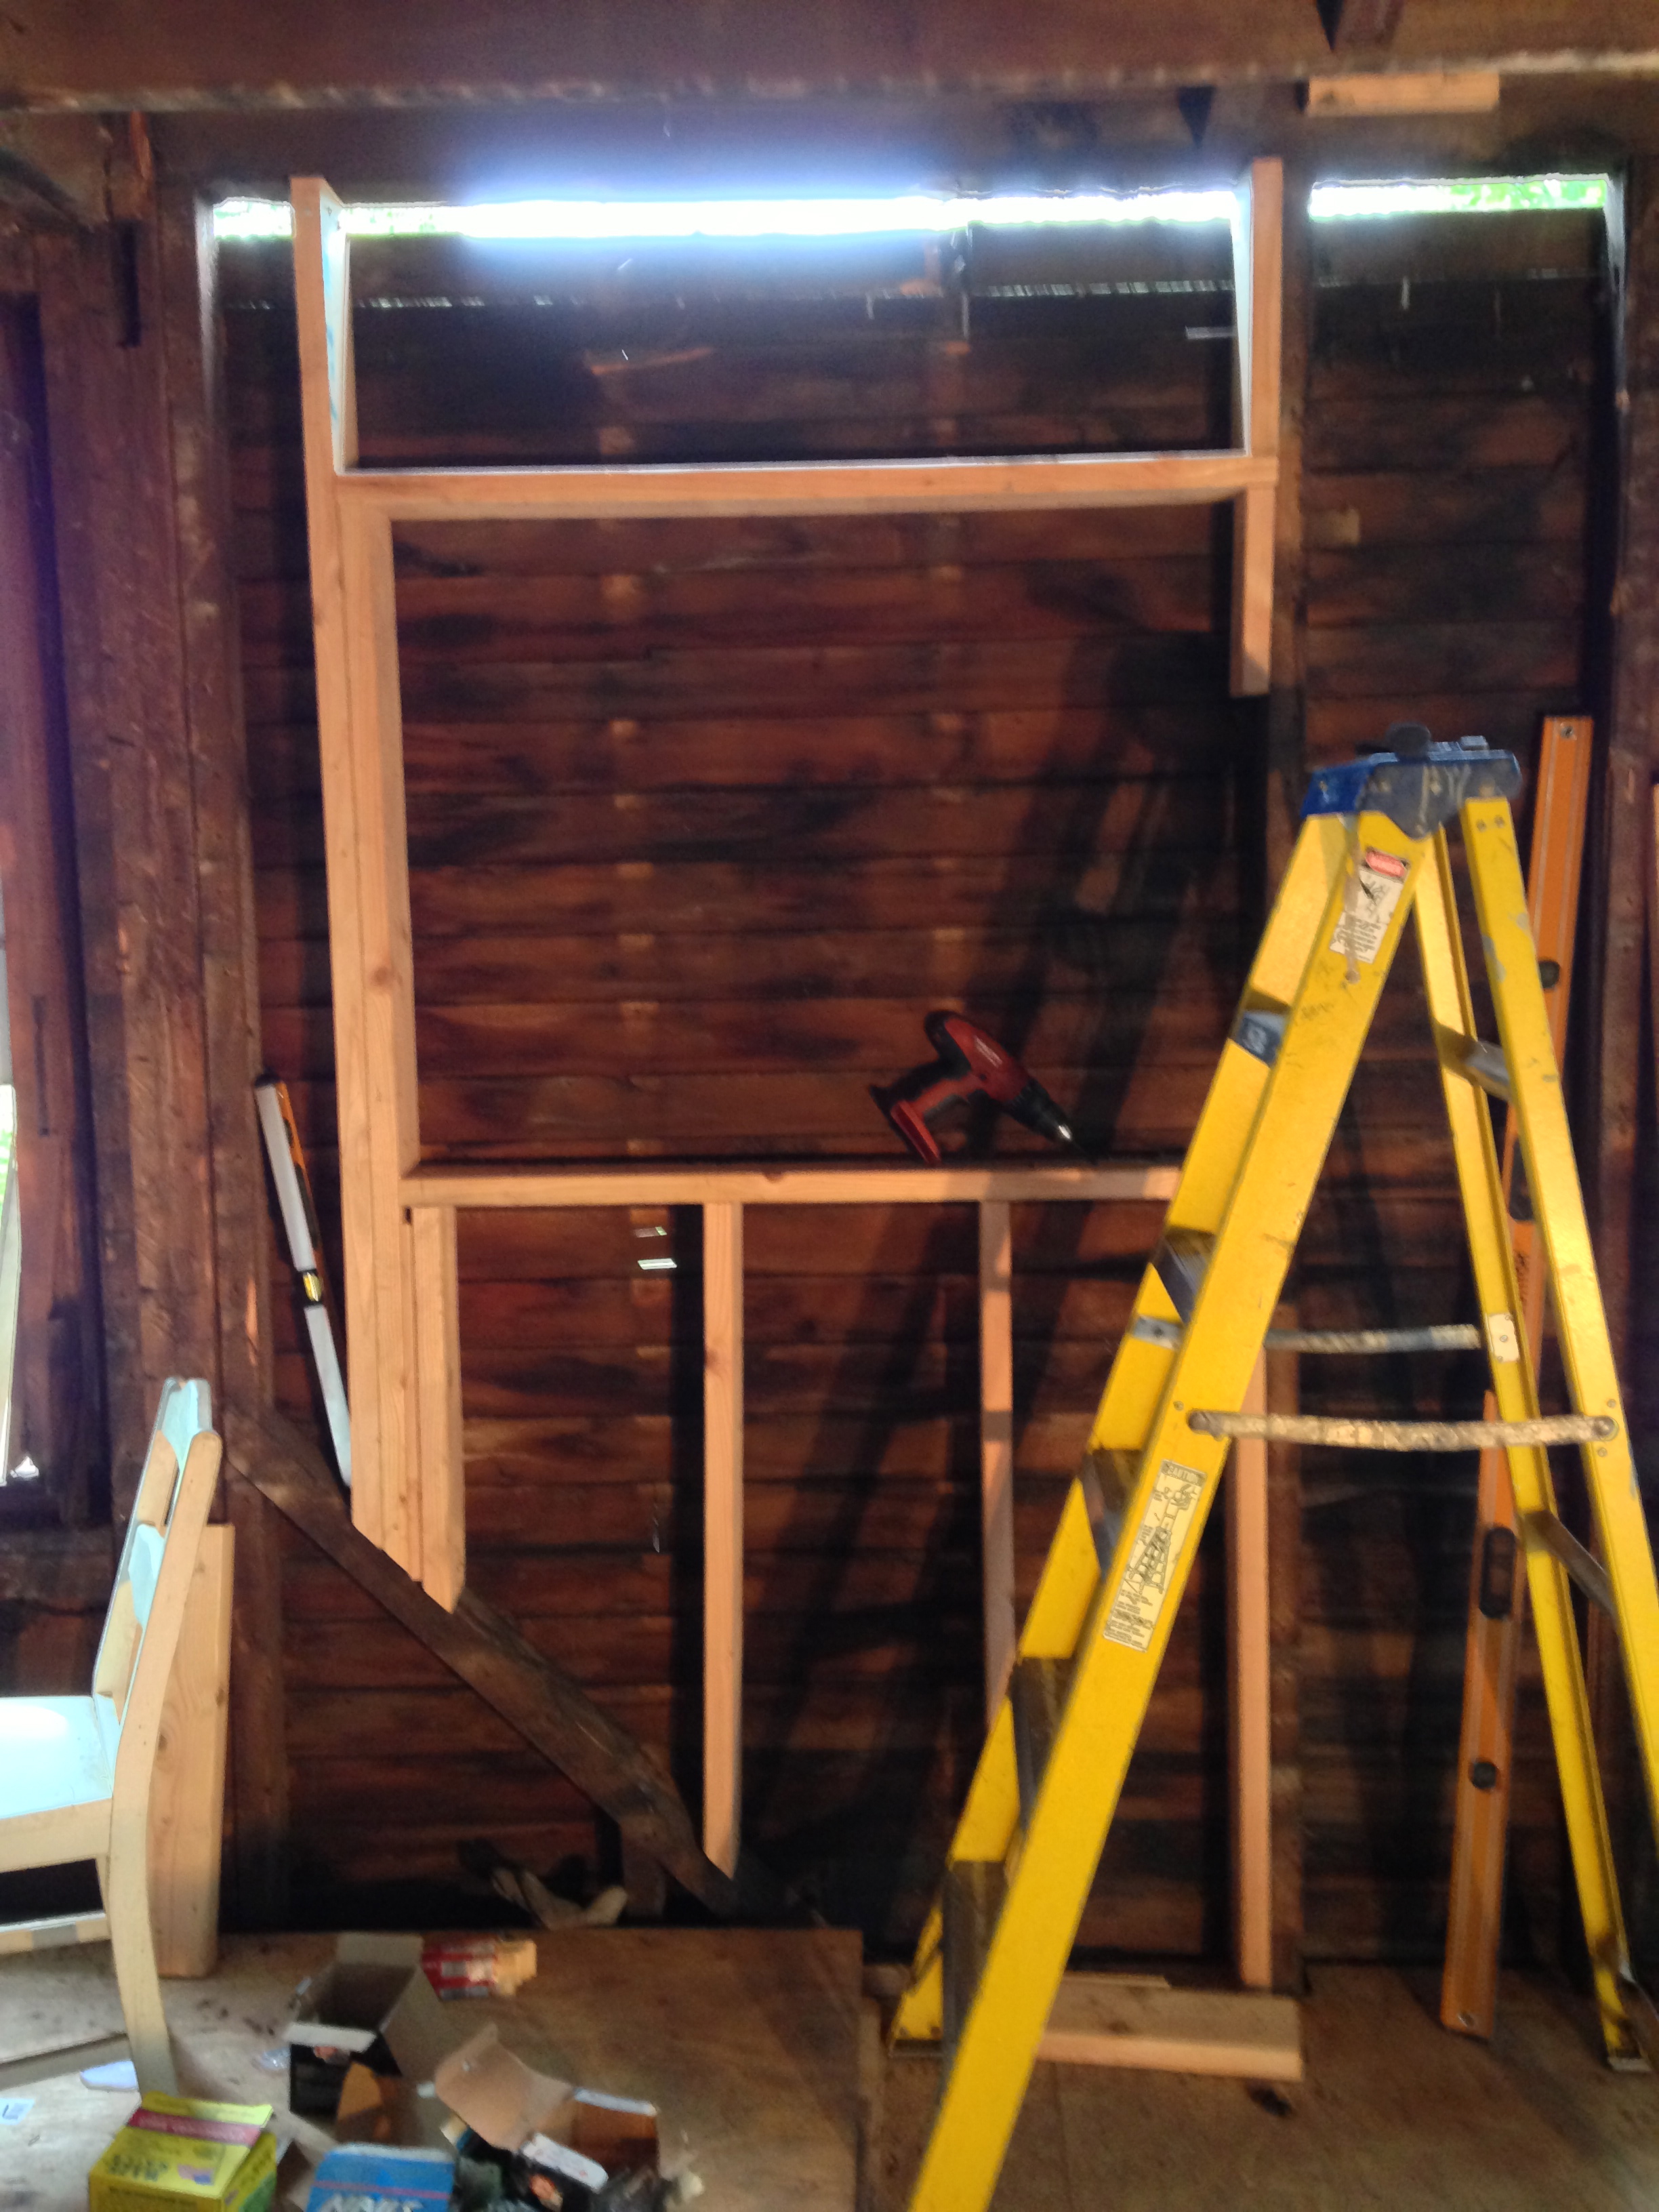

Fun fact: behind the new window frame was literally the outside of the house. There was nothing else there. How structurally sound!

What happened next? Check it out in the exciting Part 2!
2 thoughts on “Rebuilding the Kitchen”