
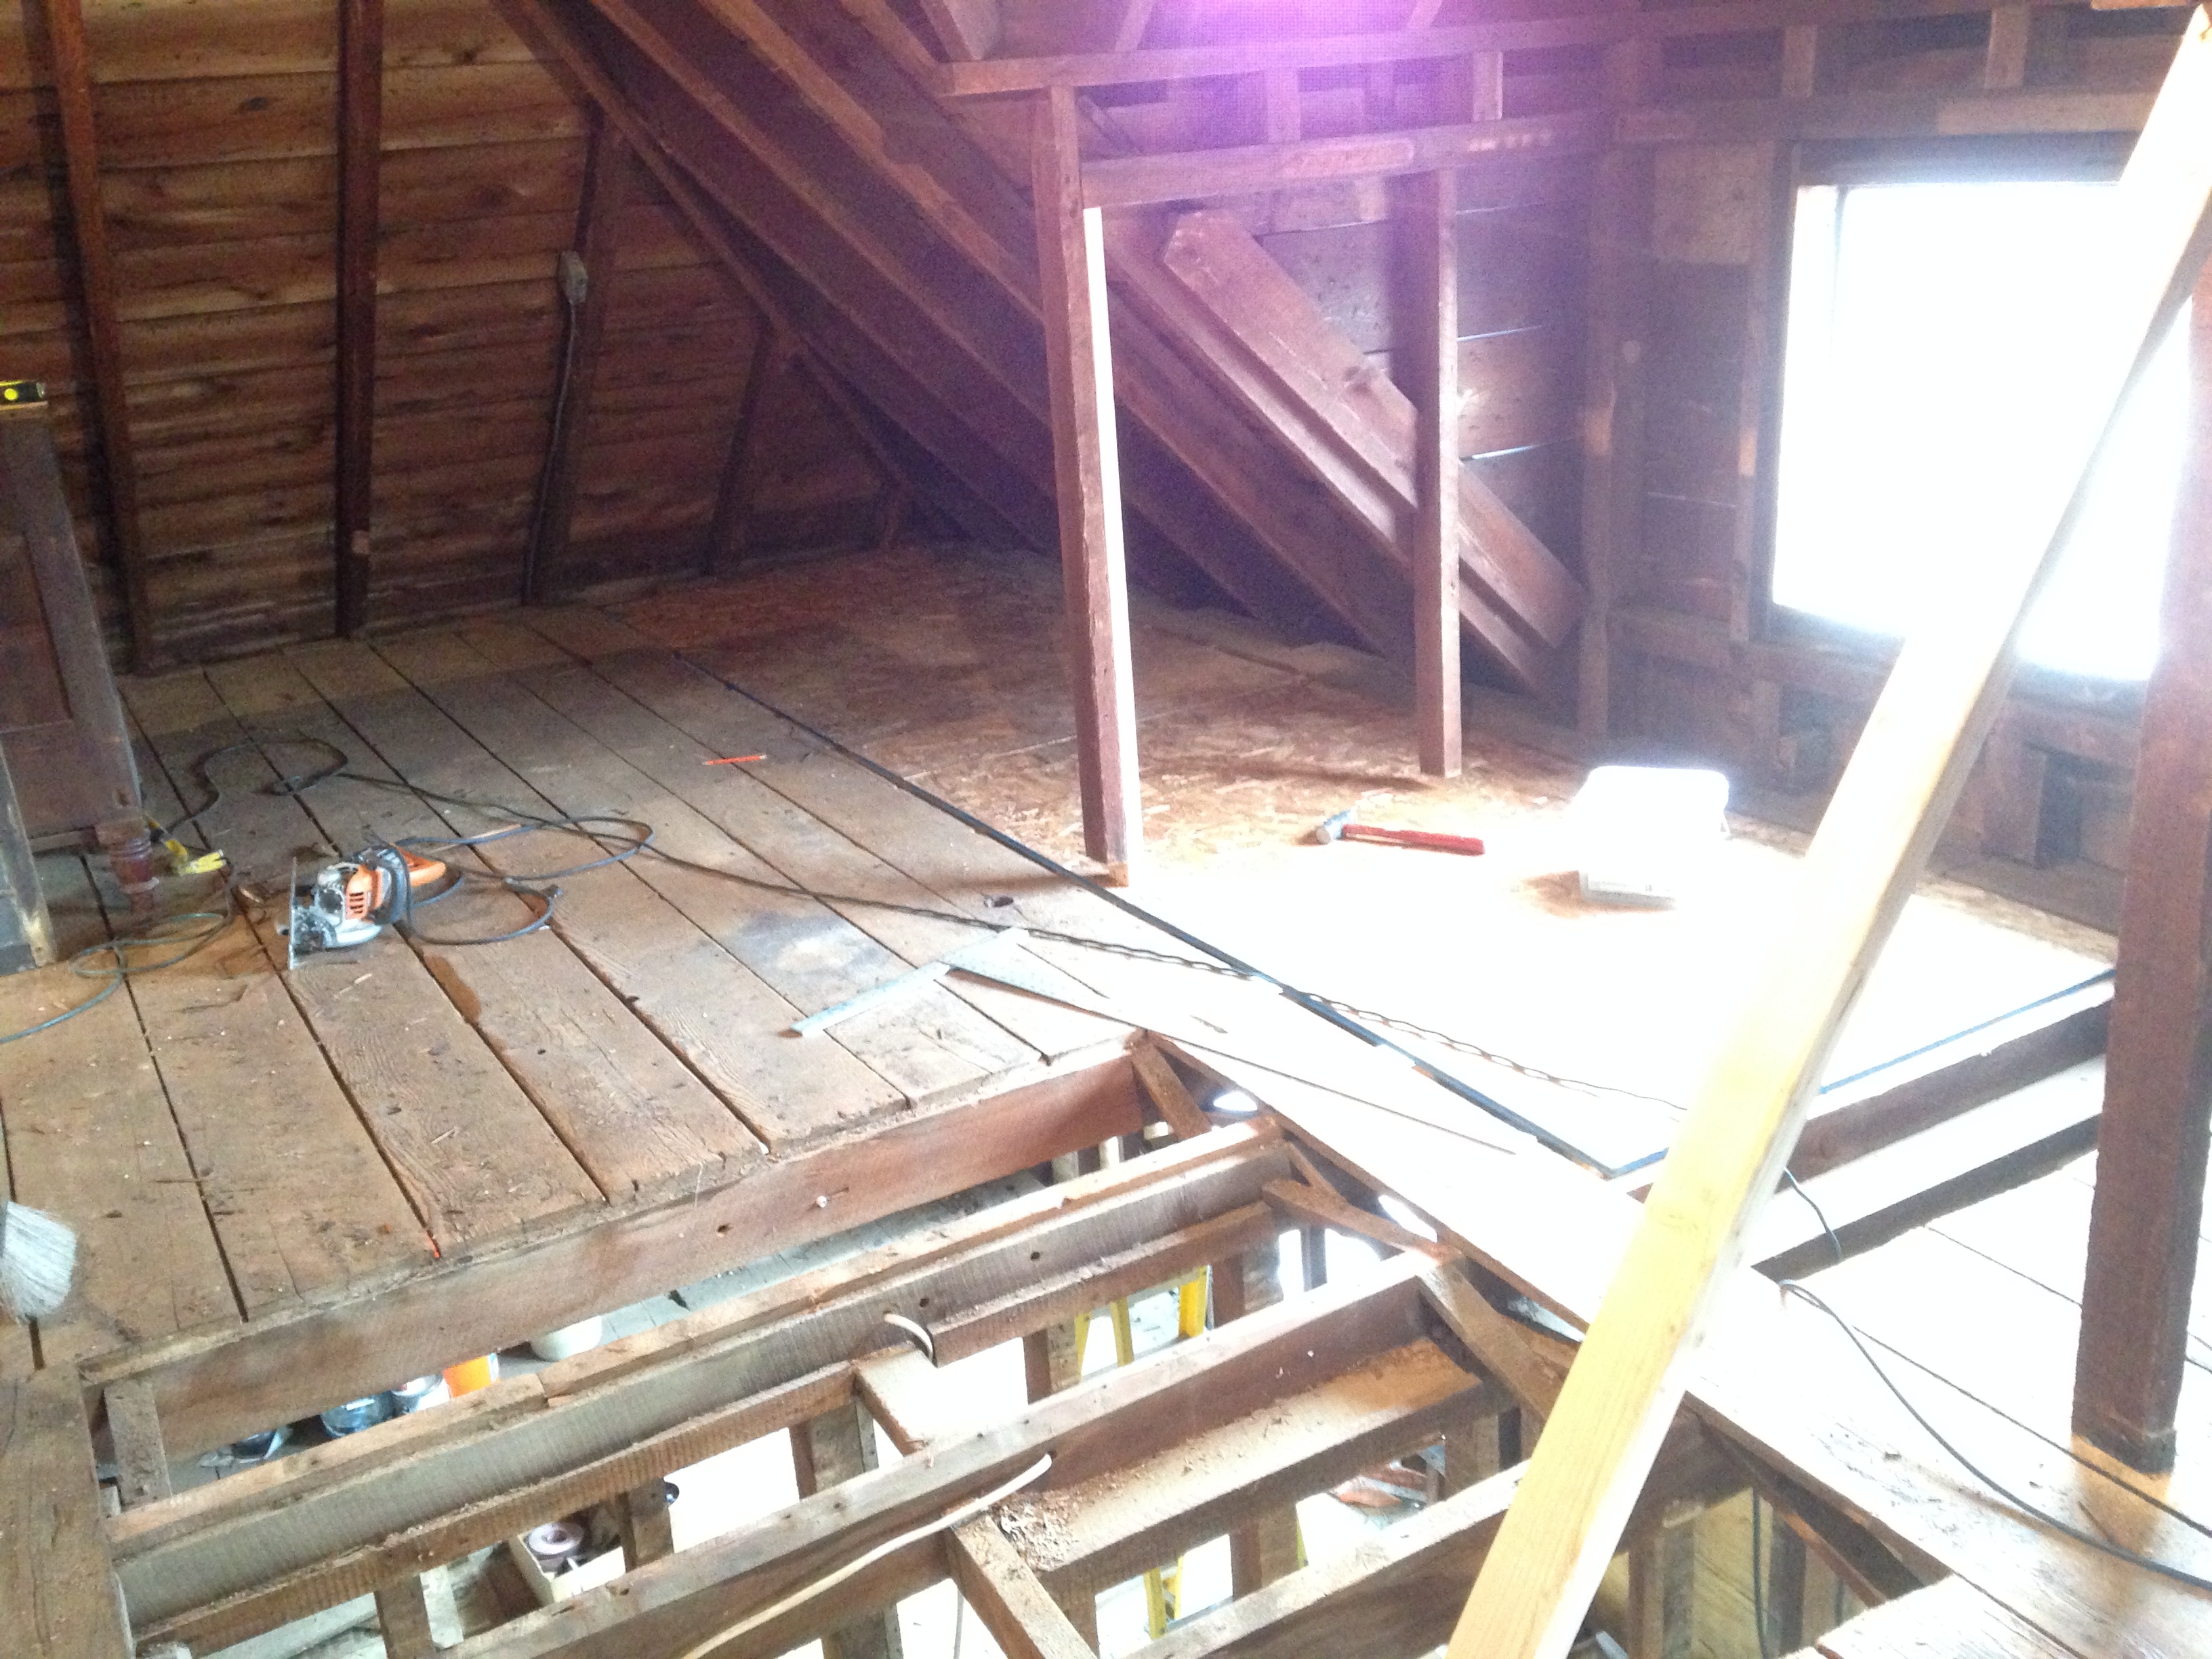
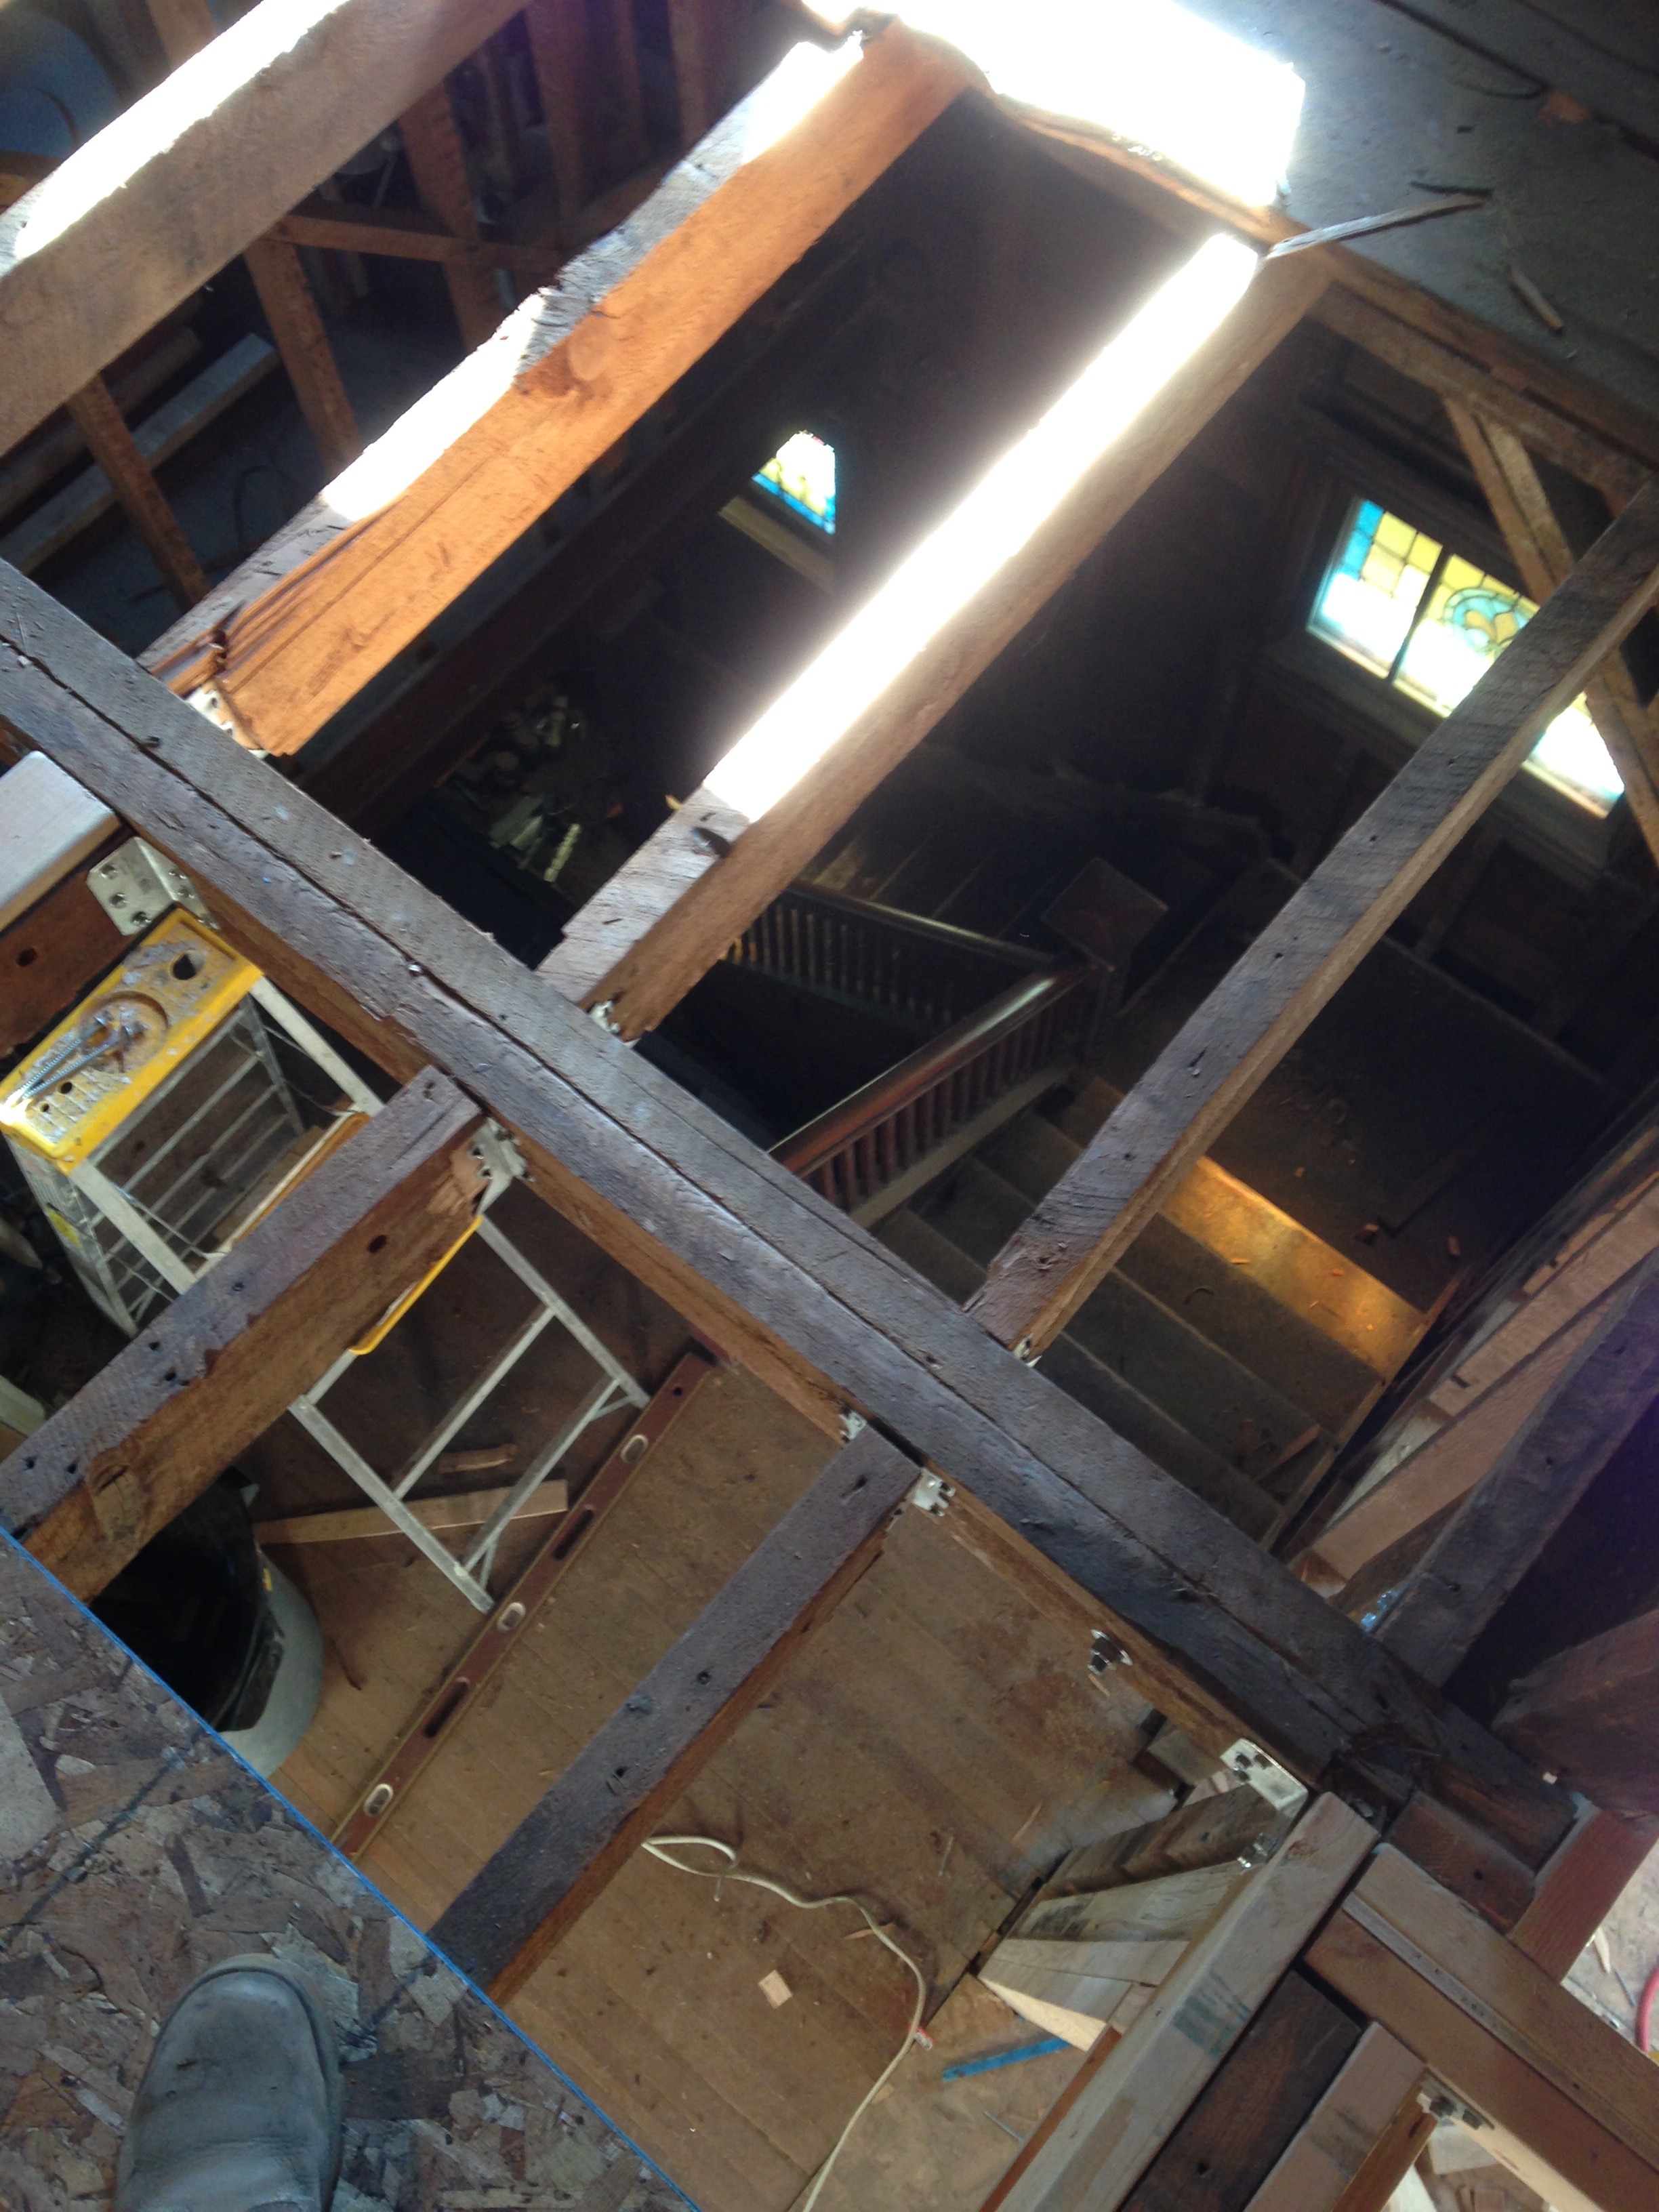
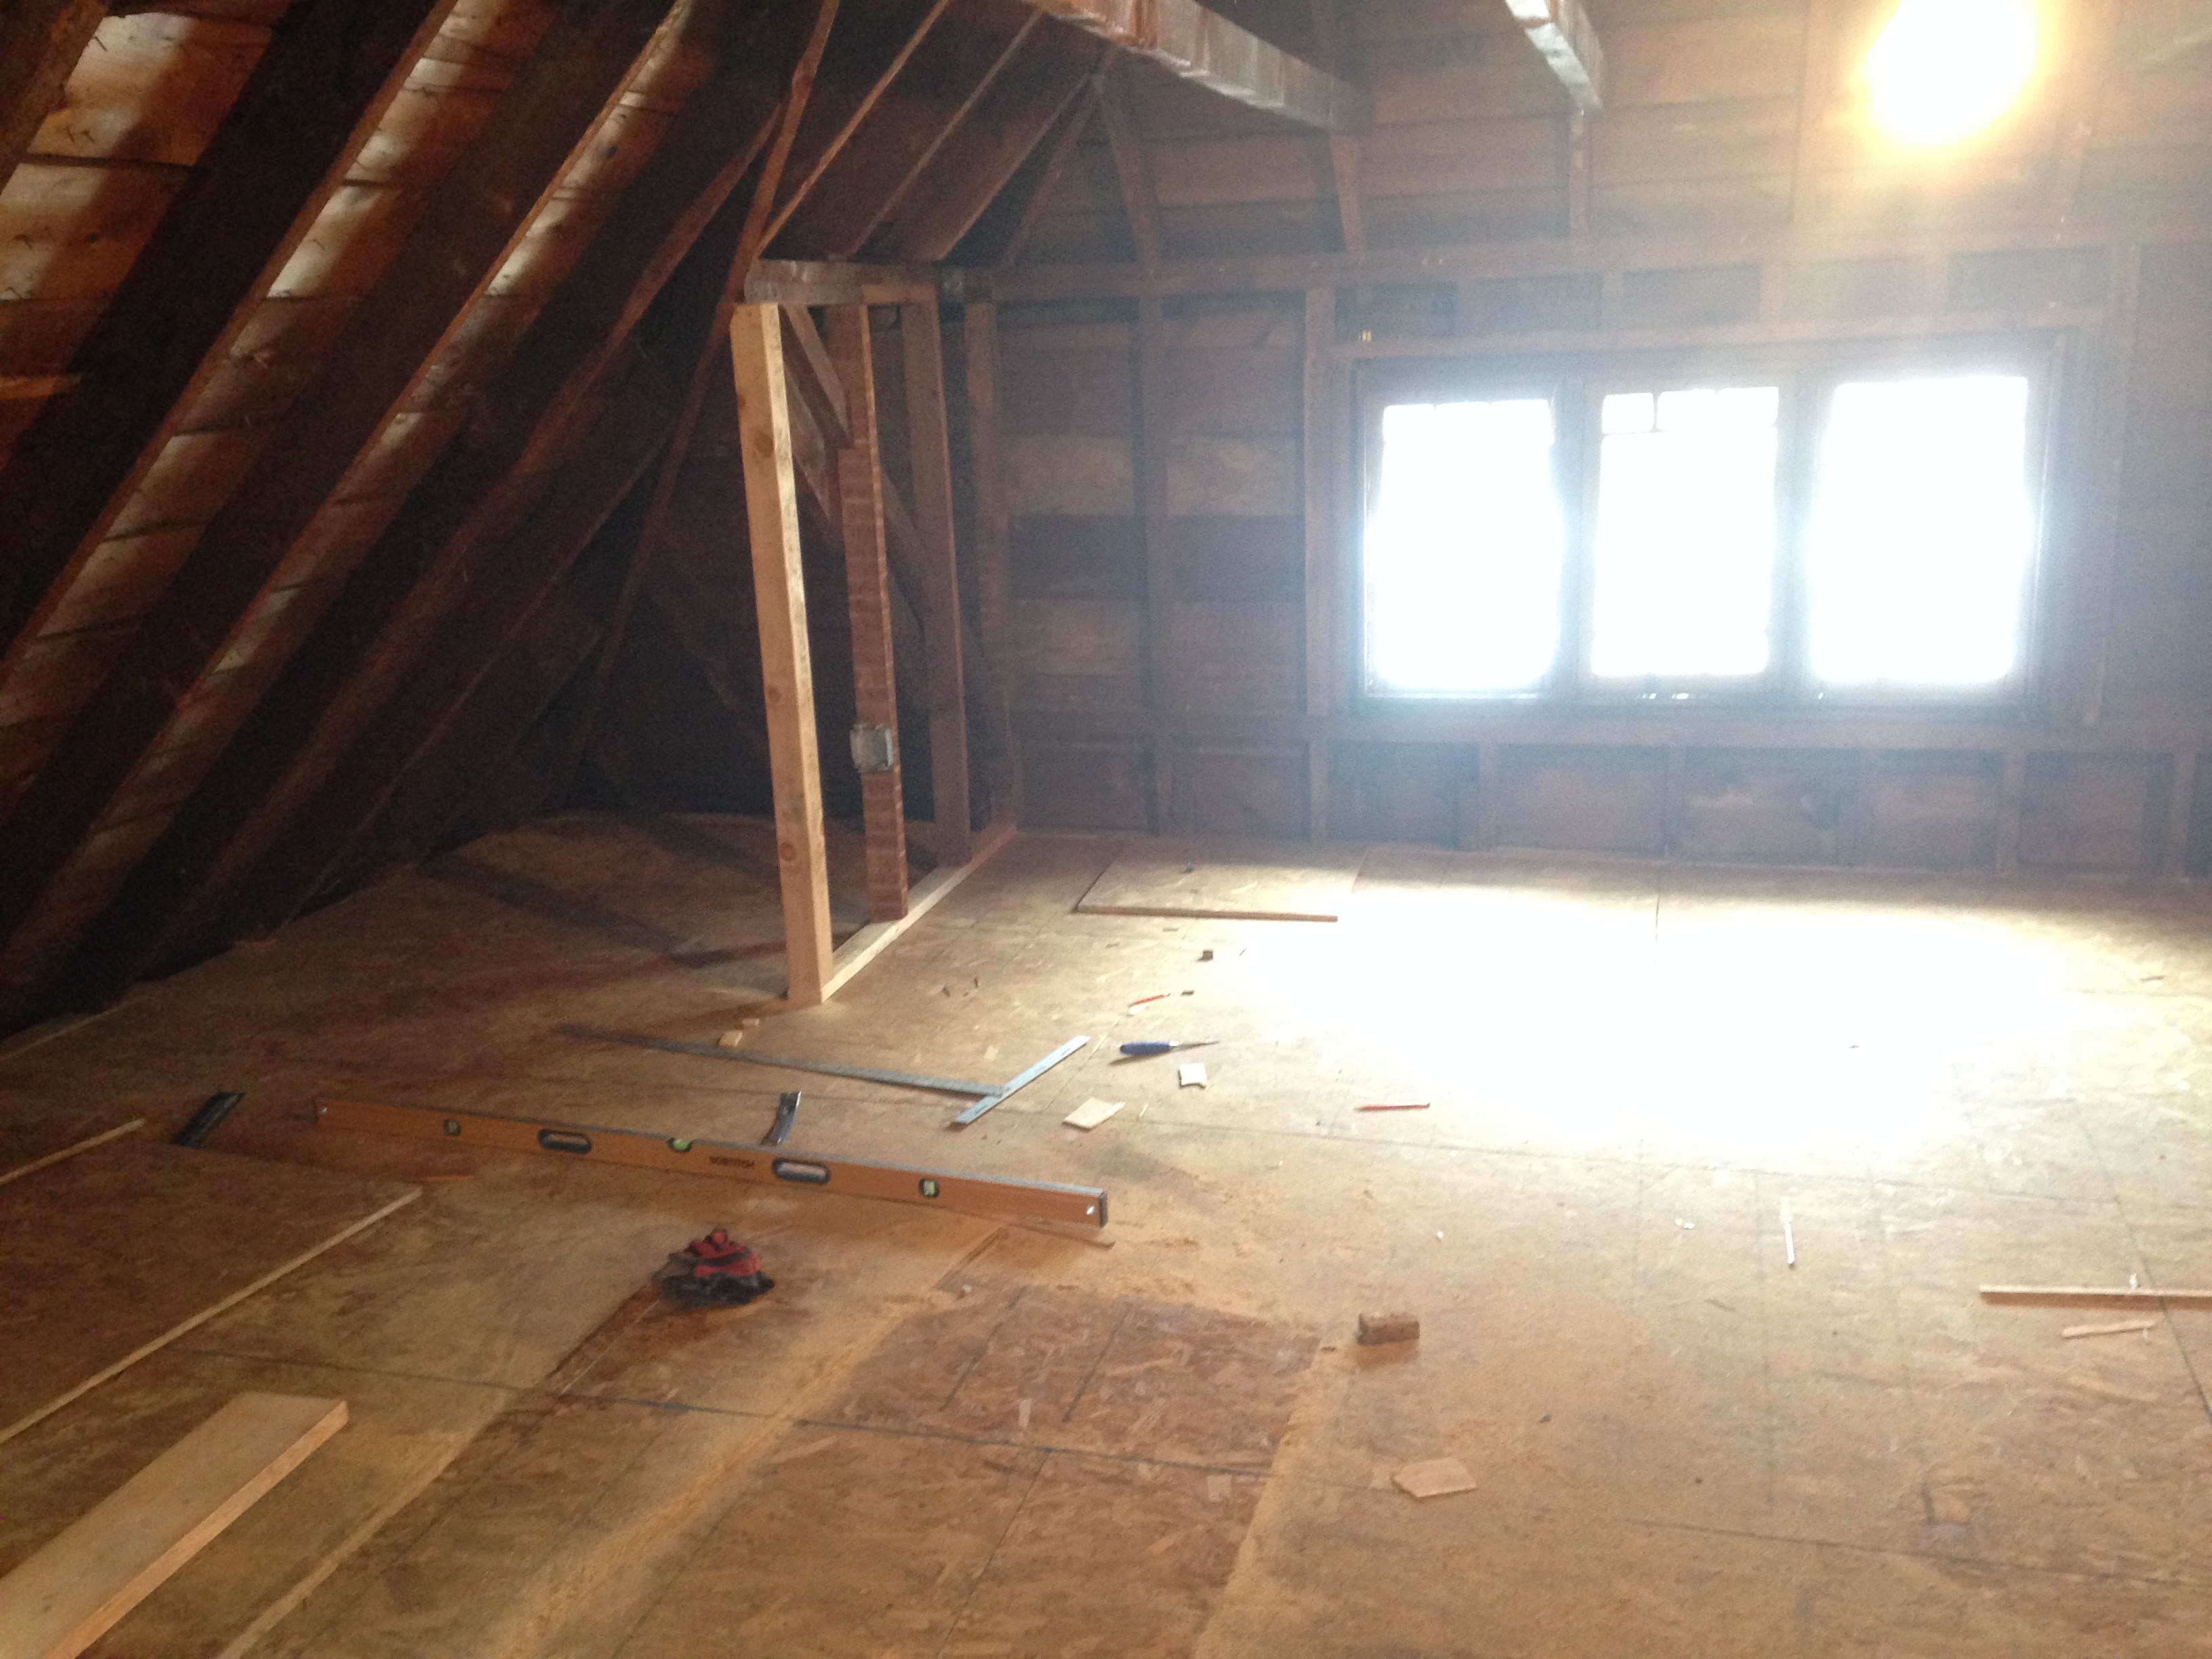
Let me just say that I am totally in love with our attic. It has a nice staircase leading up to it, vaulted ceilings, three windows, it’s just a really neat place. It completely makes up for how terrible the basement is. So the attic, as you may recall (If you don’t, go here. Bottom of the post), was in a bit of a state.
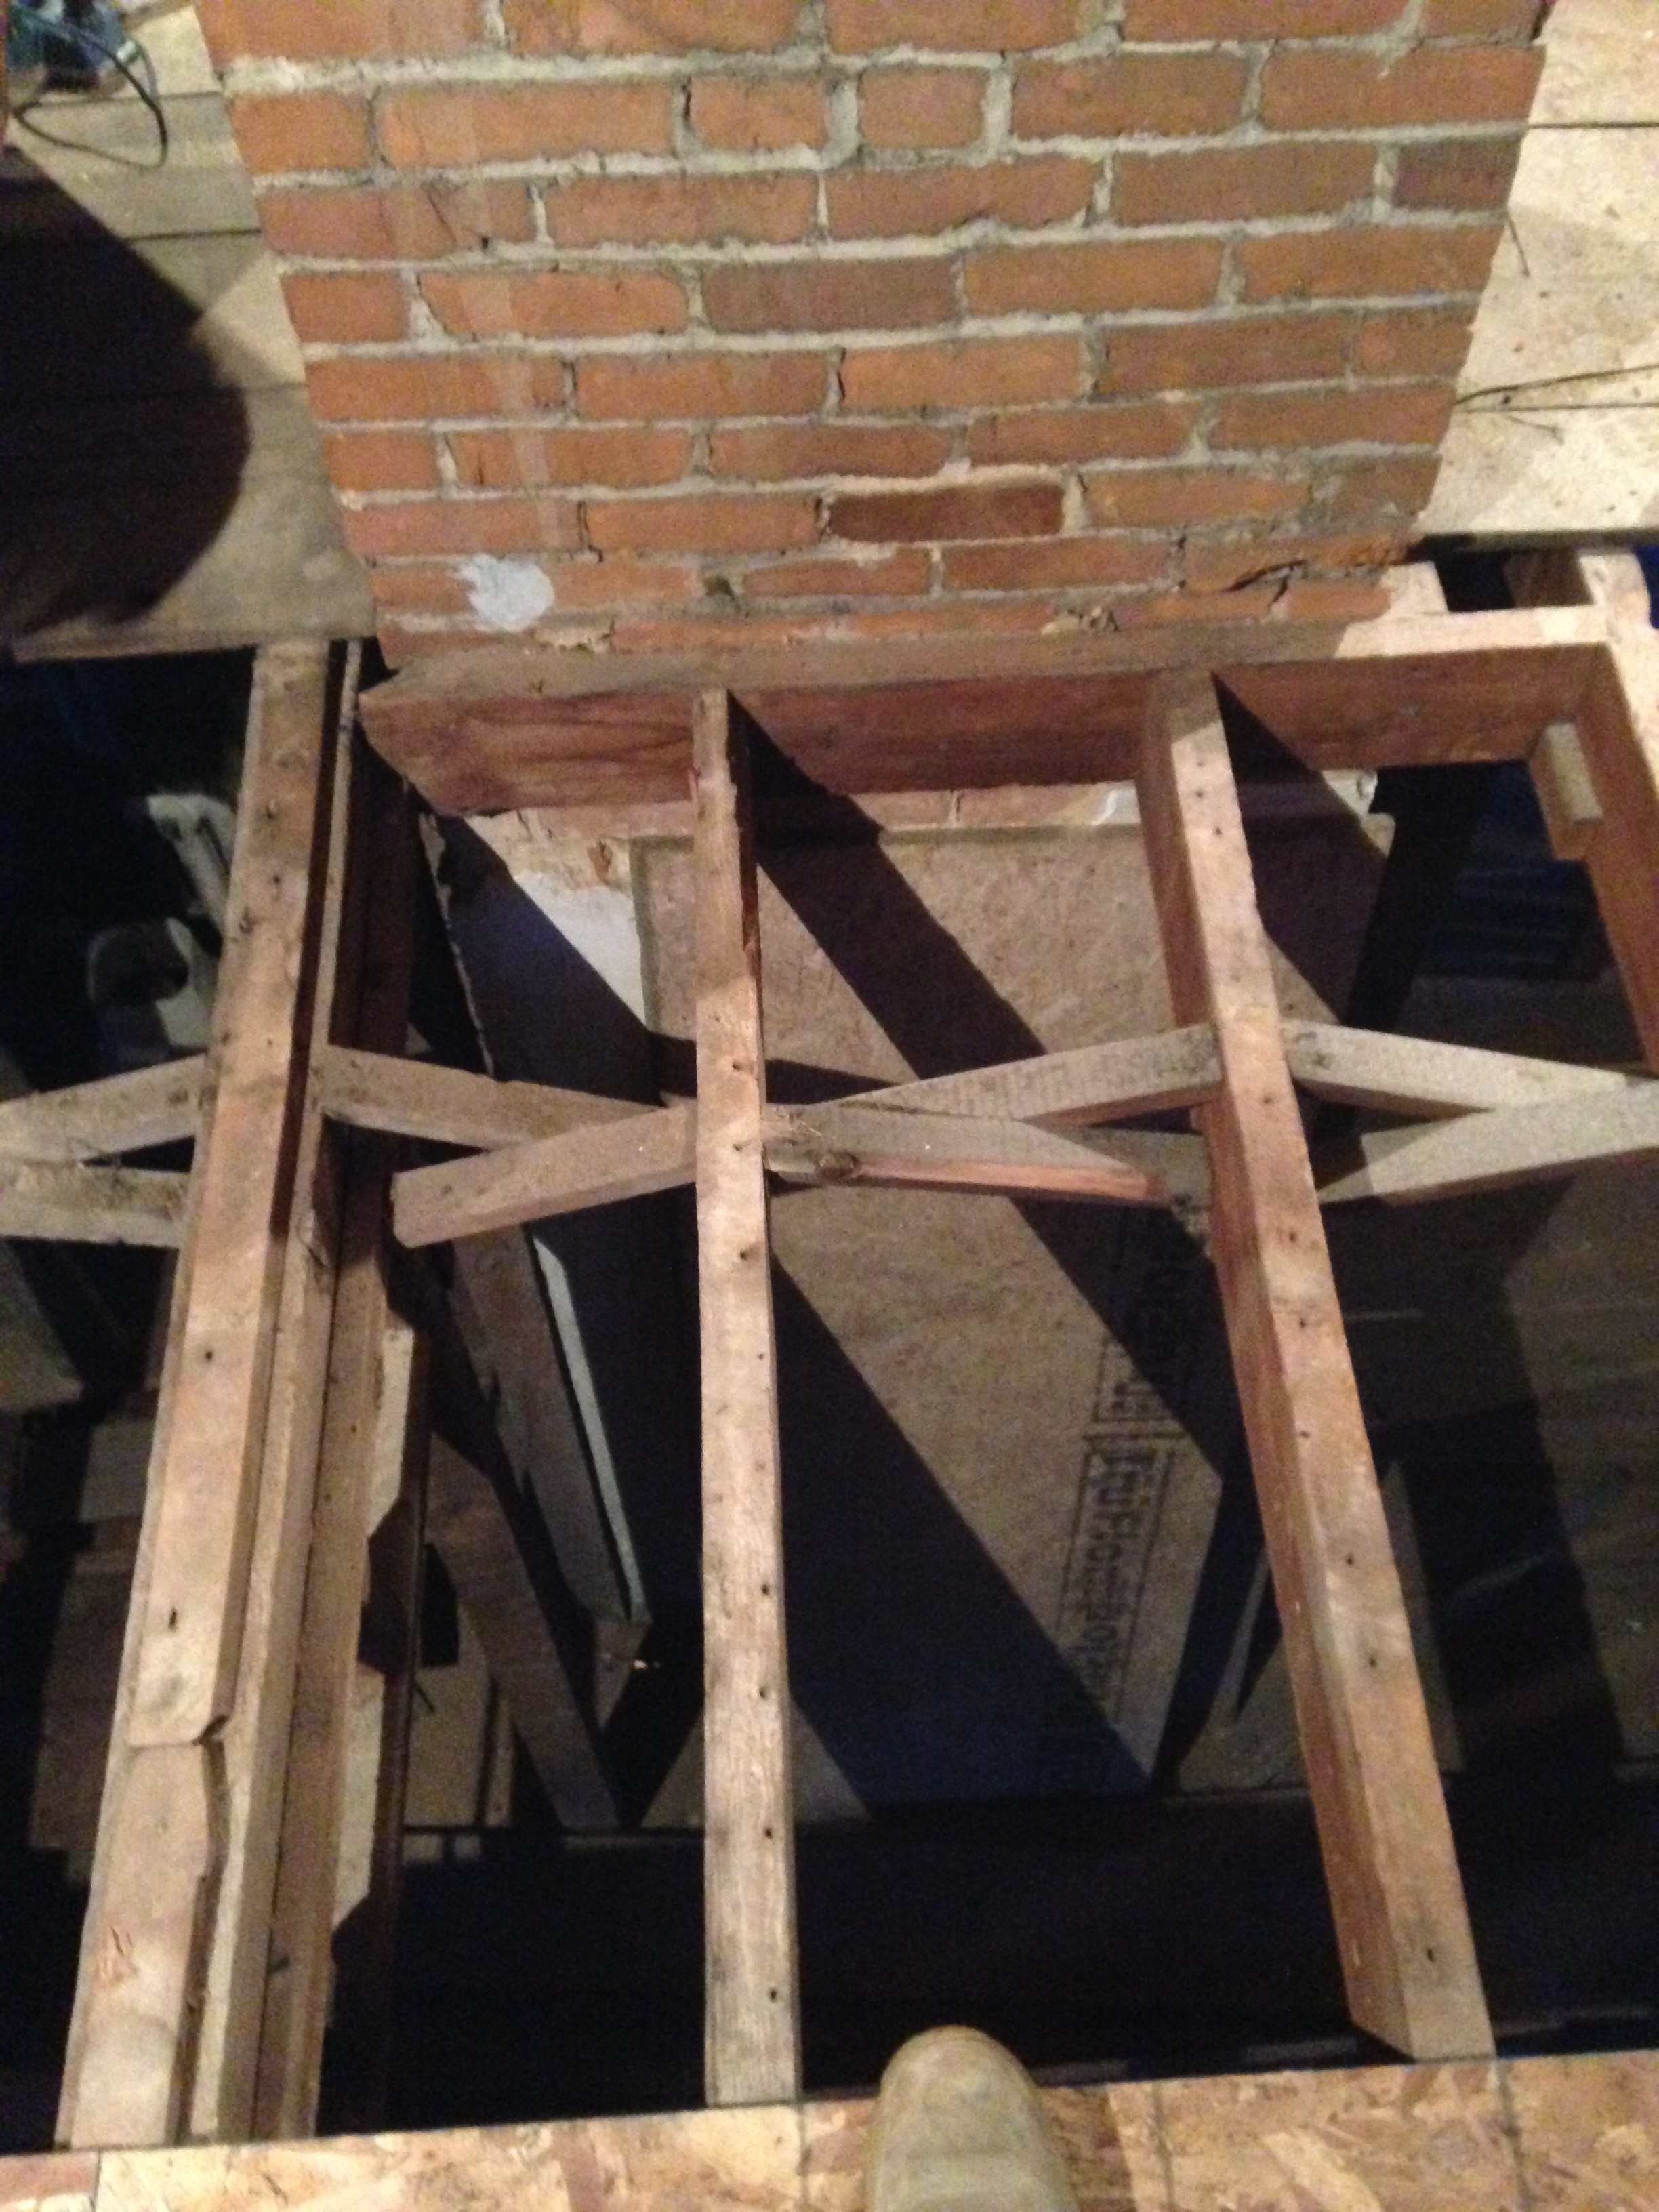
Almost half of the boards weren’t even nailed down so it was a bit precarious to walk around, I’m honestly surprised nobody fell through the floor all the times people were up there. At any rate, it was decided we’d do the same subfloor we had in the rest of the house. We did this in conjunction with the removal of the arches from the study and a bedroom. It was a pretty big task. These pictures encompass mid-February through June.
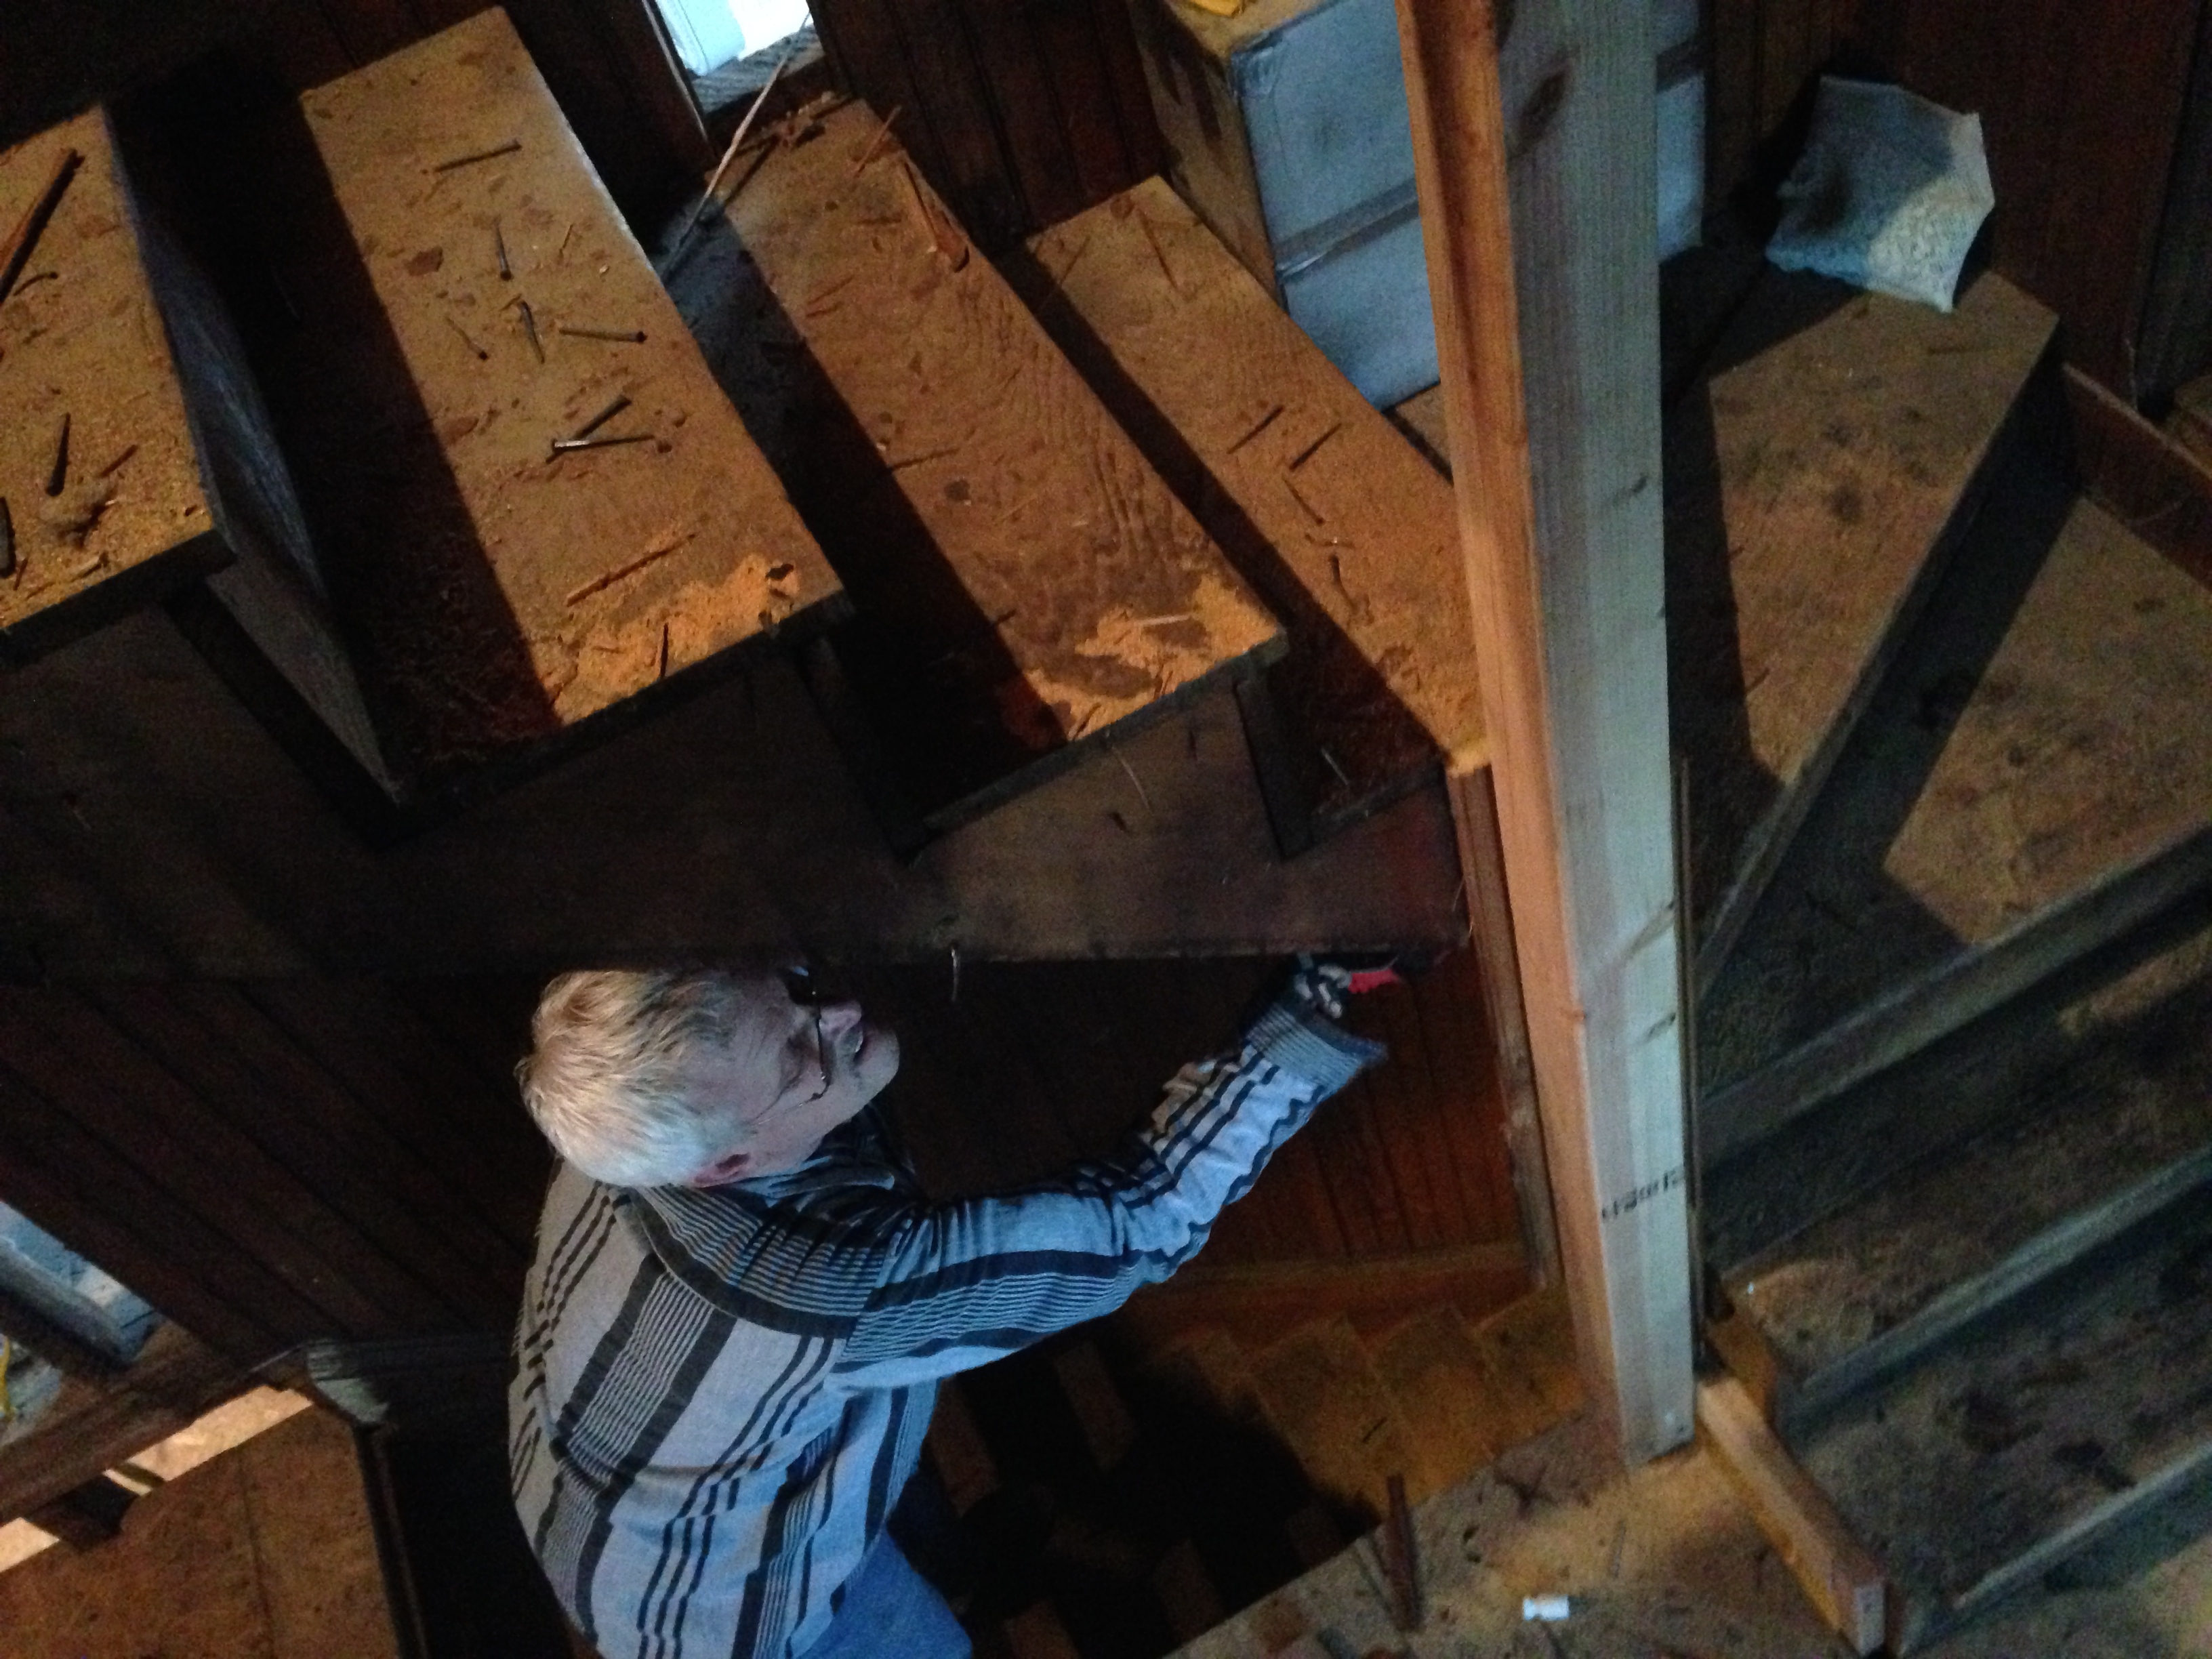
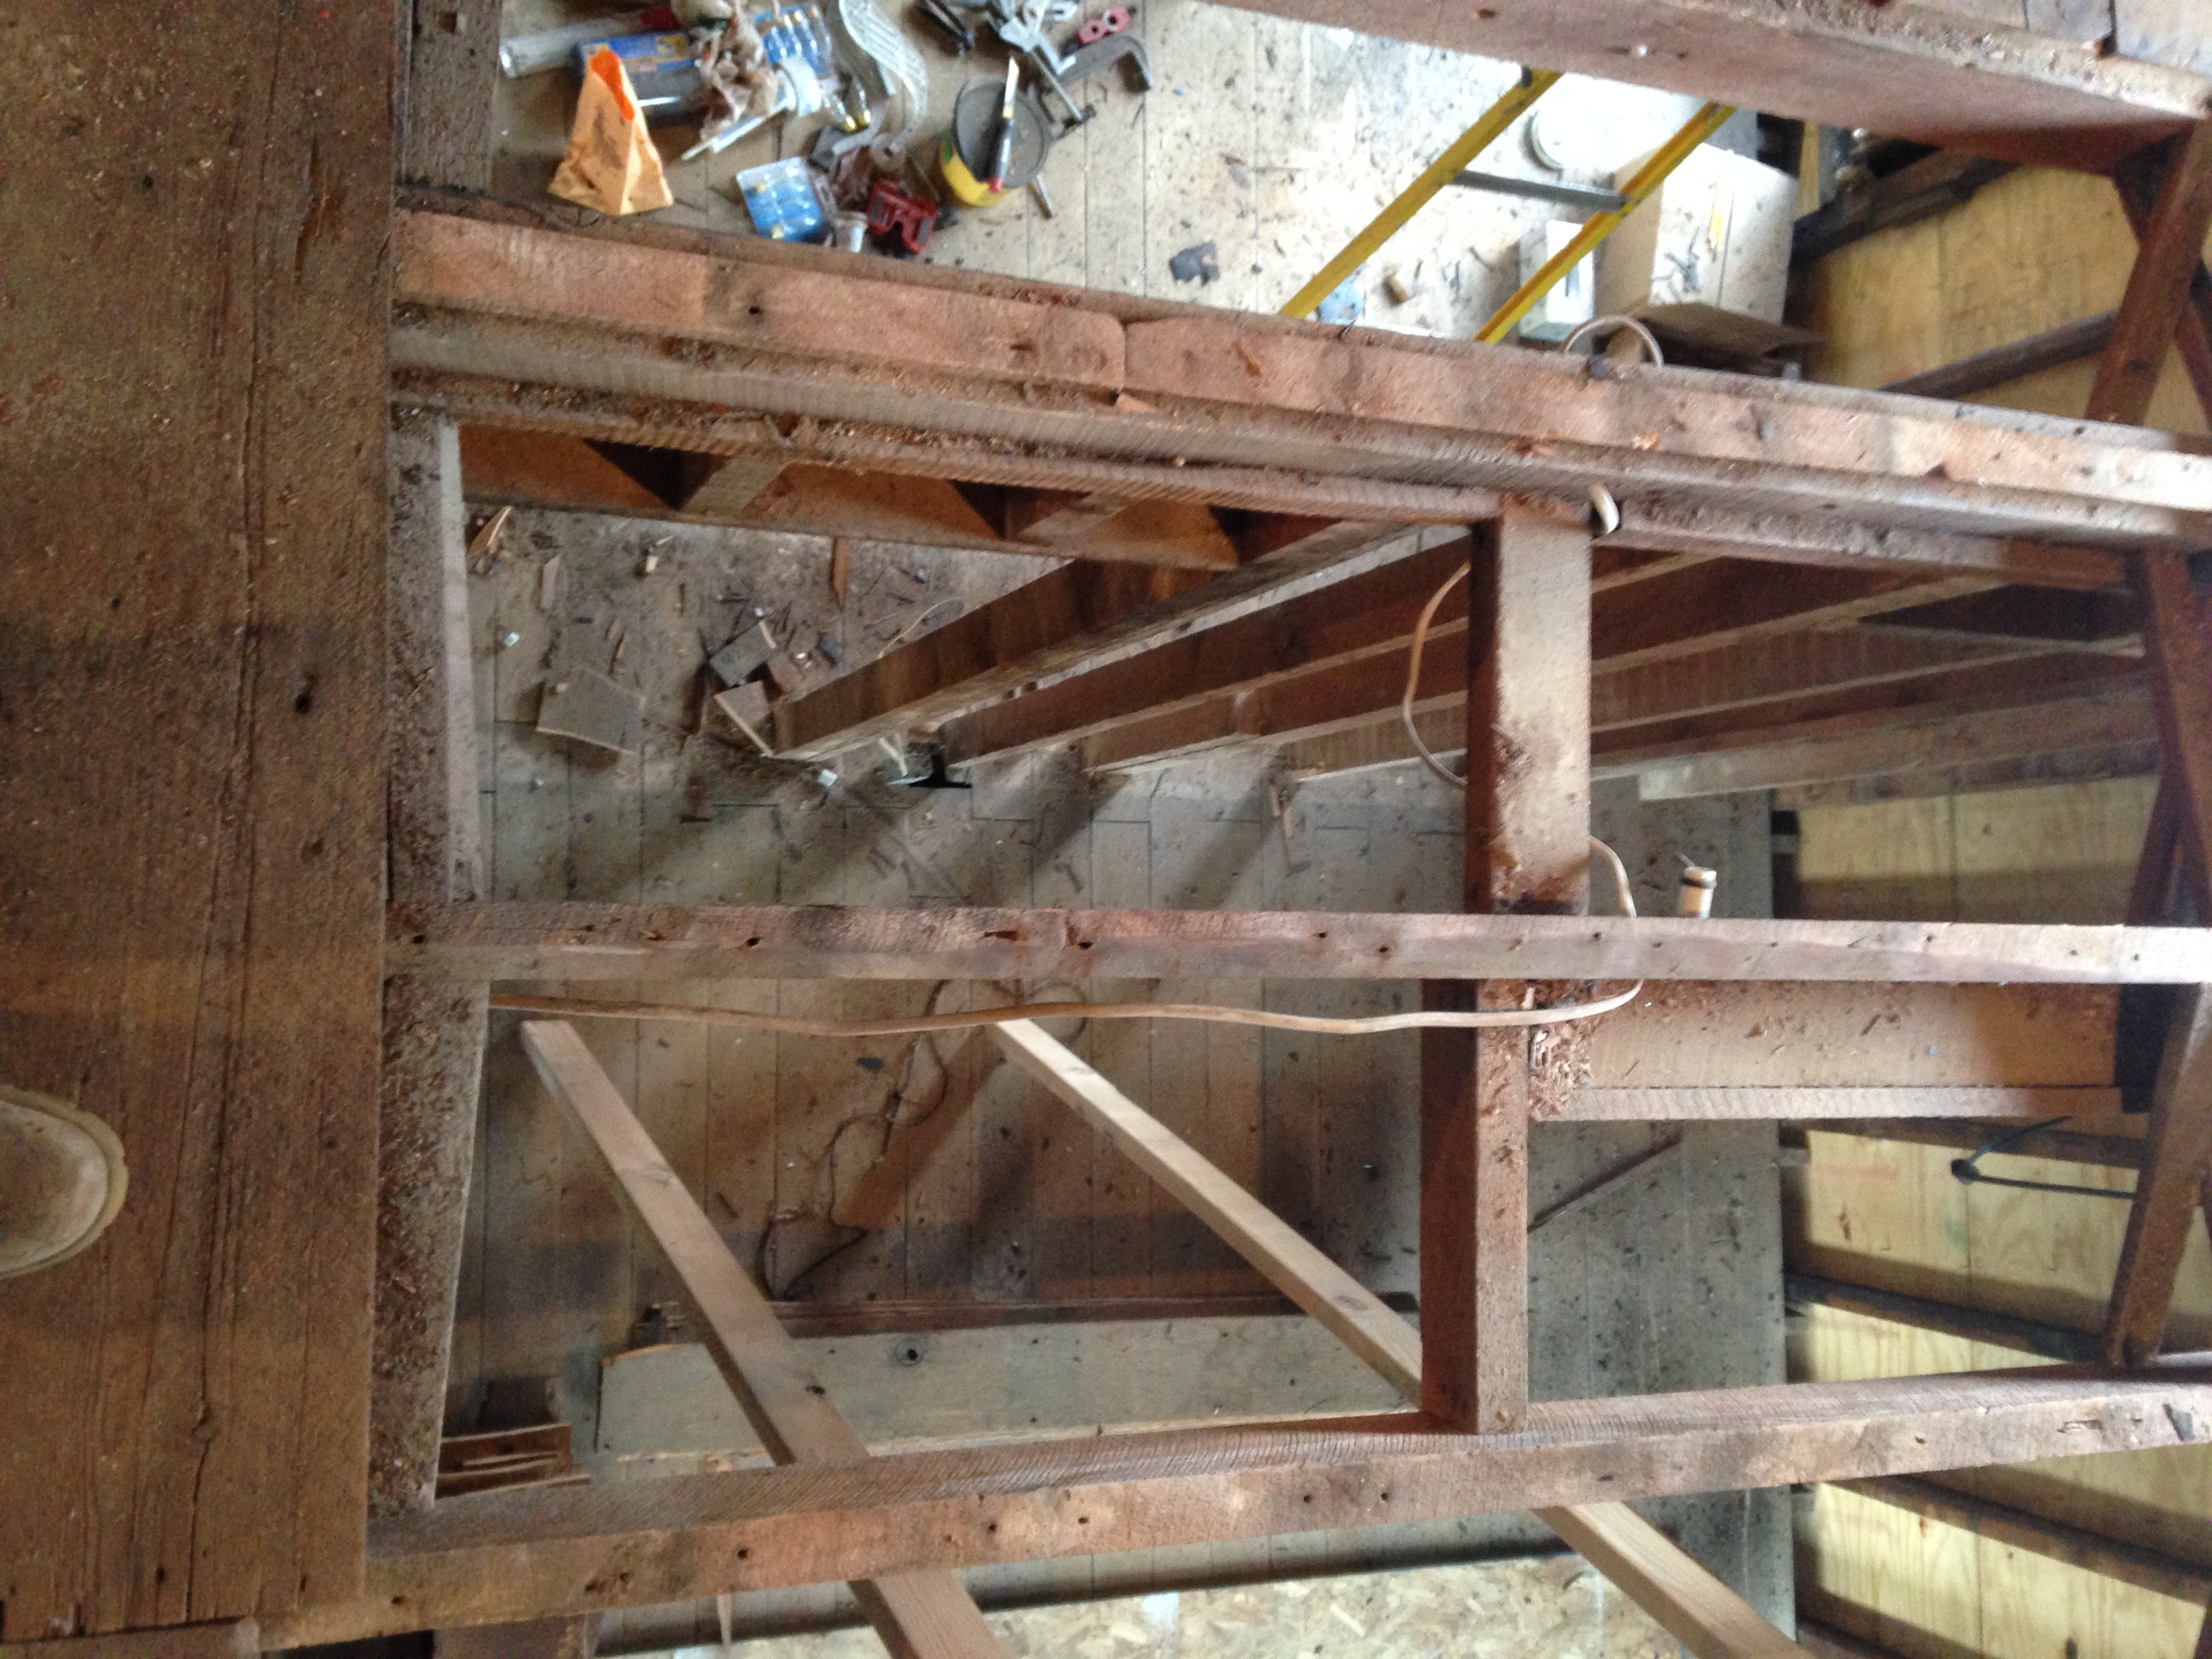
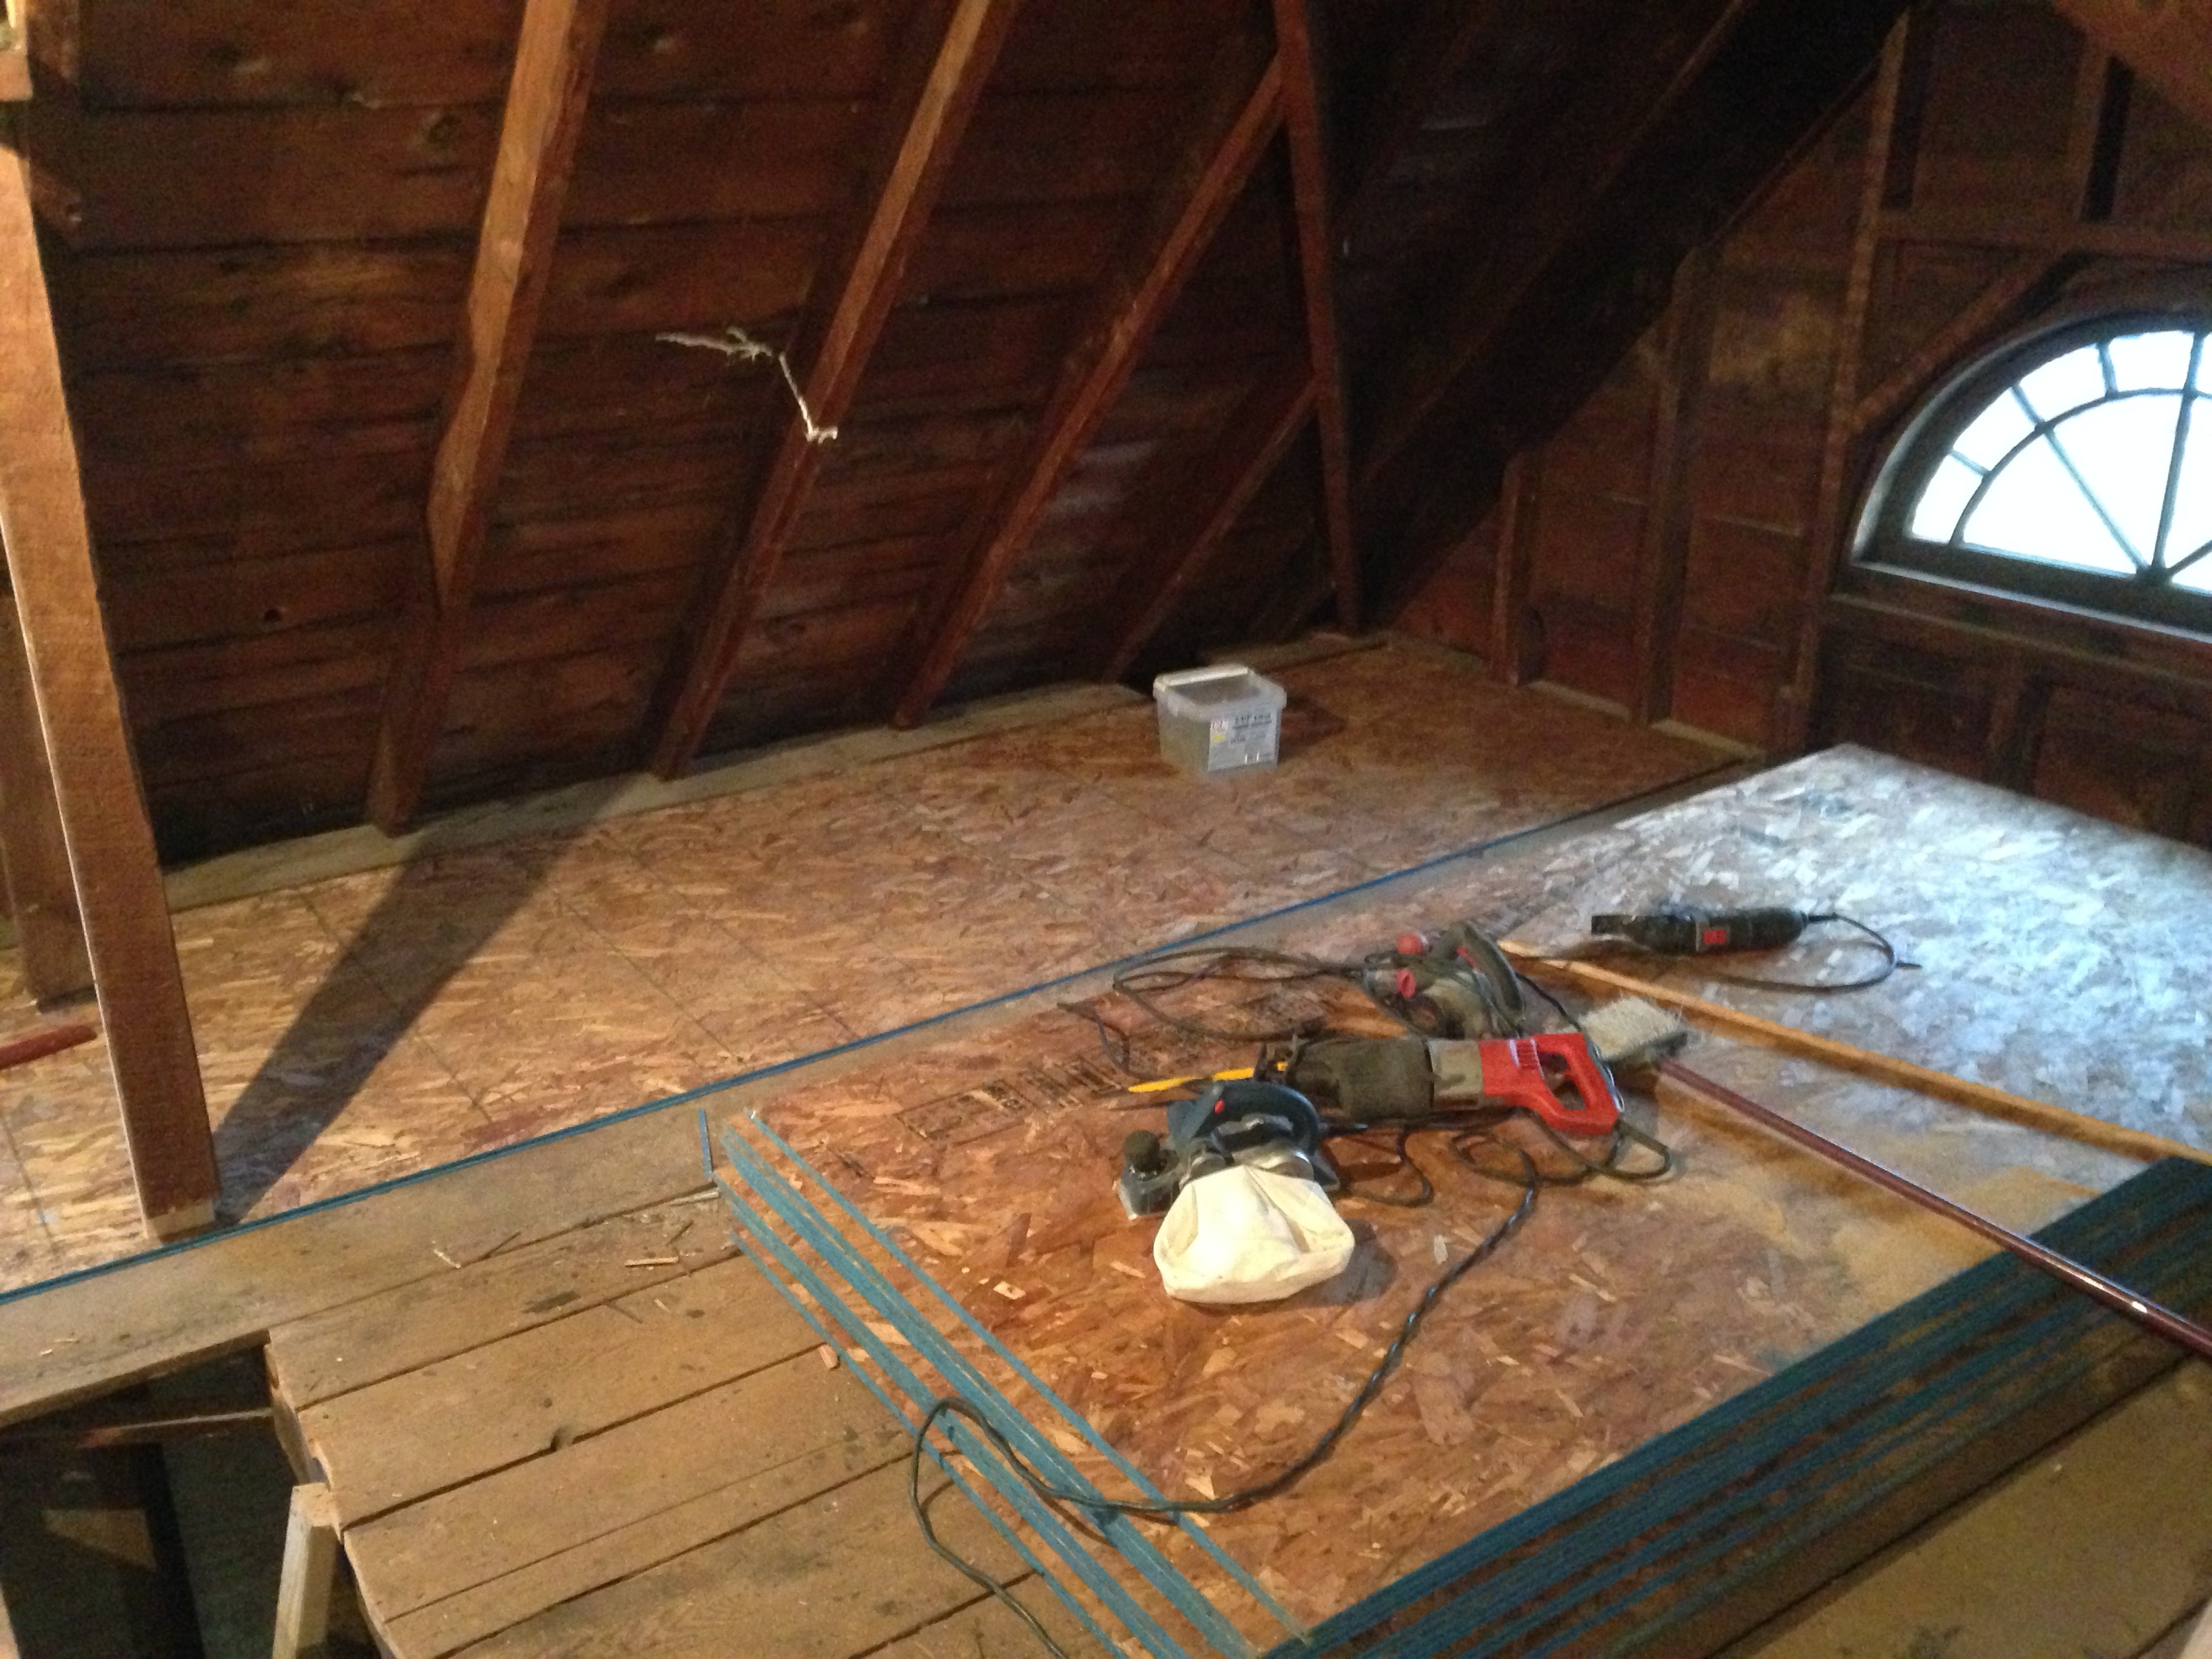
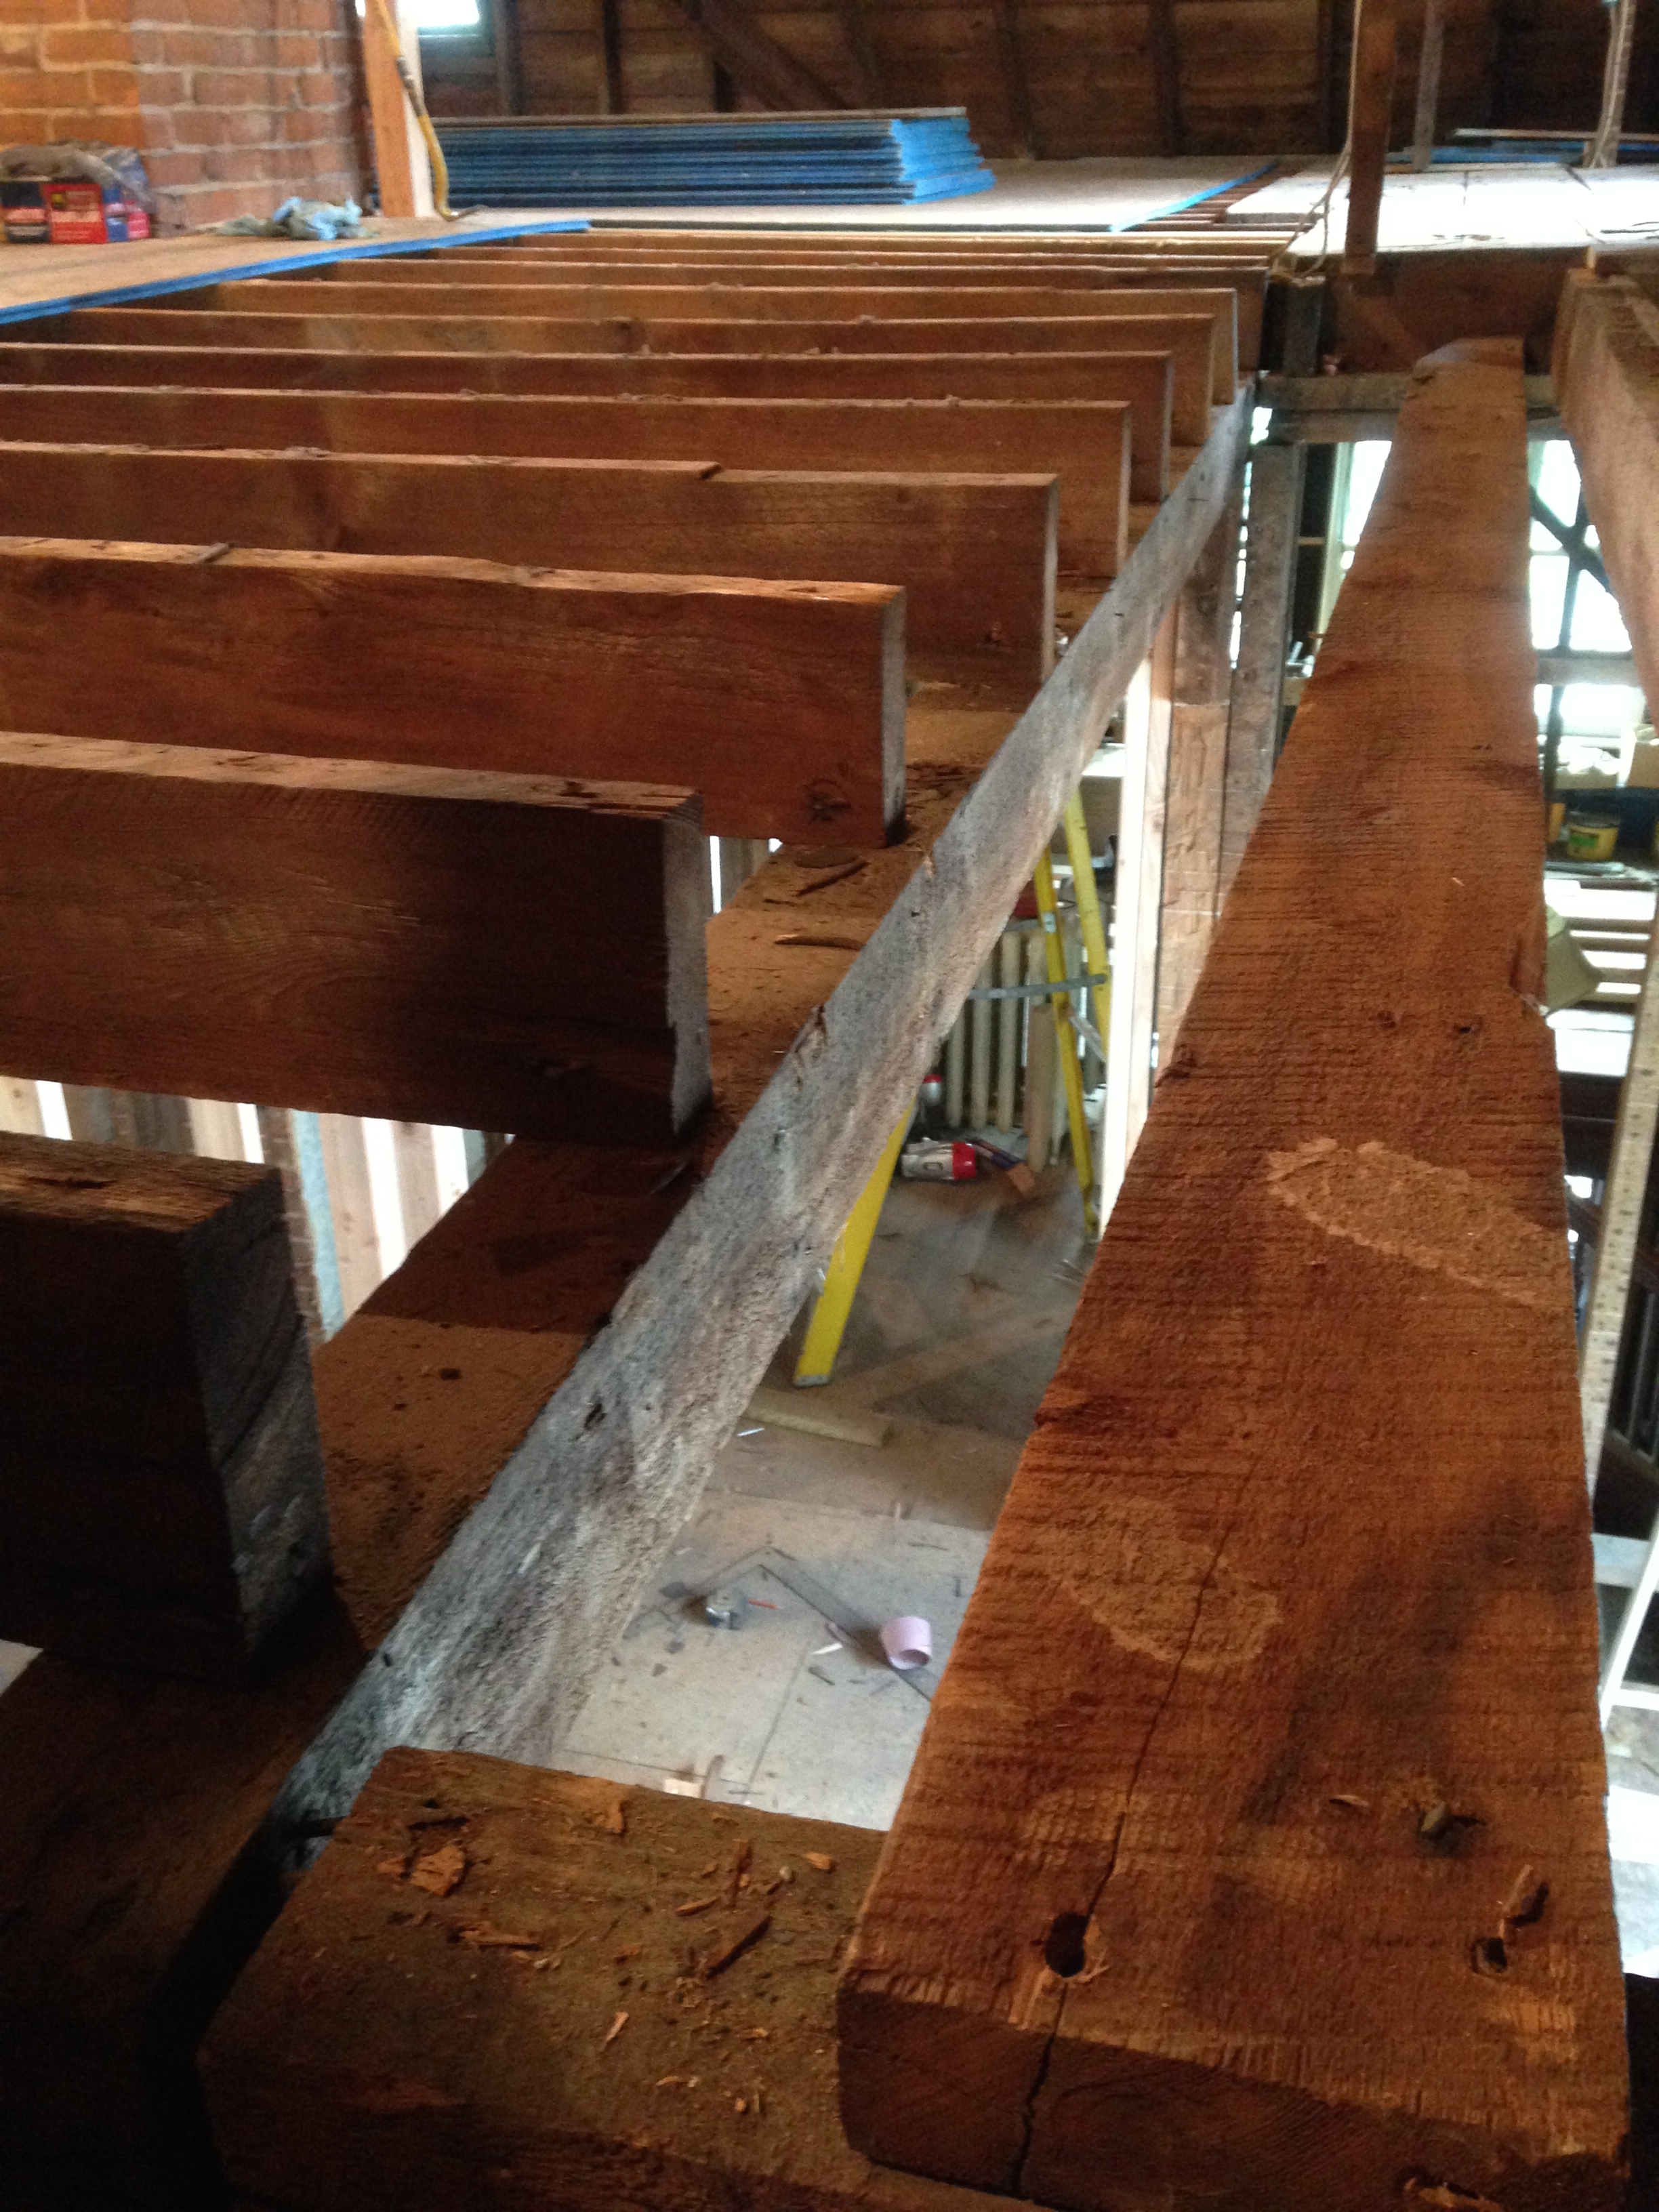
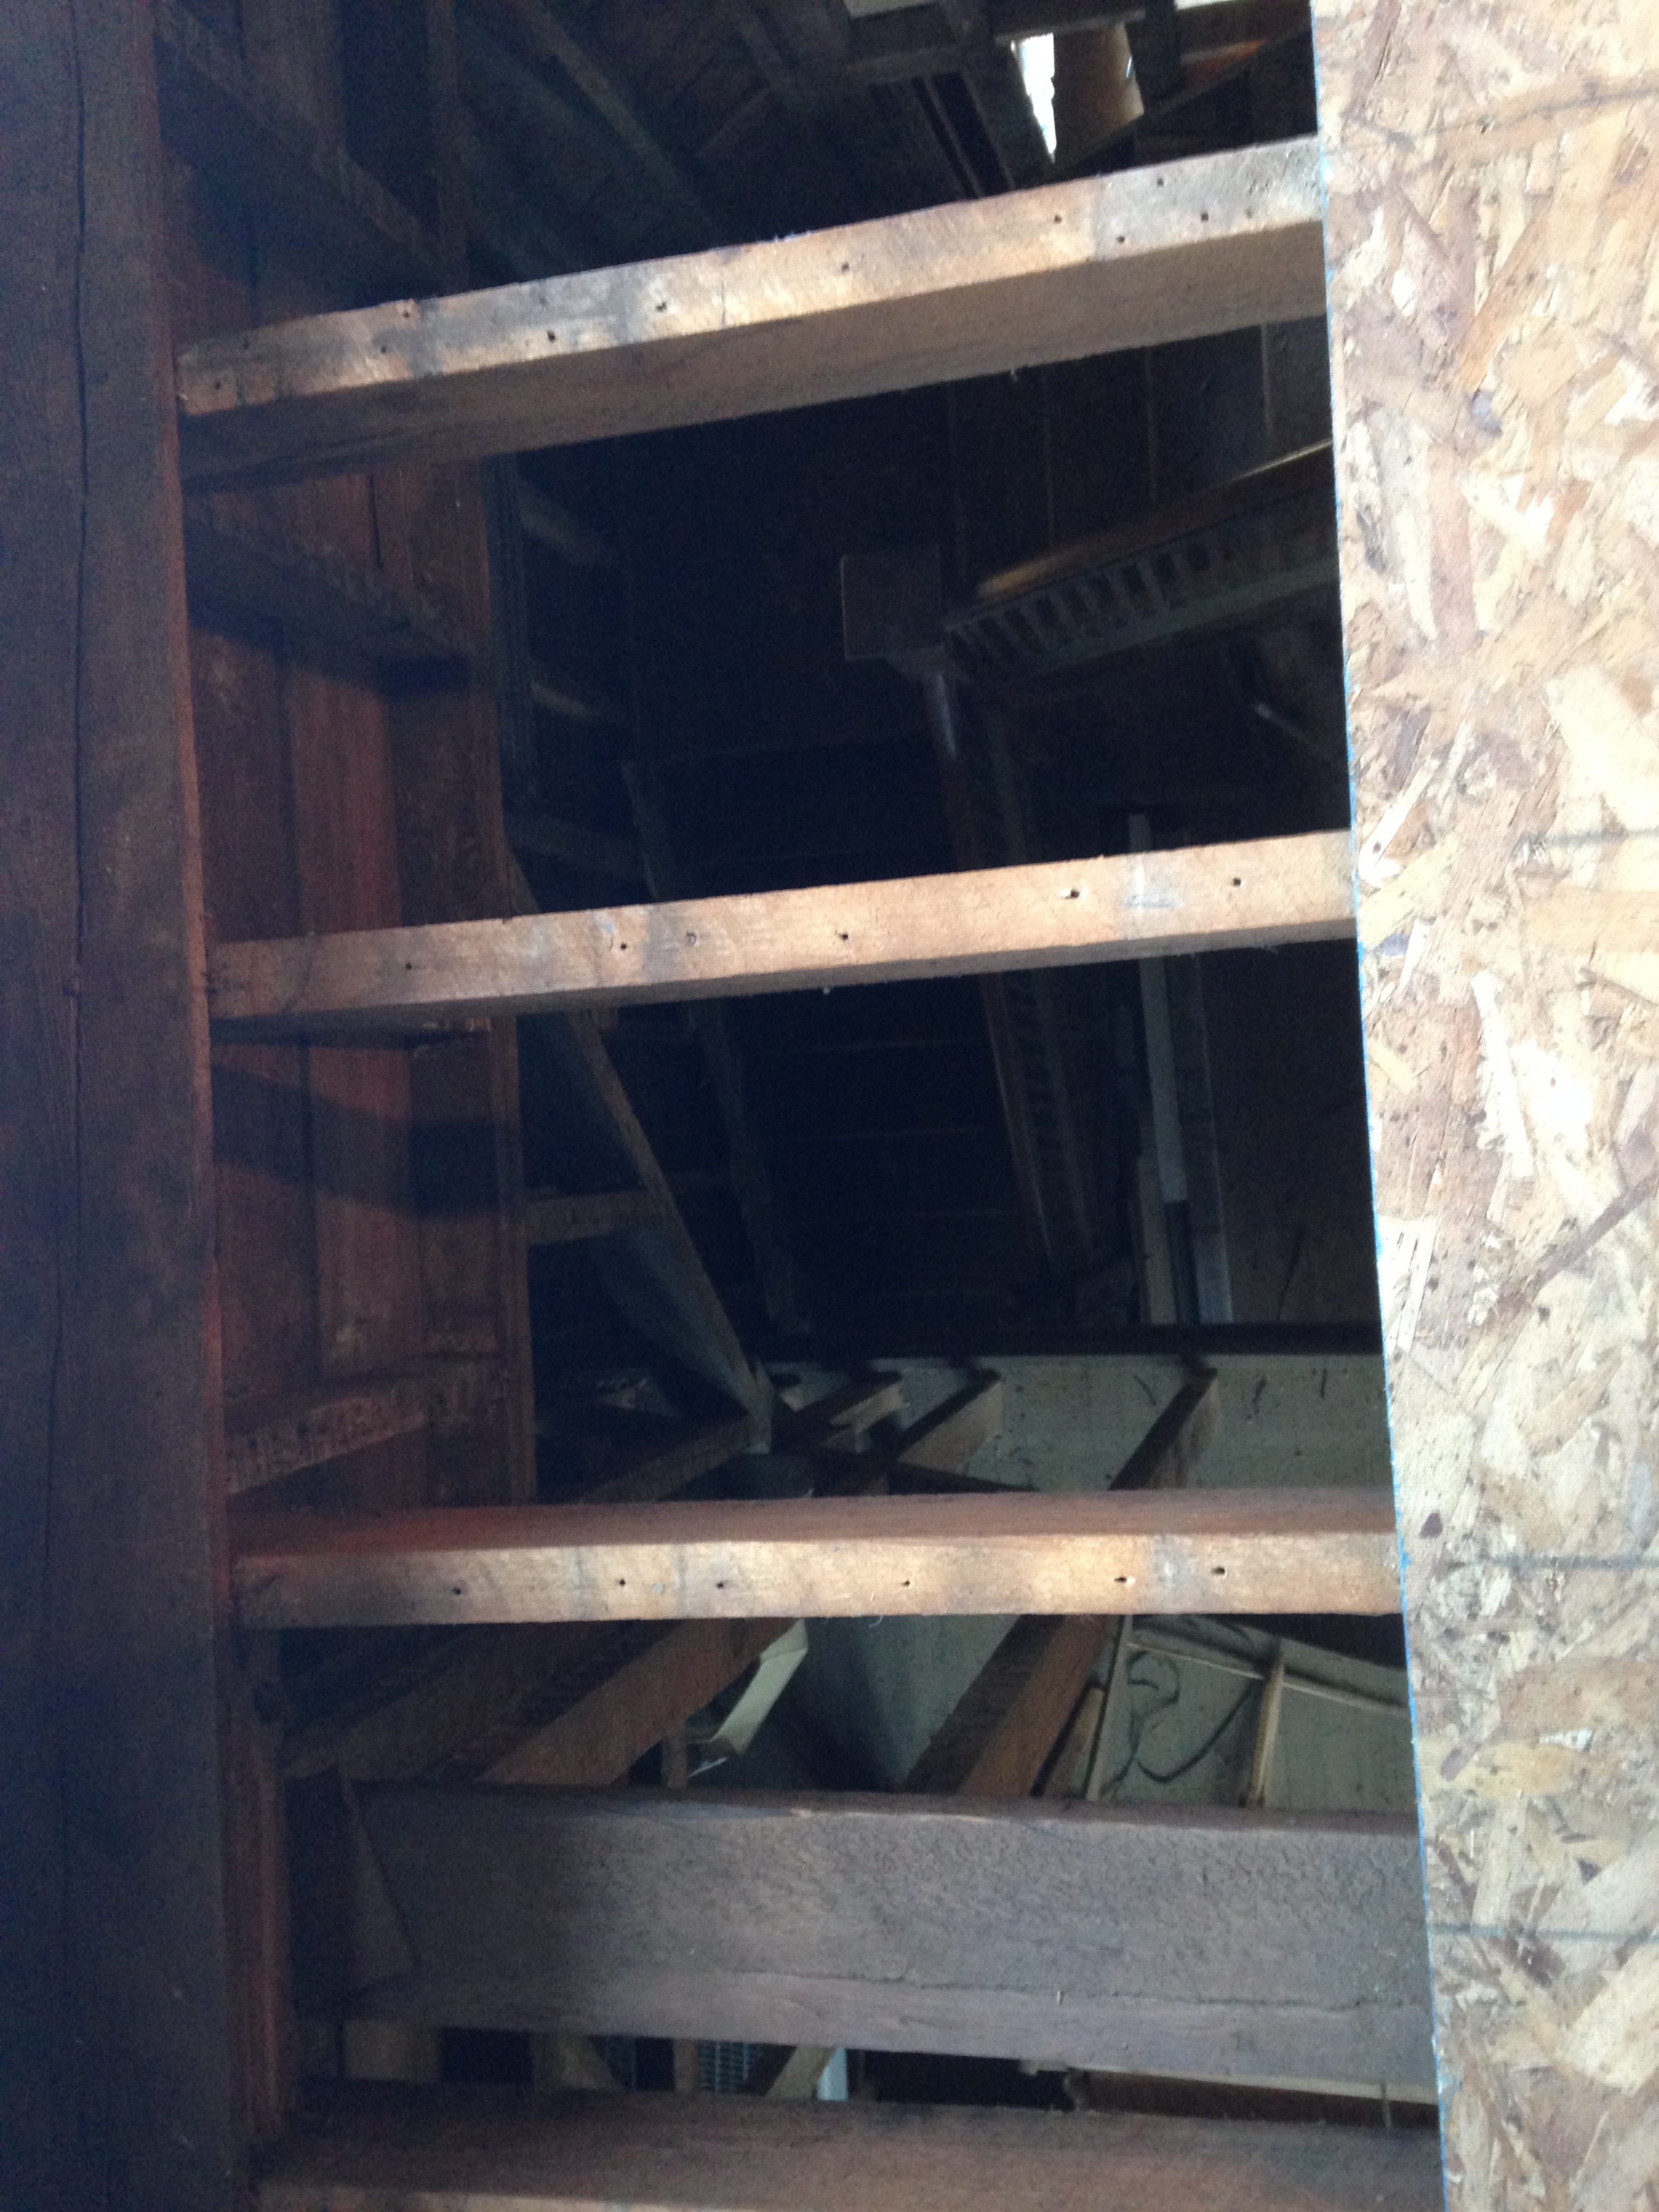
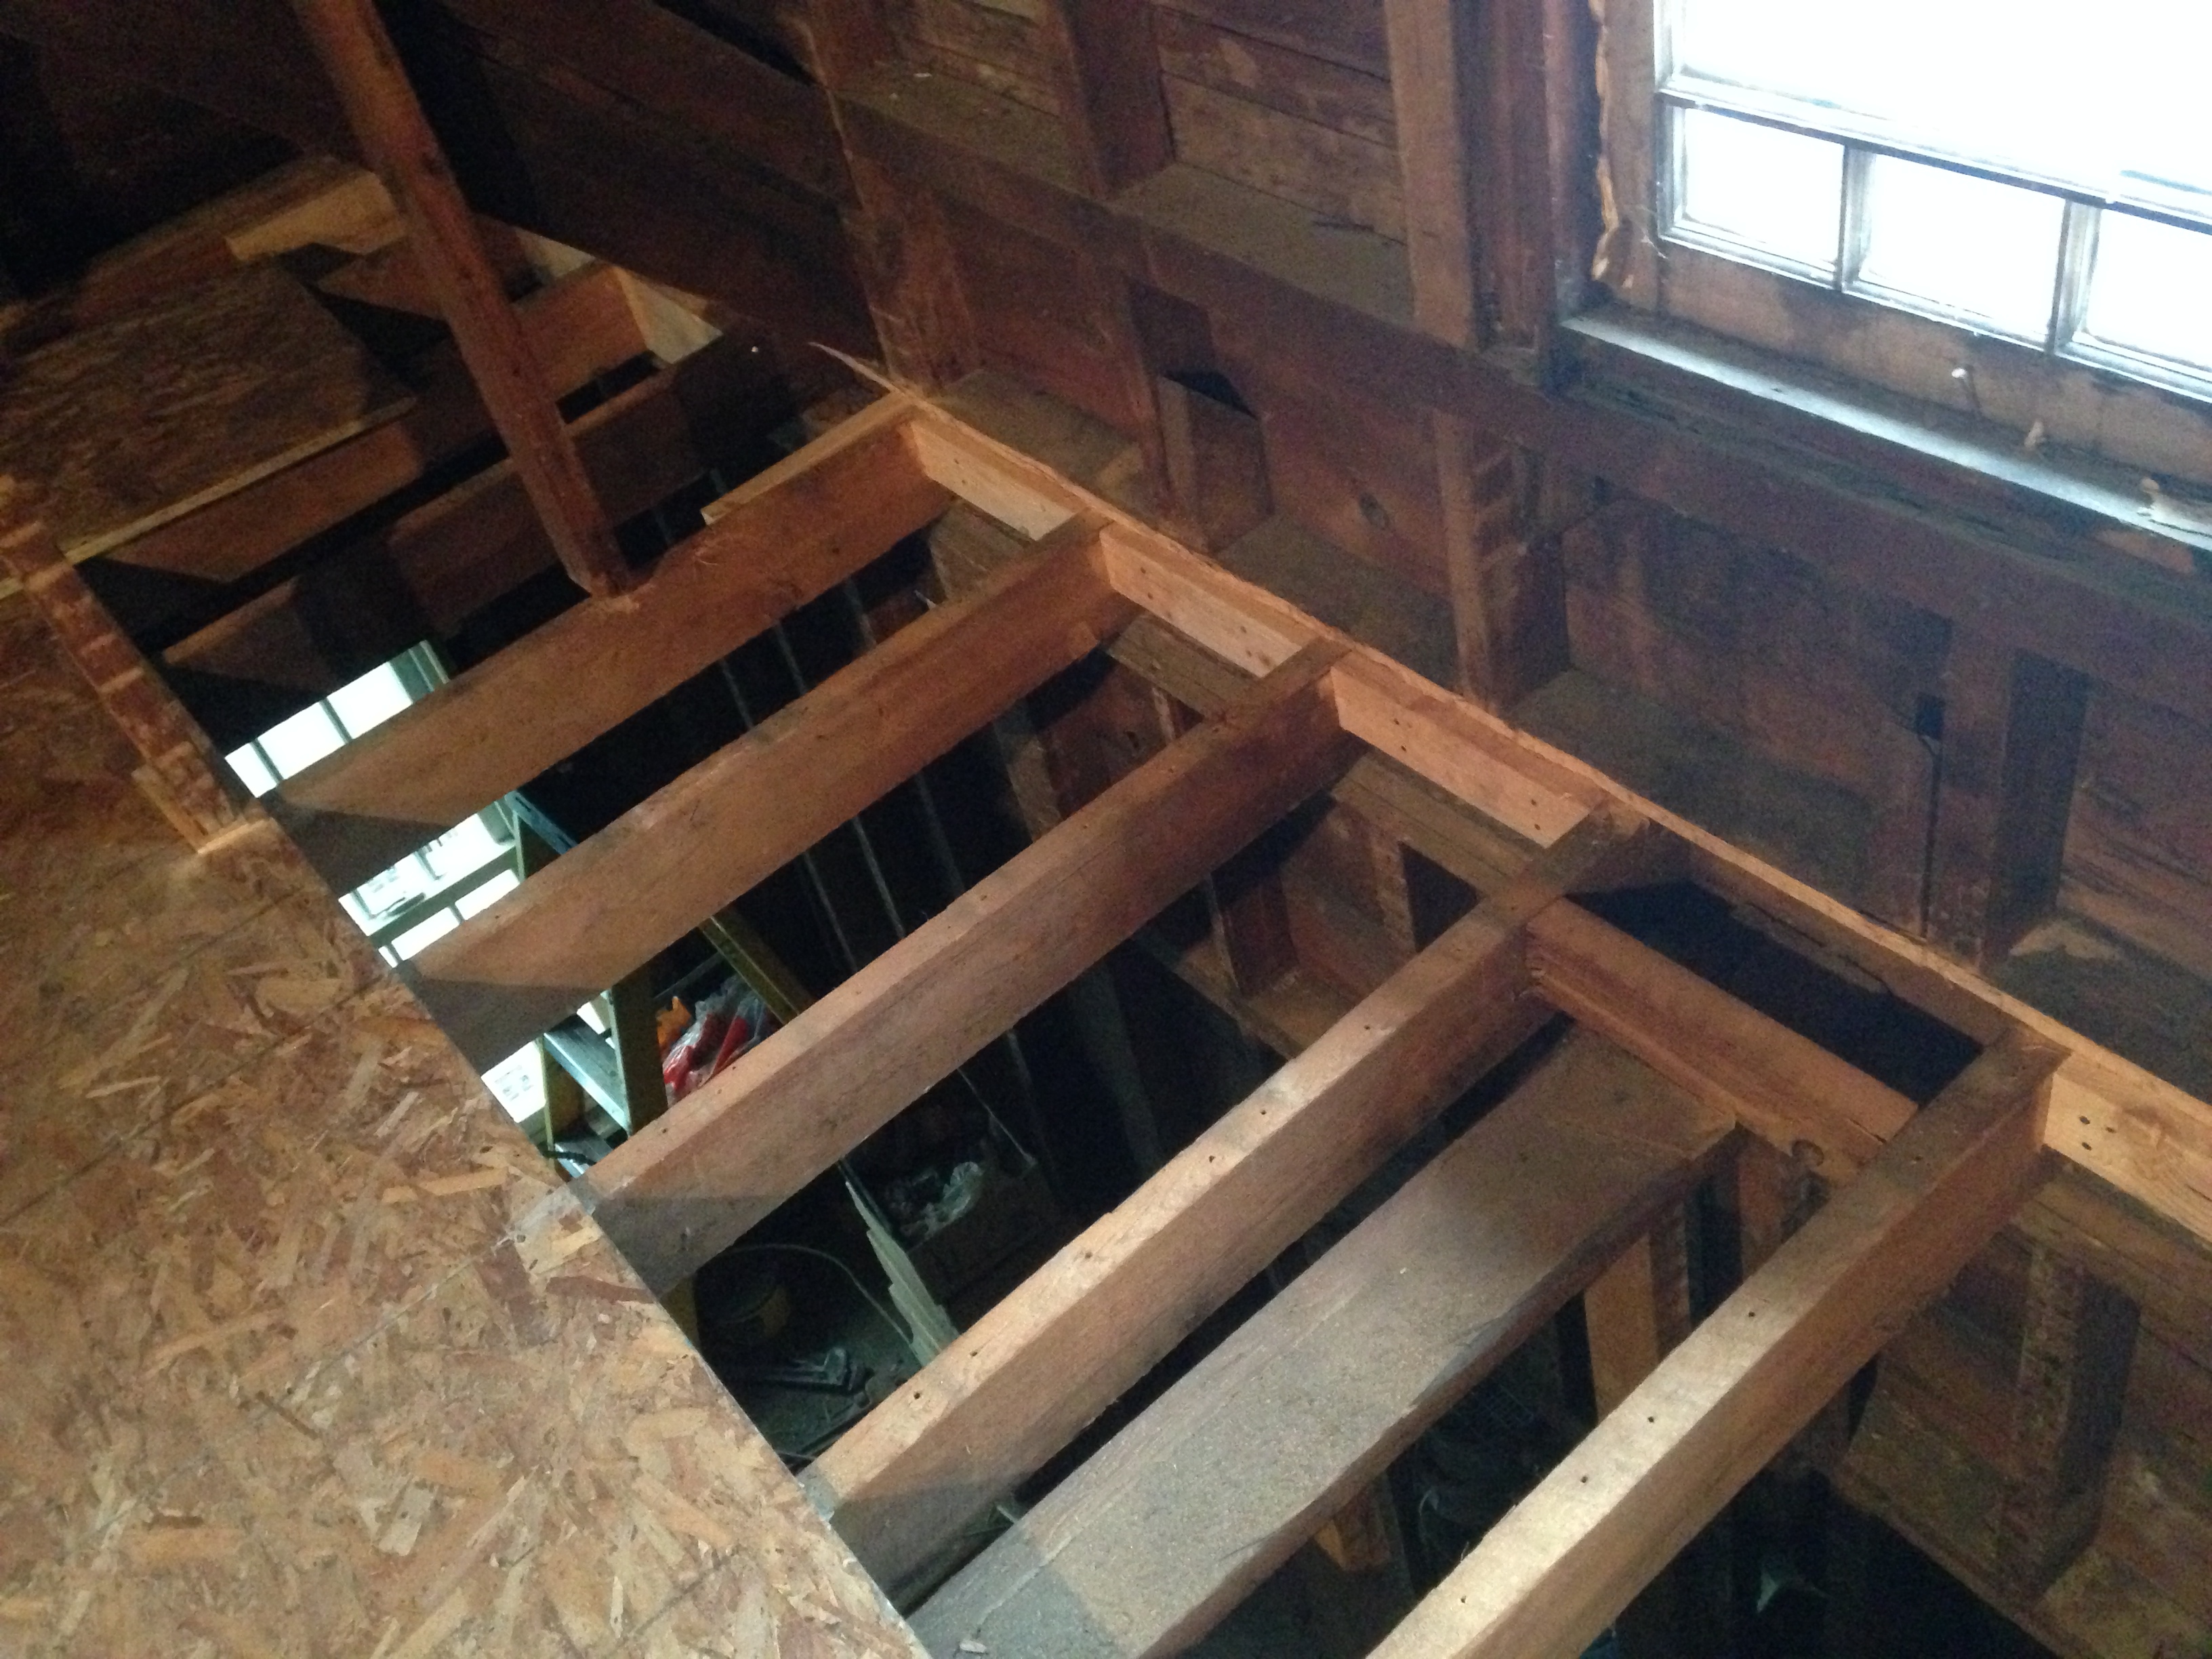
Here are the boards I pulled up. Gotta start somewhere!

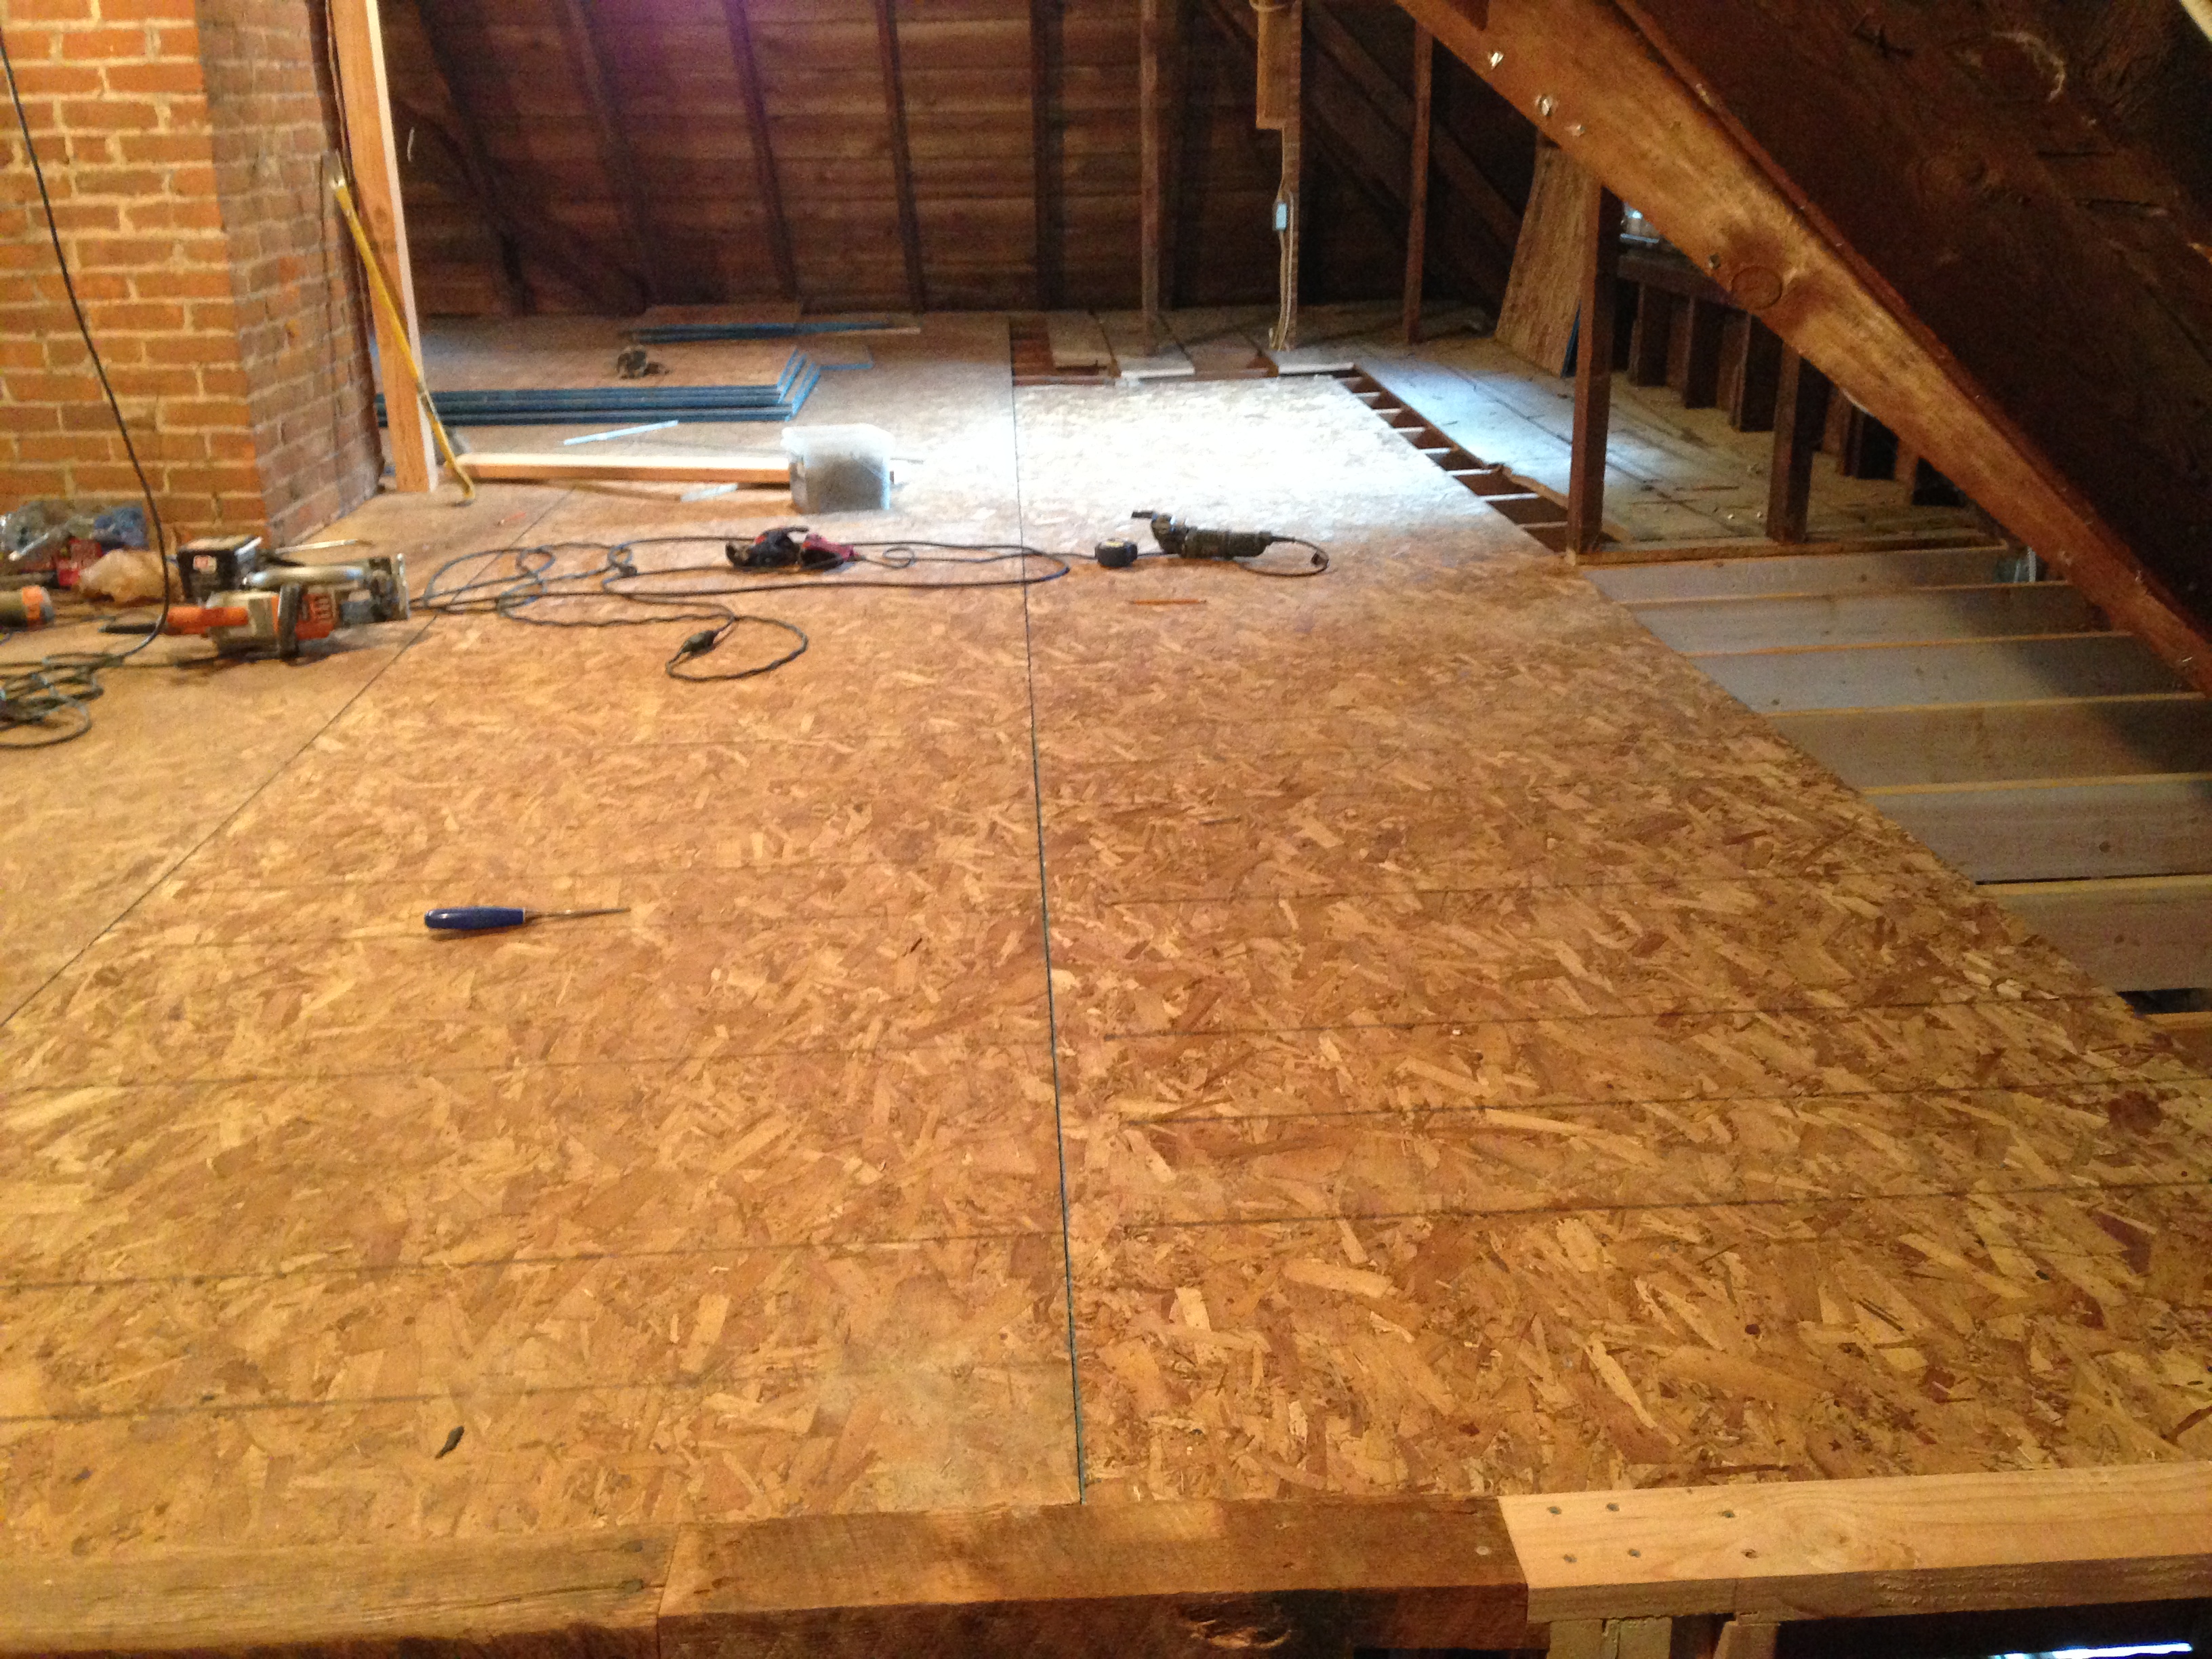
That, of course, was to get these 4’x8′ sheets of plywood up into the attic. These had to be carried from the driveway, to the living room, pushed up through the ceiling into the bedroom, stacked, then up through the ceiling into the attic. 38 times. Not fun.
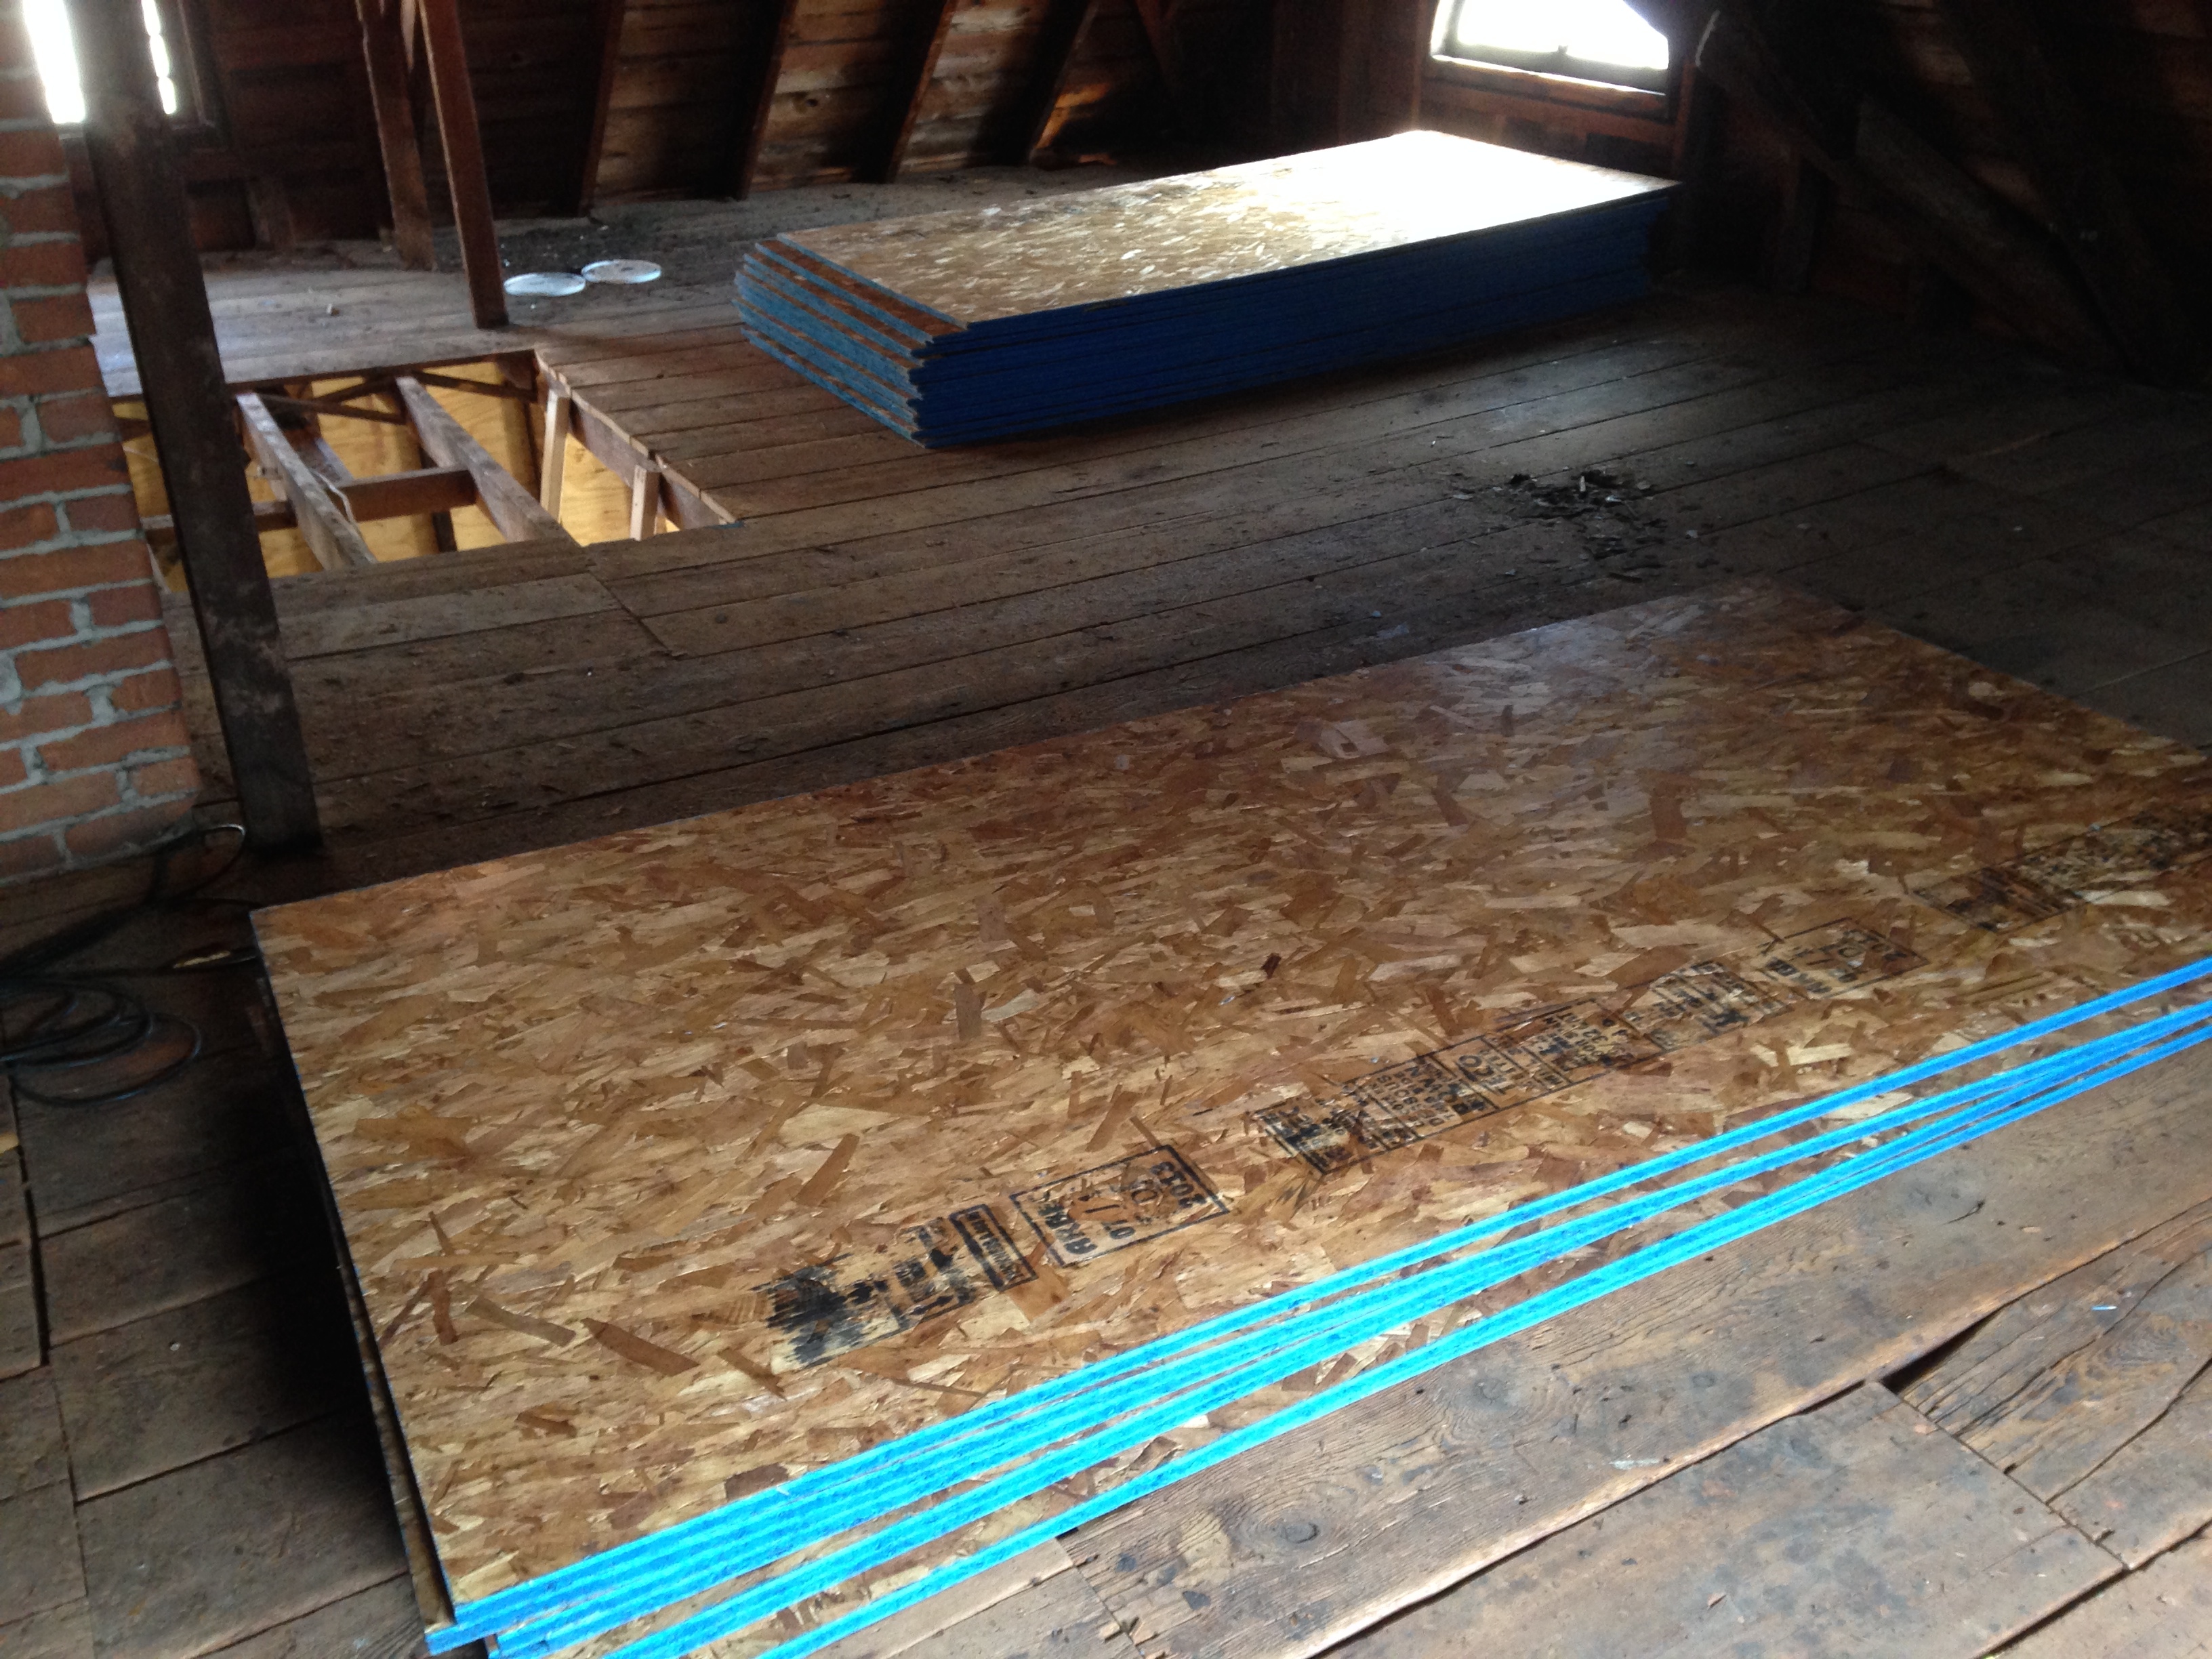
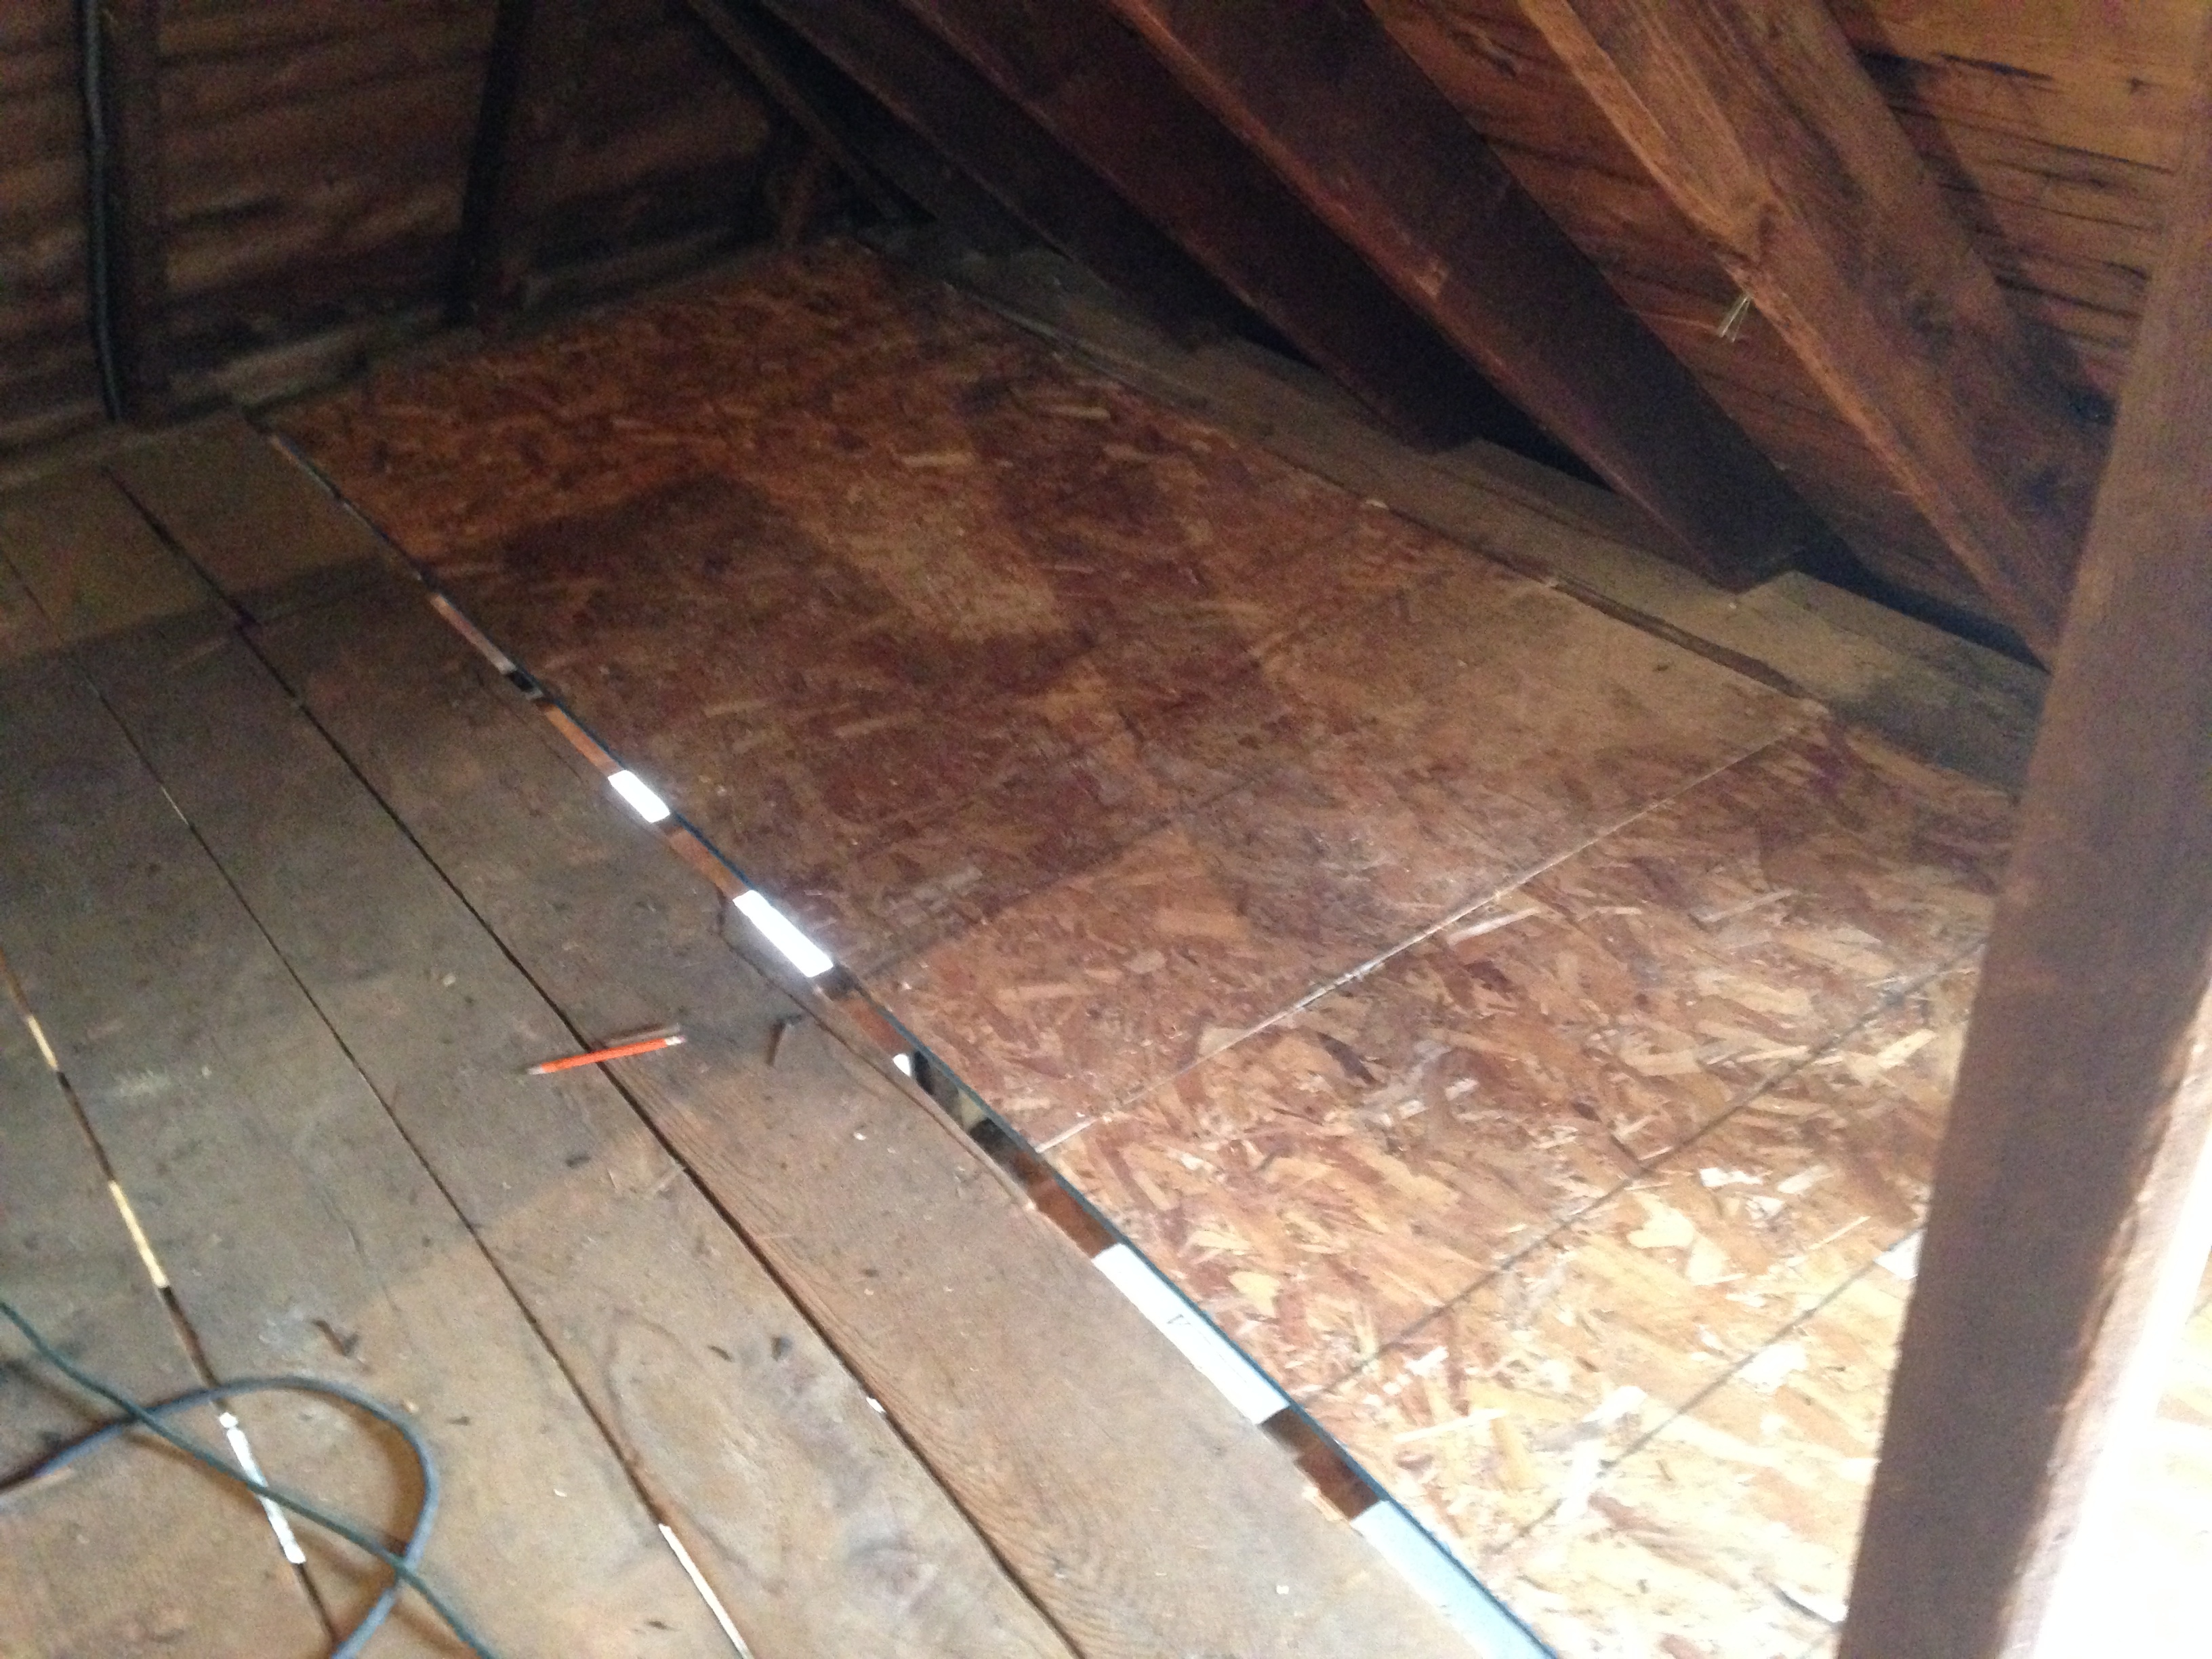
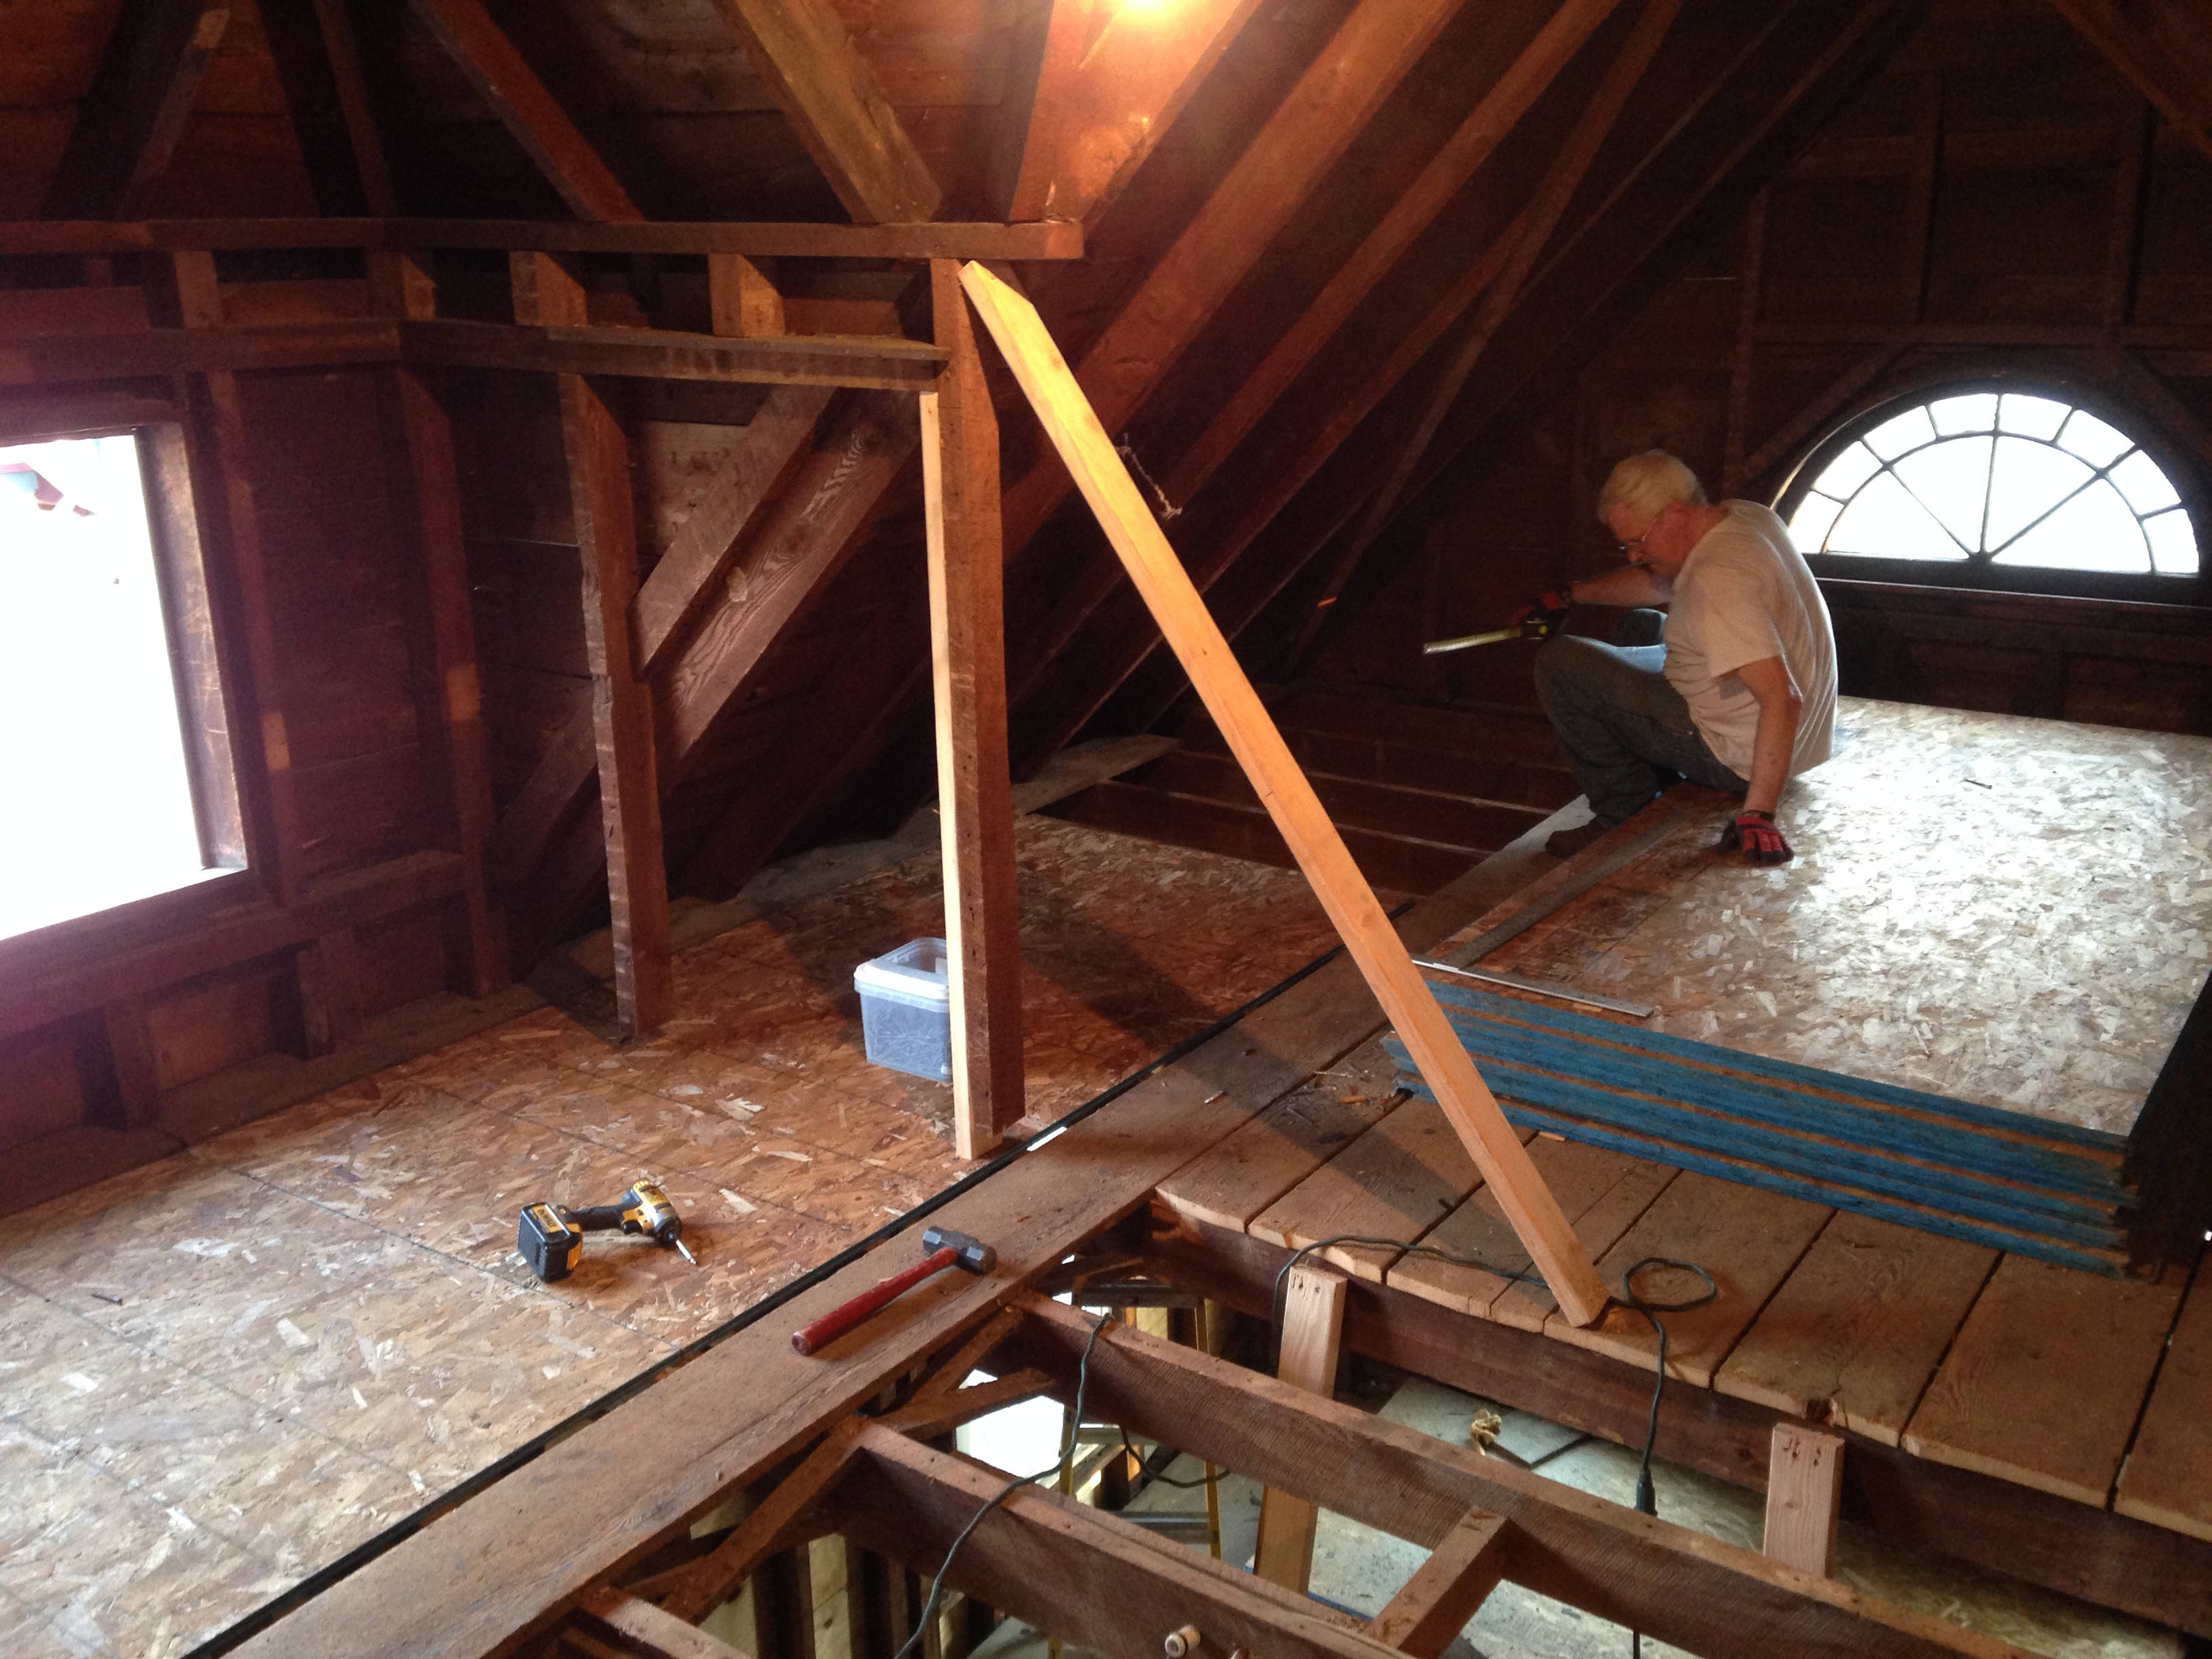
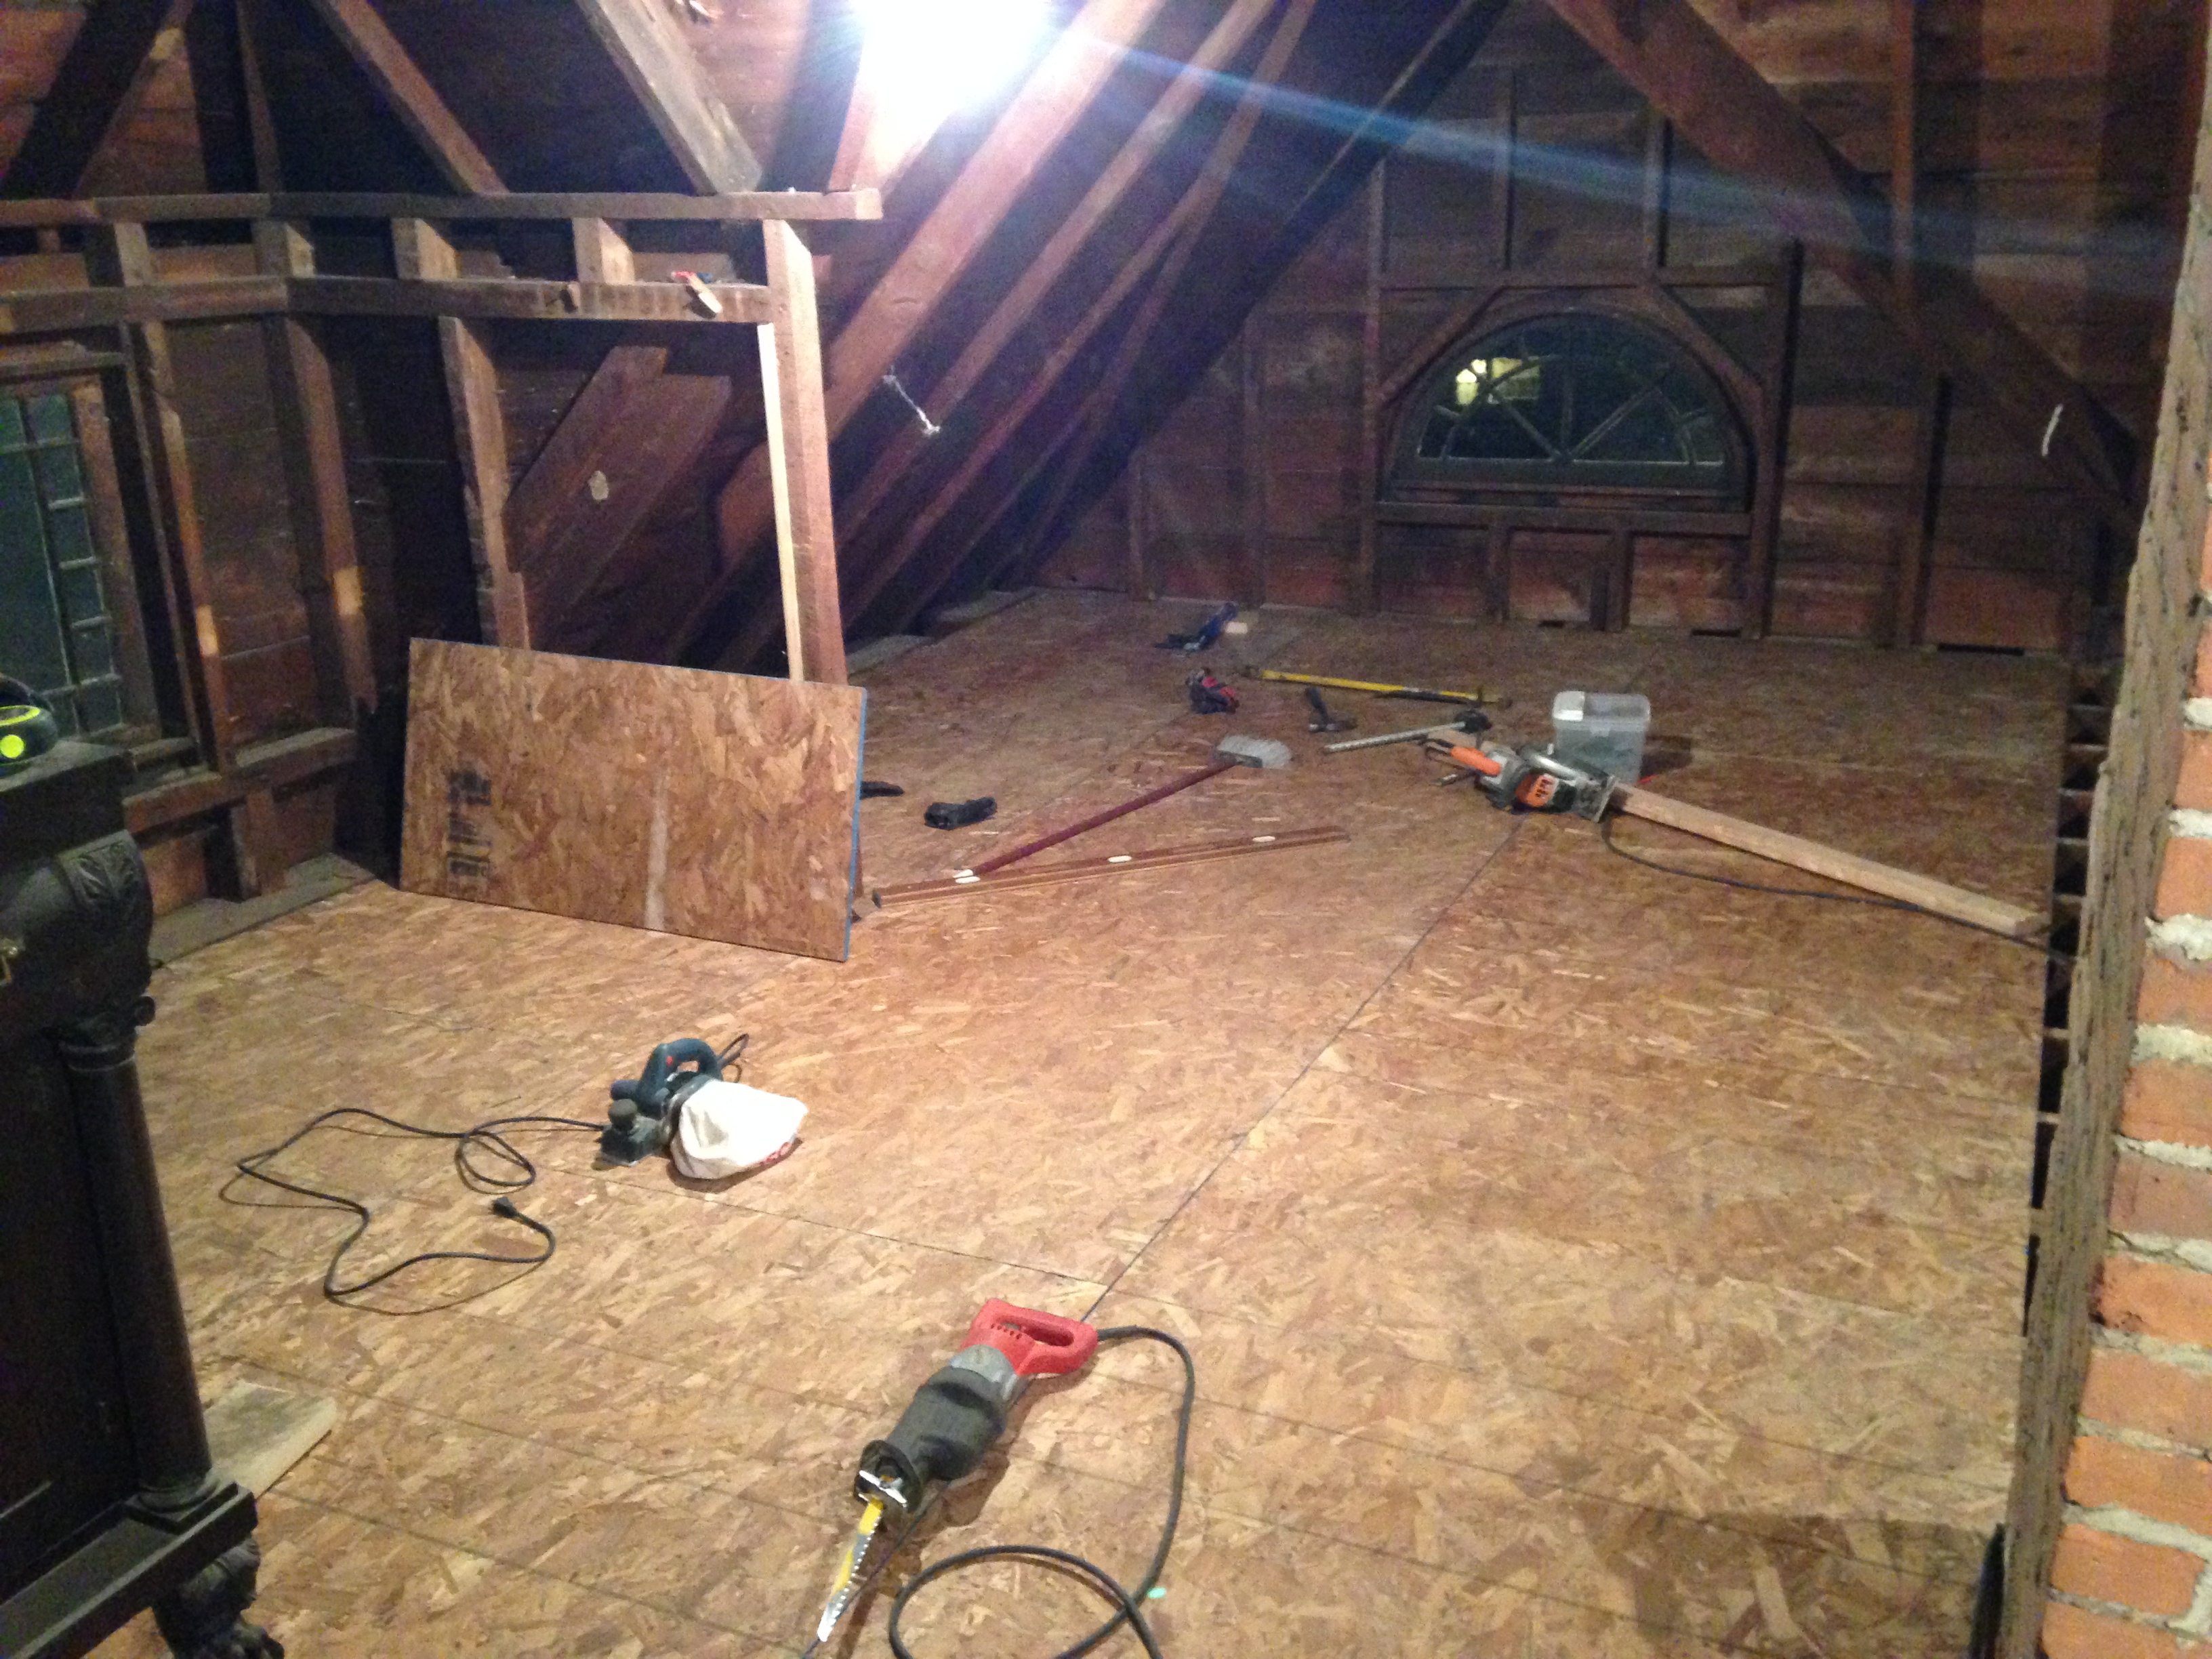
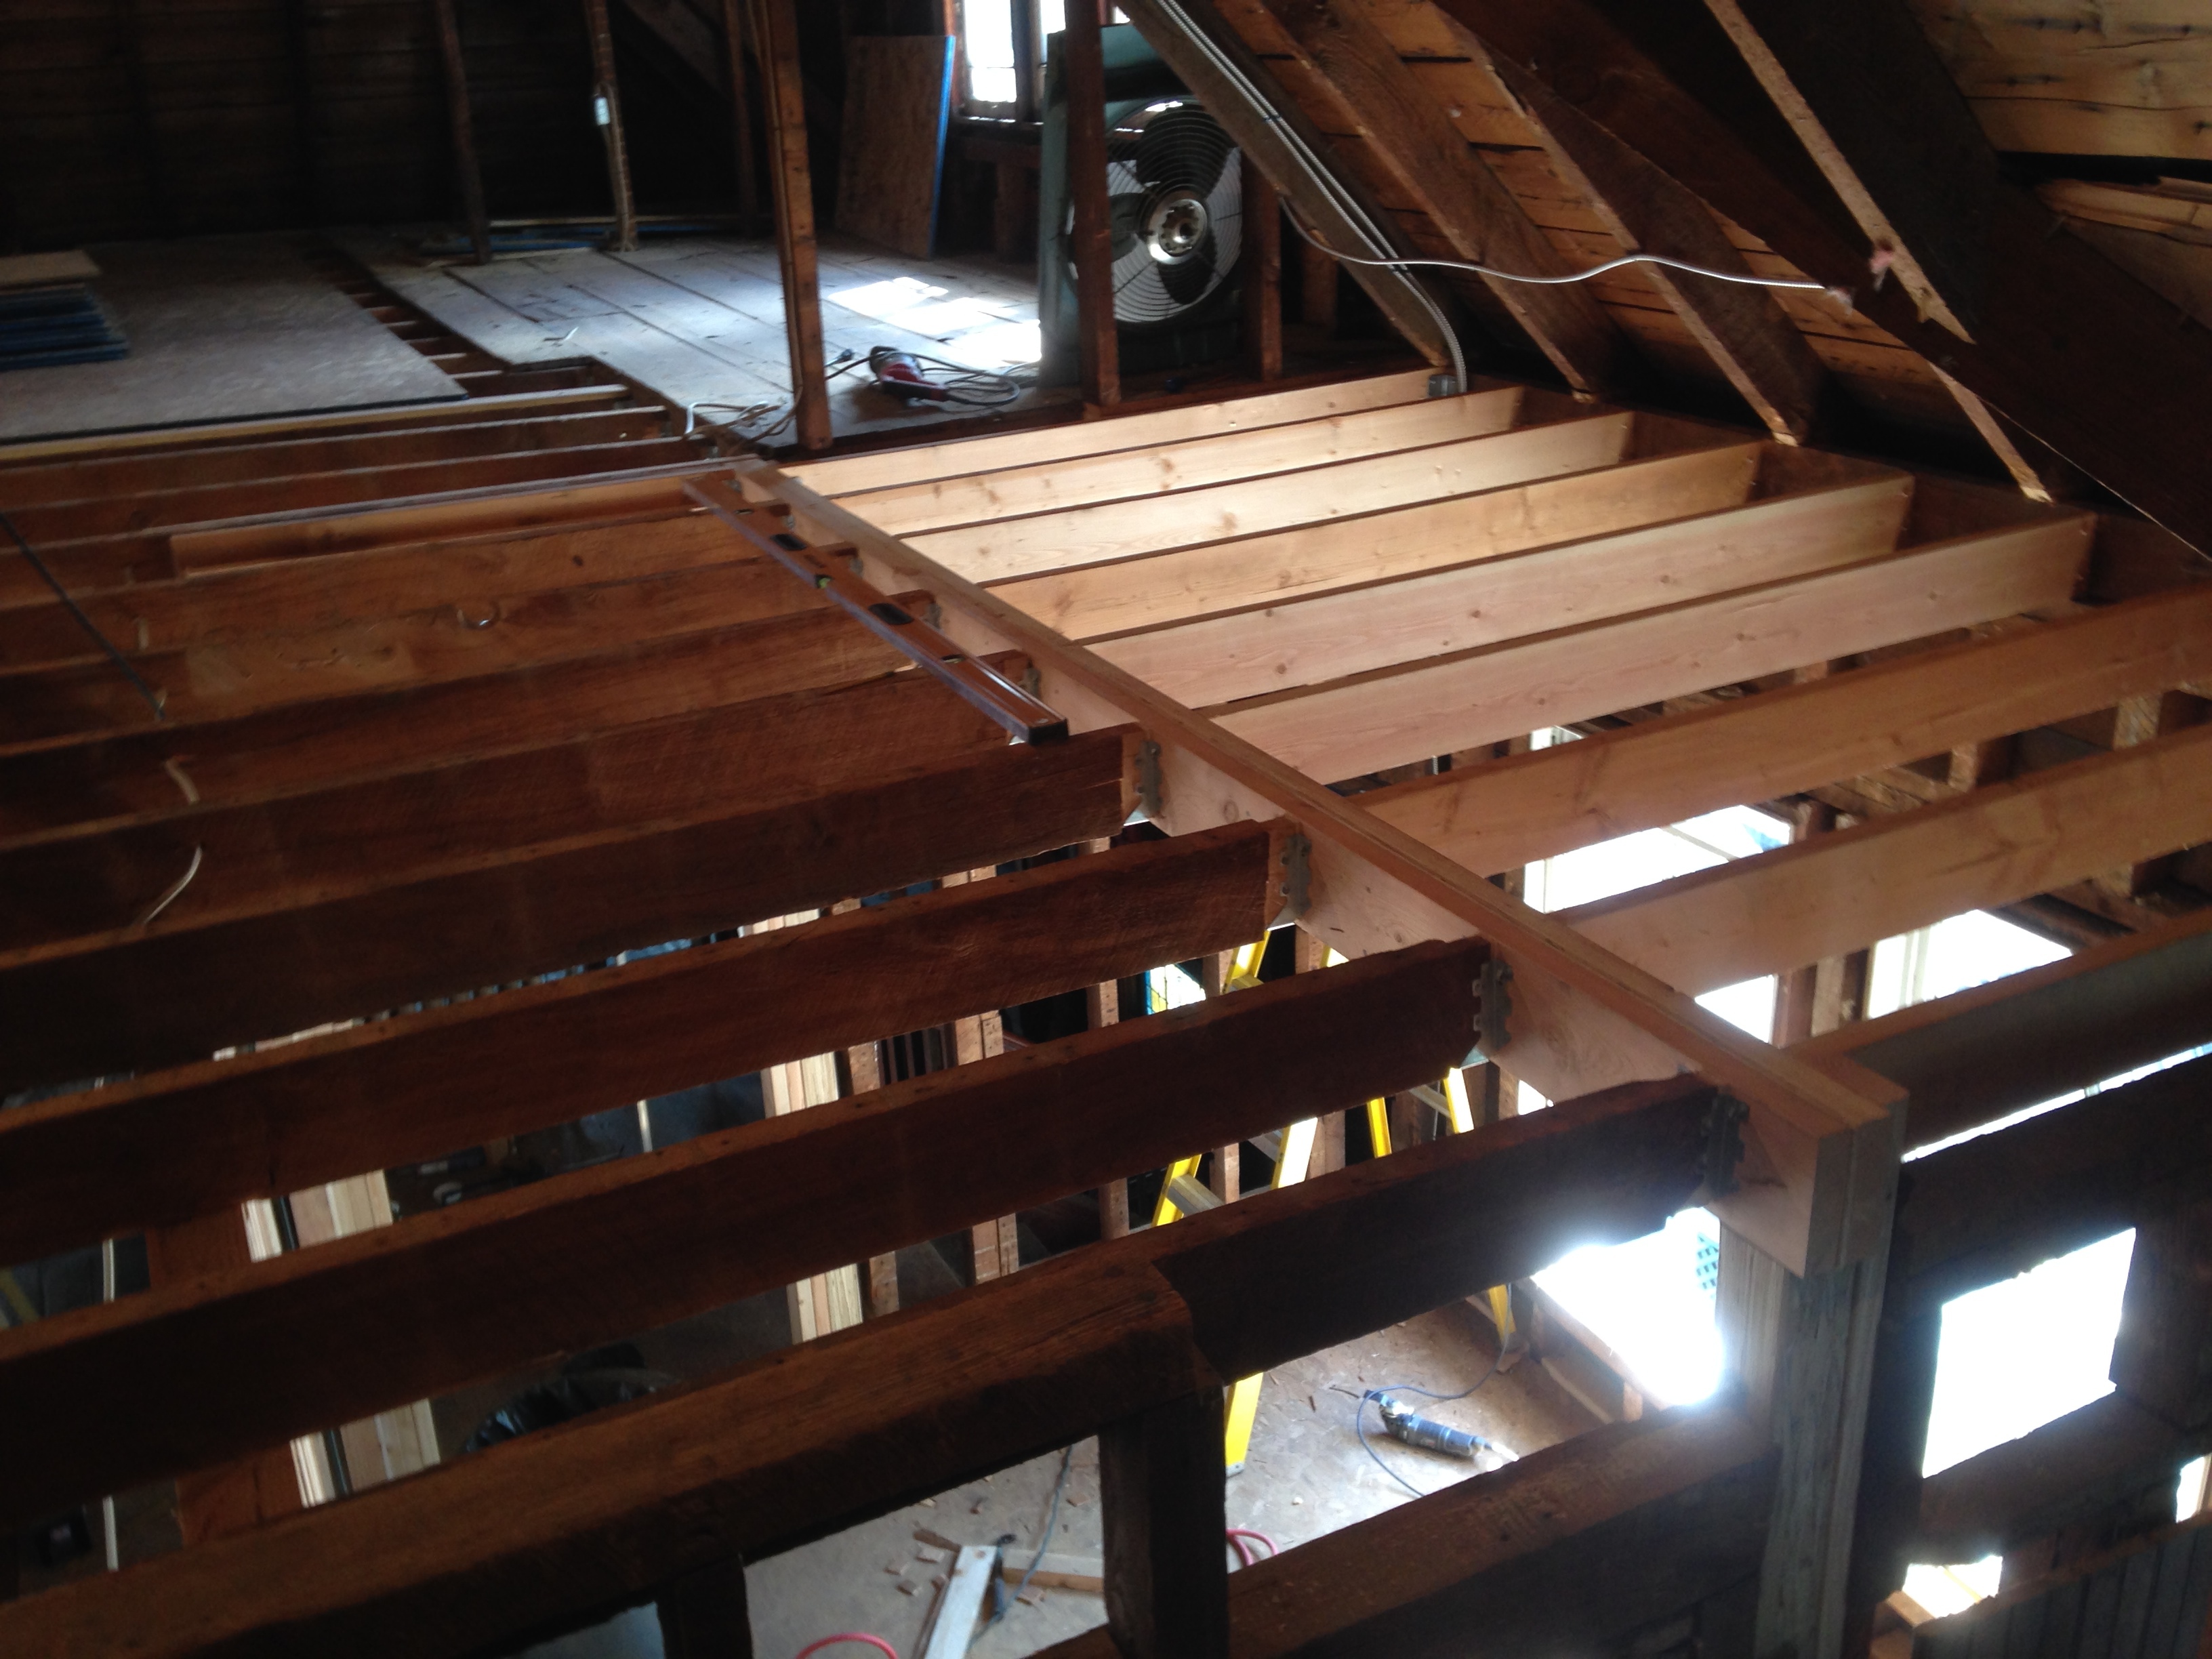
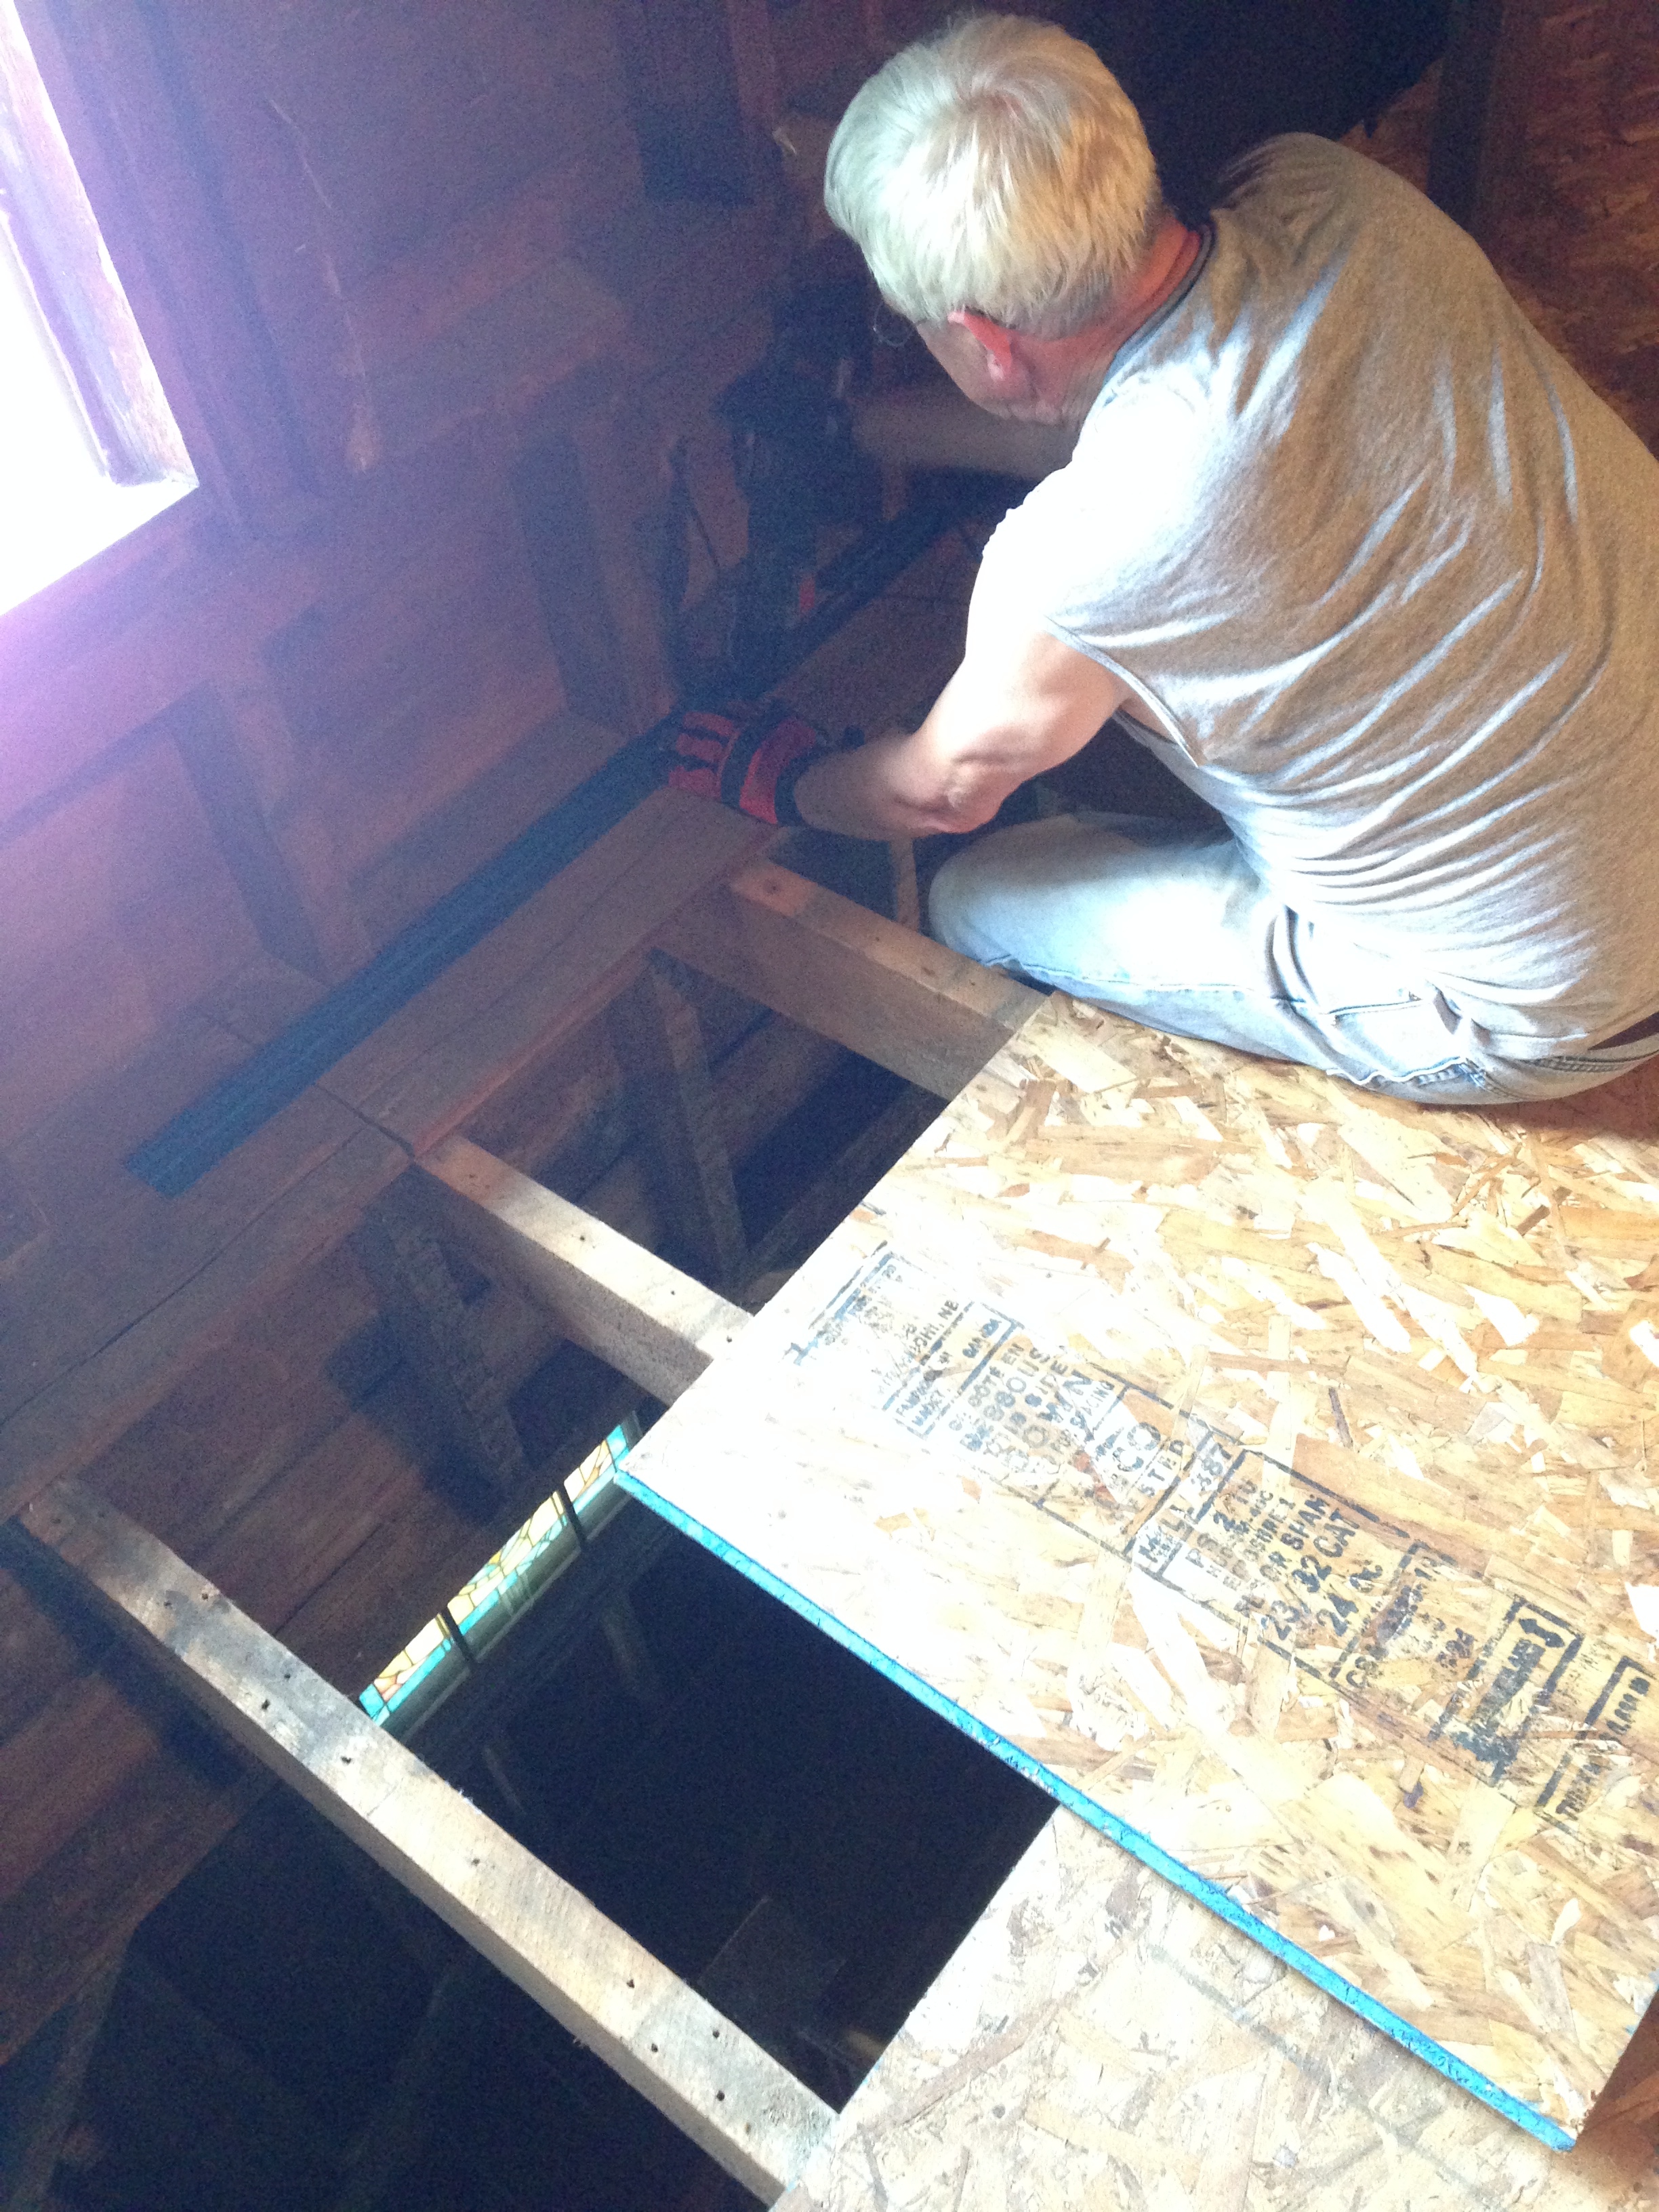
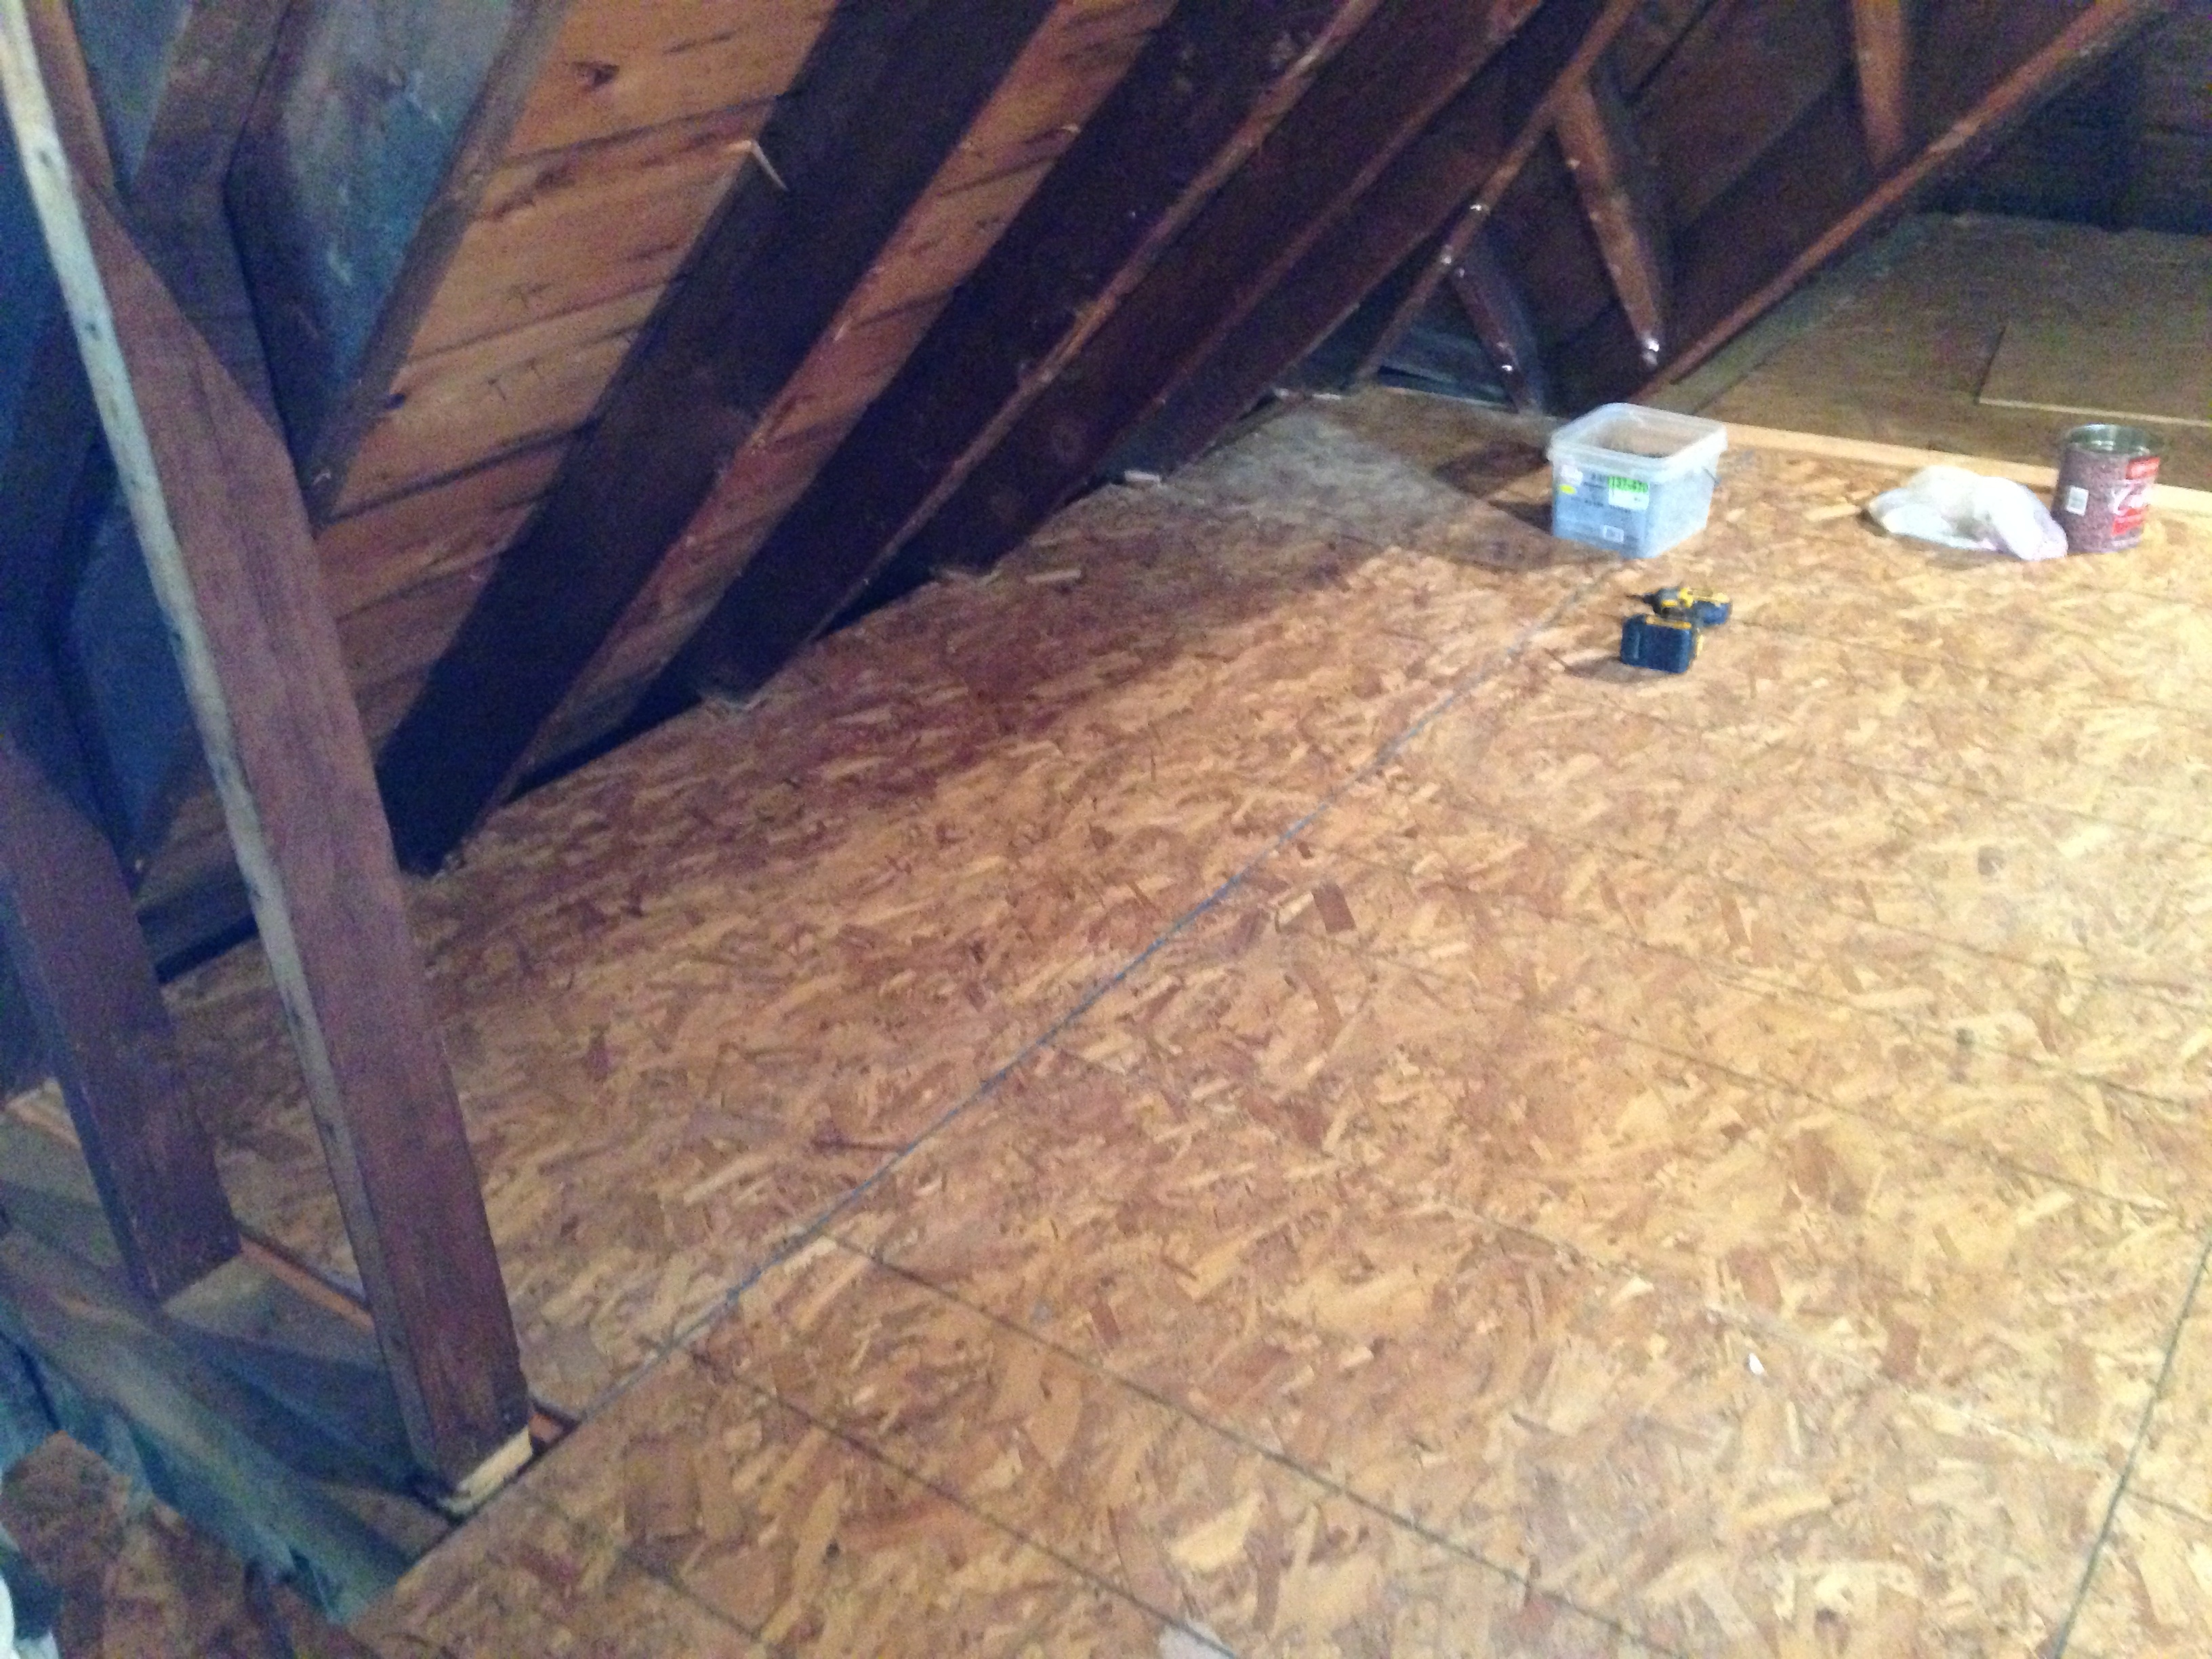
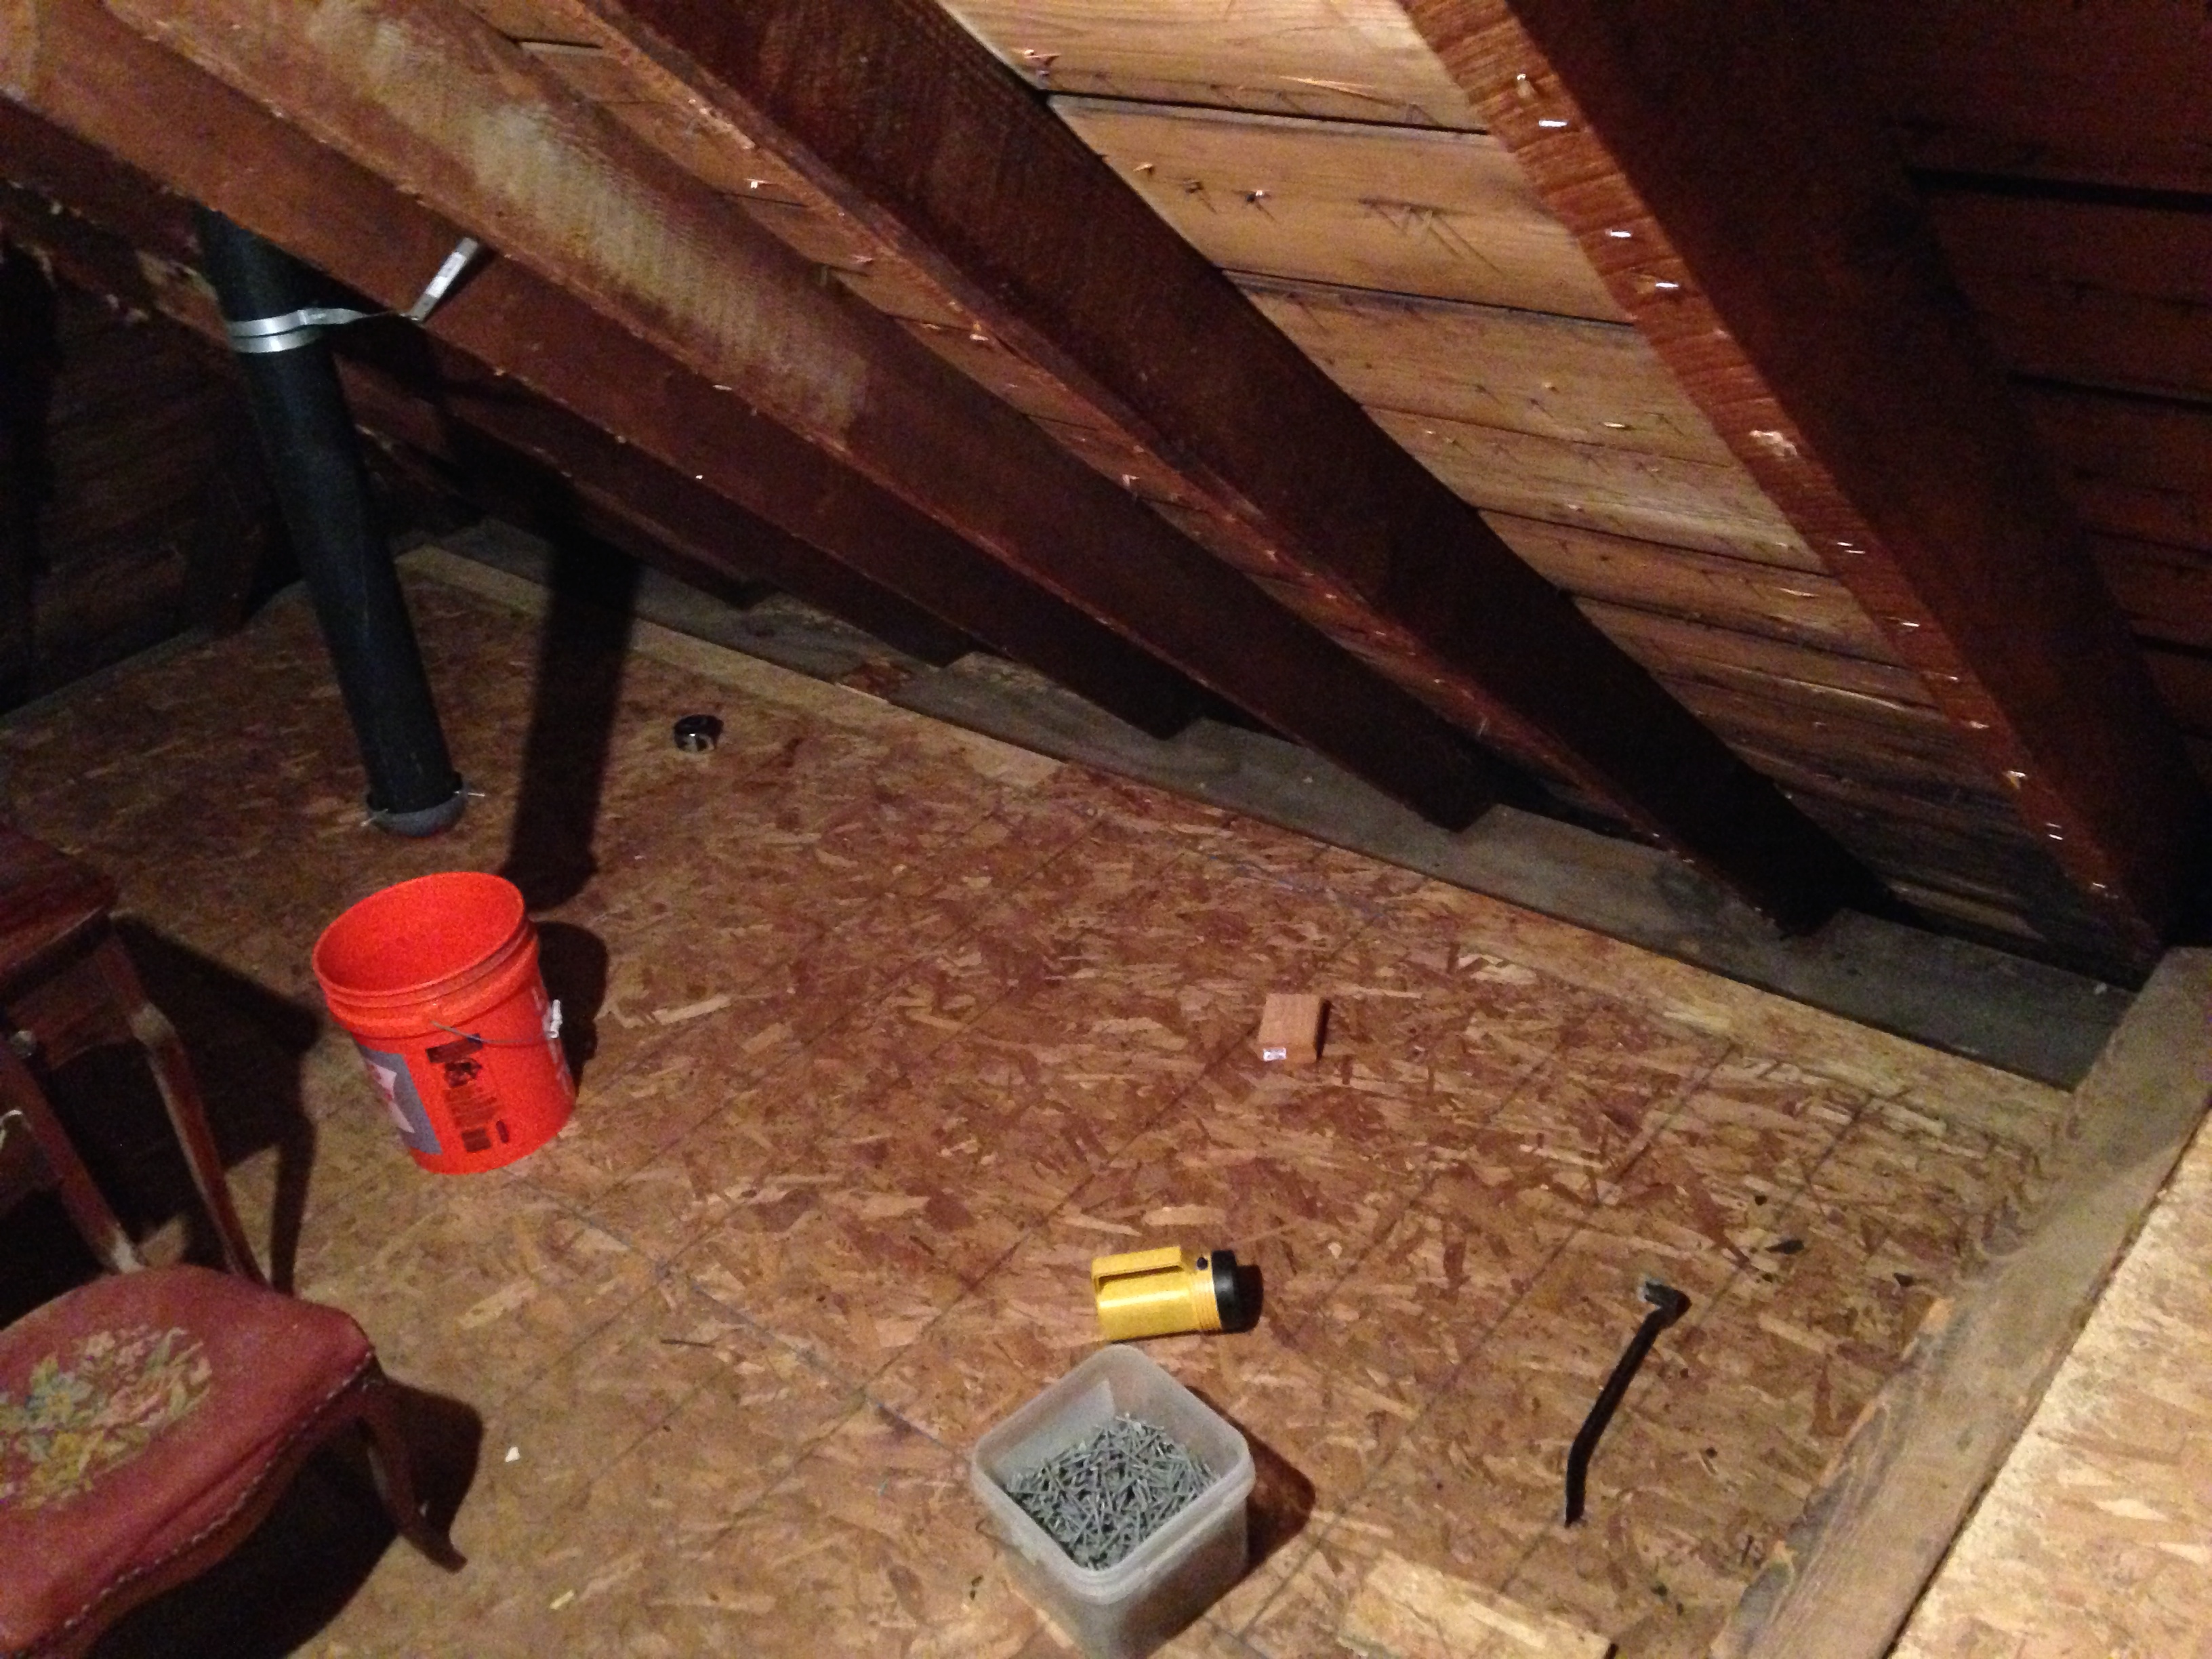
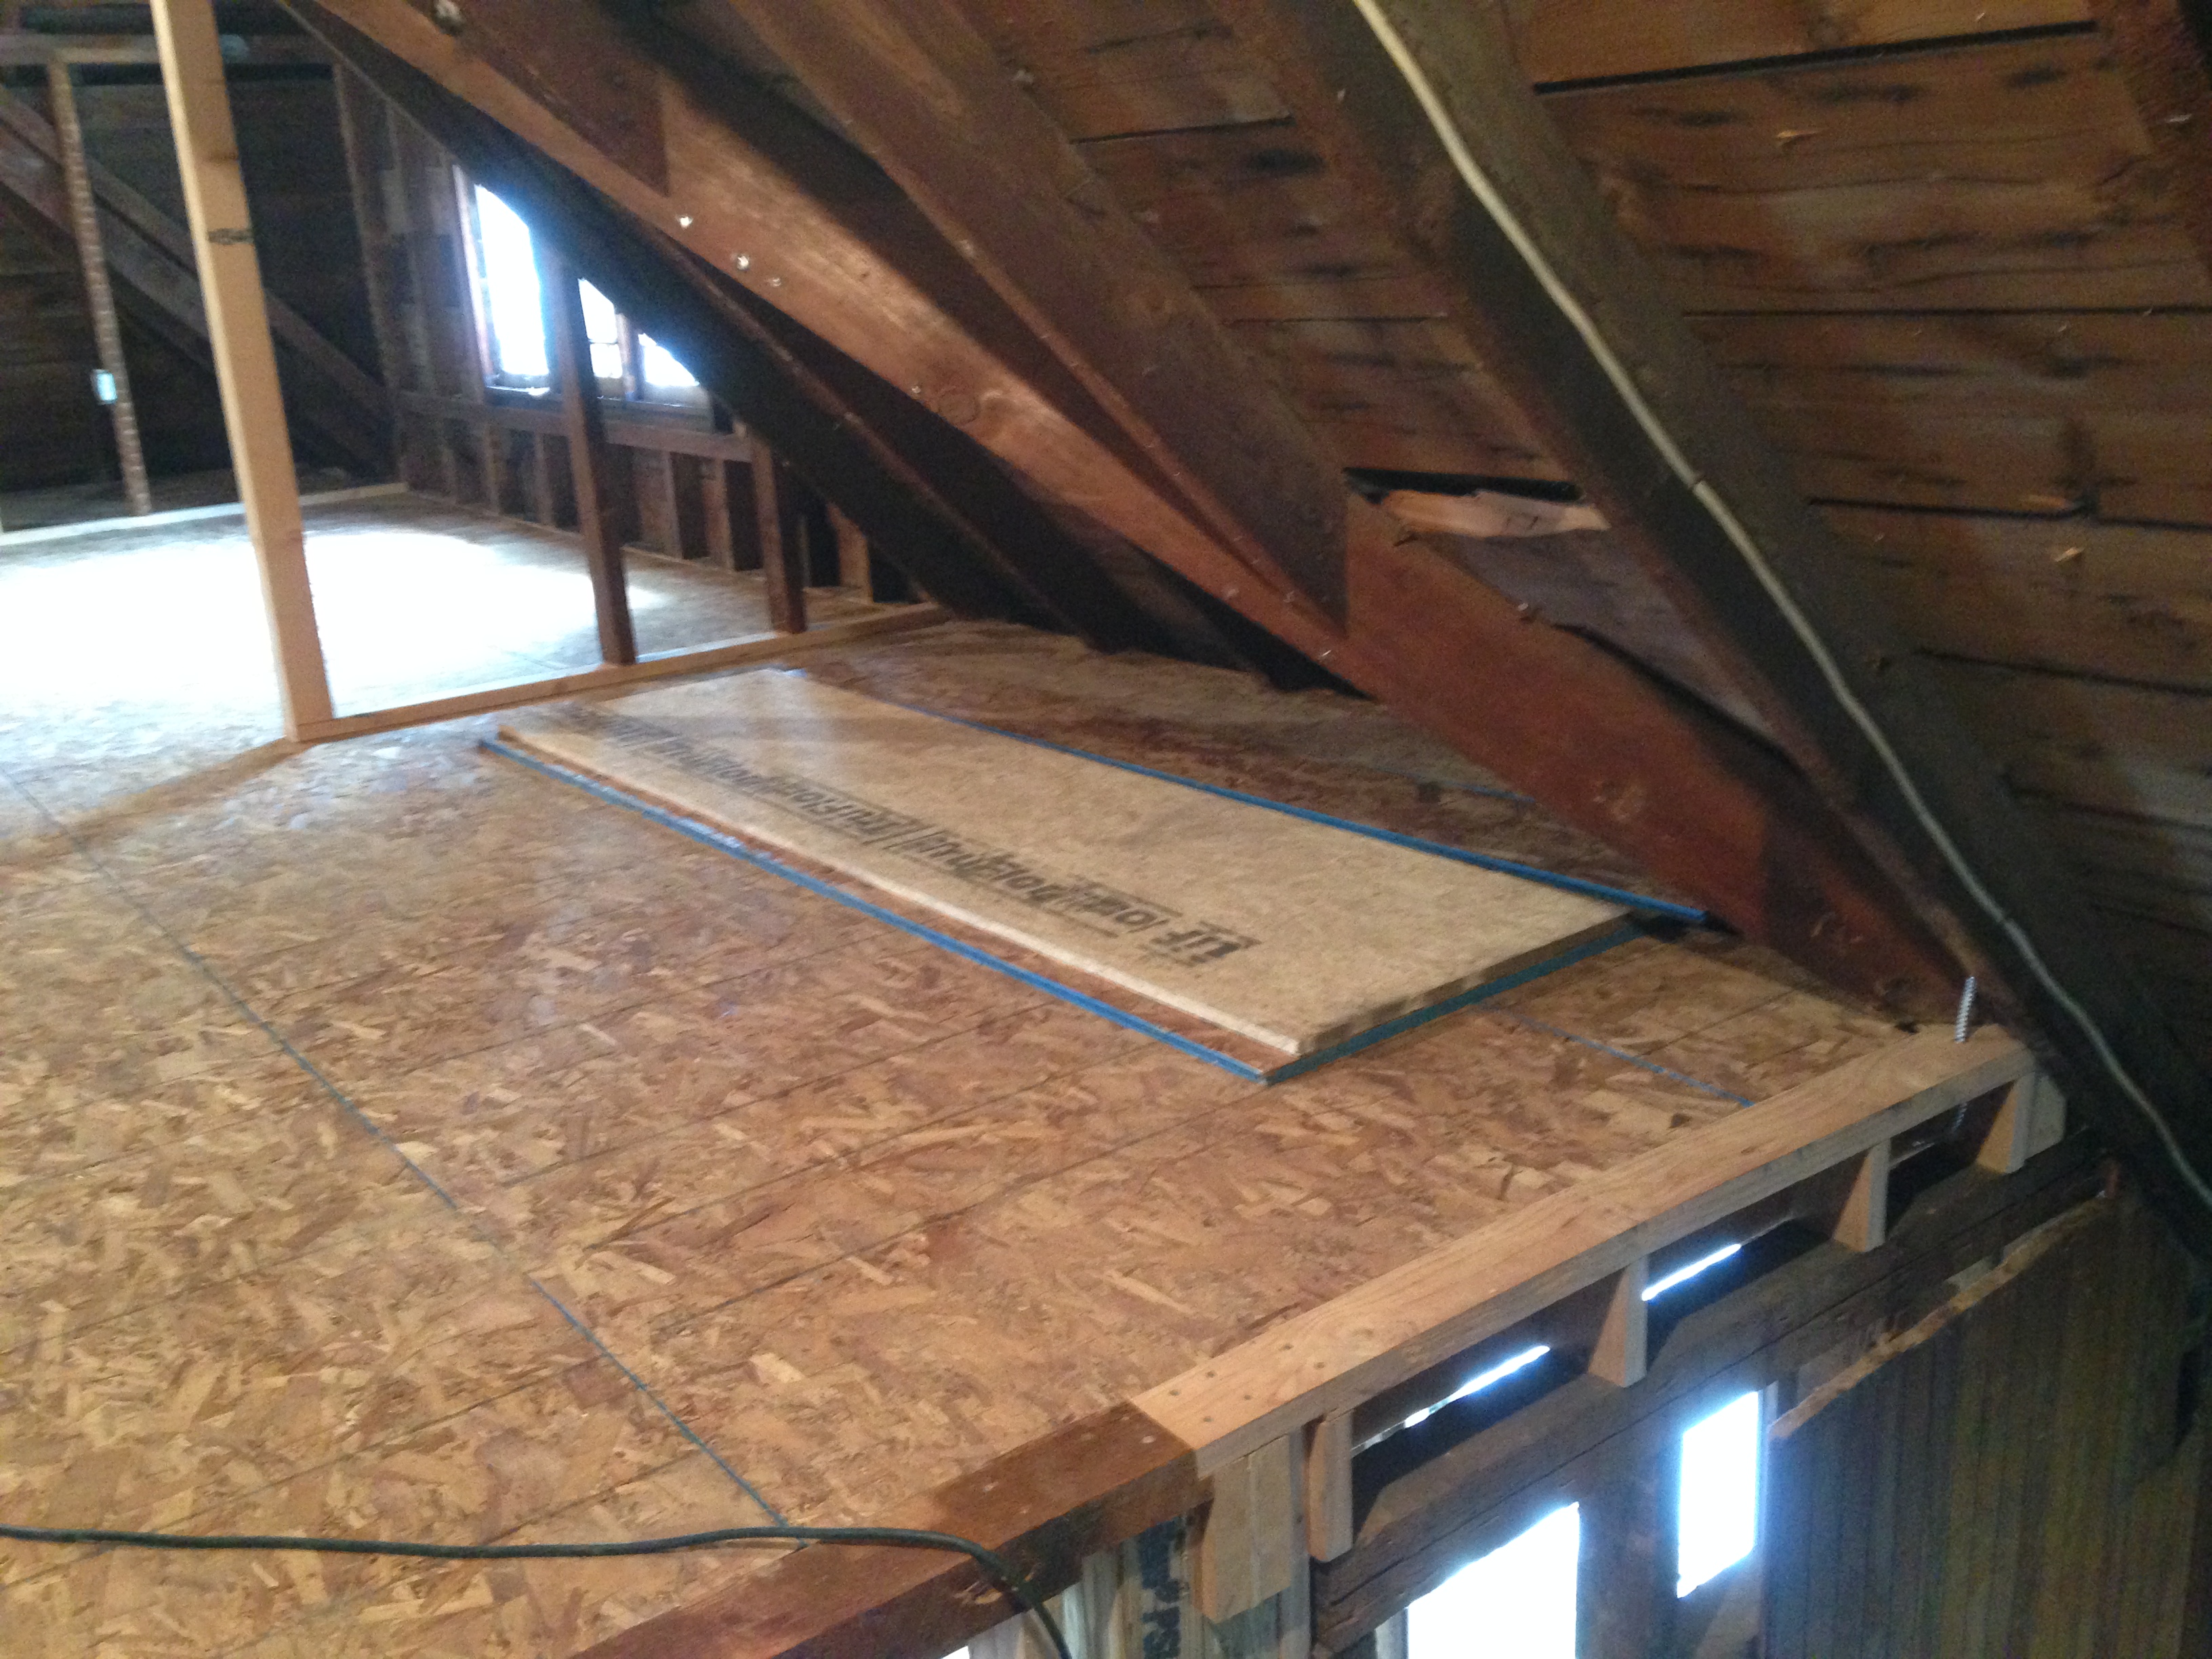
And with that, it was time to start putting it down.
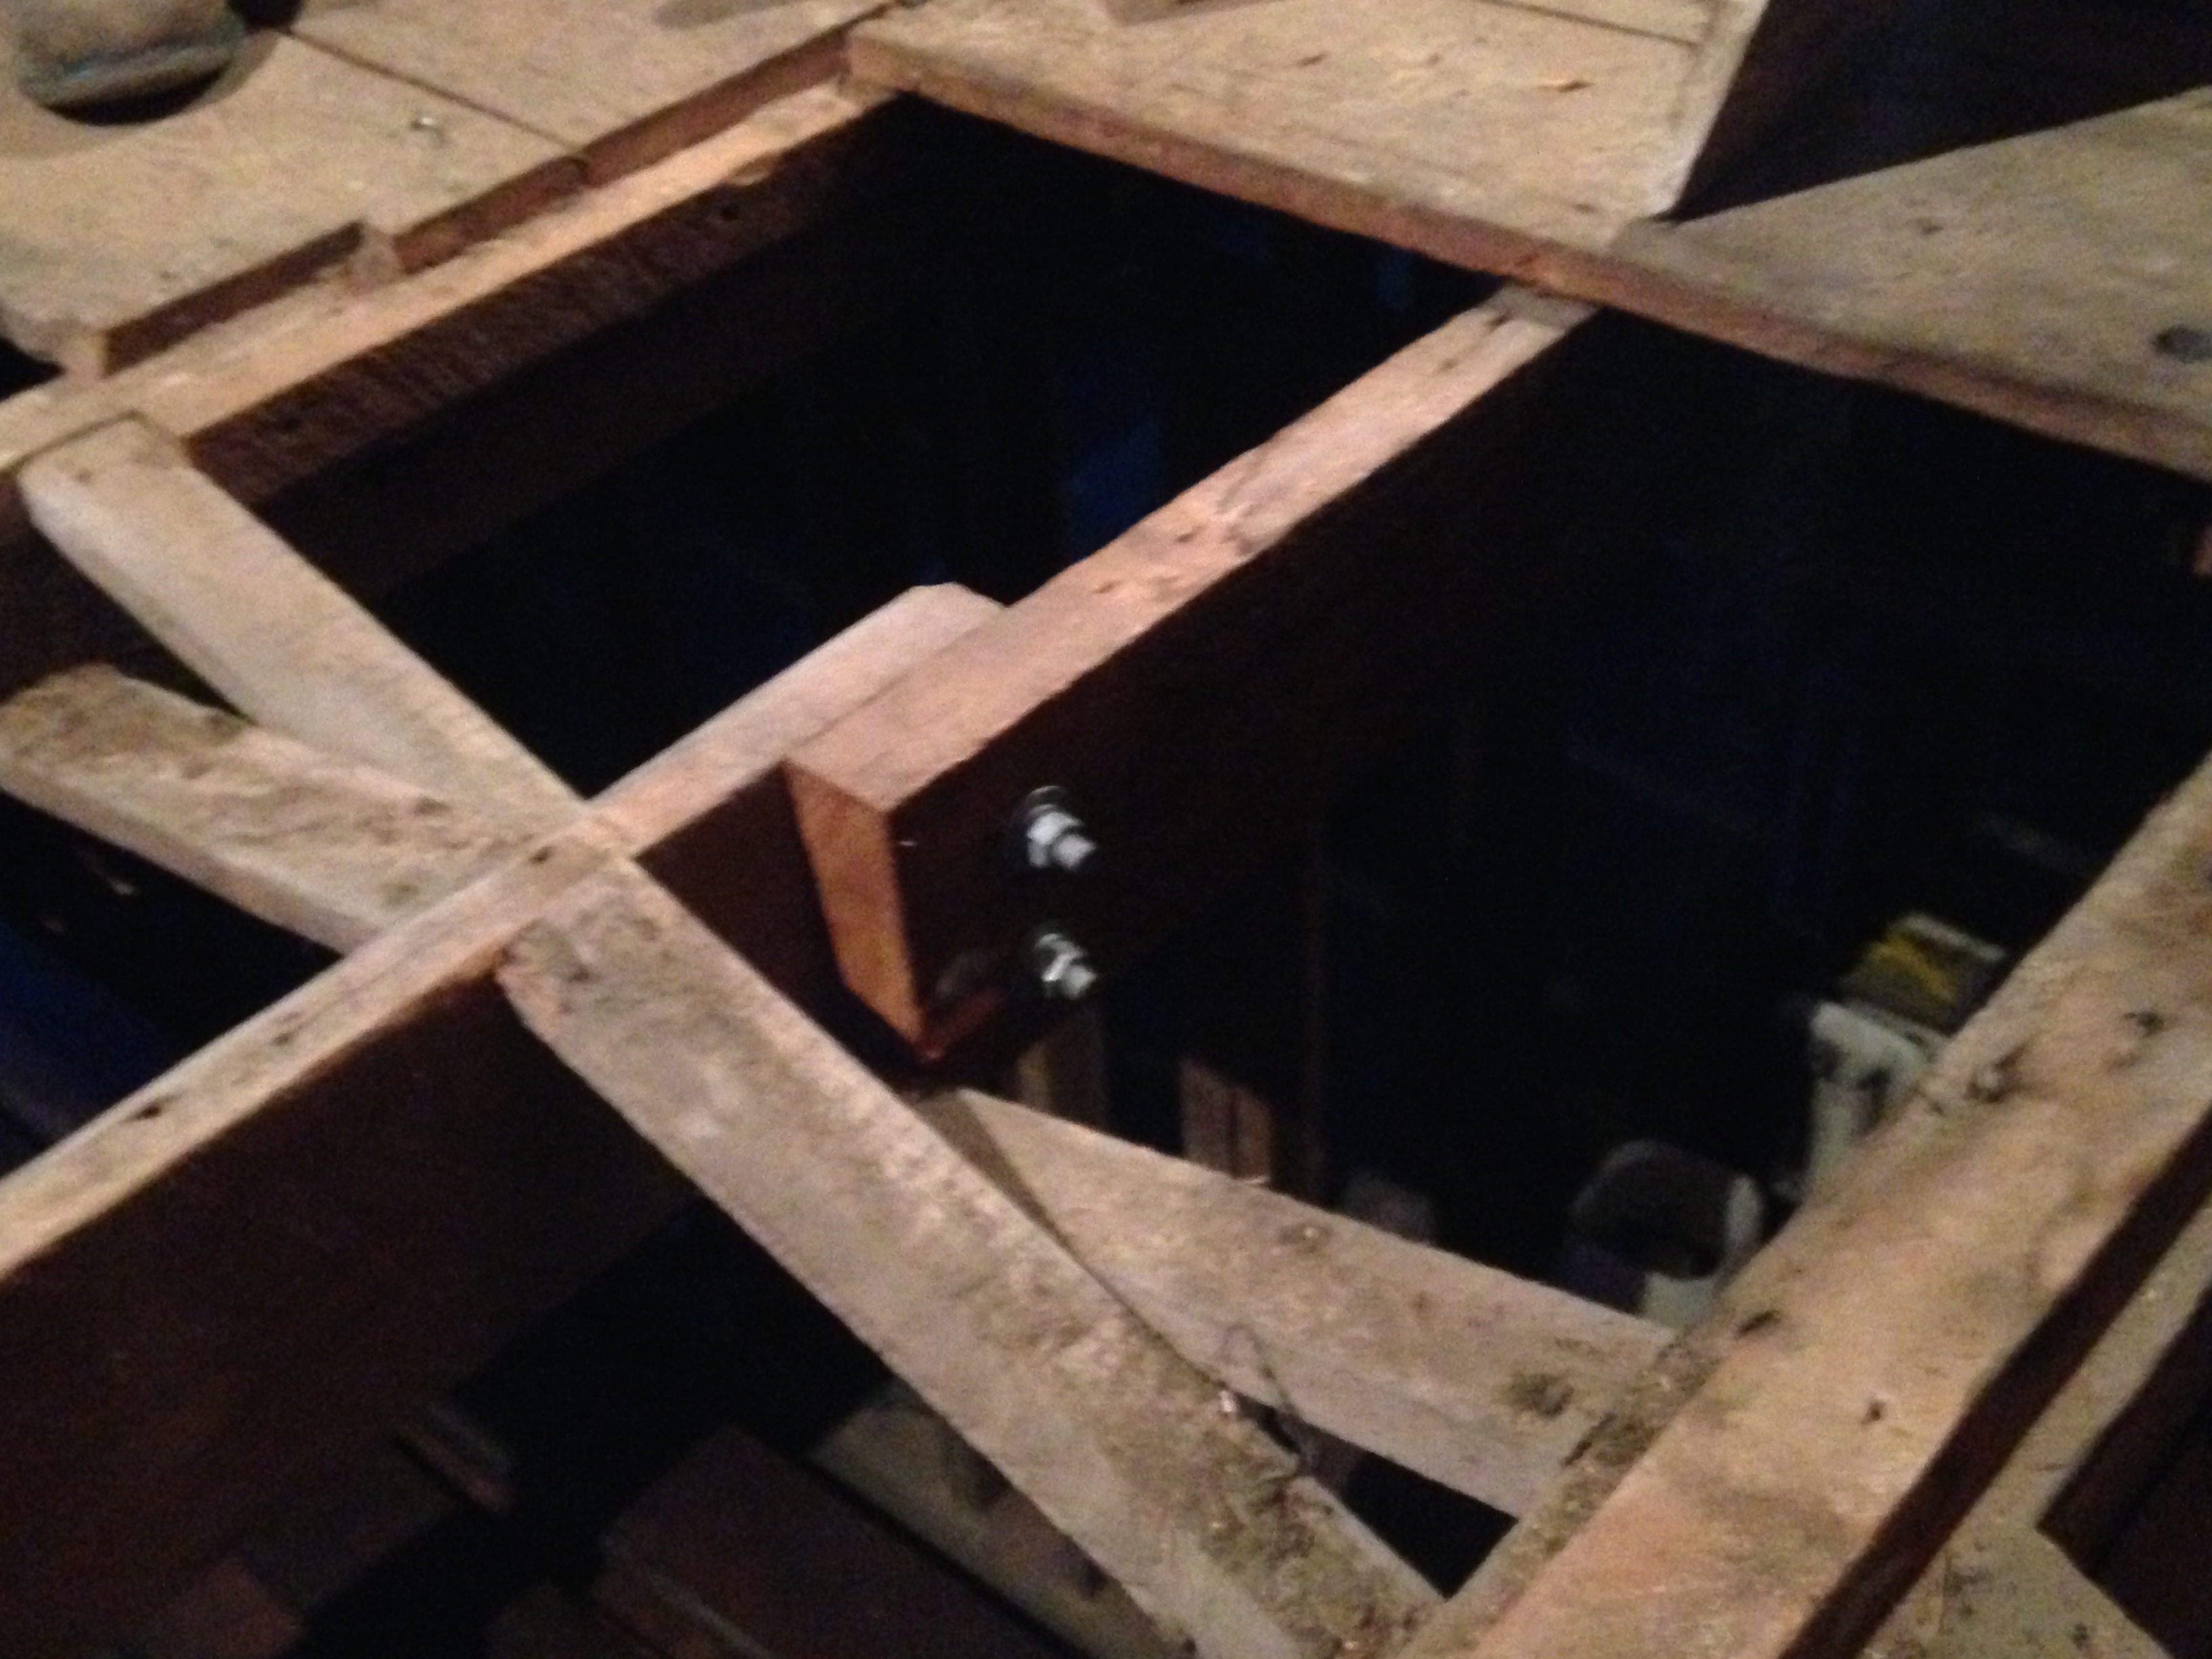
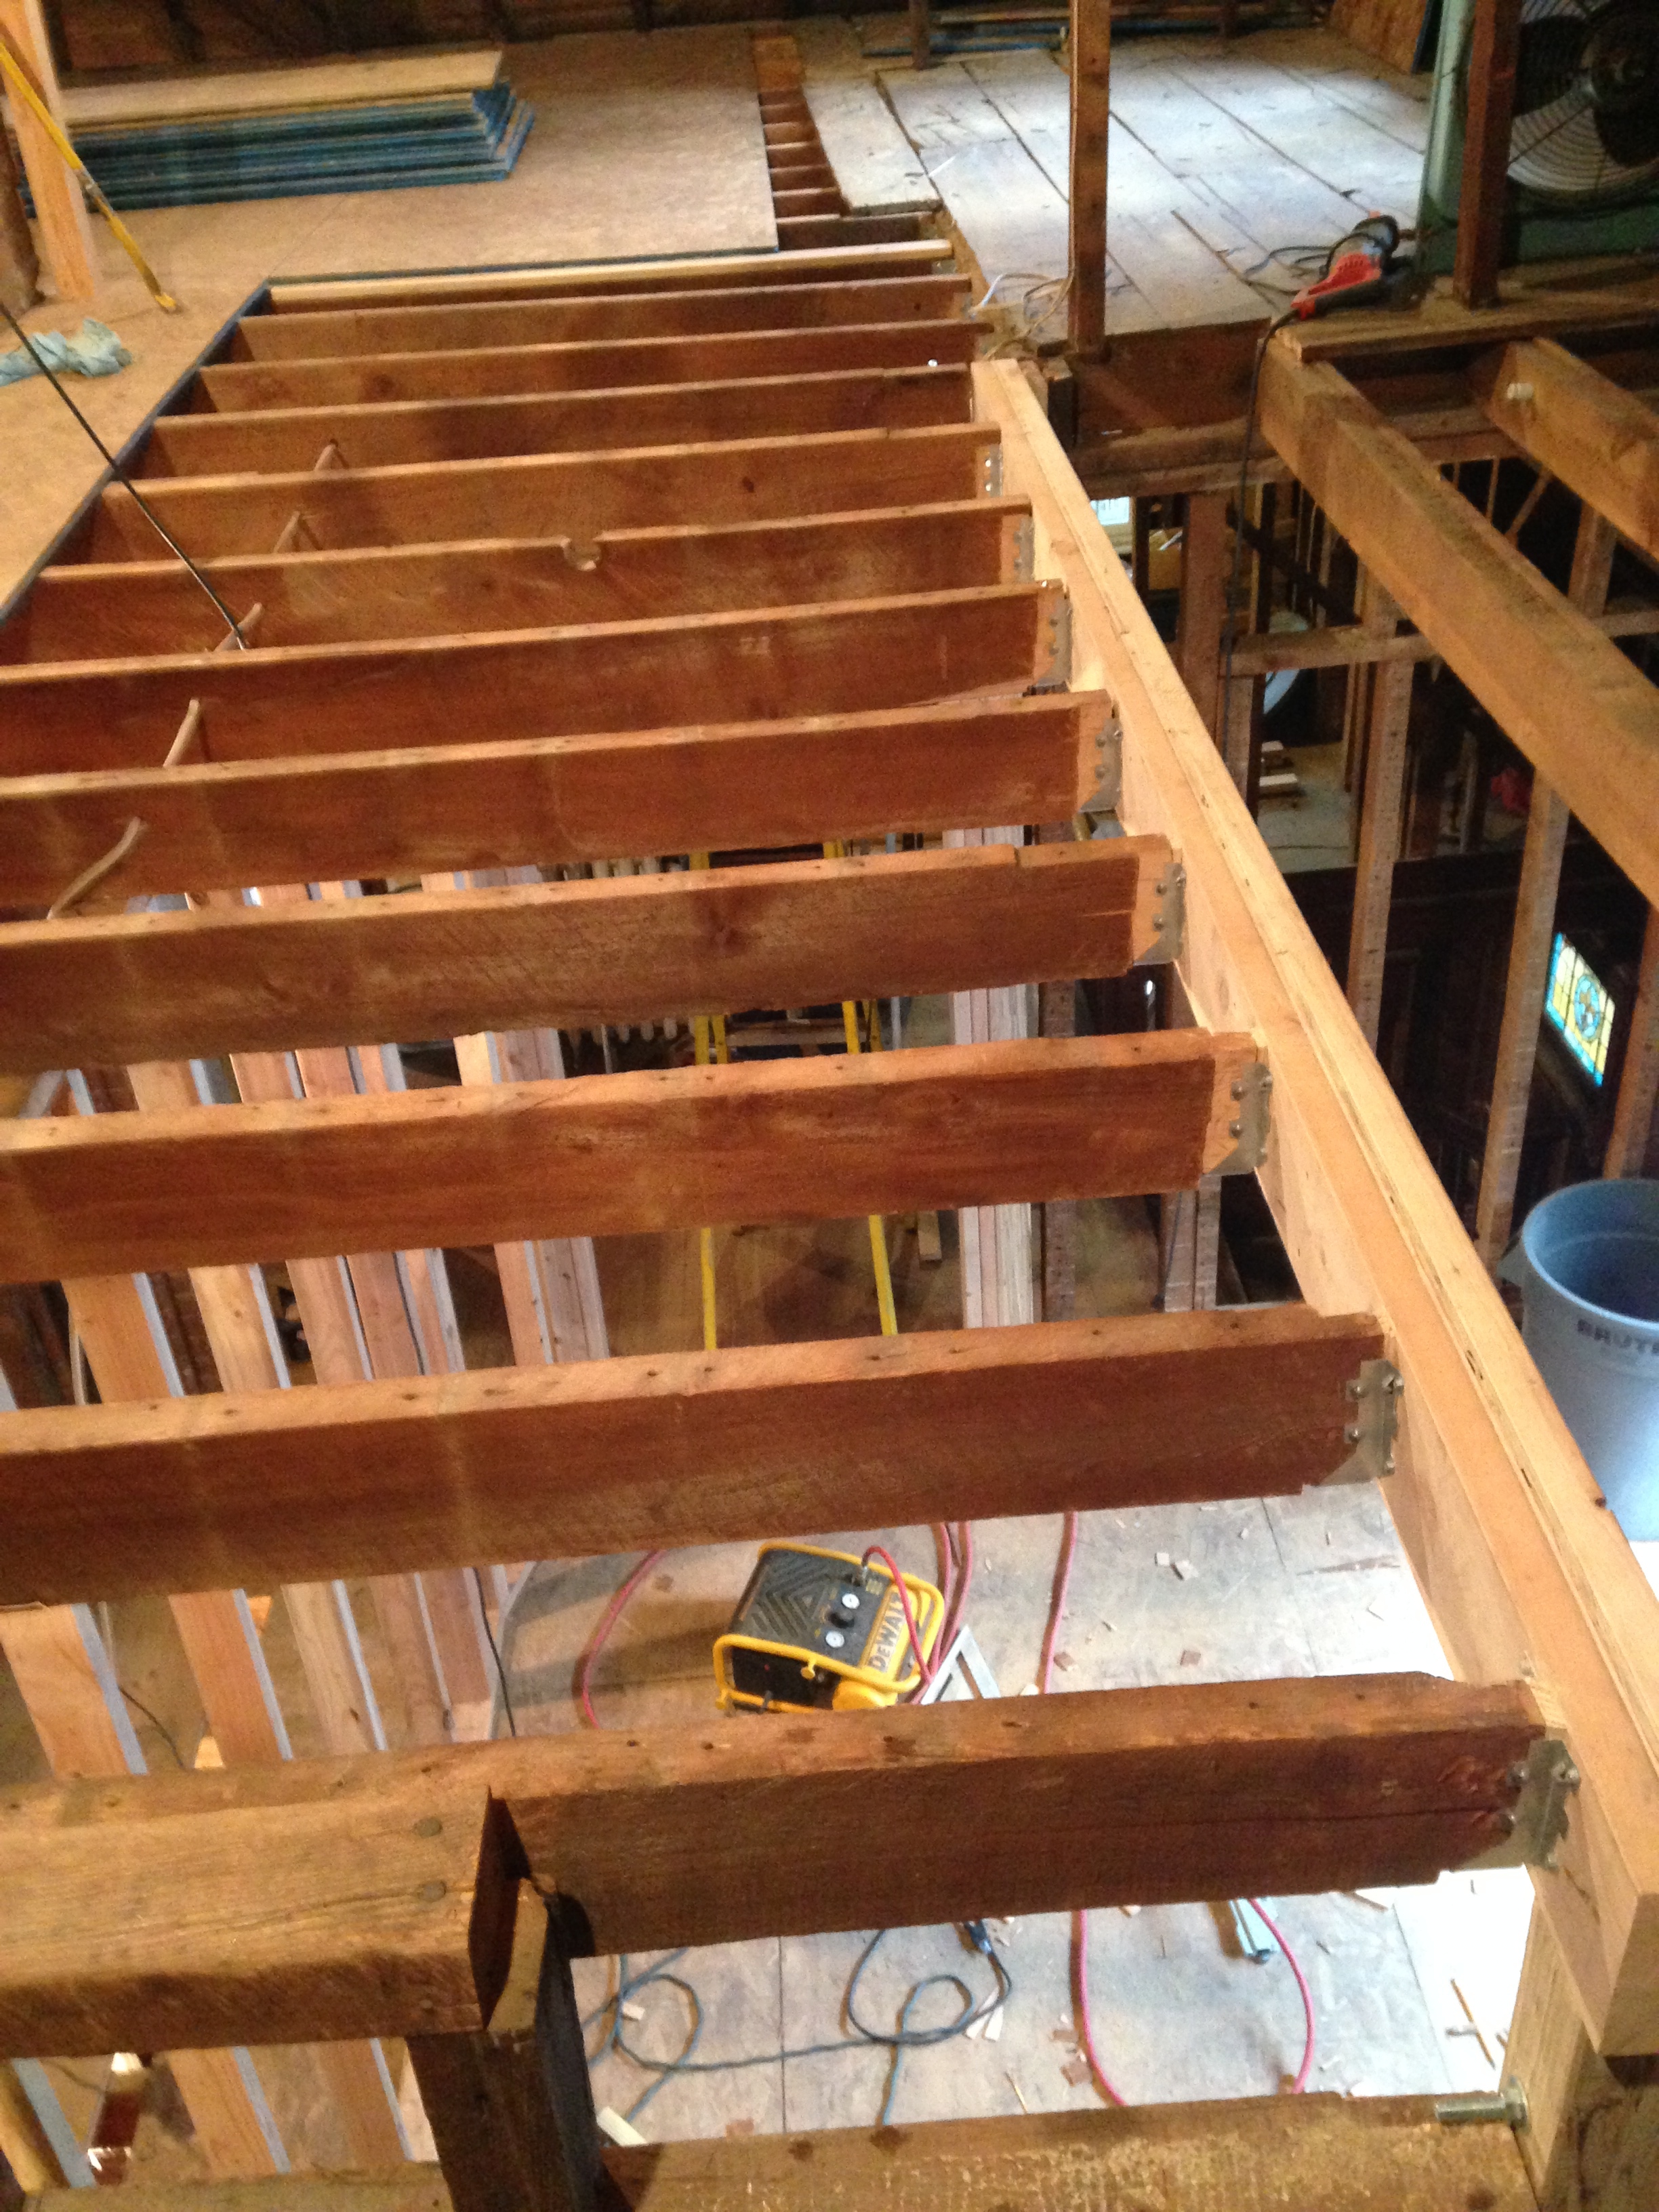
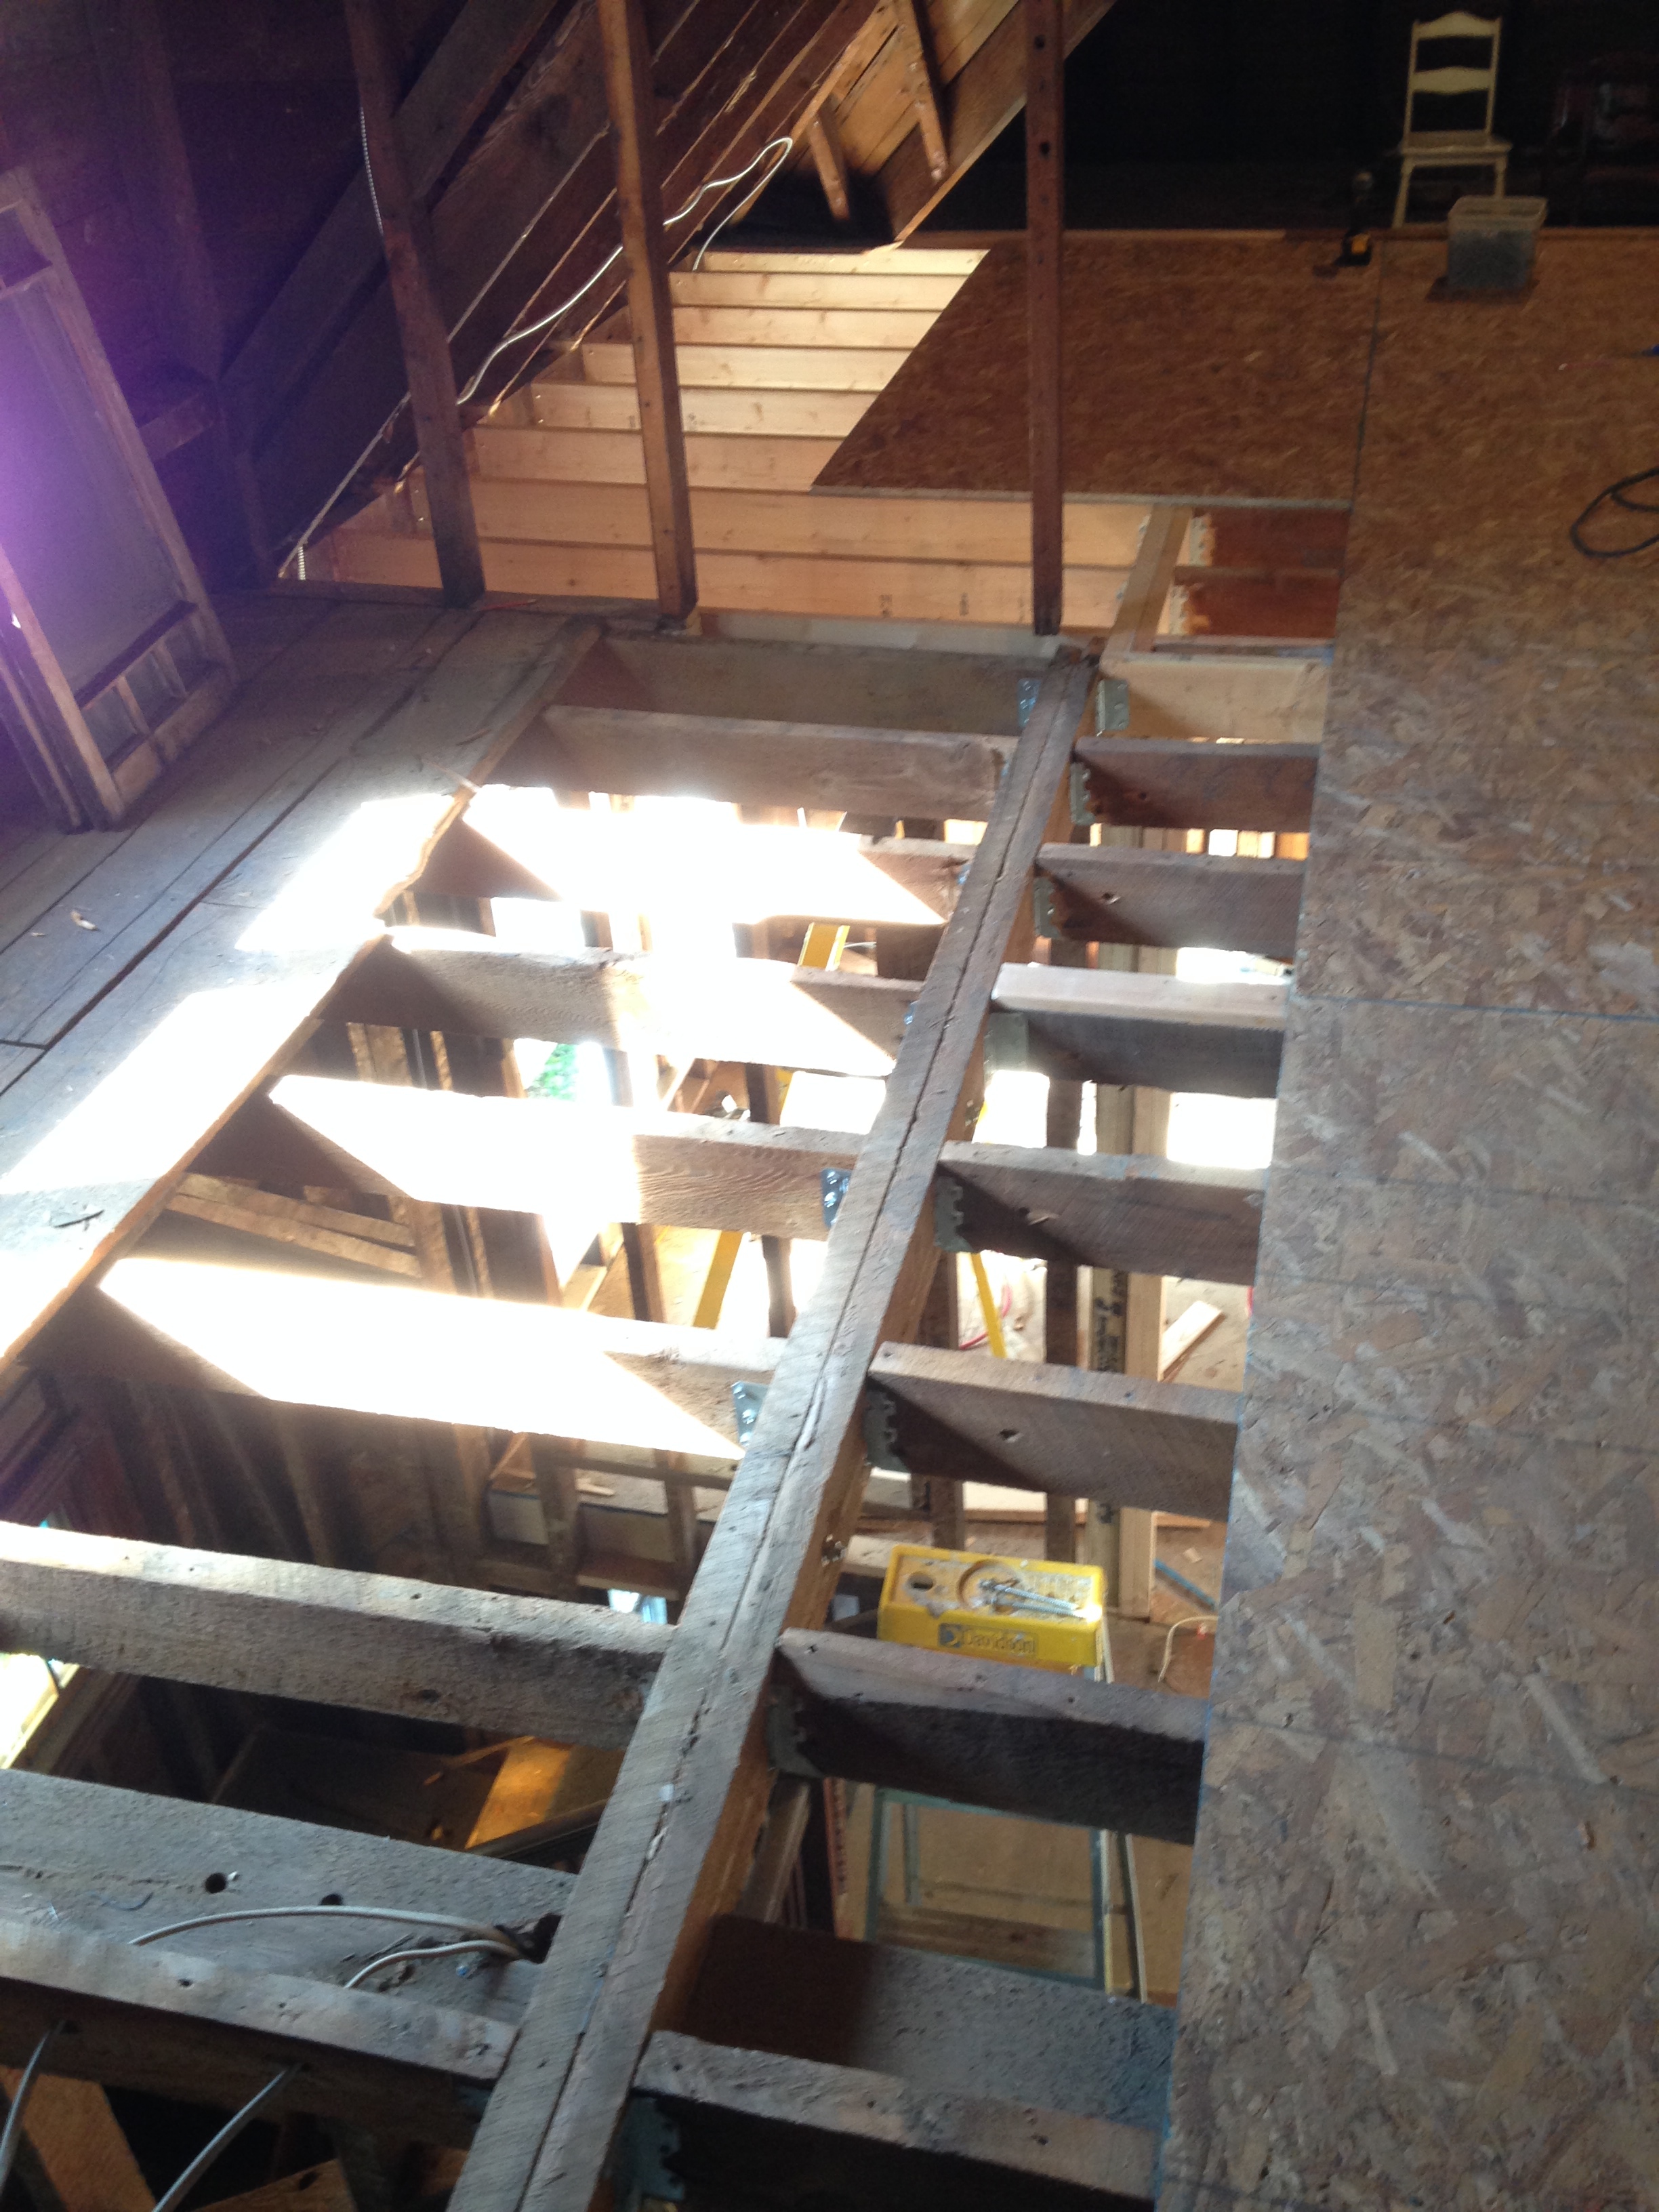
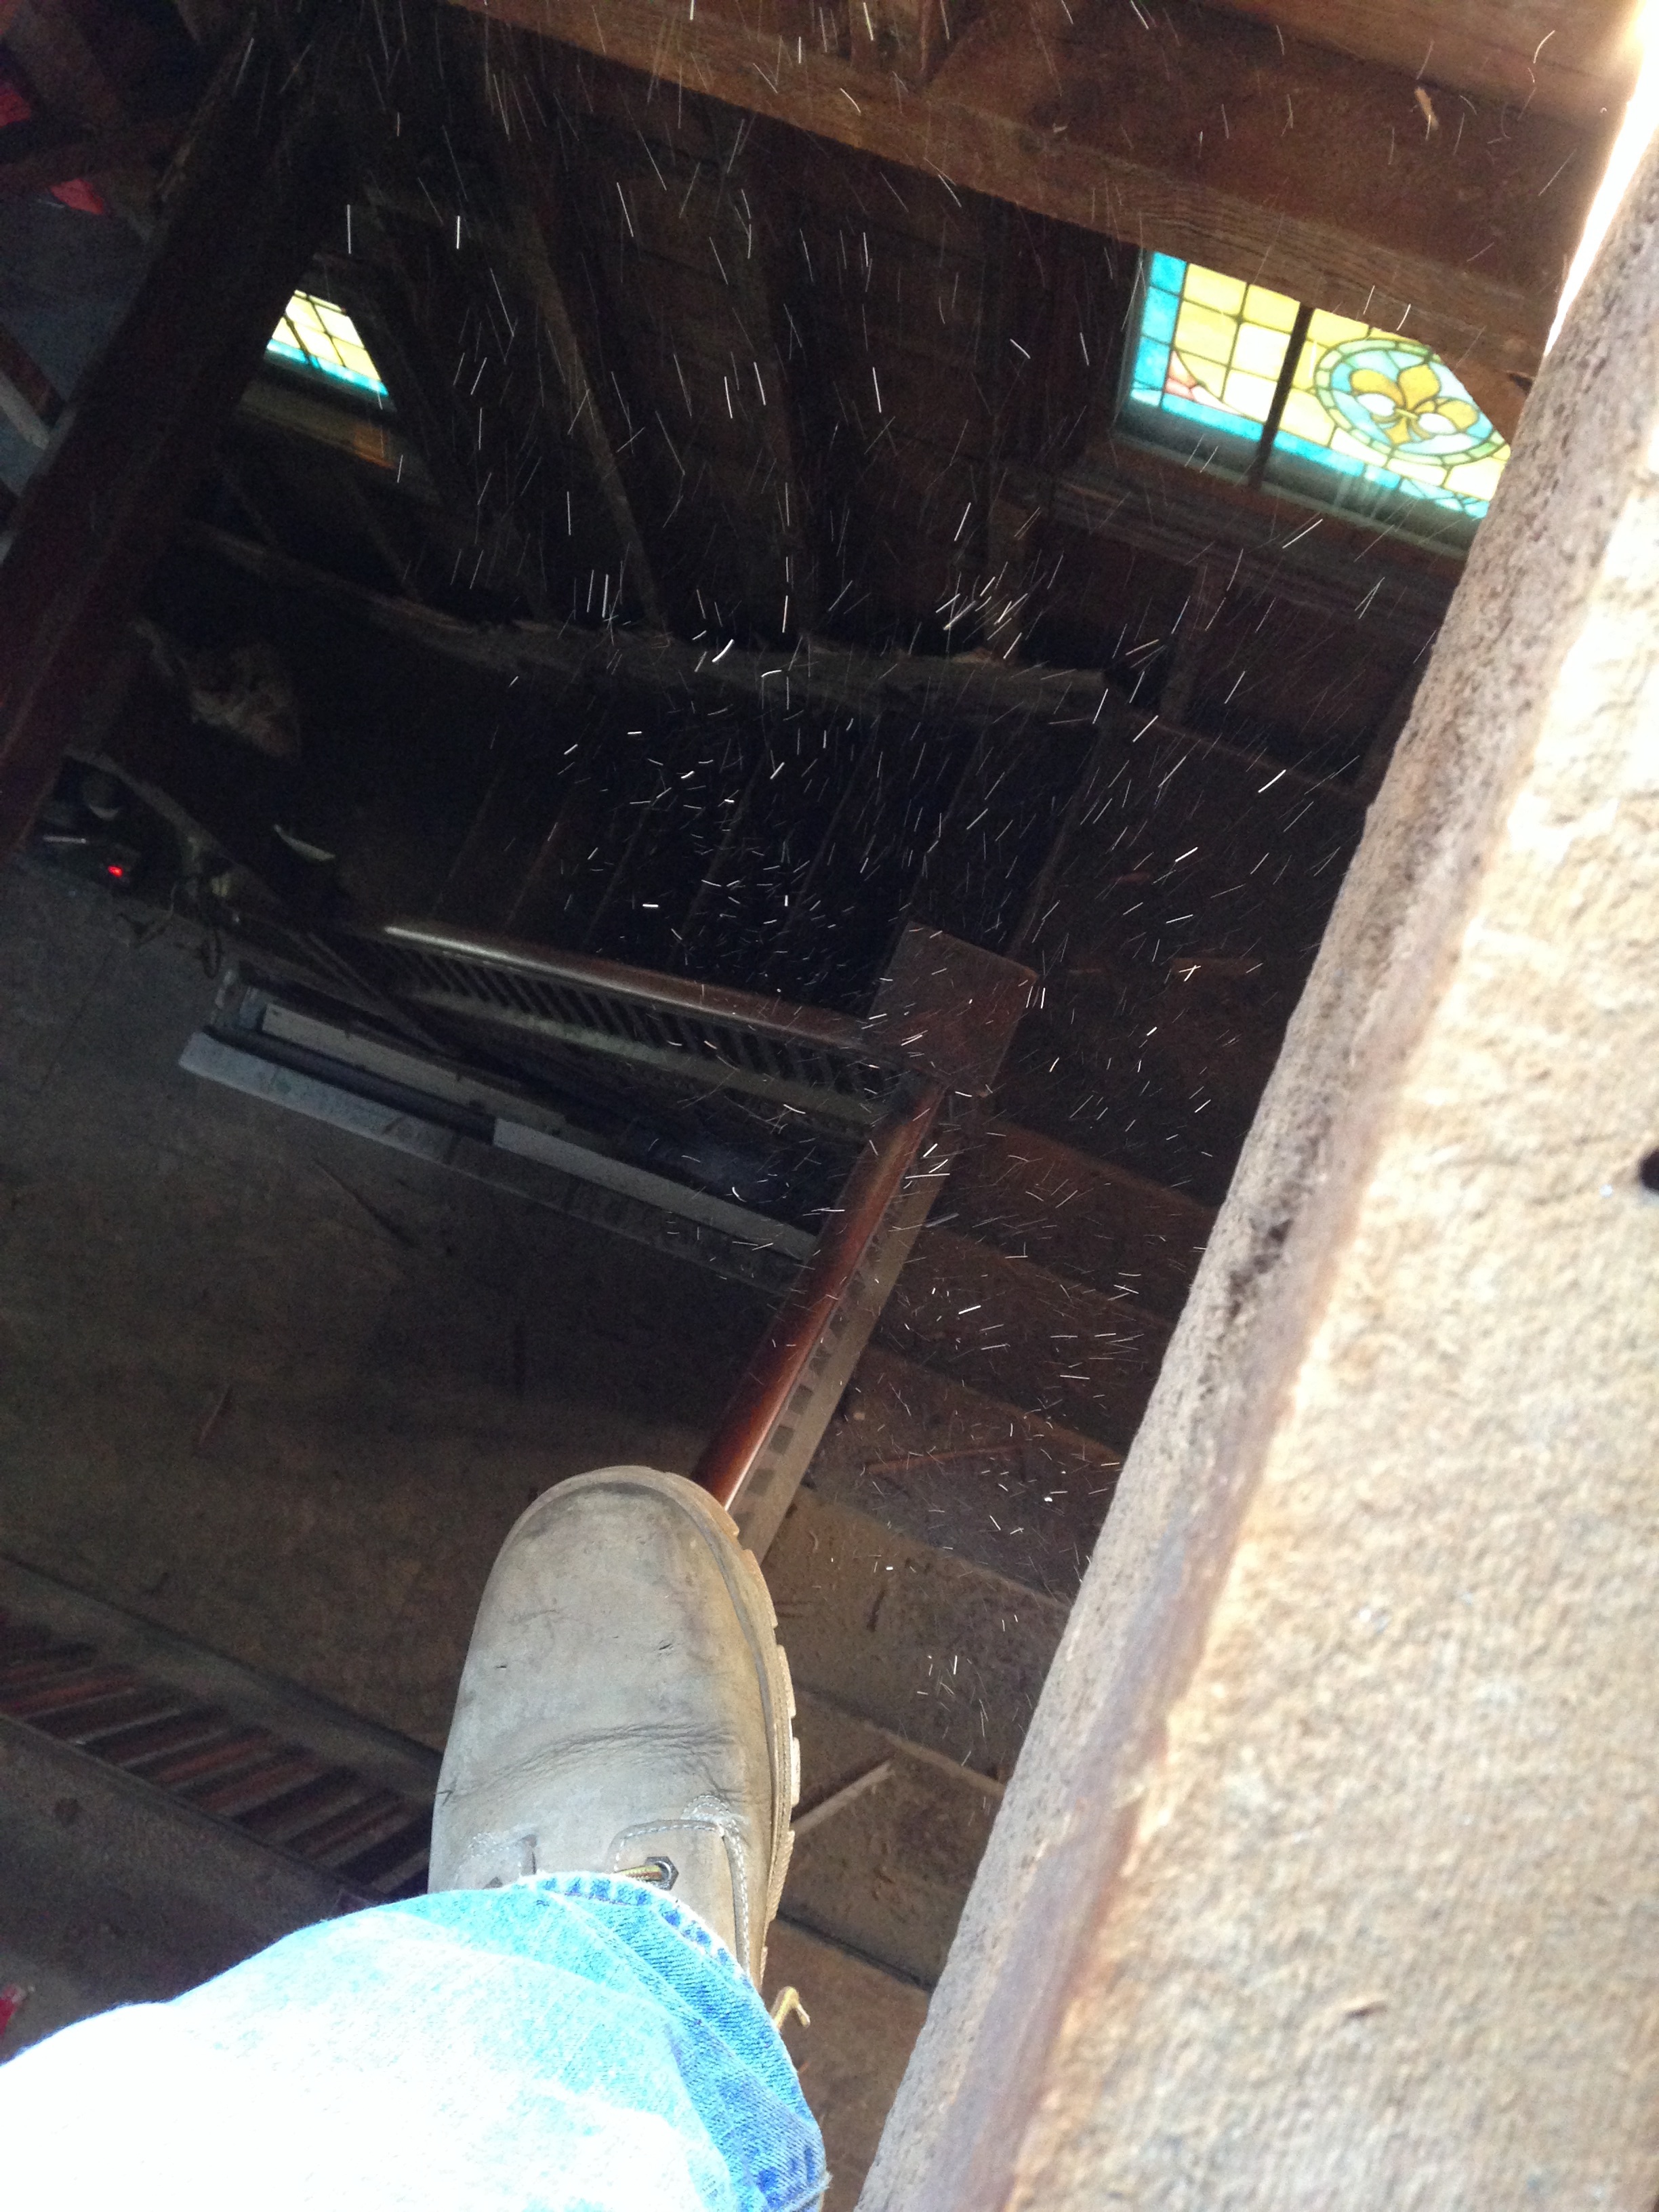
These steps were reinforced and tied into the wall below. In this picture it looks like they’re floating. Awesome. Once they were tied in they were much safer.
Freaking cat! Out of my wood pile!

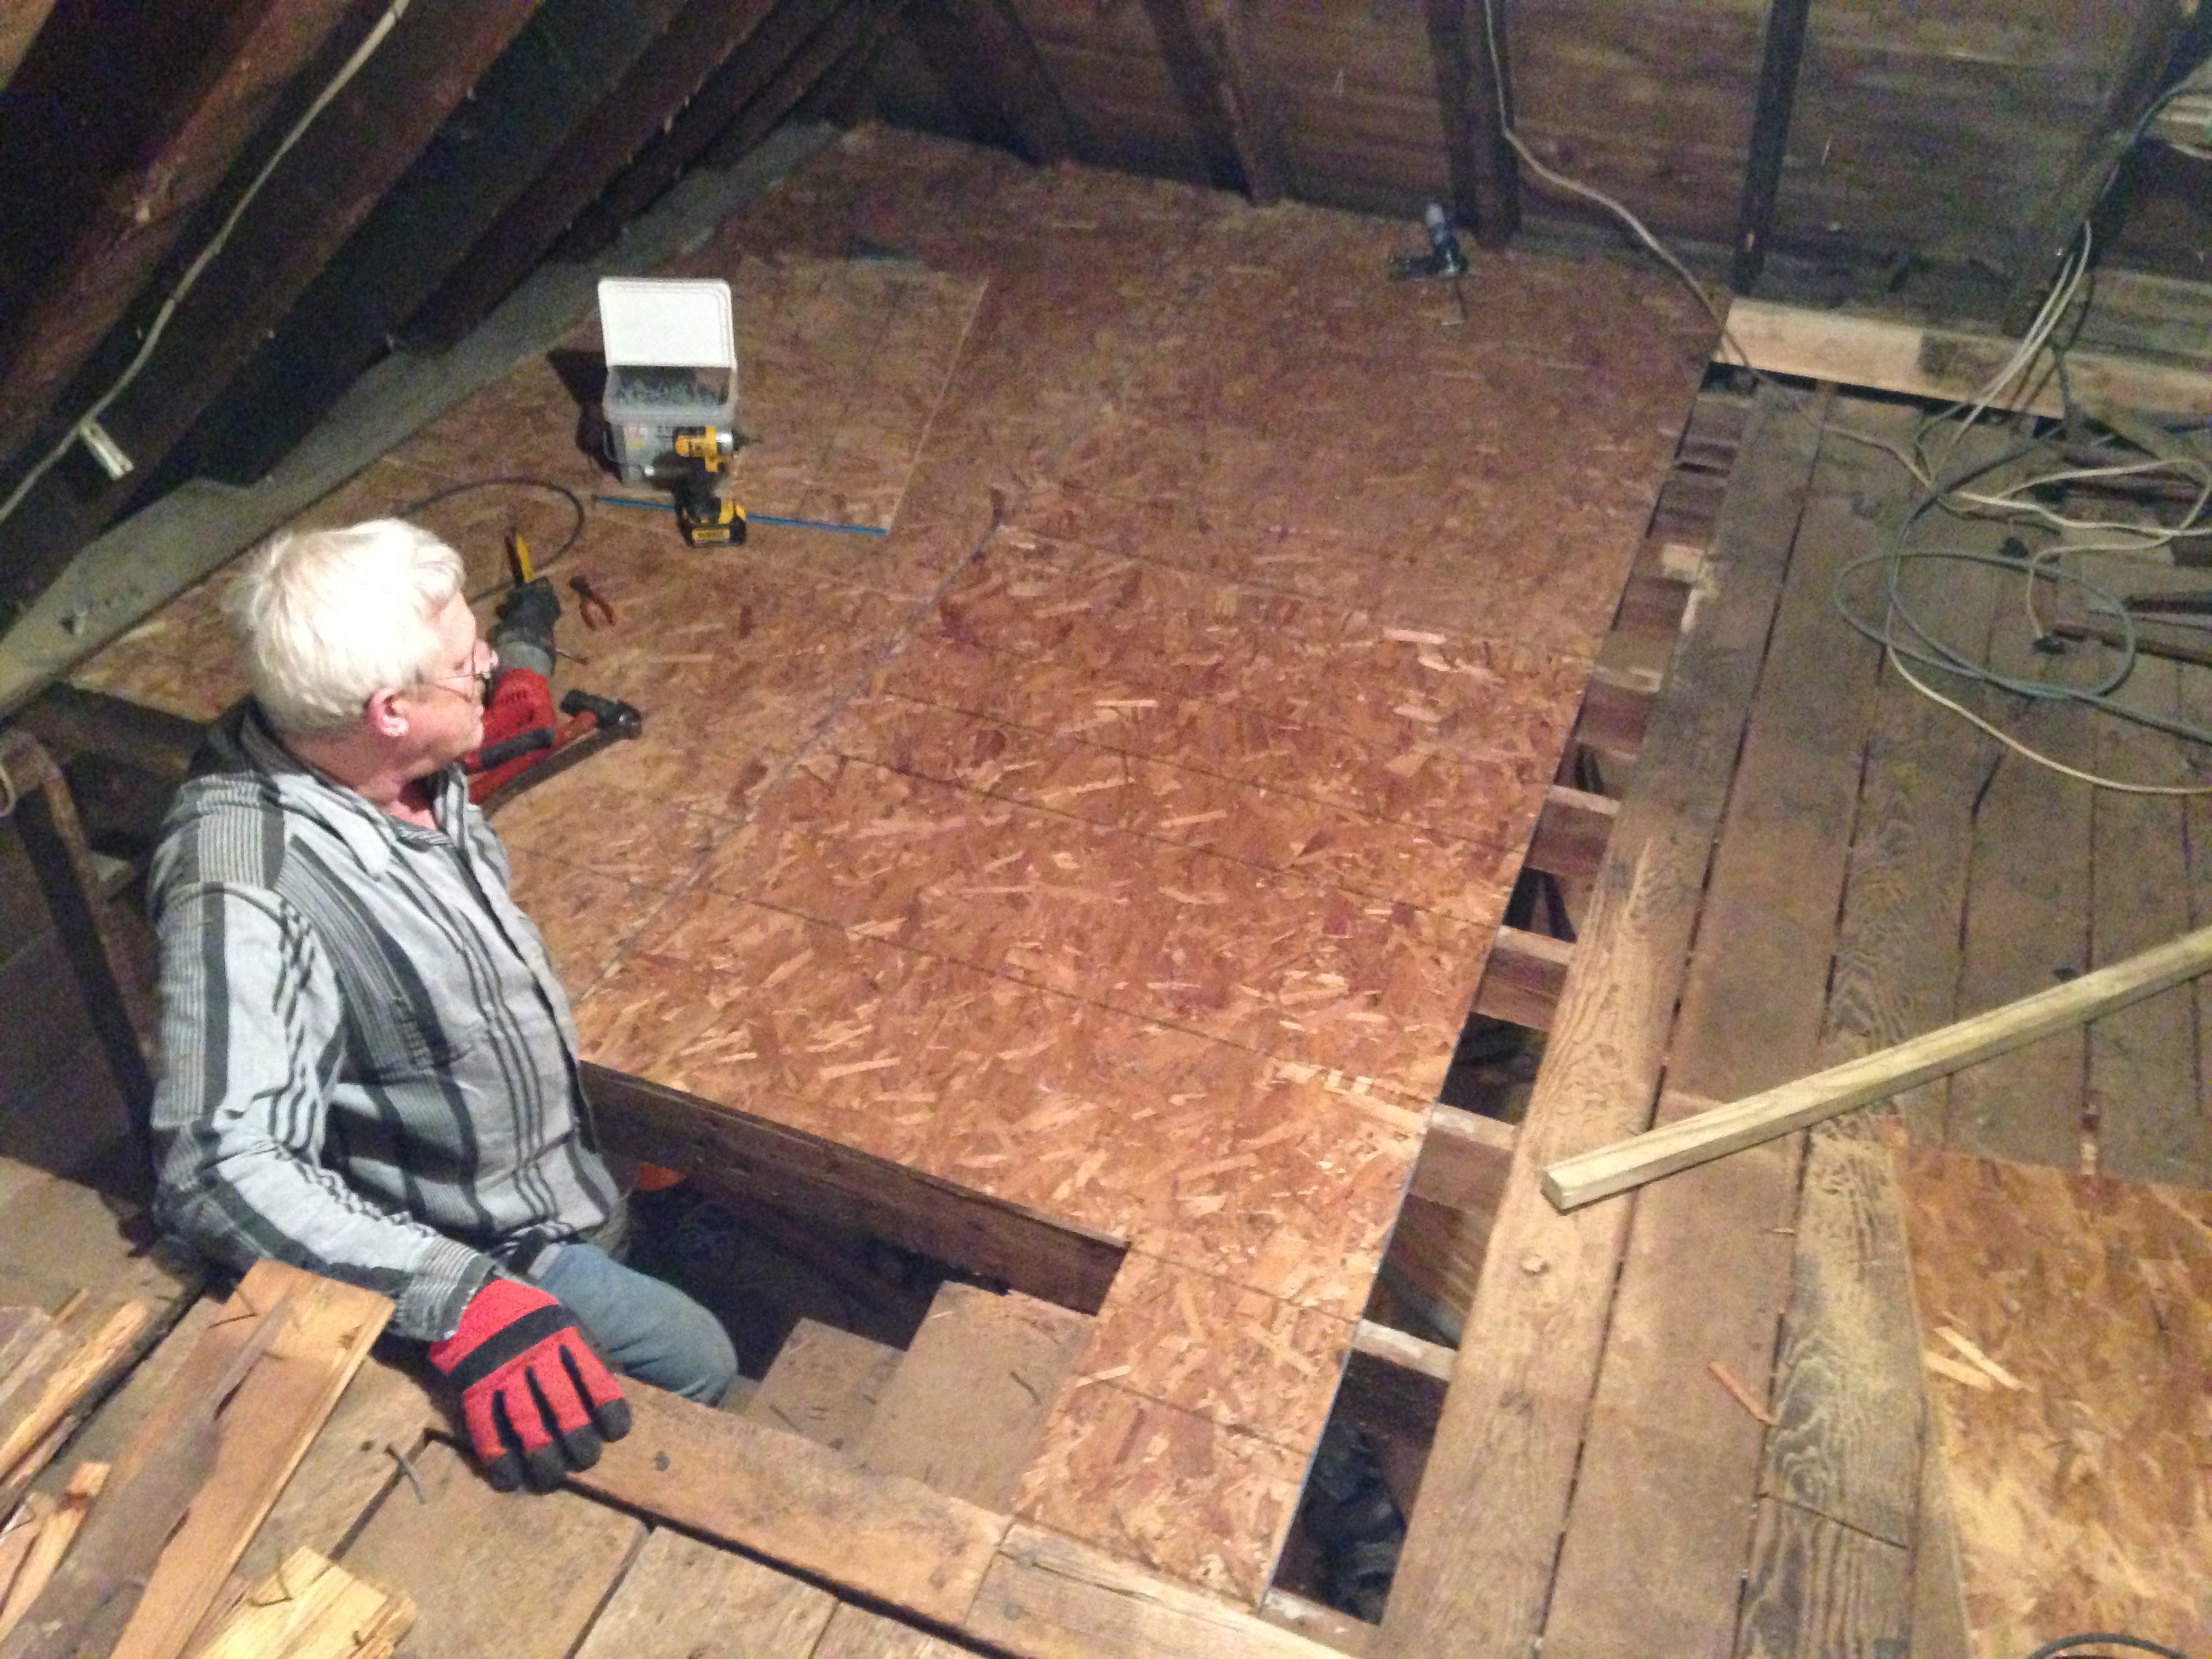
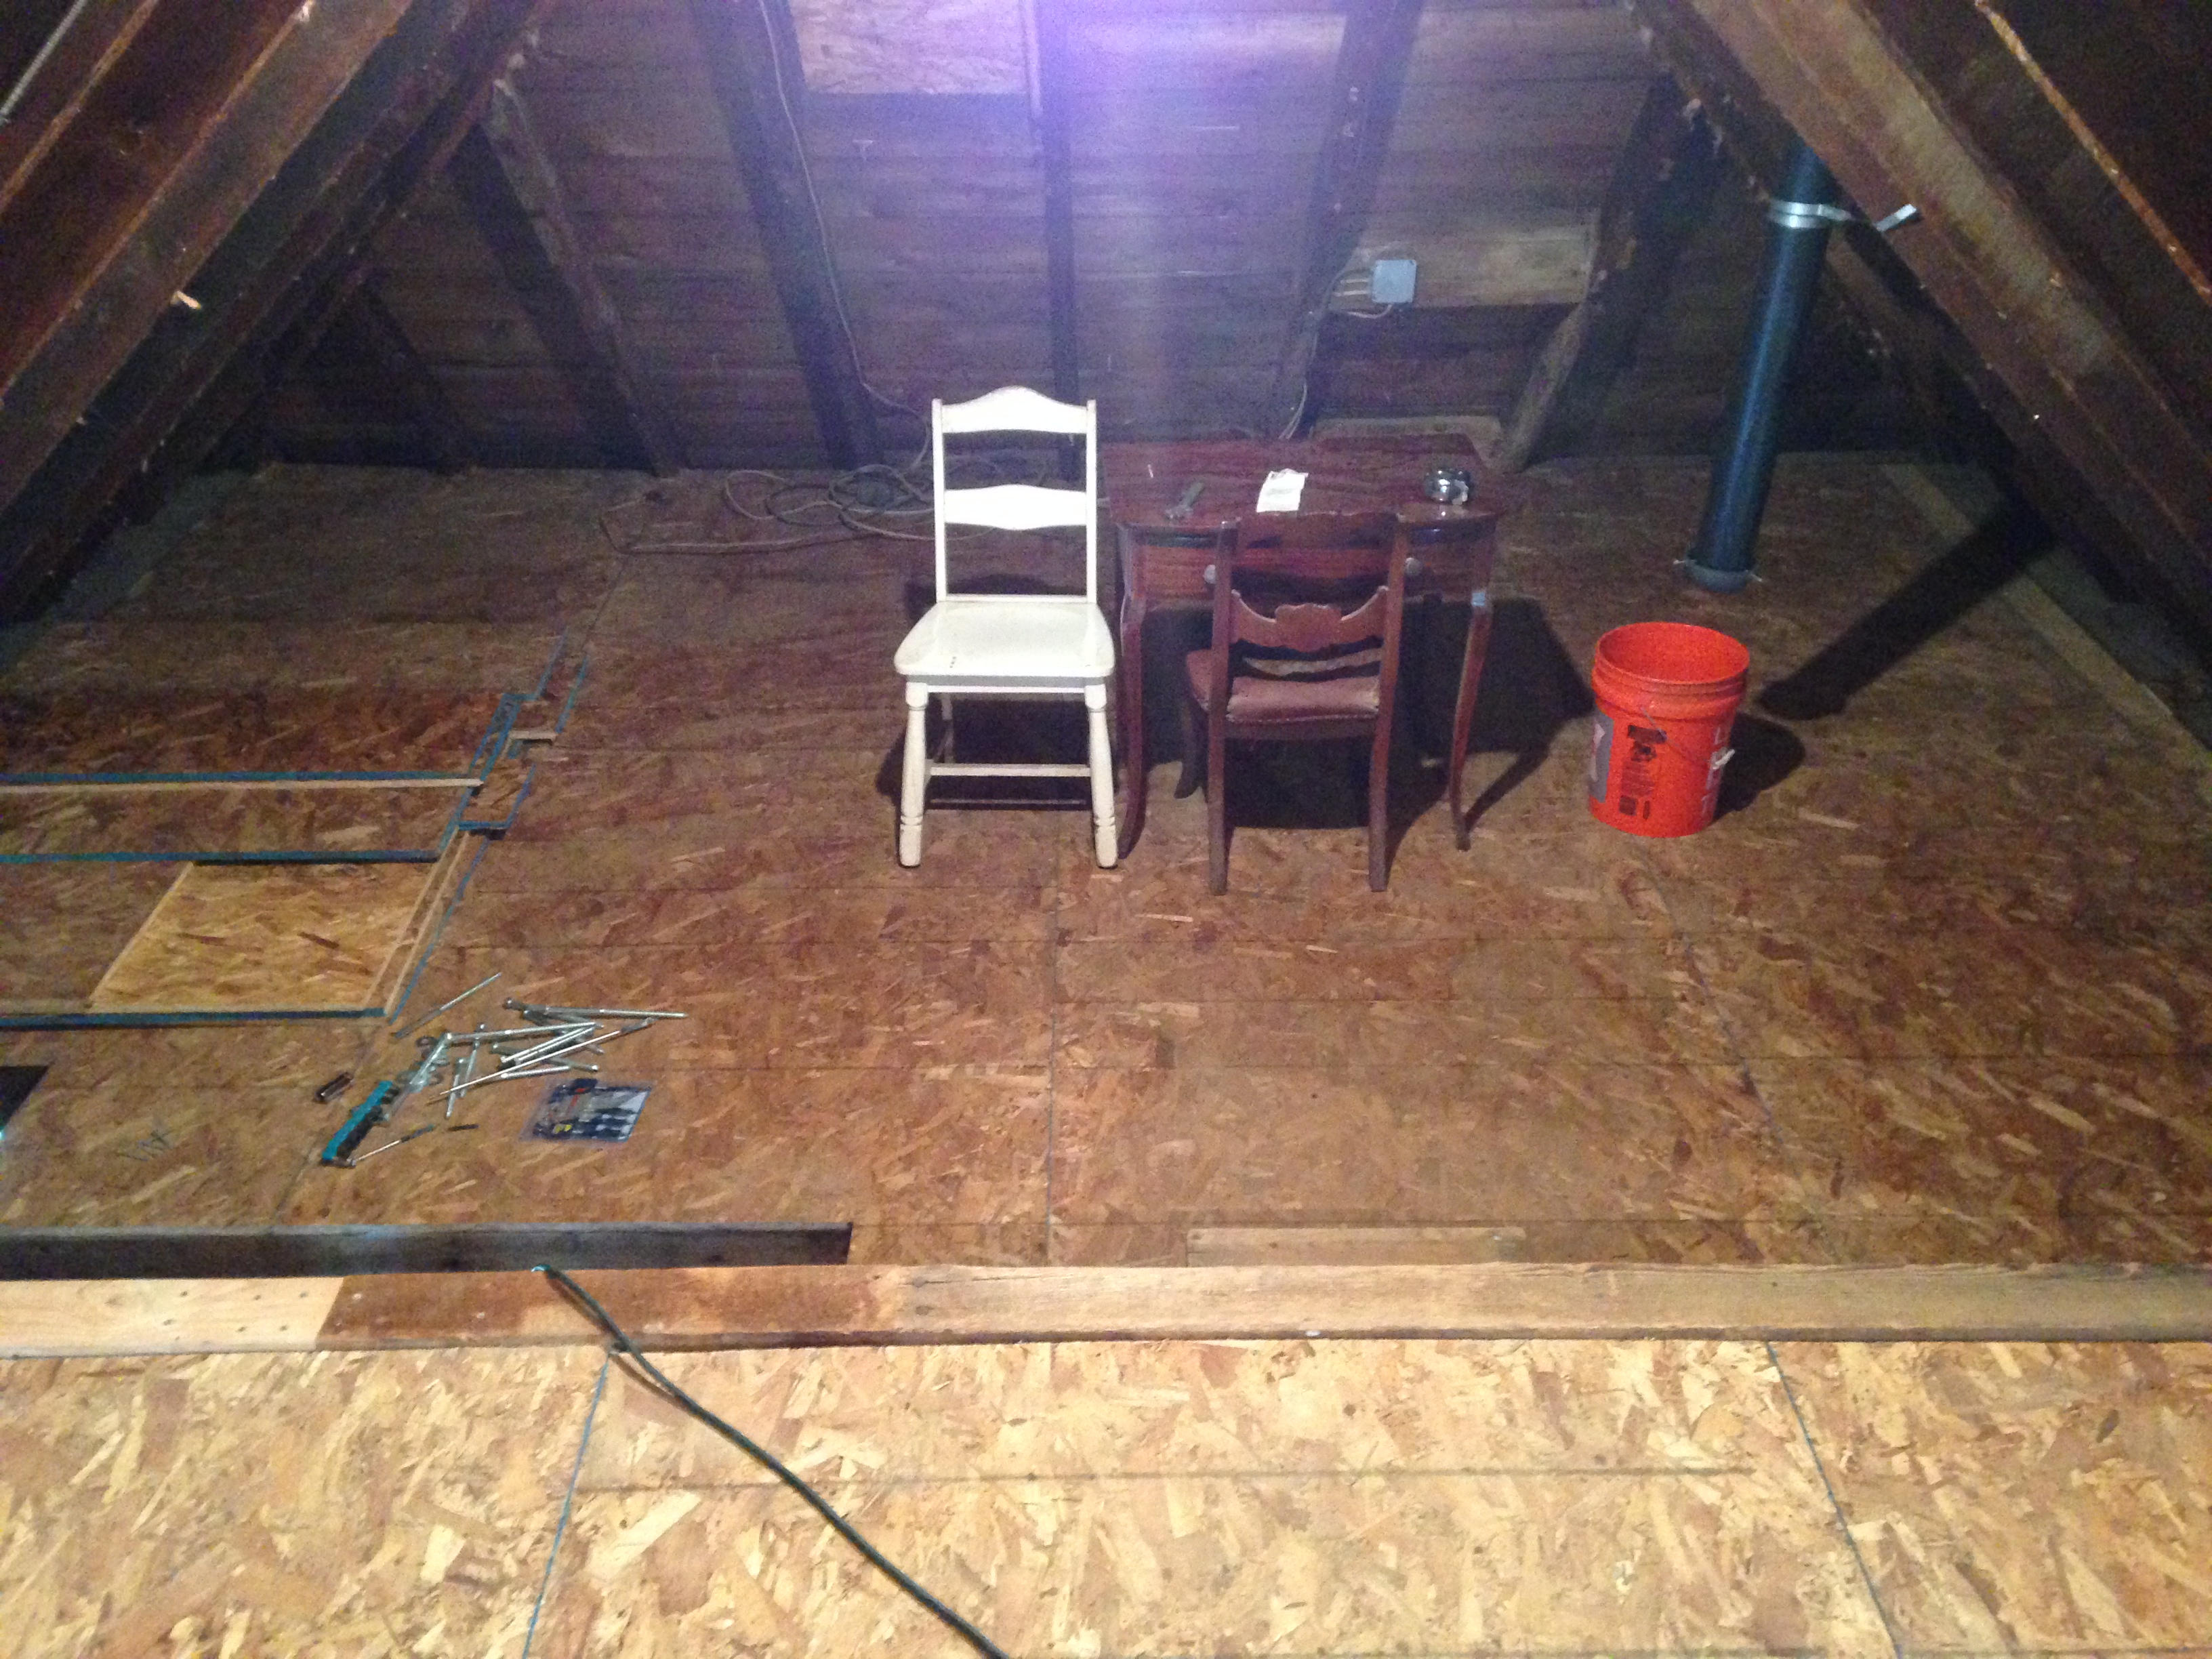
Back to work


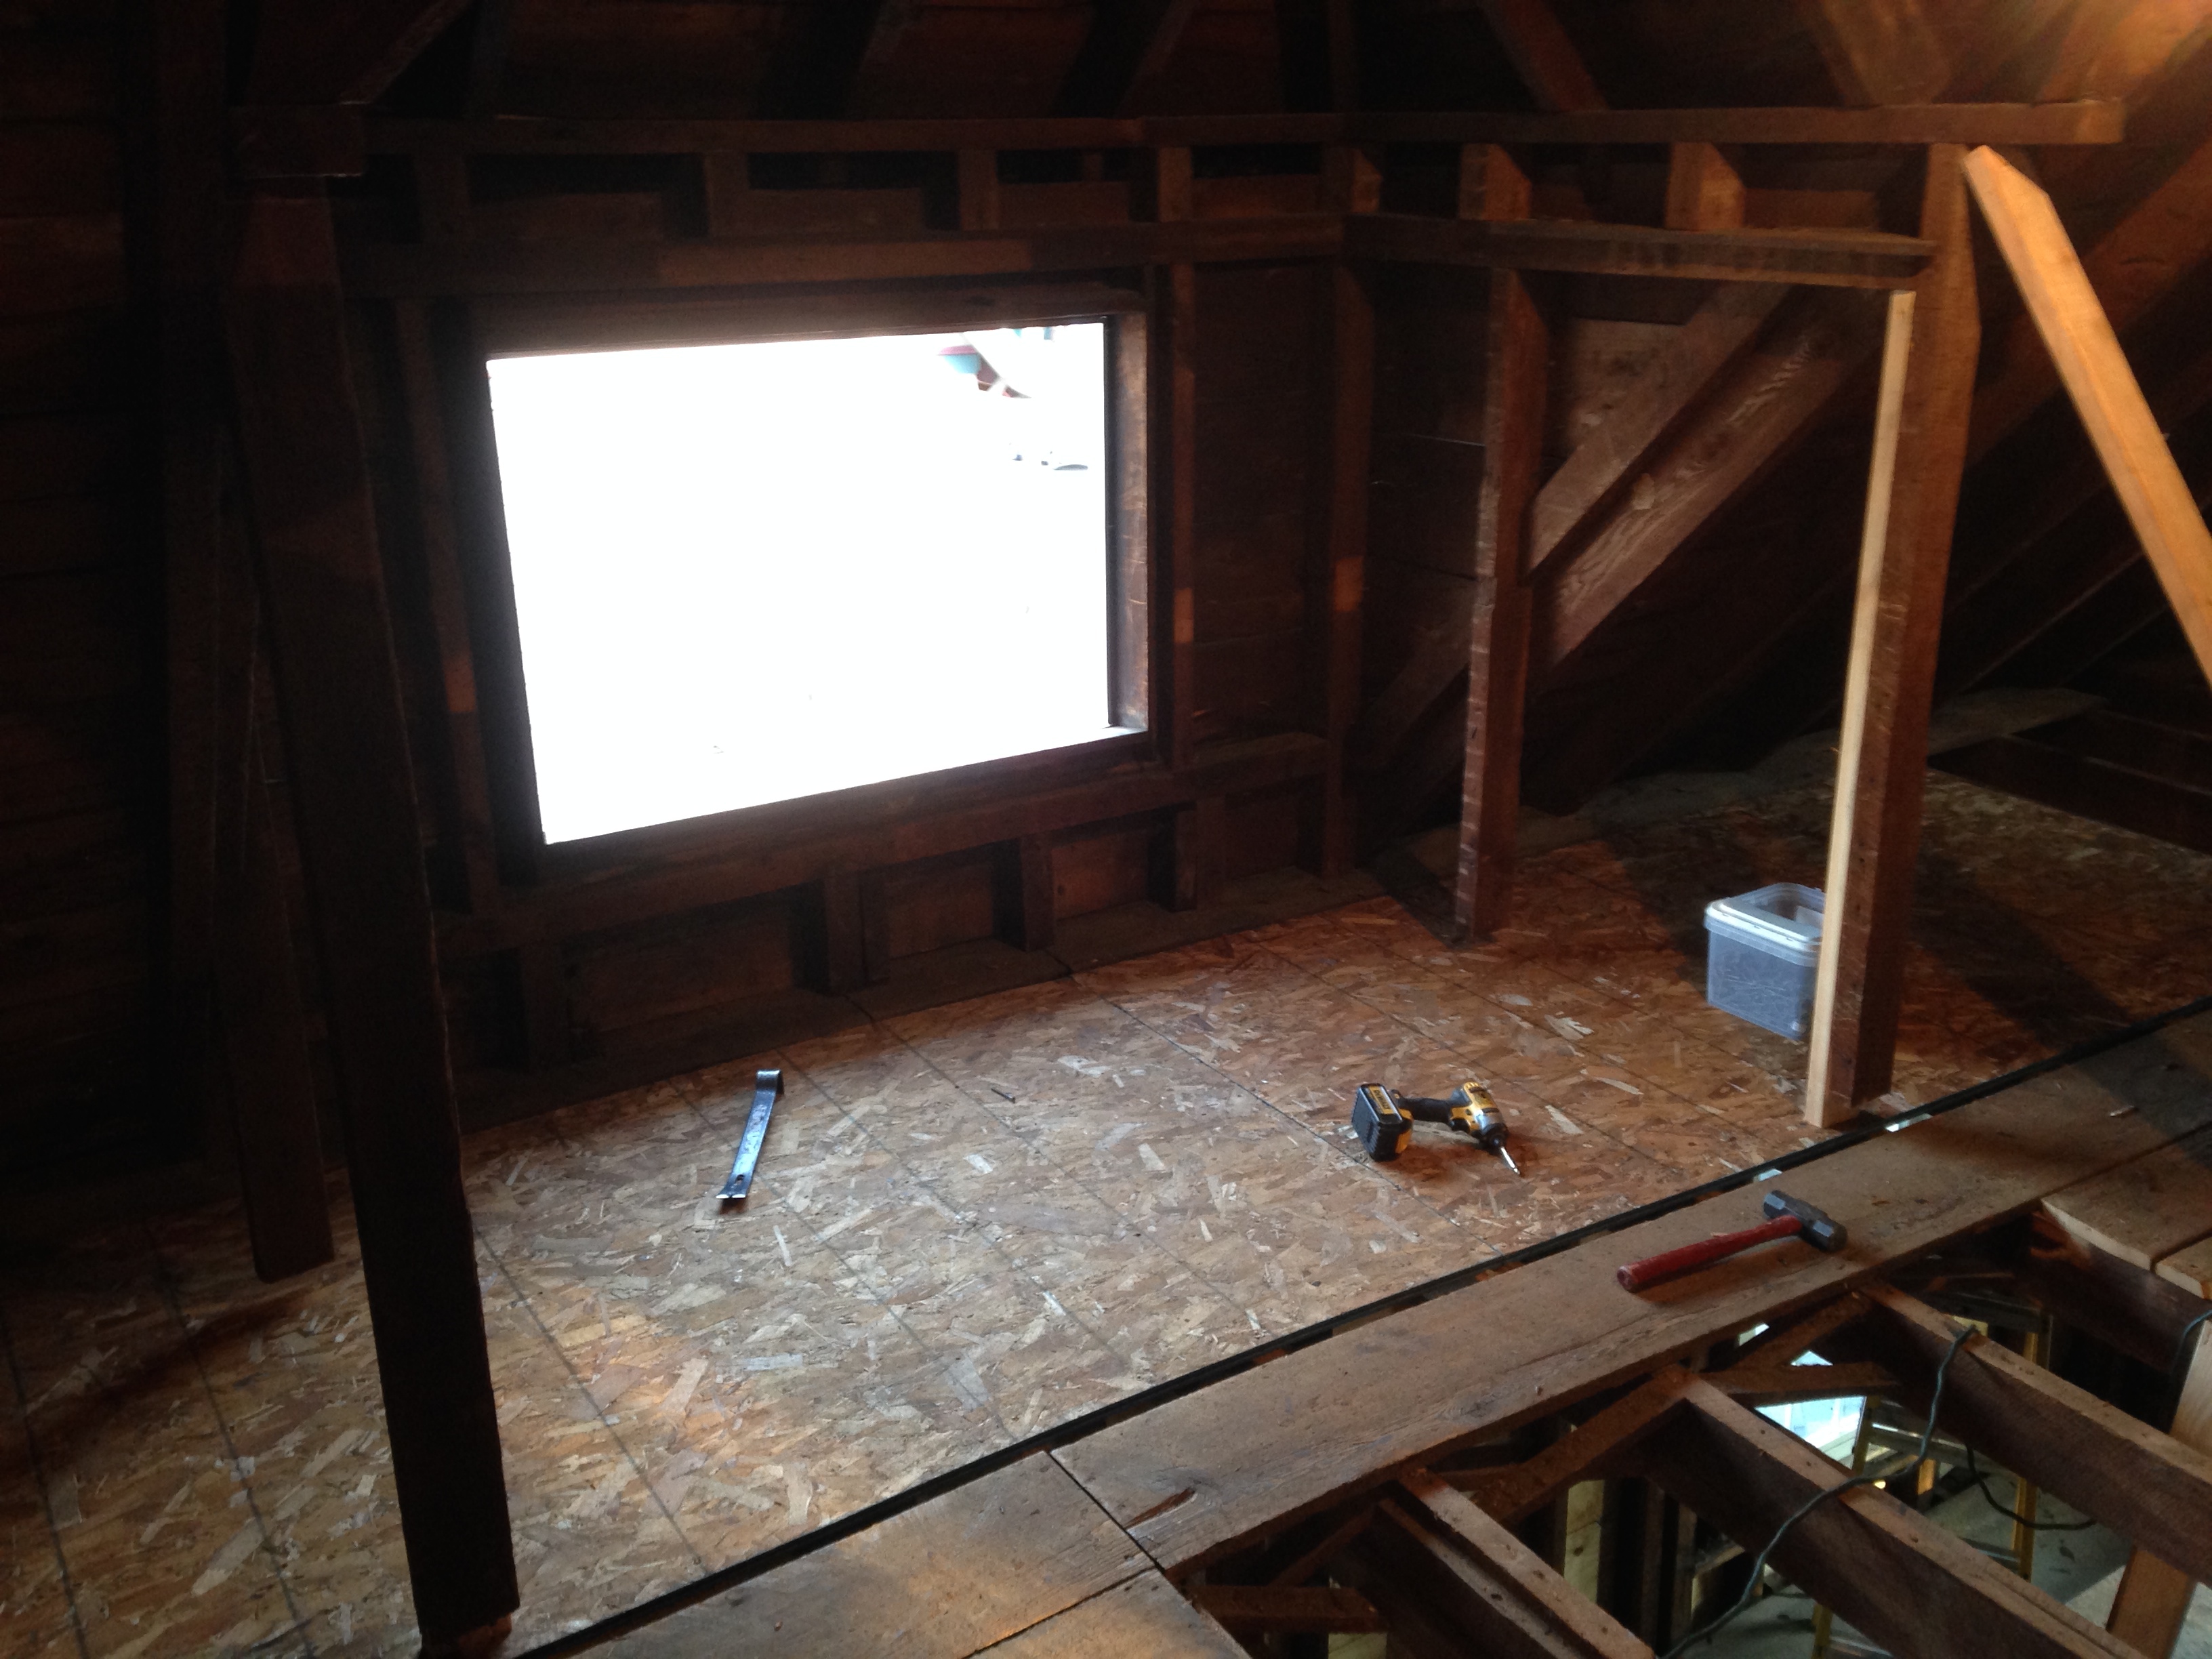
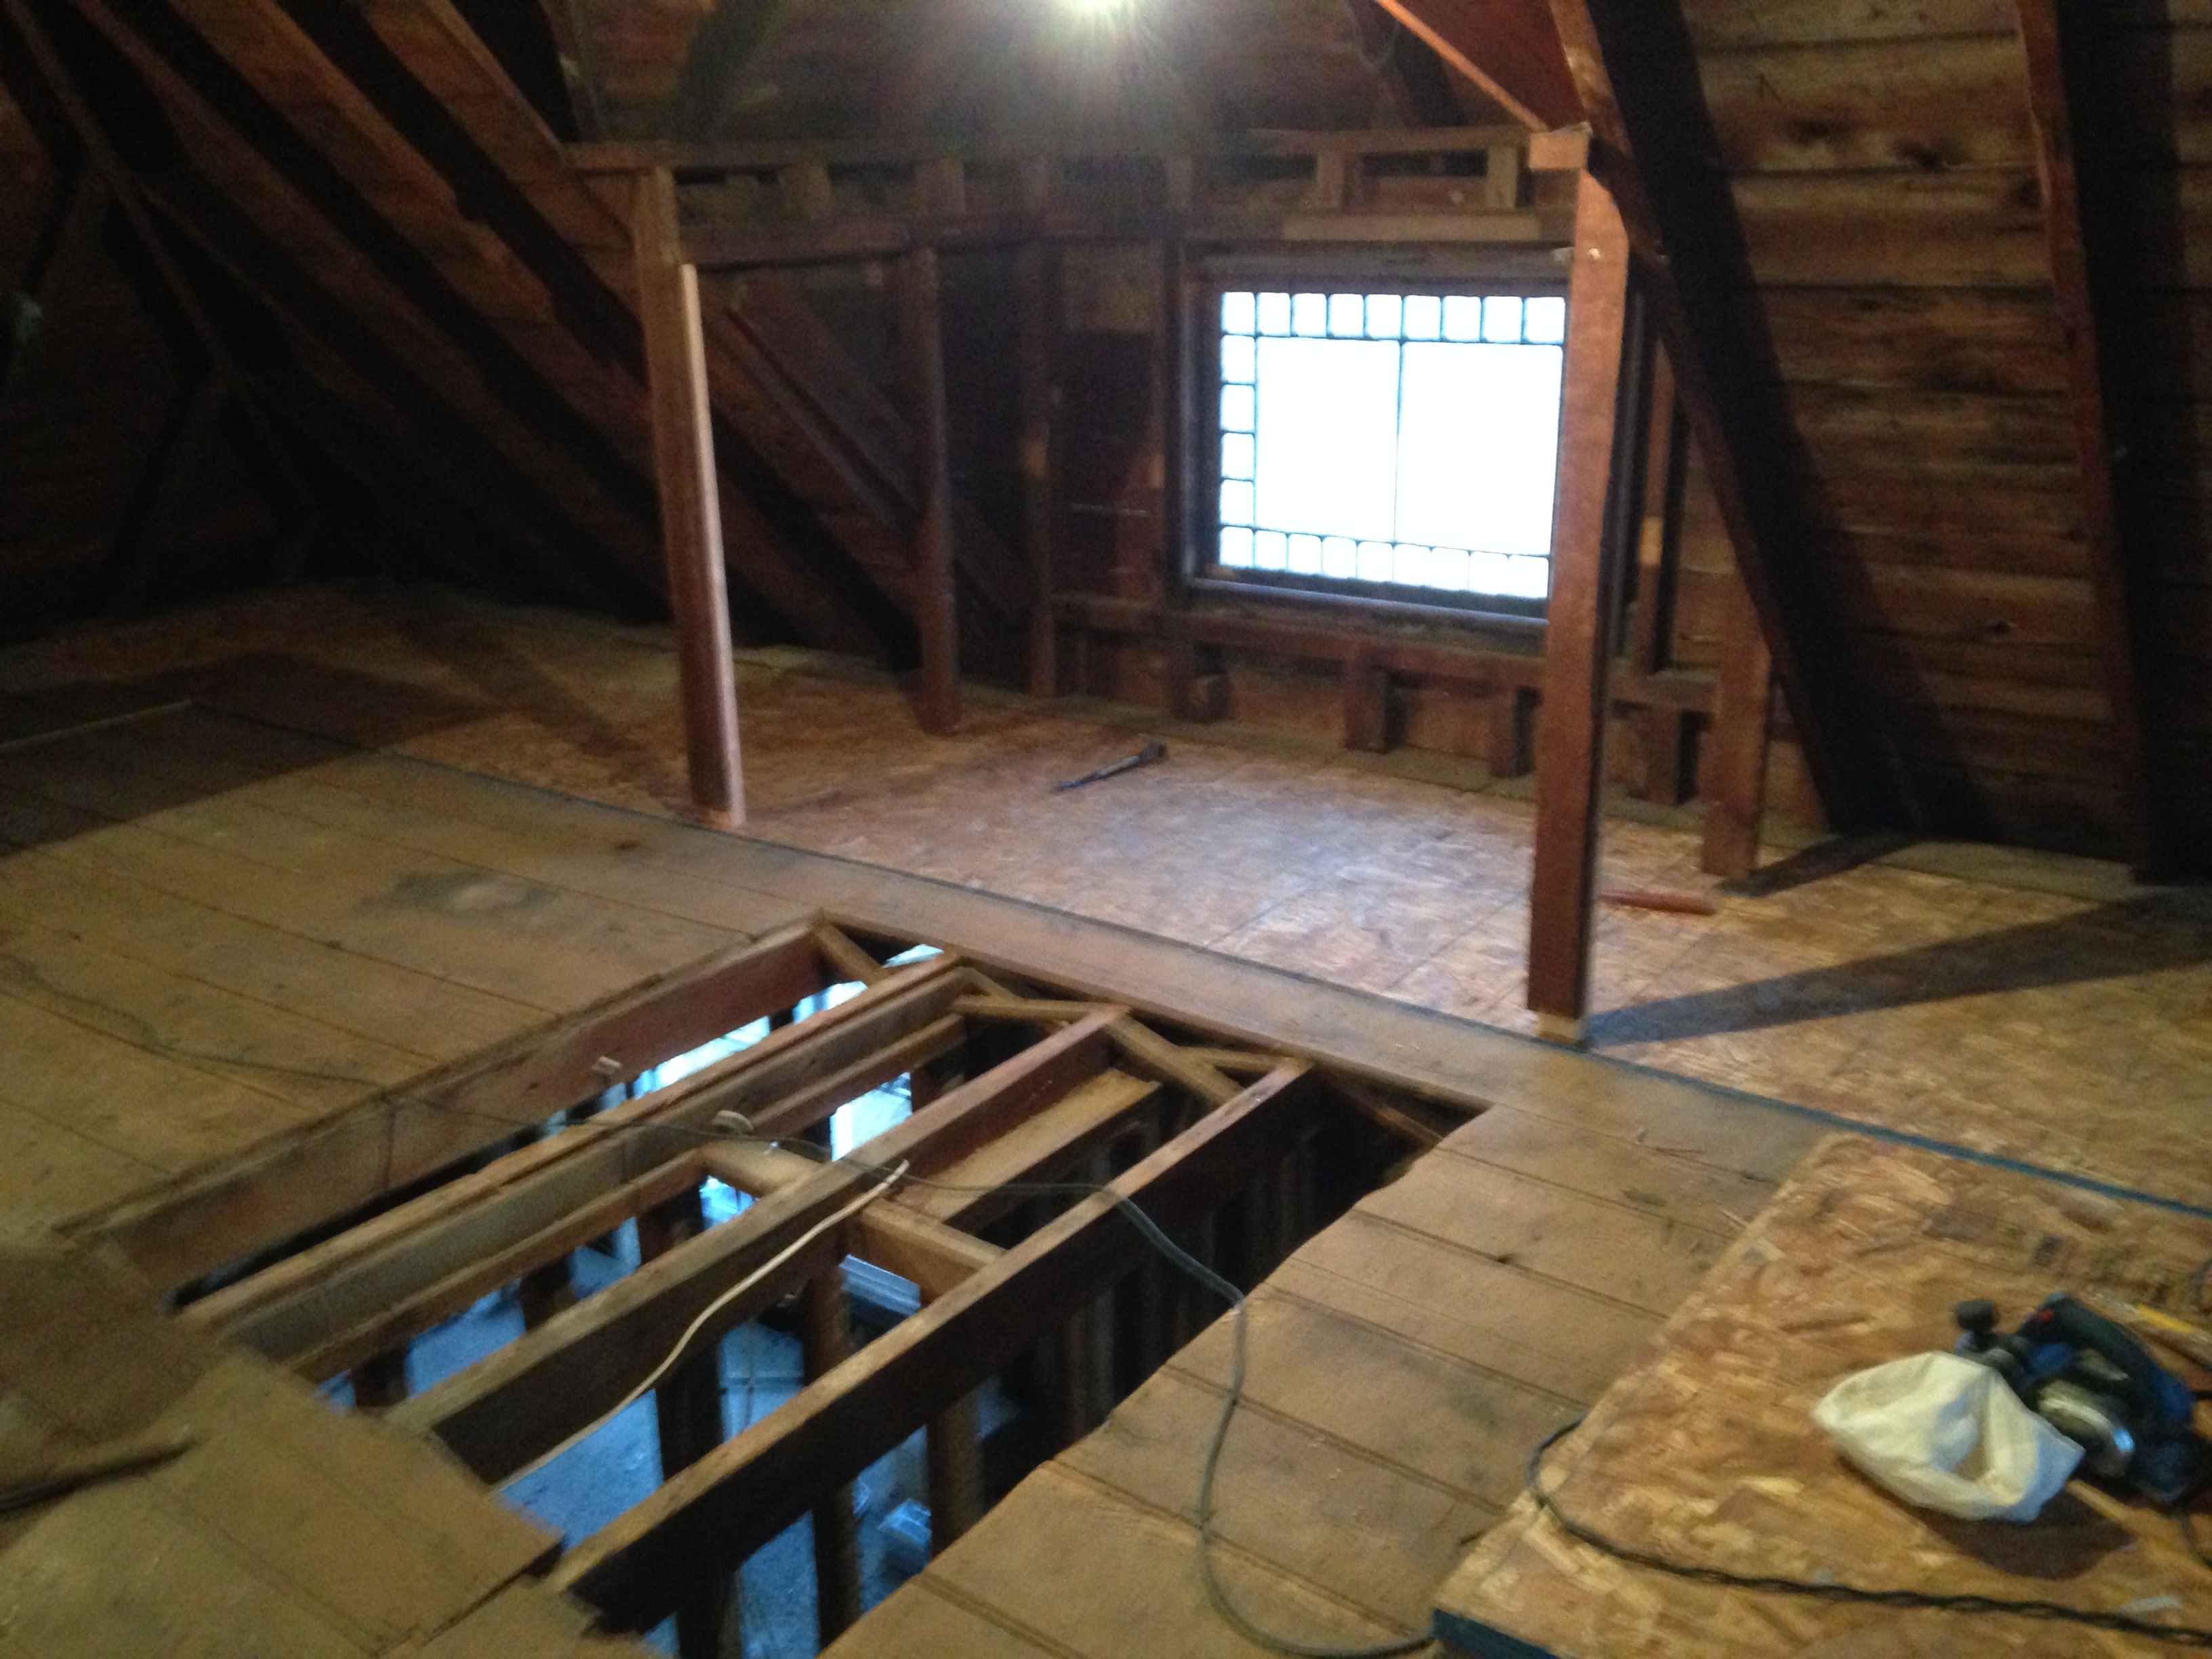

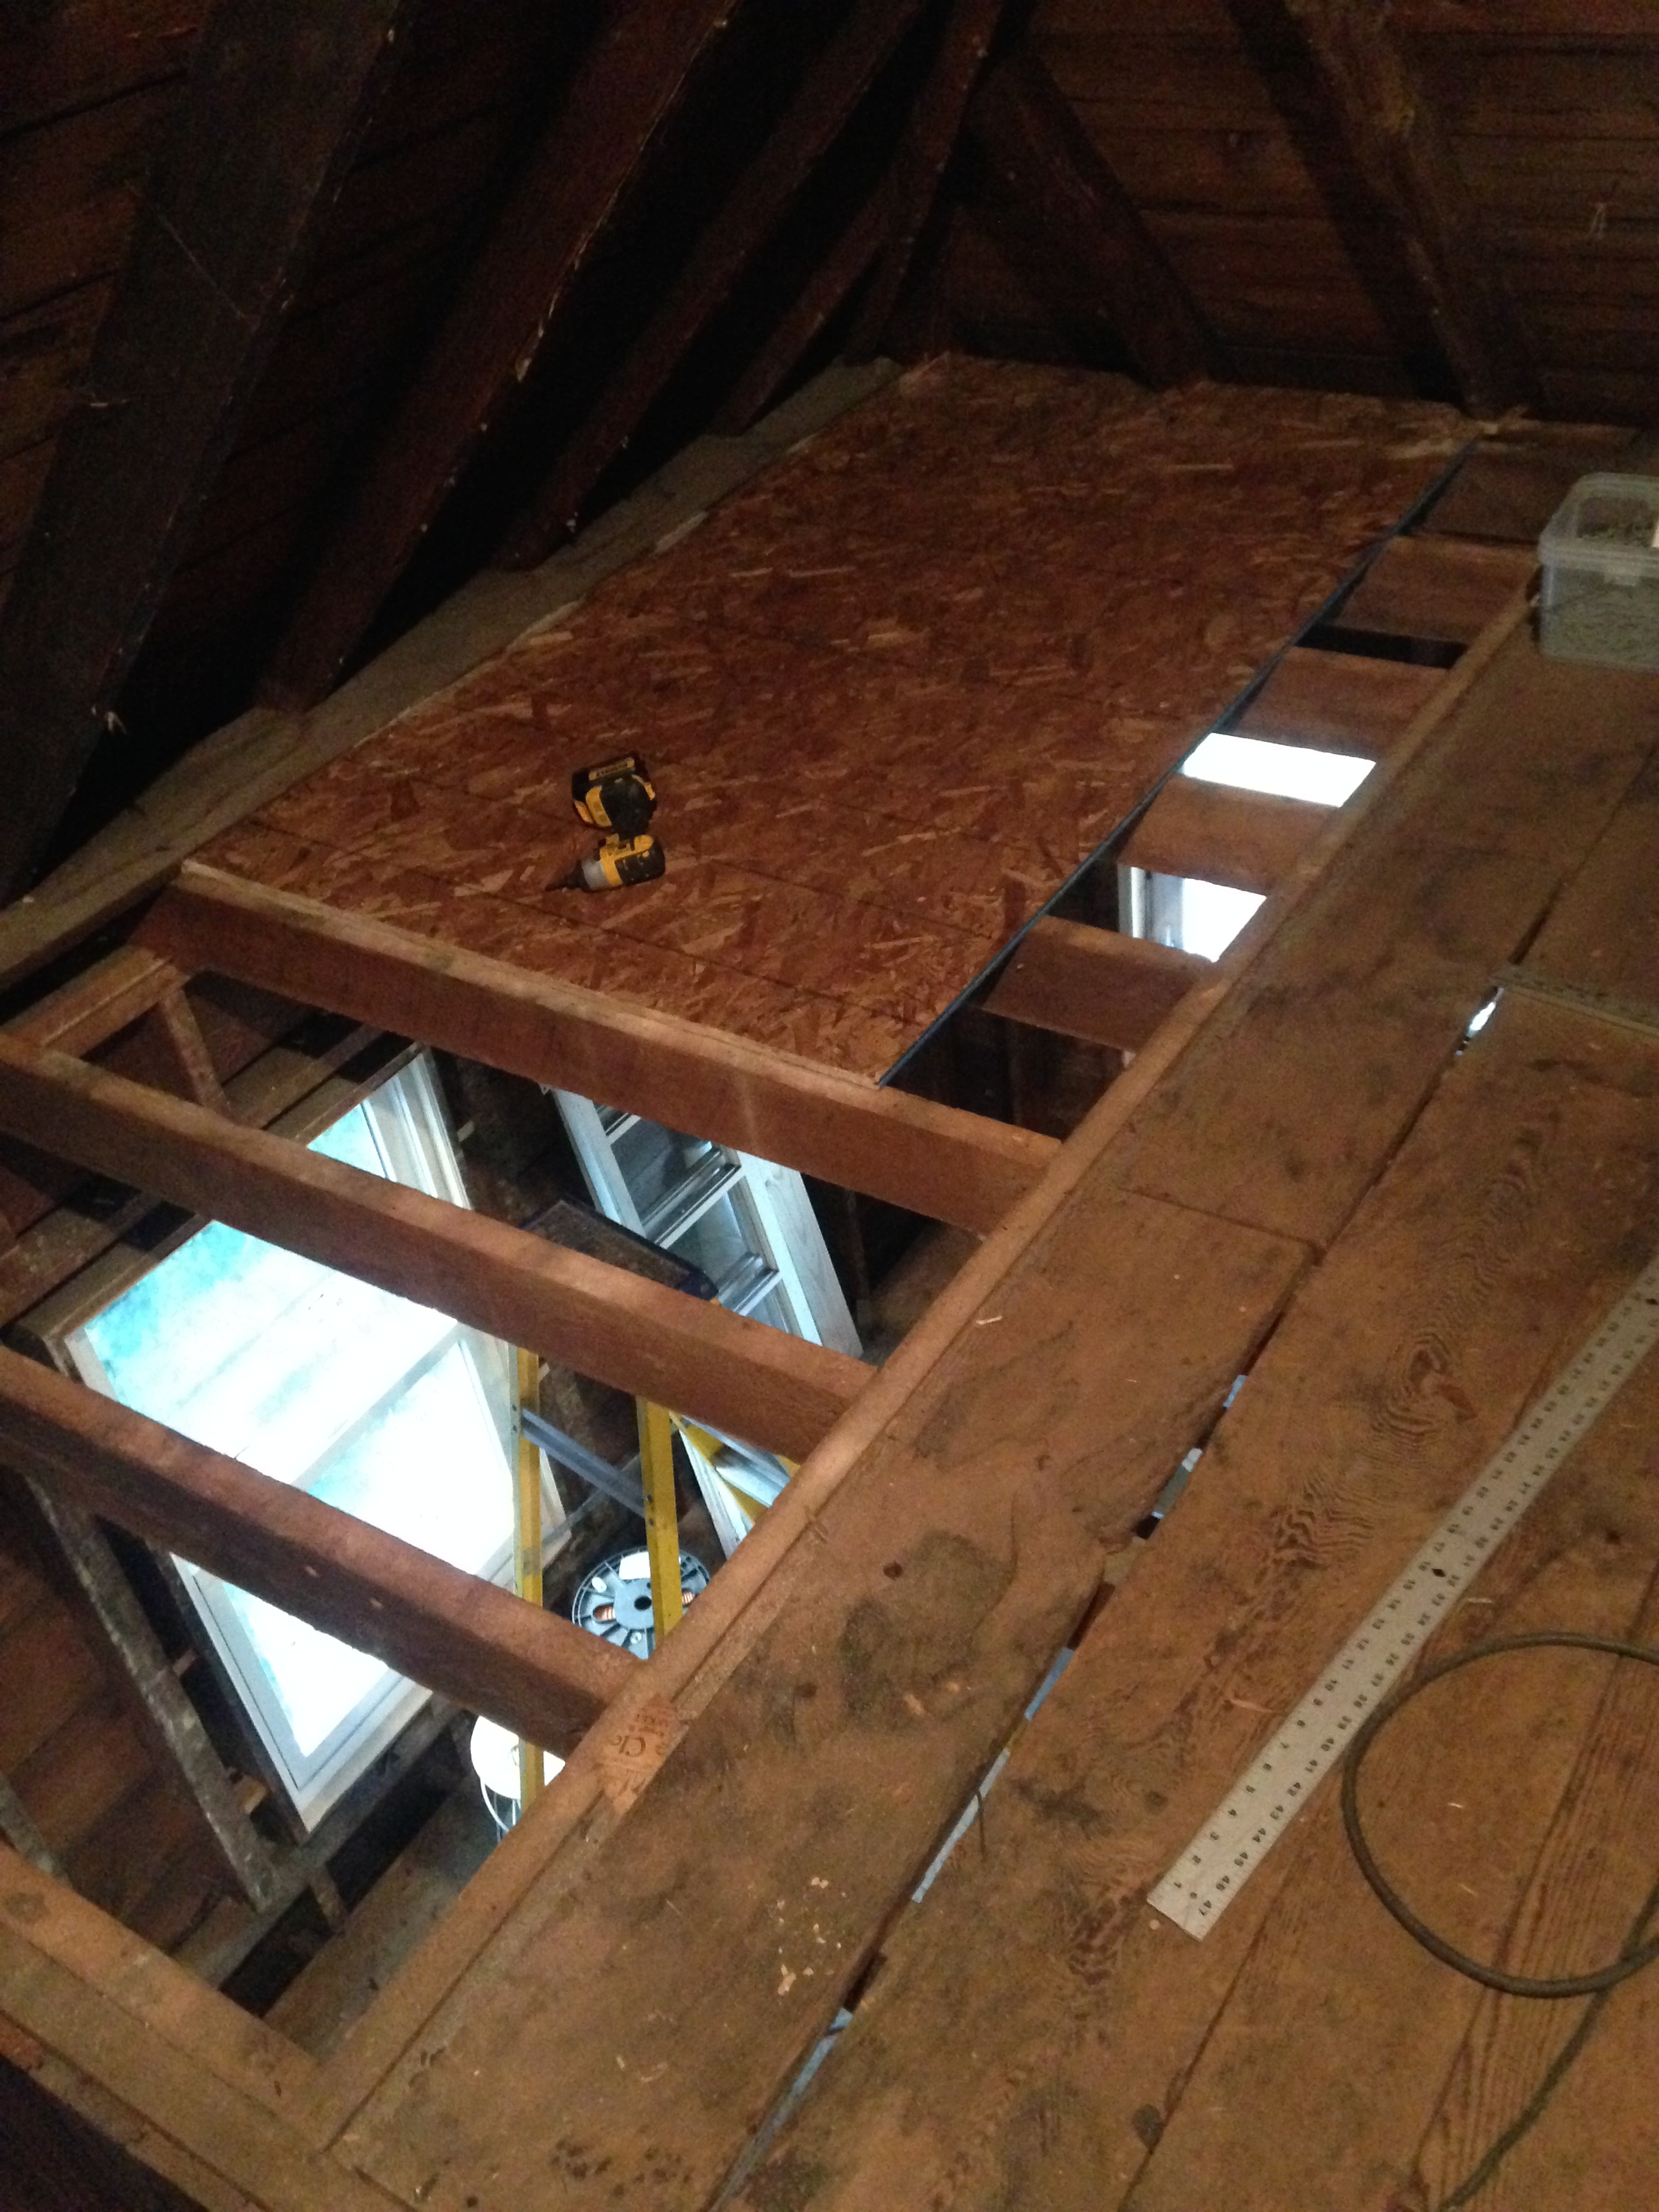
See this window? We had a bat that kept coming in through it. It’s amazing how useful screens are in windows. Anyway…
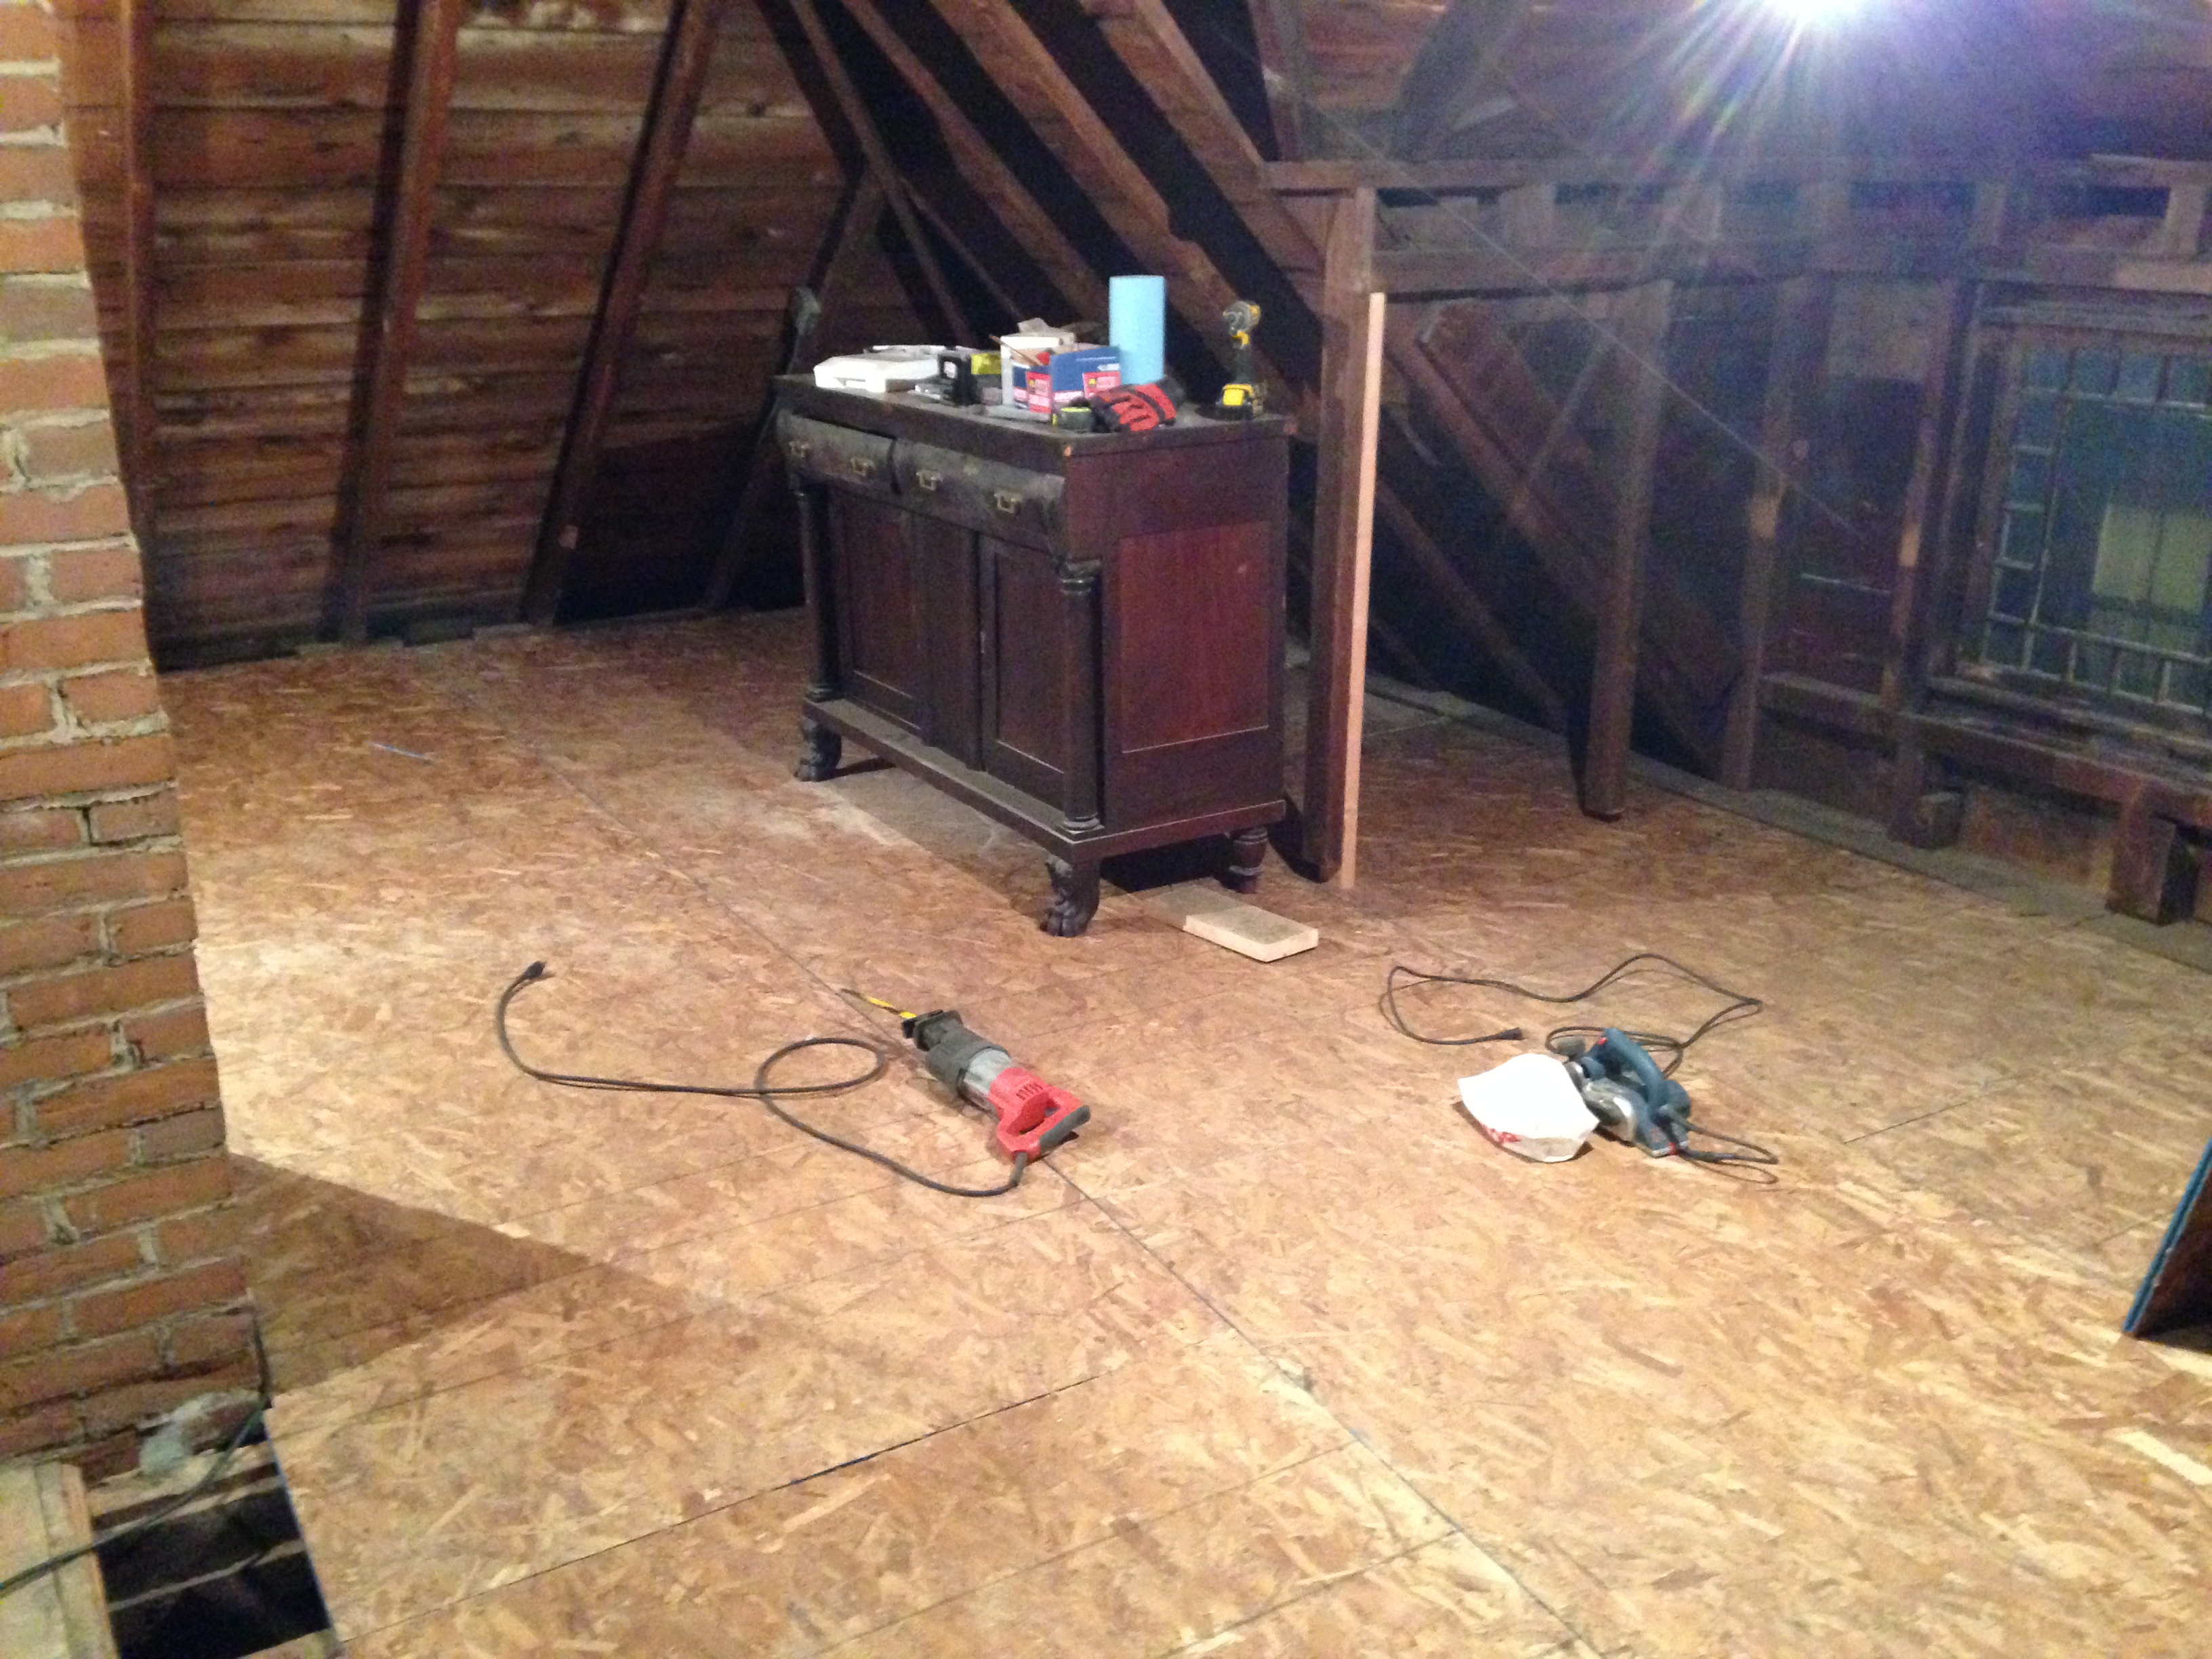
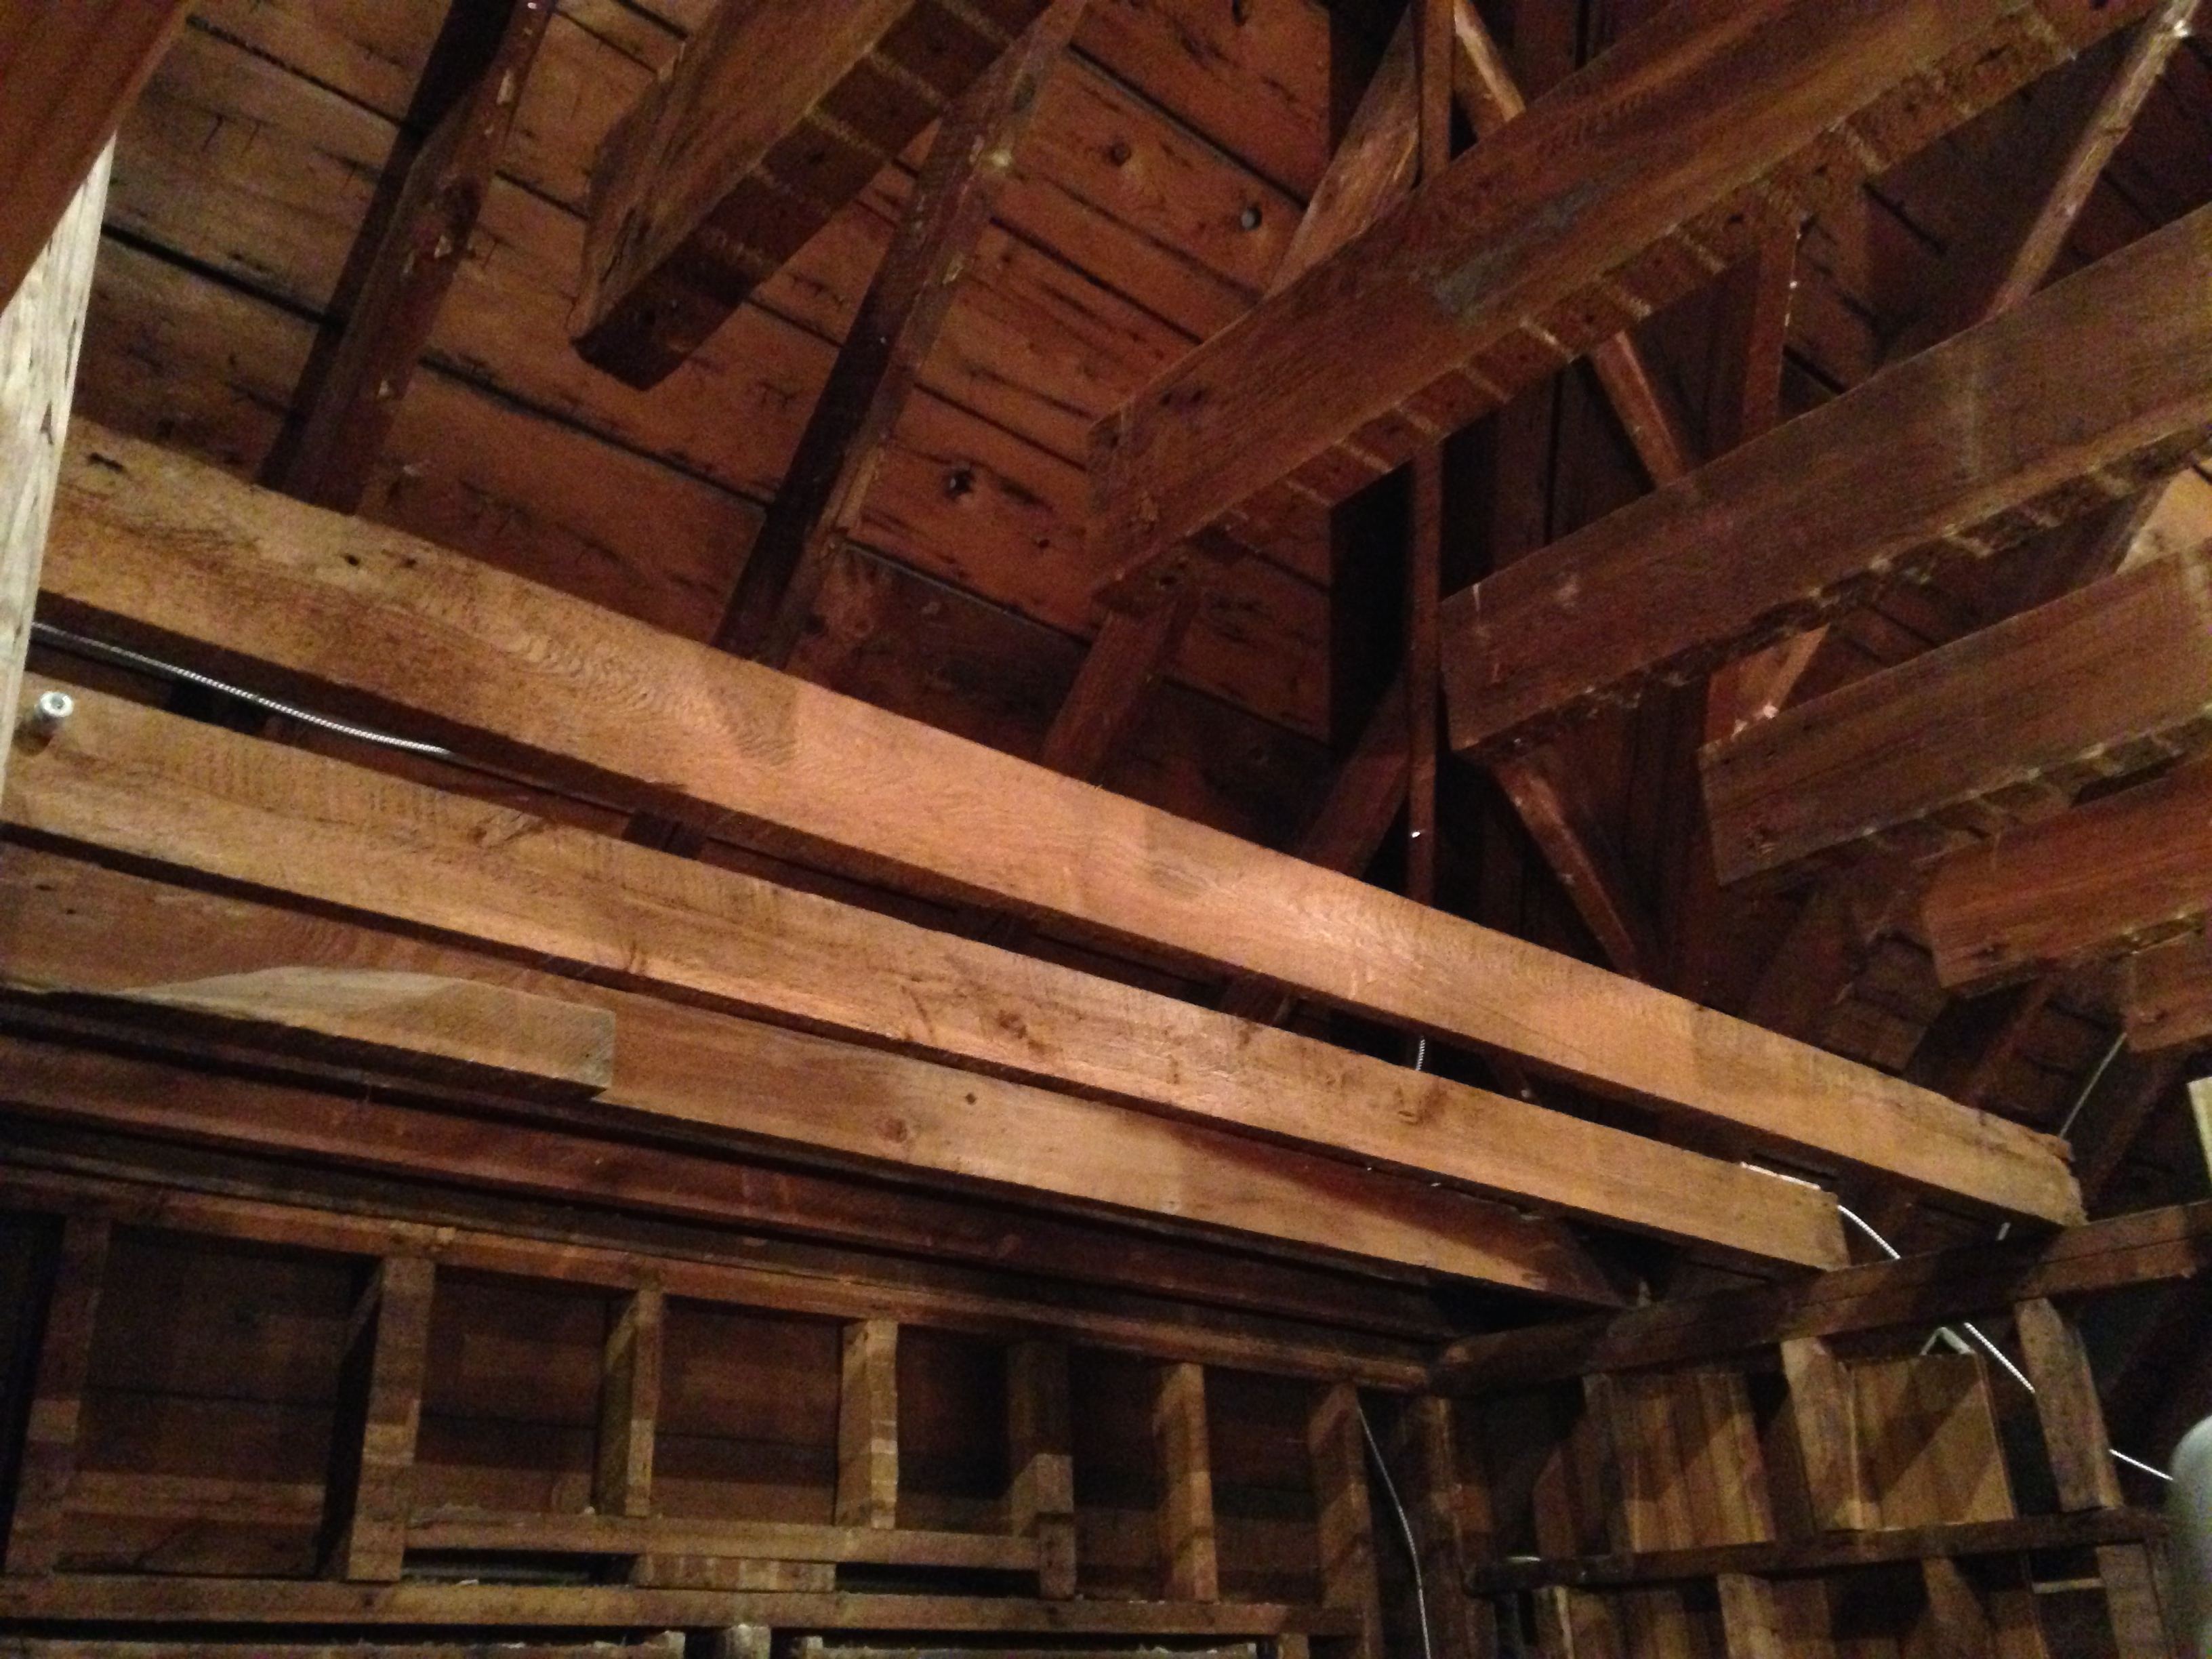
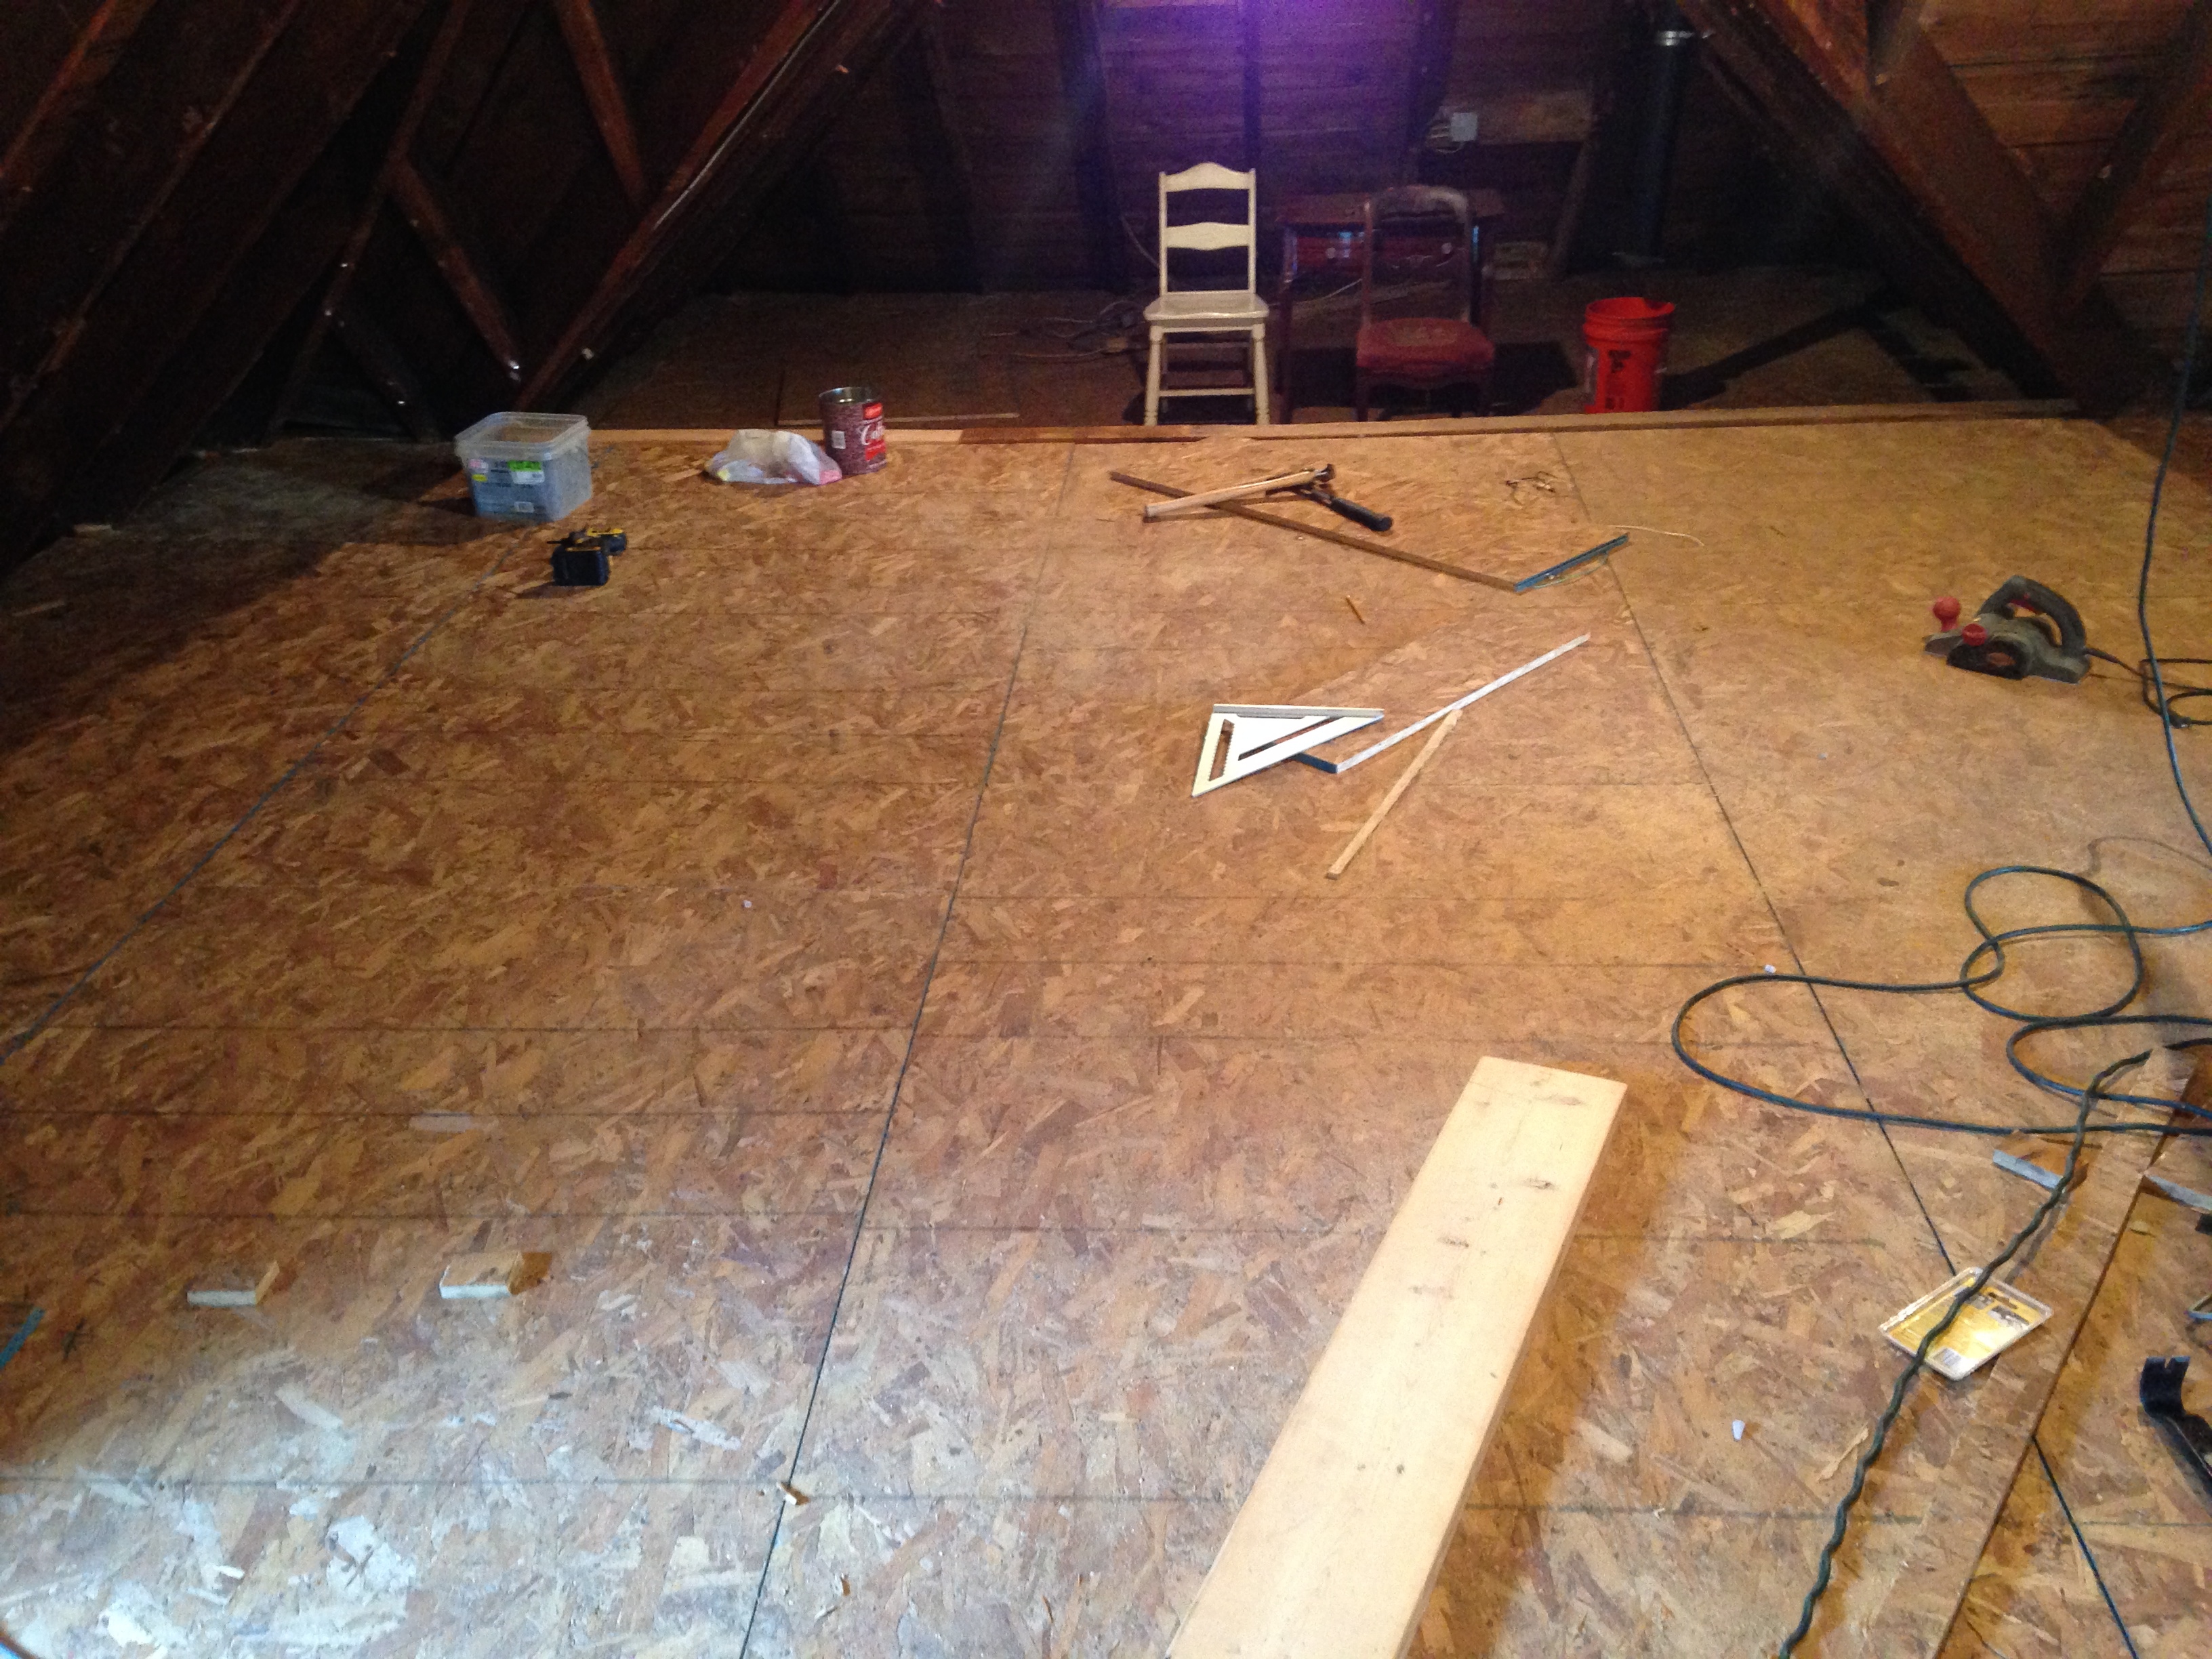
Things went smoothly for the most part. The only issue was that there is a bit of a peak in the middle of the room around the chimney. There was nothing we could do about it but the only thing it impacts is we won’t be playing marbles up there.

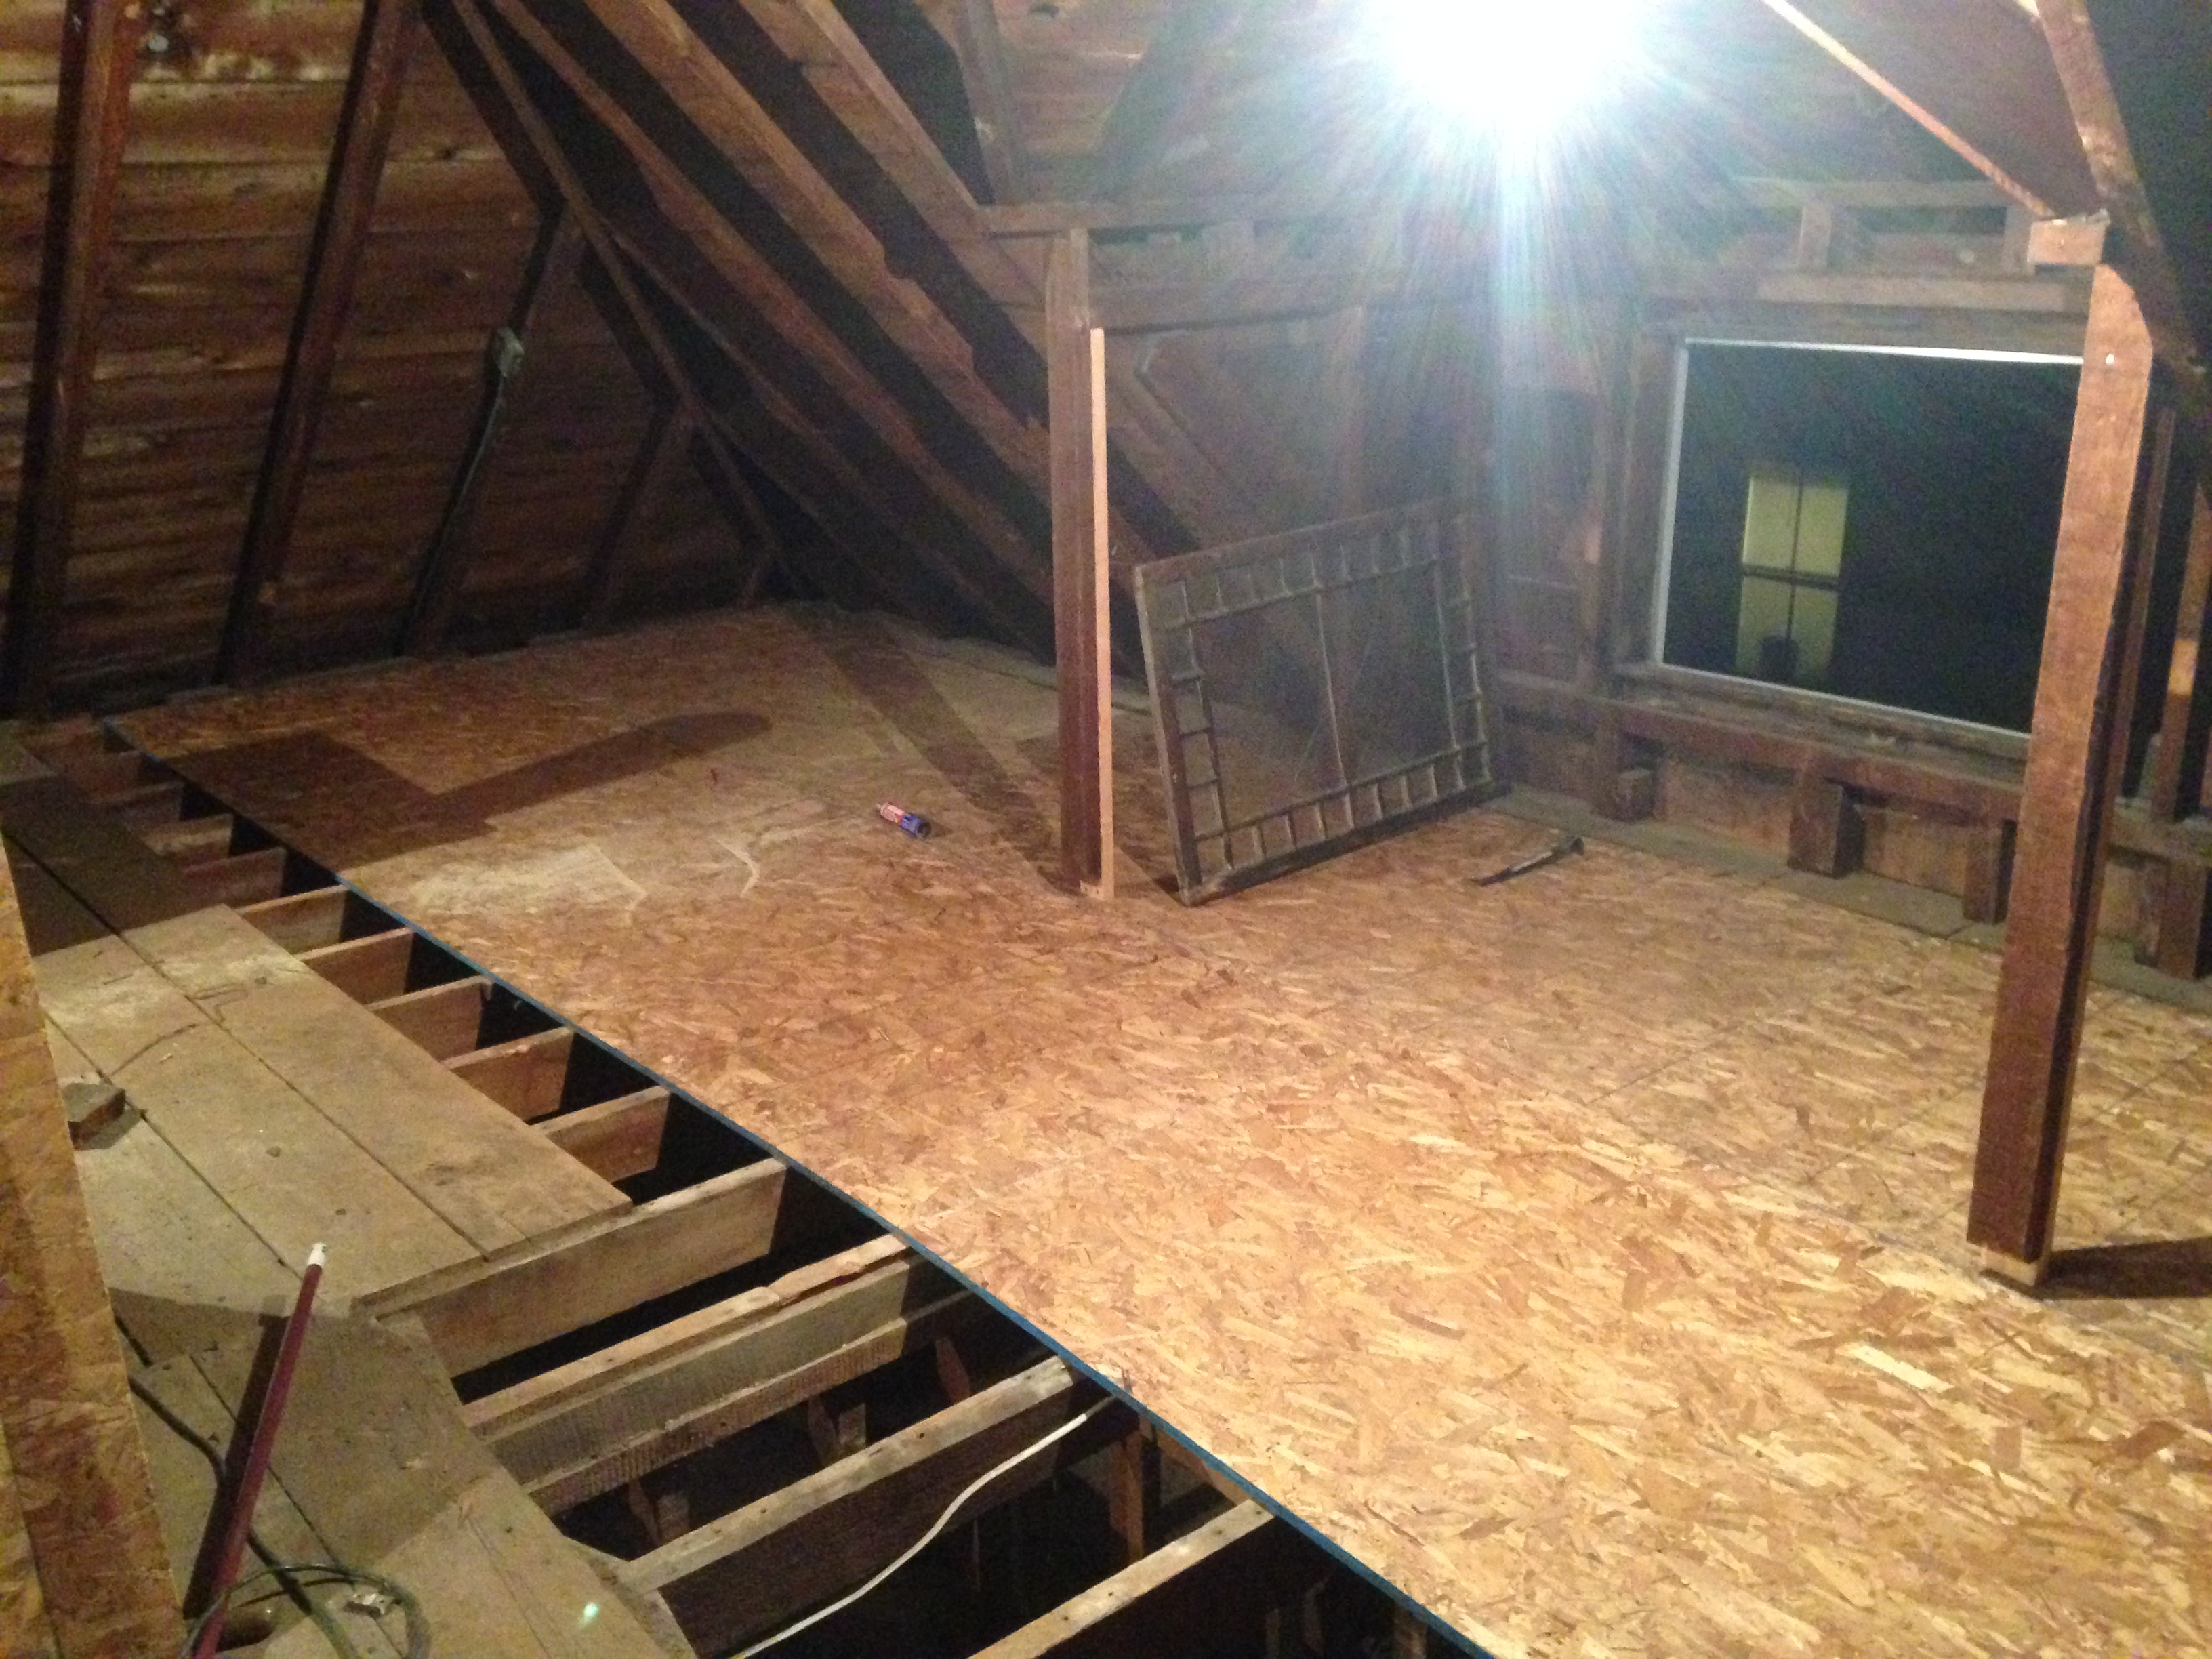
Here is where the archway work started to come into play. We had to go back down to the first floor and work there. Click here to read up on the arch work and then continue on from here…


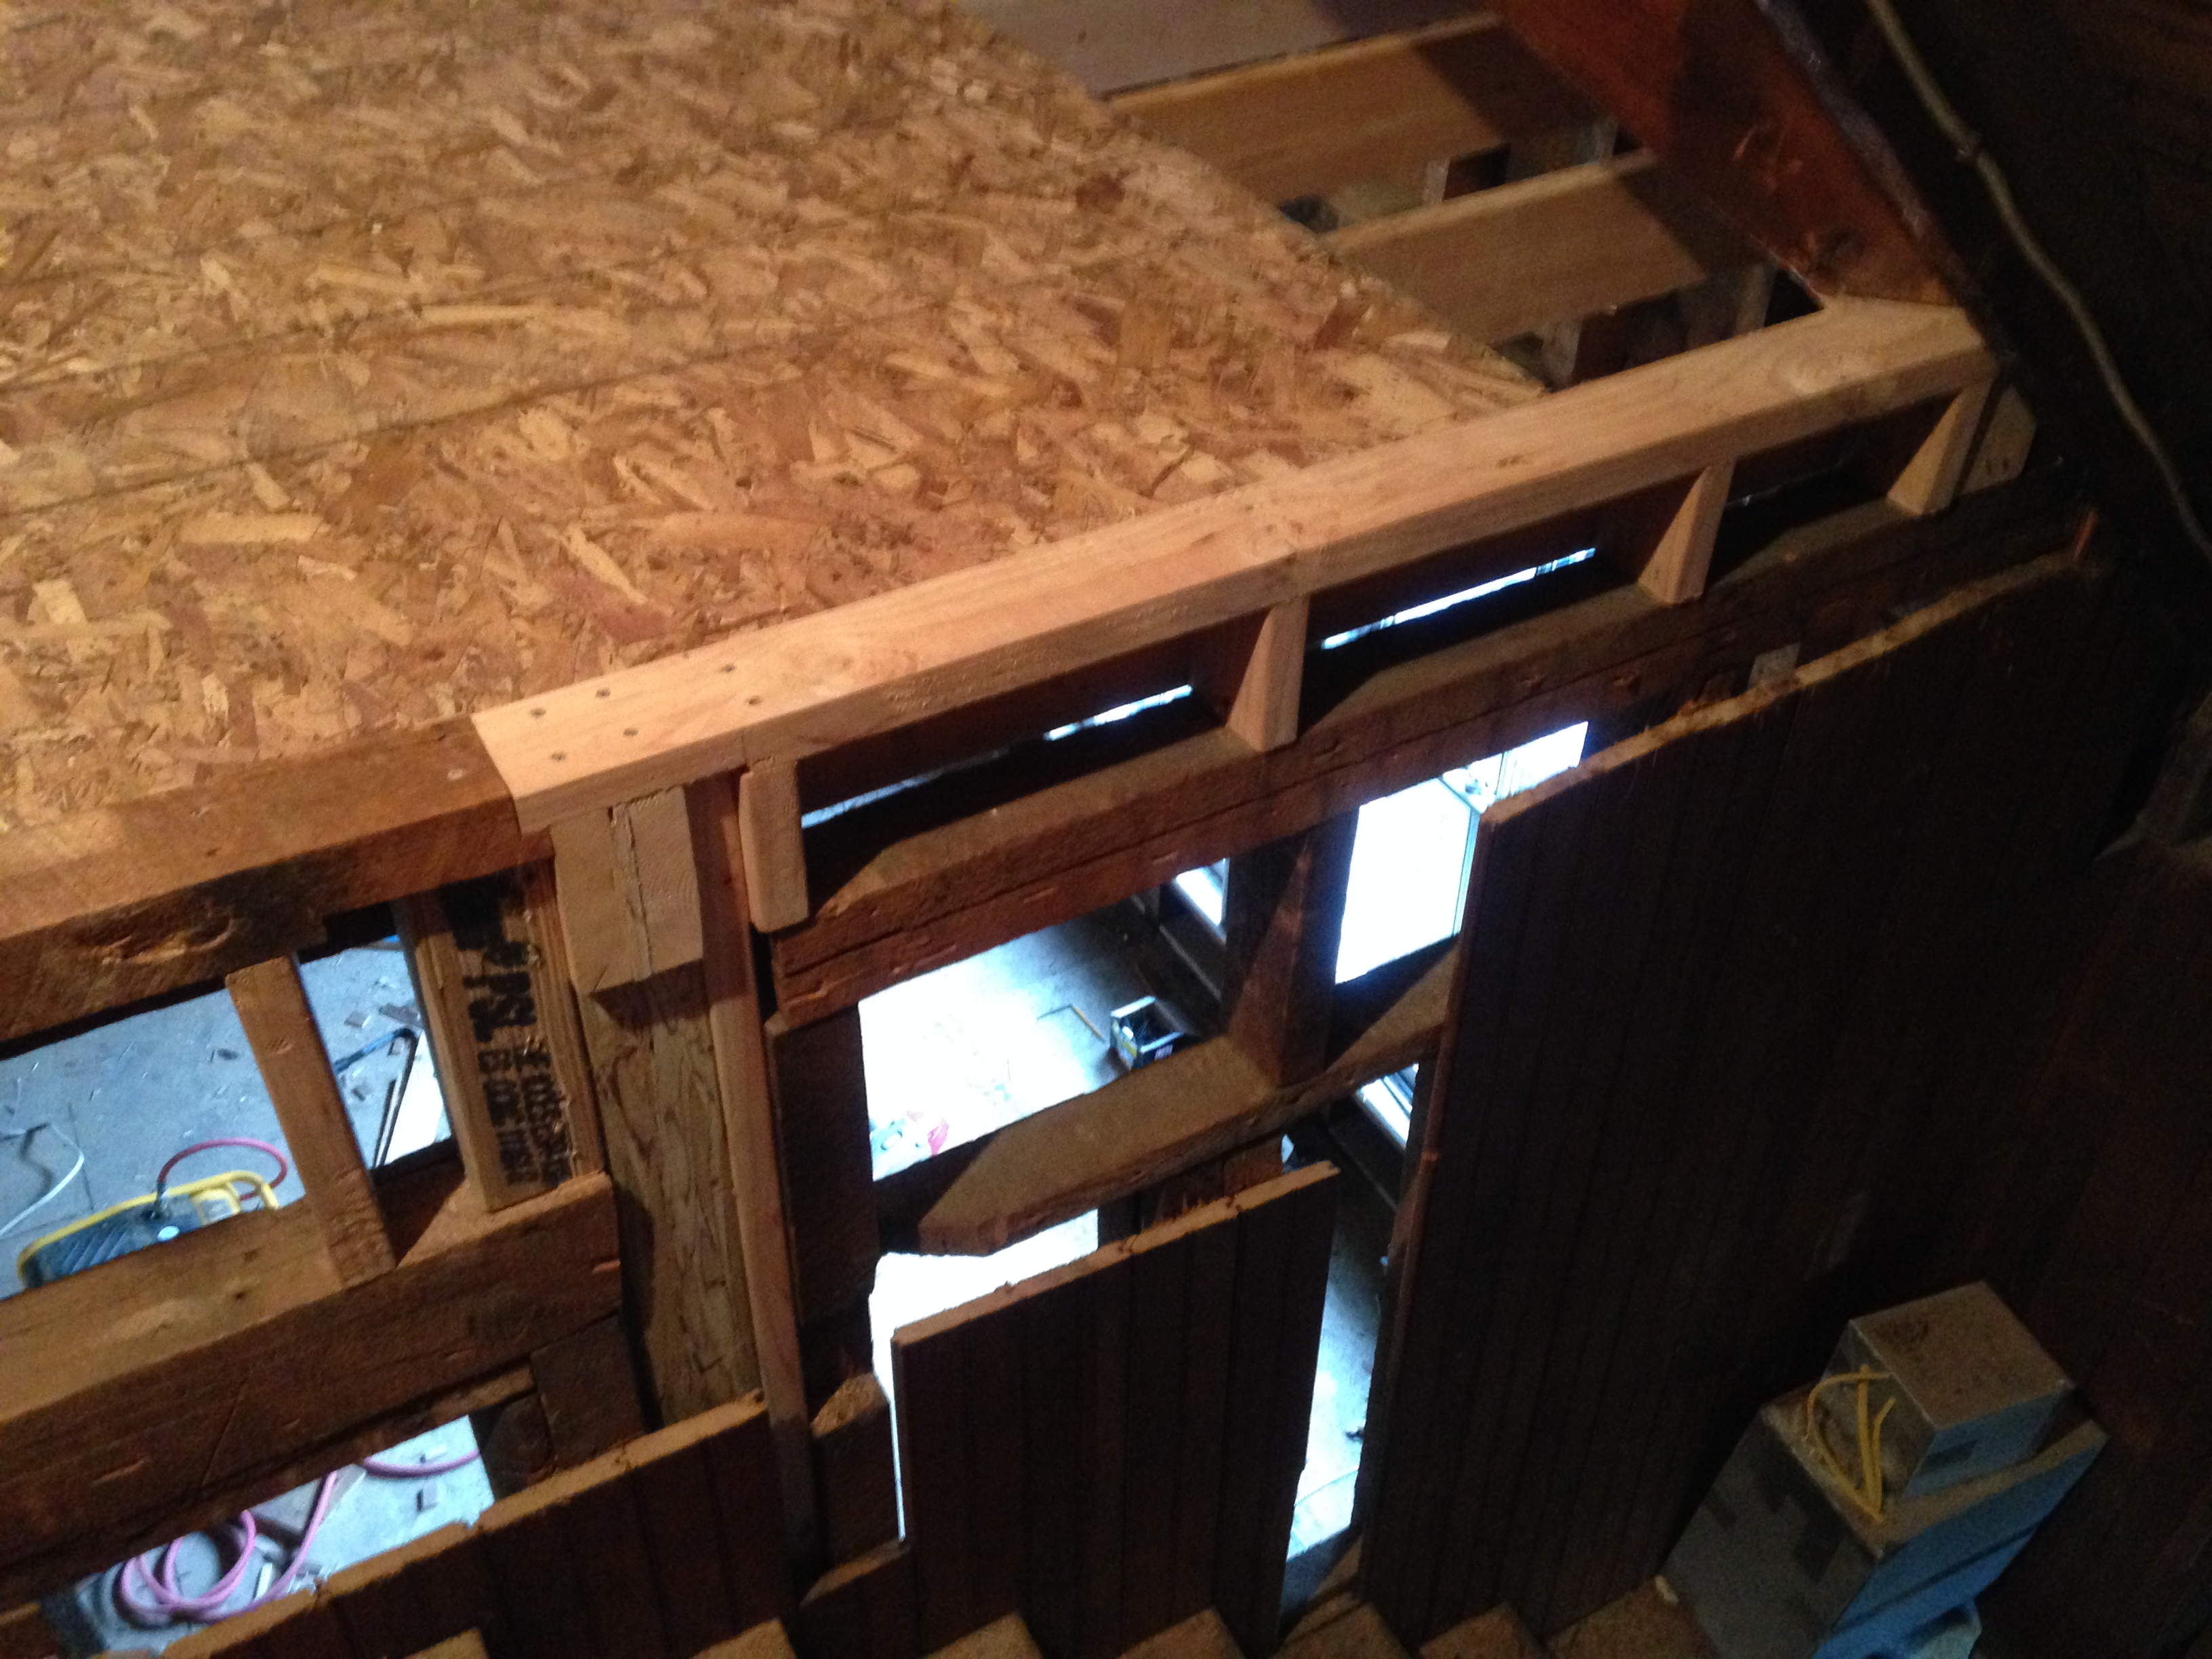
Working above the main staircase and the foyer was a little unsettling because of how high it was. One wrong step and that would be the end of this project!
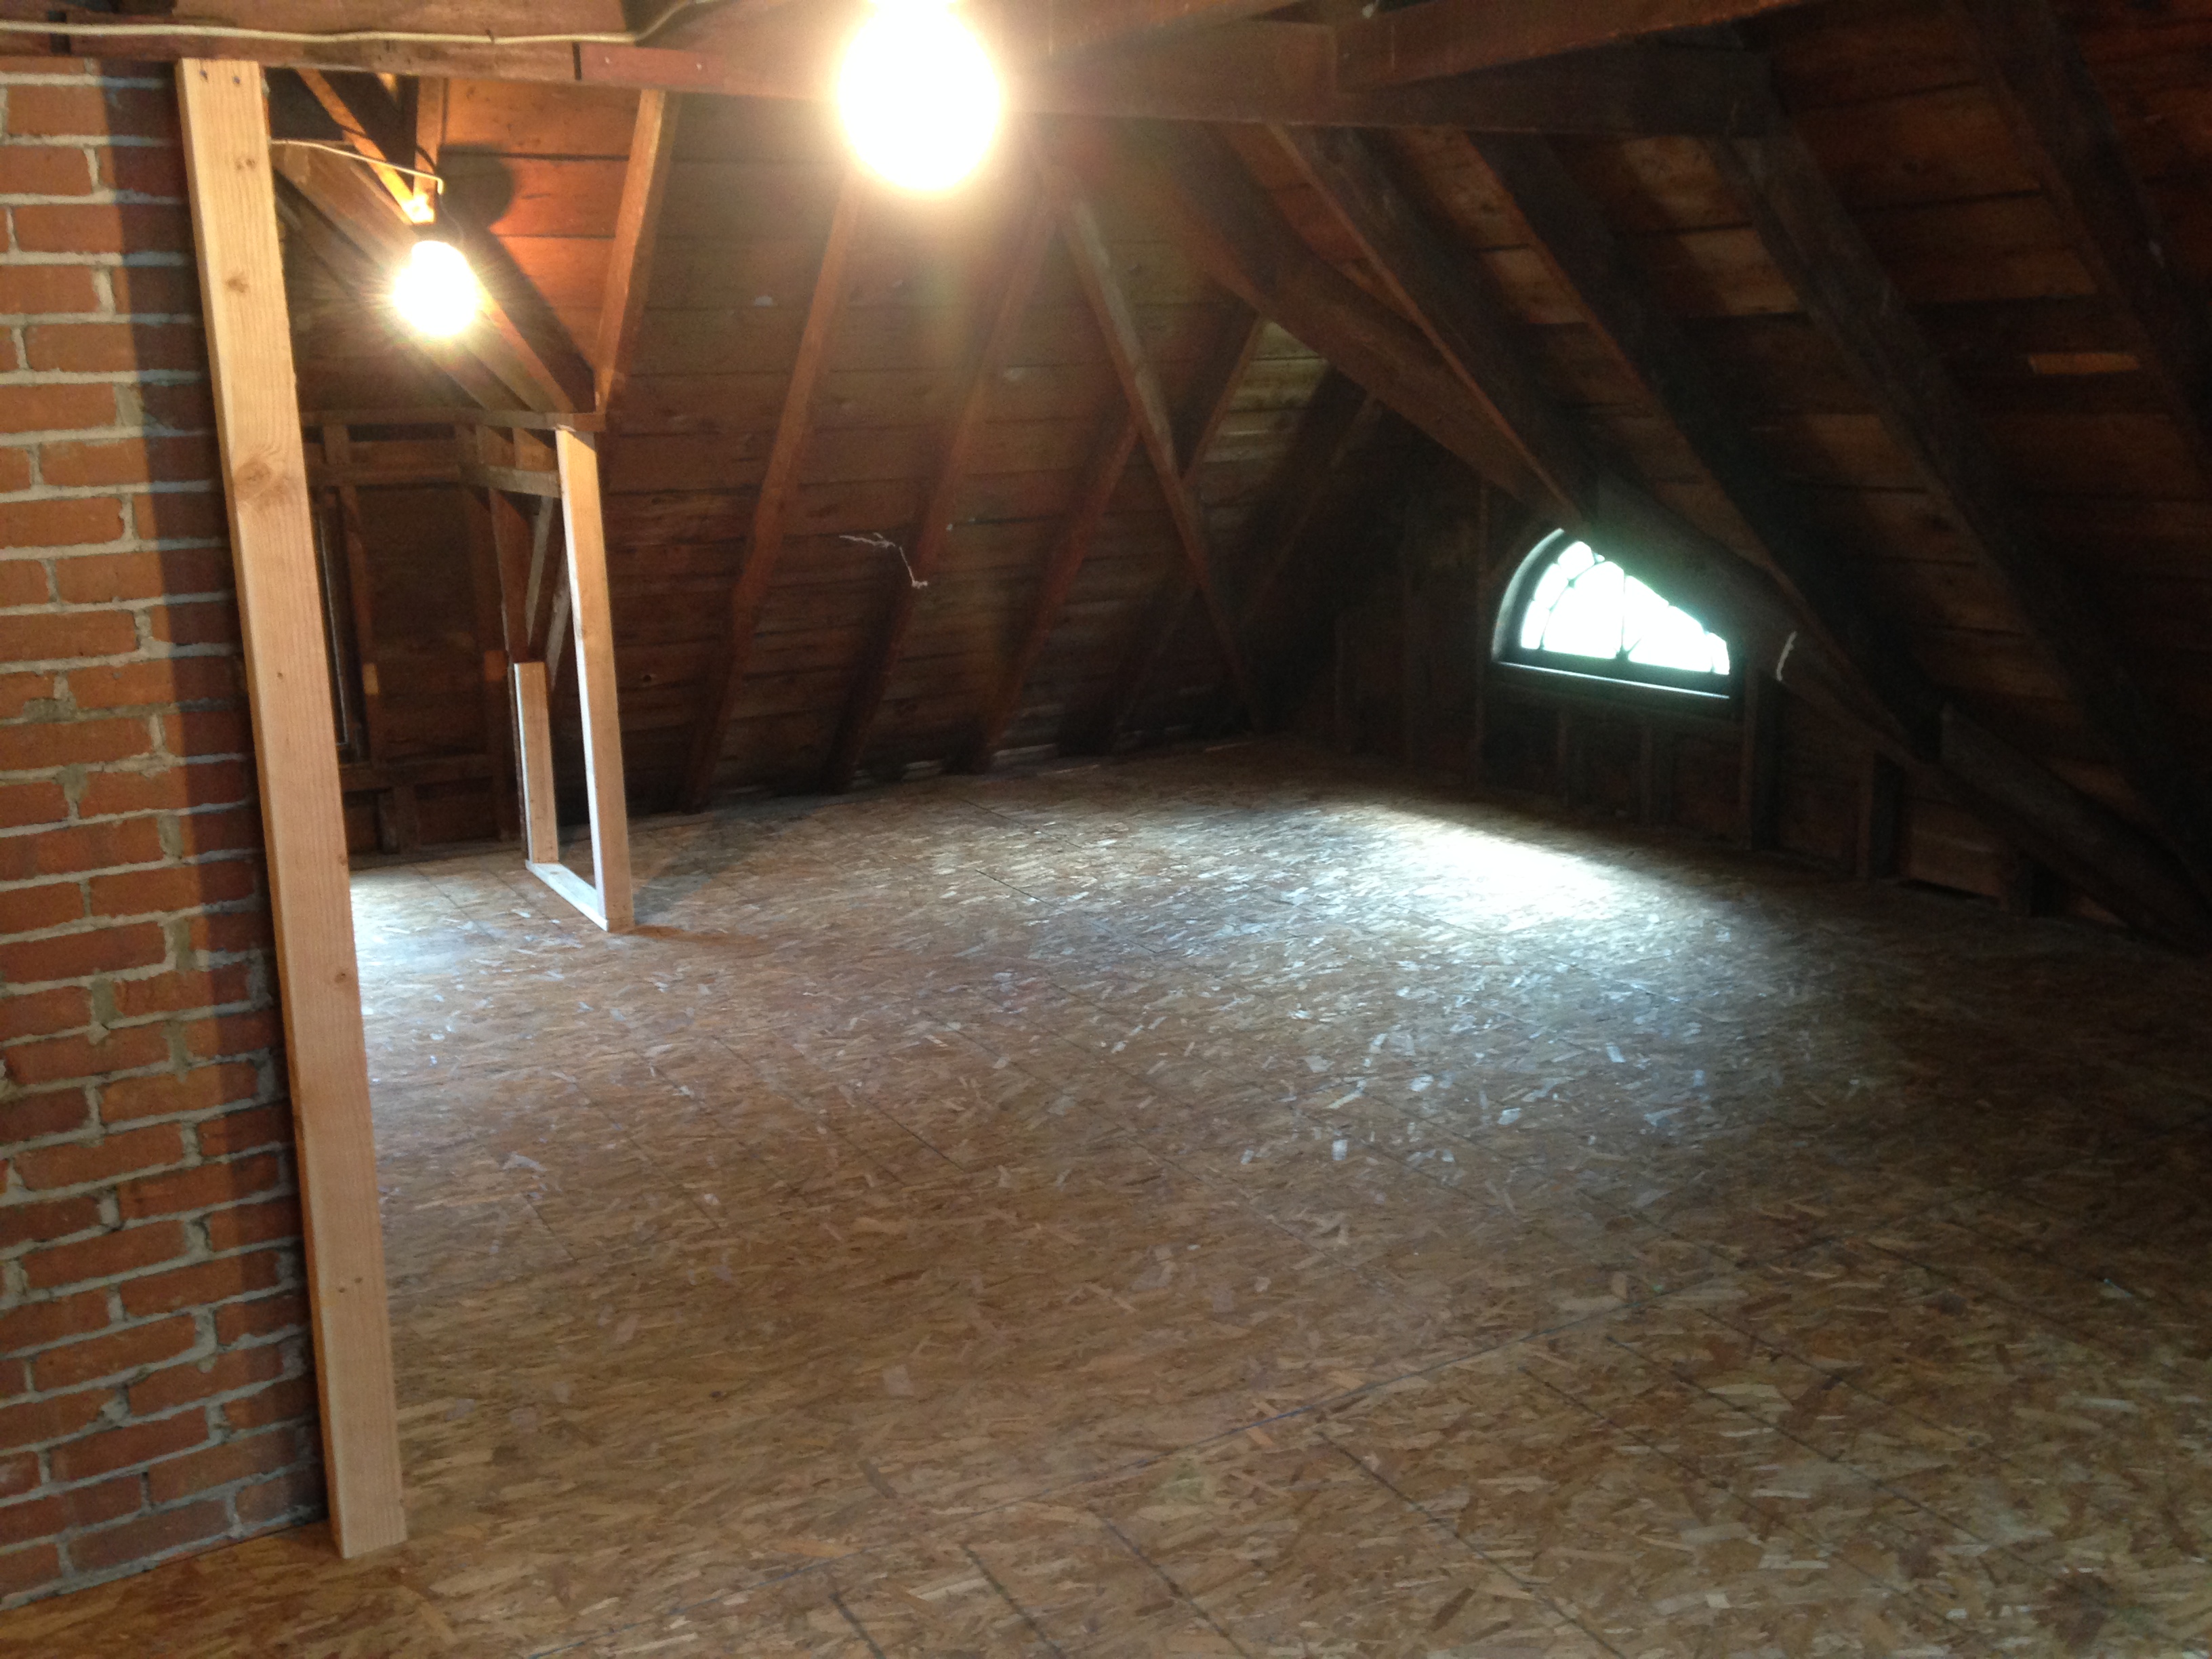
But a little bit left! The corners and edges proved to be difficult on this side only because the wood next to the window was split. Lots of cutting and trimming but we eventually got it in.


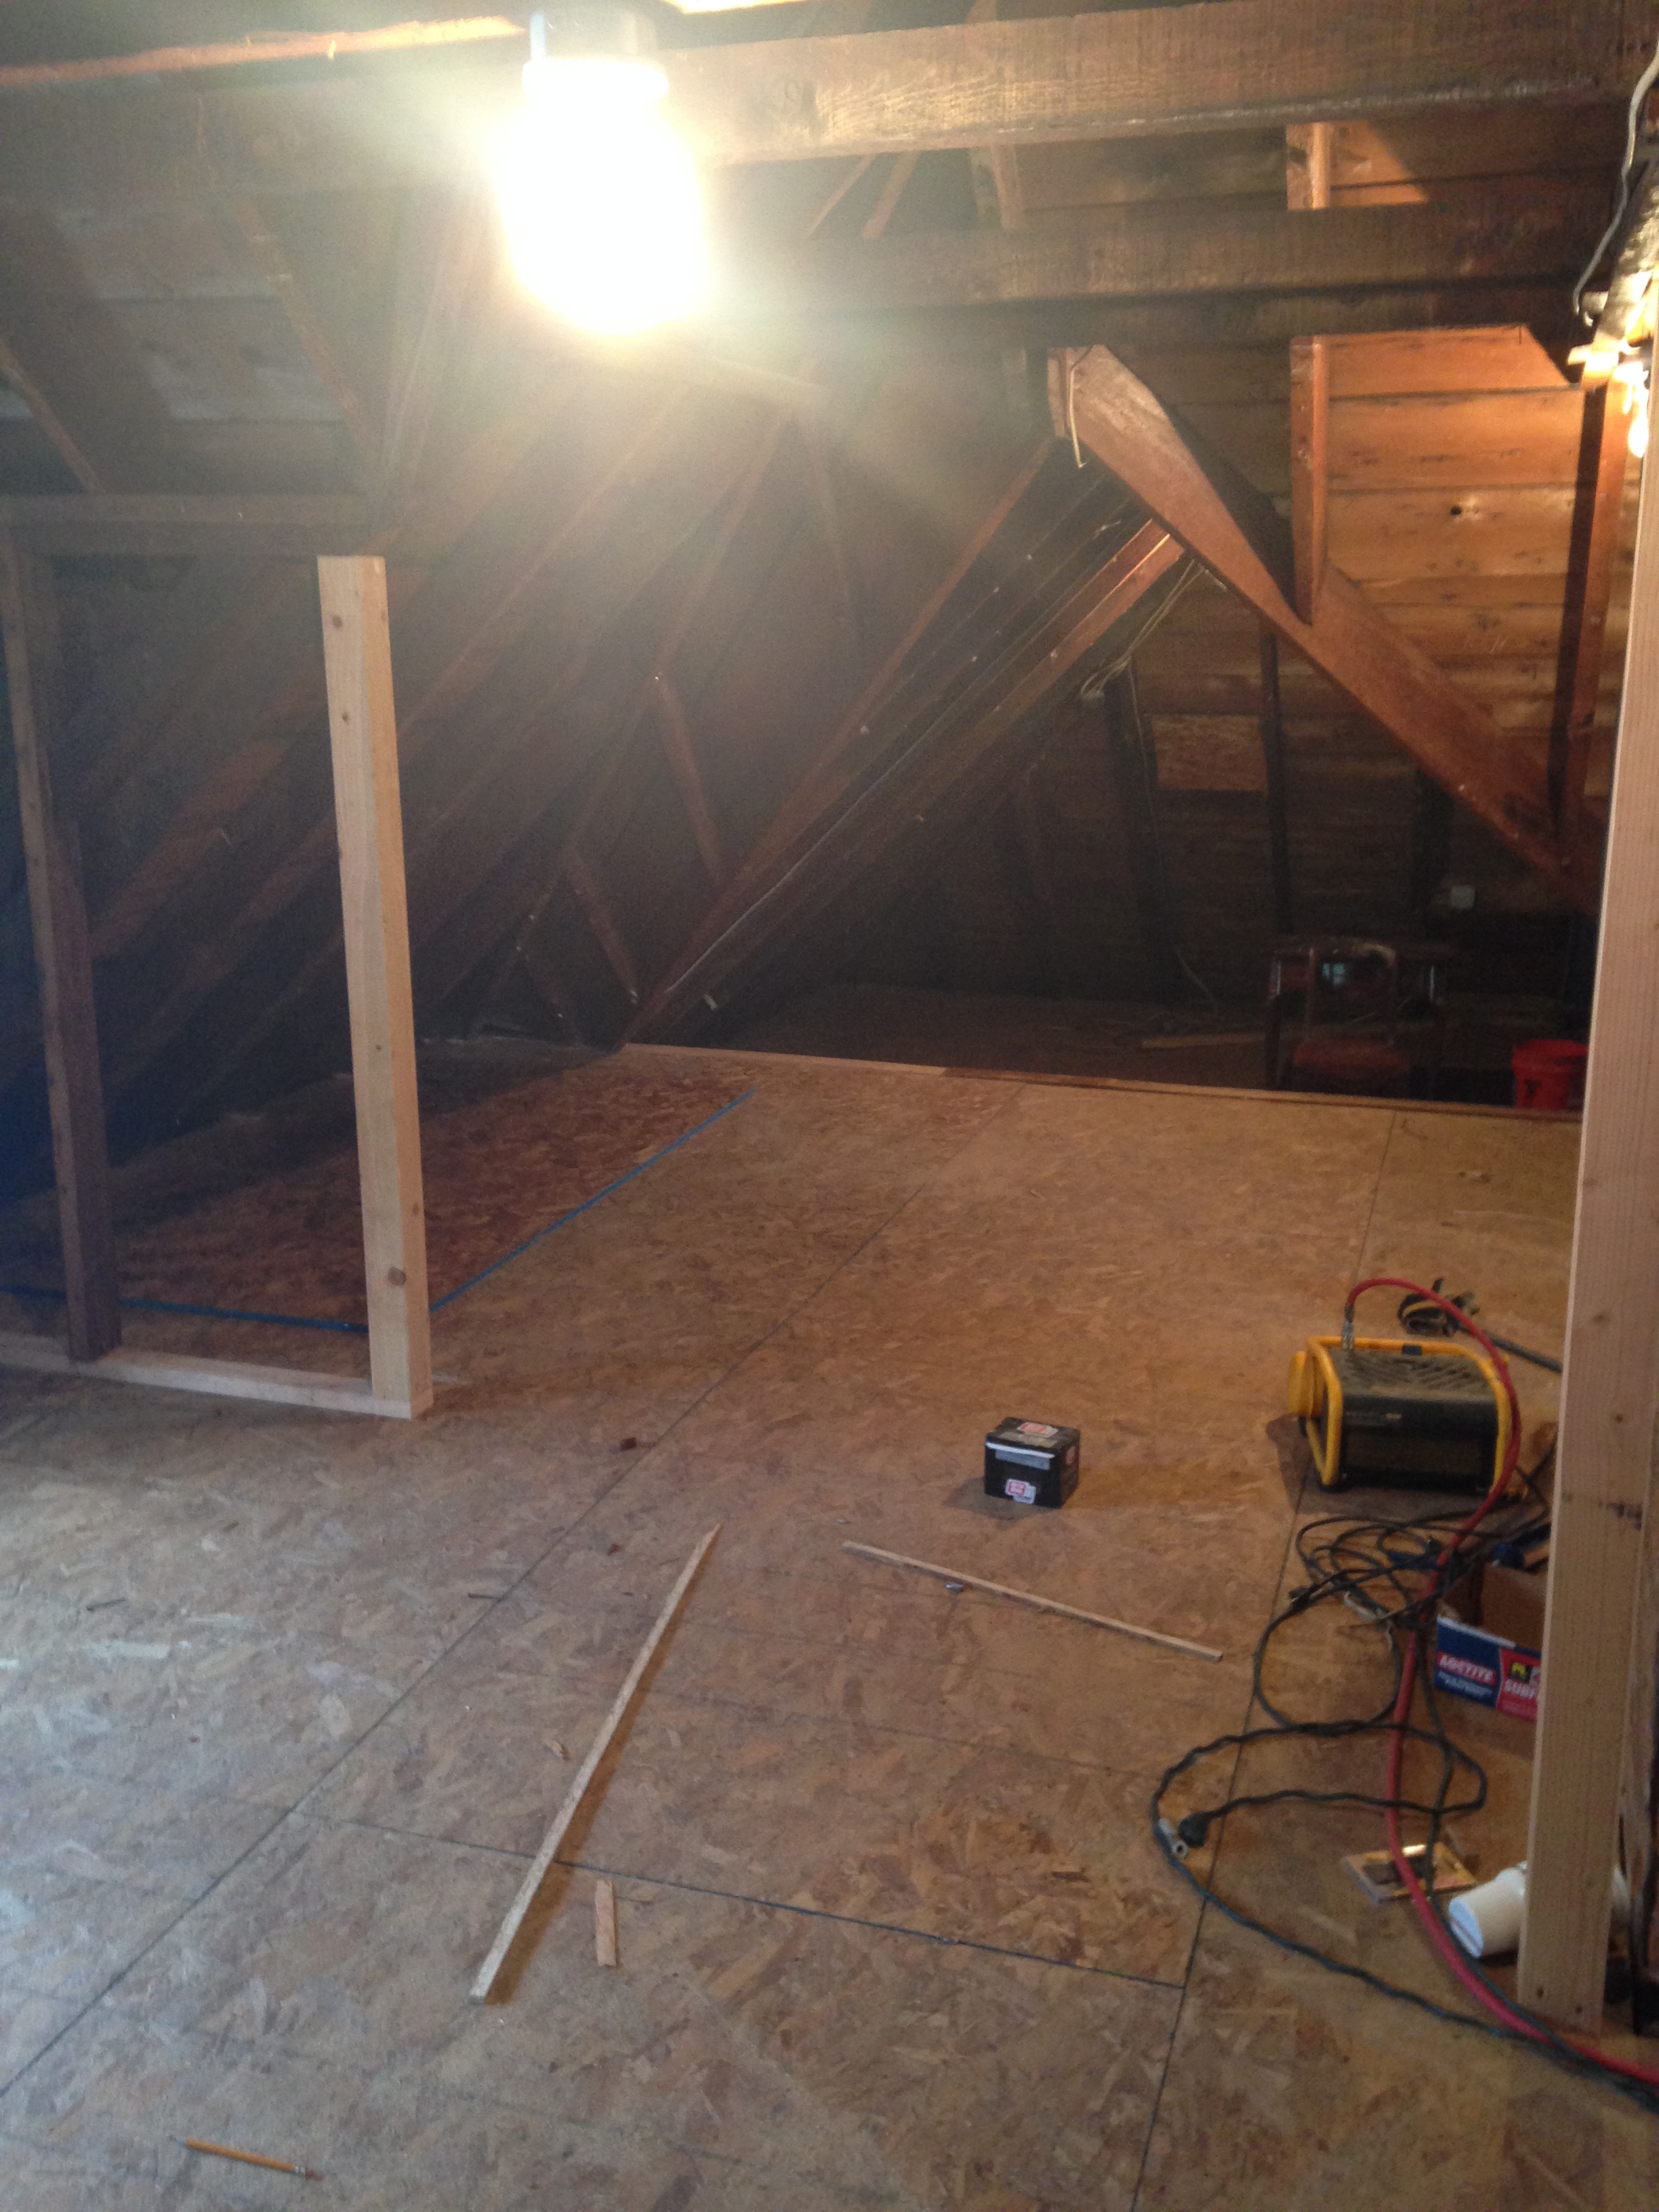
And we’re done! Here’s how it looks now. We replaced all of the mini-walls around the window gables to reinforce them. I spent about 3 hours vacuuming up all of the leftover sawdust but it looks great. It’s the most finished place in the house for the time being. The whole attic feels very tight and stable, a great room. I don’t know what we’ll do with it in the future but I love it!


As an aside, it feels kind of weird to sum up months of work in one post. This was hard! We’ll have to get the windows replaced eventually, but for now, call it finished.
One thought on “The Attic – A Victorian Masterpiece”